Hi There;
A long time ago you said you would post a “how I did it” for casting vehicles. I have been waiting with baited breath ever since.(See blue face) Any chance of finding time to do this? I am sure there is a lot of interest in this.
Thanx;Tom
Hi There;
A long time ago you said you would post a “how I did it” for casting vehicles. I have been waiting with baited breath ever since.(See blue face) Any chance of finding time to do this? I am sure there is a lot of interest in this.
Thanx;Tom
Wow Tom, are you psychic? I was actually thinking of this last night while I was putting together one of the Jordan Miniatures kits… and thinking that I really must get around to it for you.
I made sure I had all of the items required this morning and I will be starting on a vehicle tonight, taking pics and notes as I go, stay tuned I hadnt forgotten , but man that gave me a scare to read [:D]
here’s a reminder of previous efforts, or for those who havent seen them before this is what Tom is refering to.
The white truck and the blue BMW are my castings.


Now I just need to find a suitable vehicle.
Have fun & be safe
Karl.
Hi There;
WOW!! This is getting freaky. The reason I posted is I am teporarialy screwed up with a bad back so no working on the RR. Iwas also putting together a Jordan kit & I remembered your post. Wierd eh?
Yours in wierdness;Tom
Even freakier is I was just thinking “Ihanen’t seen any posts from that guy up in the Okanagan lately”. I also would like to see some hints and tips on casting.
Do do Do do Do do do DO!
Hi There;
I have been around --got a bad disc in my back that is pinching a nerve-- can’t sit too long. Here are some pics I posted the other day in case you missed them. Thanx for thinking of me.
Tom
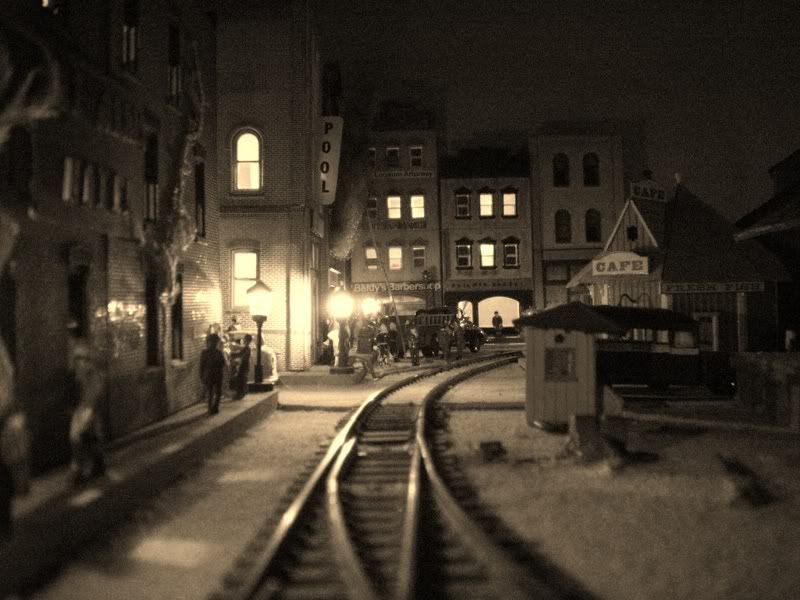
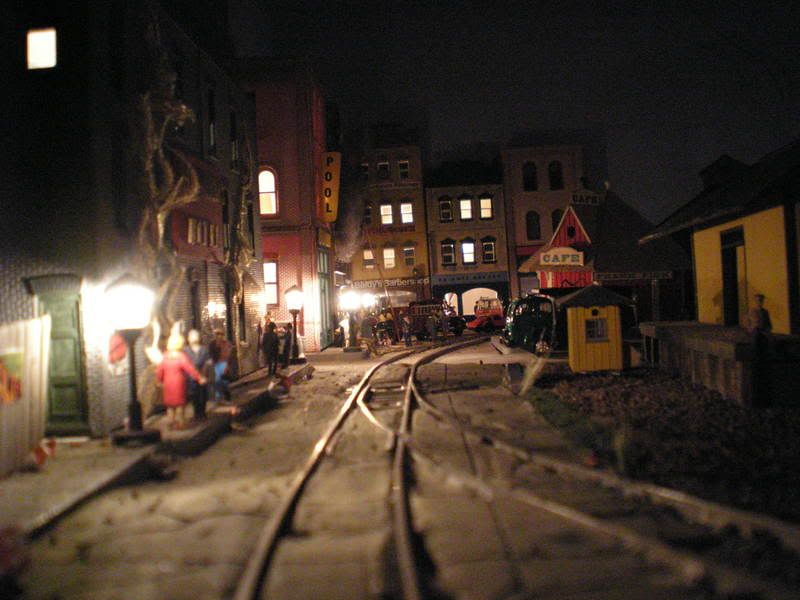
Nice pics tommyr ,are those from your home layout or the Sicamouse??
ukguy, are those castings solid or do you have a way to make them hollow??
Hi There;
Thanx. Home.
Tom
Something for you to peruse Tom while I work on this project.
http://www.intergate.com/~acoates149/Autos.html
Regards
Karl.
Day One.
Most of day one is self explanitory from the pictures so I wont ramble needlessly. [:D] I’ll just add a few descriptive captions.
Select a vehicle of choice.


I use two methods for casting vehicles, dependant on the vehicle, either as a whole unit or disassembled, I will do this one the more laborious way for descriptive and demonstrative purposes, you will be able to tell by looking at the vehicle whether these steps are required or can be skipped.


Once disassembled the vehicle needs to be filled (I use painters putty or kids modelling clay)so that it sits flat on your moulding surface (mine is an inverted plate as niether the putty or latex mould will stick to this permanently).
Fill the vehicles cavity(this is easily removed at the end) make sure to depress the putty into the wheel arches so that the cast wheels will fit into your model at the end. Over fill very slightly so when placed on the plate there is a little ooze out of the sides, trim this ‘ooze’ flush with an exacto.

Put a small amount of putty on the back of the wheels and press onto the plate, trim excess away again.

Once all excess is cleaned up the vehicle is now 'stuck to the plate and ready to start the latex

I use WS latex rubber, reasonably cheap and very effective, apply several very thin layers with a soft 1/2" brush, make sure to get the latex into all the small details and up under the wheel arches. Also make sure to let each layer dry thoroug
Hi There;
Thanx Karl for the link for detailing LL cars. I have bookmarked it.
Am looking forward to next part of tutorial on casting. Thanx so much for all your trouble. Much appreciated.
Tom
YW Tom , I need some more autos anyway.
Can you do me a favour and edit the title of this thread to something more descriptive of its content? thanks
Karl
Hi There;
Done.
Tom
Day Two Update
Cut a piece of cheese cloth big enough to cover your project, put some latex on the object then lay the cheese cloth on top , with more latex on your bruch push the cheese cloth tight to the vehicle and cover with latex, (the more latex you put on the longer it takes to cure, its better to do several thinner layers than to try and do one very thick one covering completely, this will take days to dry, and I for one am not that patient.)


As I am not very patient(see above) I tried to think of a way to speed up the drying time between layers… a quick zap in the microwave (its a plastic model) for 10 seconds restulted with the latex bubbling off and causing me to start over from the begining[banghead]
I used a hairdryer next set on warm so as not to repeat the previous disaster(or melt the model) it worked but wasnt a great improvement. Several layers later a light bulb went off over my head and this is what followed.
No, not a cup of coffee, a cup of water heated in the microwave for 2 mins.

Place the plate over the top of the cup of HOT water, the heat will warm and dry the latex in 5 to 20 mins depending on thickness. (it took me 7 days the first time around to wait for layers to dry naturally which is why I havent done much mould making since…(did I mention I wasnt very patient)

Thanks to this greatly improved and speeded up method I have completed all the latx work, the final layer is almost dry and it now looks like this…


Once this is dry I can remove the vehicle and mould from the plate, remove the vehicle fro
Man, sure is a LOT of coincidences in this post … this is exactly how I’ve been casting vehicles for years !!! I don’t mean to hi-jack the thread, but I thought I’d share mine as well.
Here is a completed mold, casting right from the mold, and a cleaned and painted casting …

You can crank out lots of vehicles for peanuts !!! Here’s some yet to be finished trucks …

Mark.
Wow those look superb Mark, excellent shots, the big trucks look fantastic. I’m just starting out on this myself so I’m still doing alot of experimenting. What kind of resin do you use, and where do you get it from, the ones I have done are either plaster or Durhams water putty, I would like to try using resin, any different procedure for using resin rather than plaster/durhams.
Chip in with any advice you can offer, much appreciated.
Karl
Great work. Let me add my 2cents,have you seen this site.
http://alumilite.com/index.php?page=how
Here is a project I am working on
http://new.photos.yahoo.com/shortyo1957/album/576460762378094827
Great thread guys!! Edo1039,Thanks for the alumilite link. Karl, good thinkin on the mold making process. The best thing about it is the price of the materials. That method has got to bring the price down to just pennies per unit. Now you’ve got to start modeling your own originals from clay or maybe modeling wax. OH the possibilities!!!
Really great thread, I’ve thought about using this kind of technique for casting my own parts for a PFE ice platforms. I’m in N scale and need 4 platforms of 5 foot length (Ogden icing facility). However, I’m not sure if it would be time or cost effective verses styrene construction.
Thanks for the detailed description.
Karl ( and the rest ) - my first recommendation is DO NOT USE CASTING OR AUTOMOTIVE RESINS with the latex molds. For some reason, either the resin or harder reacts with the latex and will not cure properly leaving you with a somewhat hardened casting all covered in a sticky, messy outer layer that refuses to set. This gooey mess also gets left behind in the mold and it is almost impossible to clean it out. Ultimately, what I found worked the best for me was Envirotex-Lite … the same stuff we all make our lakes and rivers out of.
Mark.