My thanks to both Mikec6201 and mikelhh for your kind comments. [:D]
Mikelhh, not only does your water look great, but you’ve really nailed the colours, and I’m not referring to only those of the water. The rock fill, the streamside mud, and the vegetation on the embankment is right on the money. I swear as a kid I’ve waded in that stream in your fourth photo - the green shale in the silt on the bottom of the pool in the lower-mid foreground is very representative of streams around this area. You’ve also done a superb job on blending the scenes into the backdrops.
As for your fifth photo, I’m still not sure that it’s not real. Your work is very reminiscent of some which I’ve seen in either MR or RMC, although the name of the author eludes me. Have your photos been featured in either of those magazines? If not, they should be - very nicely rendered scenes. [bow]
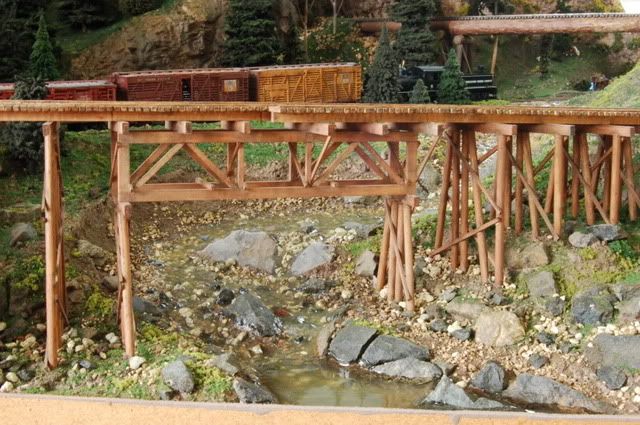
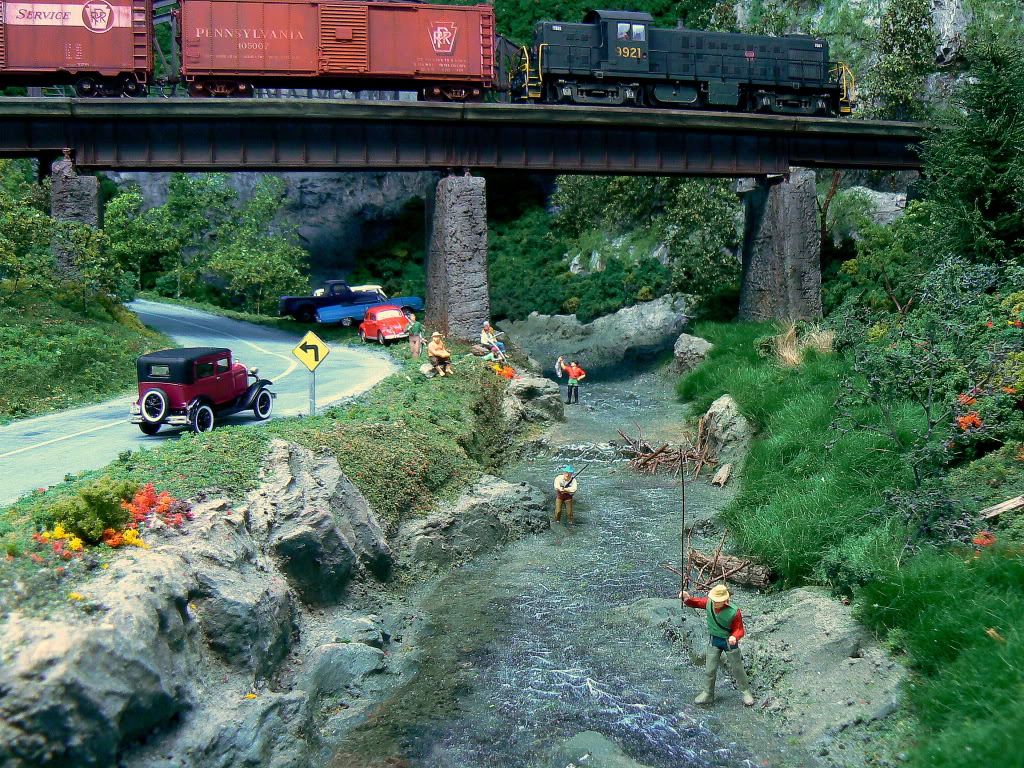
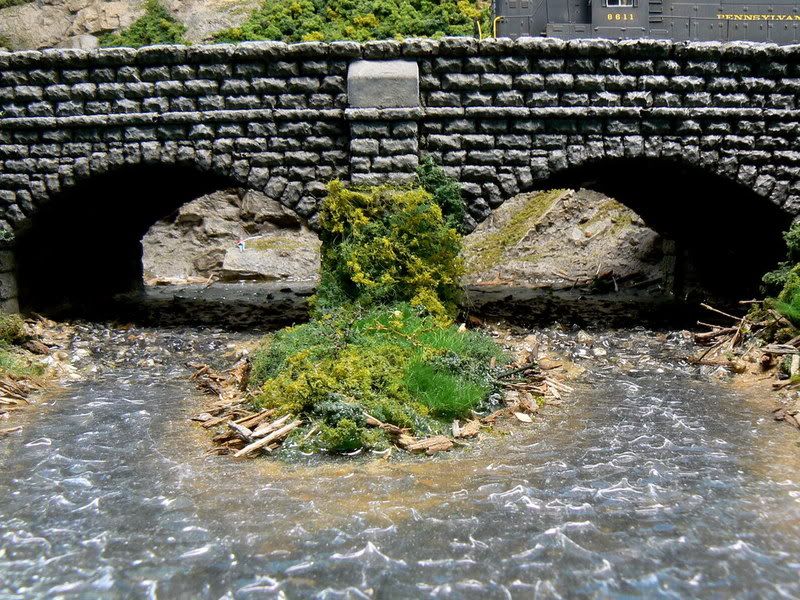
Riverbed sceniced with sand, small talus and rock castings (all glued down with dilute matte medium). India ink diluted with alcohol brused in and used to color sand in bottom of riverbed to make the illusion of depth and variation in depth. Water simulated with a single, 1/8 inclh layer of Envirotex. Ripples added with a small brush and some clear gloss medium. Eddies around rocks made with gloss medium paste, dry-brushed with white acrylic latex.
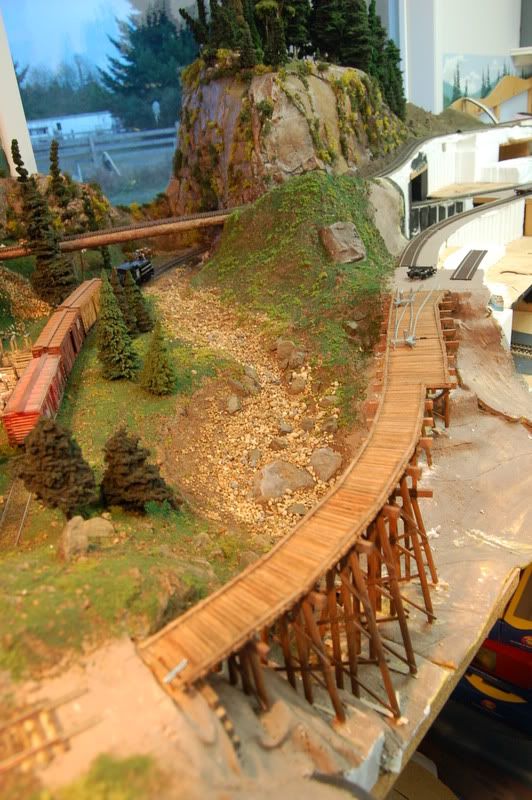
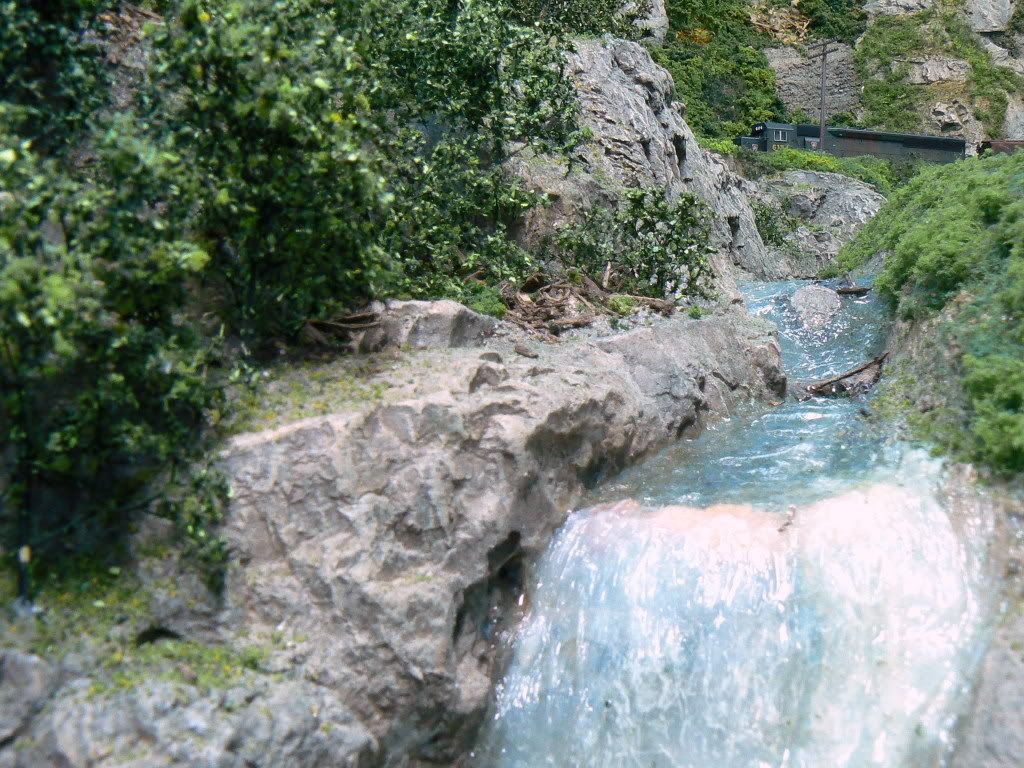
This is what it looks like now that I’ve removed the rocks and added an additional layer. I also added a drop off for a little water effects right under the bridge.
Did a search on rivers and saw your reply. Pictures look great. Want to use your method as I have foam on plywood, i.e.:
Coat plywood with Durabond 90 (already have material).
Apply latex paint(black/purple feathered to a green-to-sandy color at the edges).
Coat with the gloss polyurethane(add water effects).
Question:
How thick a layer of Durabond was applied in your method… Used a drywall knife on a test piece which resulted in a thin layer. Was thinking of applying 1/16" and sanding smooth.
Note- Five years into my retirement hobby. Every task was/is a major information gathering effort.
The Durabond in the two rivers shown is probably 1/8" thick at most, while that in the Lake Erie scene is over 1" - the hardshell scenery there was quite a bit lower than track level and I hadn’t originally planned for it to be a water scene. The Durabond can be applied in just about any thickness without fear of cracking, although the base material needs to be strong - if it flexes or deforms under excess weight (such as if you leaned over the layout whilst supporting yourself on the “water”) I’d guess that it would crack. Durabond dries extremely hard and is very difficult to sand (there’s a notation regarding this on the bag). If you want a totally smooth surface, you may have skill enough to accomplish it with a drywall knife. You could also make a very watery mix, and allow it to self-level. I’d try a test run first, though - you want it to not only level, but to also set-up hard. I do know that there’s quite a bit of leeway in the Durabond/water ratios, but a test or two should point out the limits.
If you want a perfectly smooth water surface, you might have better results using an already-smooth surface such as Masonite, drywall, or paint-grade plywood. Paint on your selection of “water” colours, then coat with the clear finish. You could also use the same technique but finish with a pour of any of the commercially-available “water” products: after all, much of the finished appearance is an illusion created with colour.
I started with a waterfall that drizzles into pond, which overflows across the tracks into the main pond. This water overflows and runs down the stream. I used ground goop and placed my rocks into the stream bed.
When it dried poured Woodland Scenics Realistic Water, being careful to be only 1/8 " deep. I gave it a week to dry. My last 2 bottles had a different formula that was dry the next day. I used green/blue in the beginning for the pond, but discontinued that. With the ground goop, there was enough color.
When the pond overflowed, it started running down the stream bed over the rocks and eventually ran off the layout. I then installed the fascia which formed the lake at the bottom. I did all the pours from the pond so it took a while to reach the bottom.
Thanks, Charlie. I didn’t notice any darkening of the paint when the urethane was applied, although it’s a milky white at first, then clears as it dries. I haven’t noticed any yellowing either, and the water has been in place for several years. I have a friend that visits often, mainly to shoot photos of his brass locos, and we often set the camera either directly on the water or on blocks of scrap wood which are sitting atop the water (like floatin’, eh? [swg] ) No visible scratching of the surface and no damage to any of the raise Durabond “waves”.
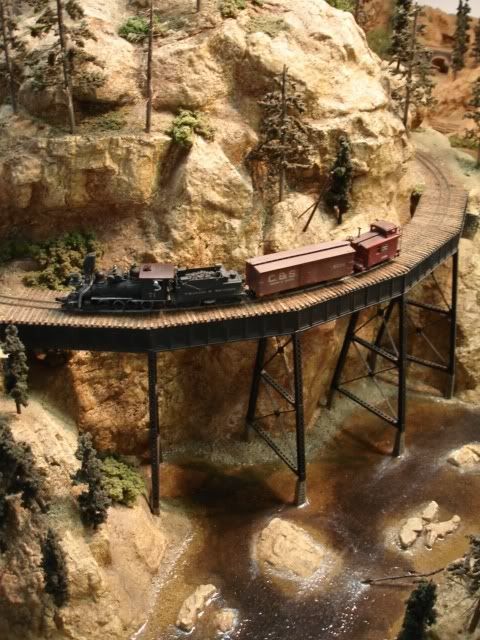
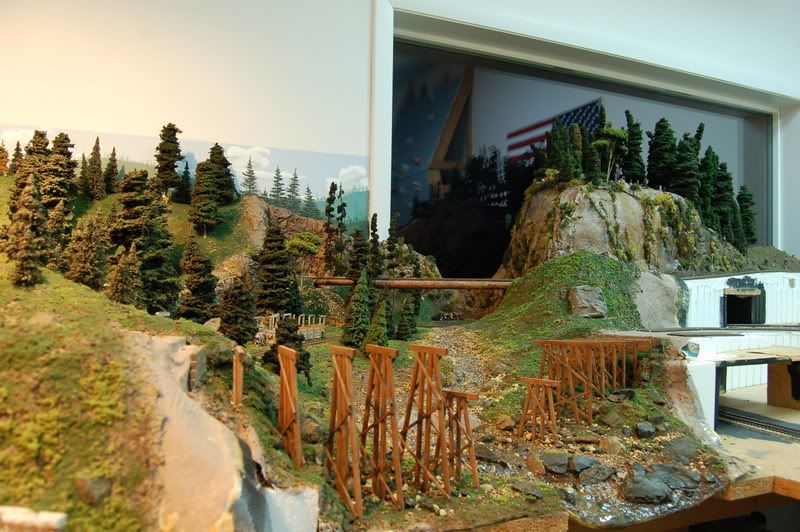
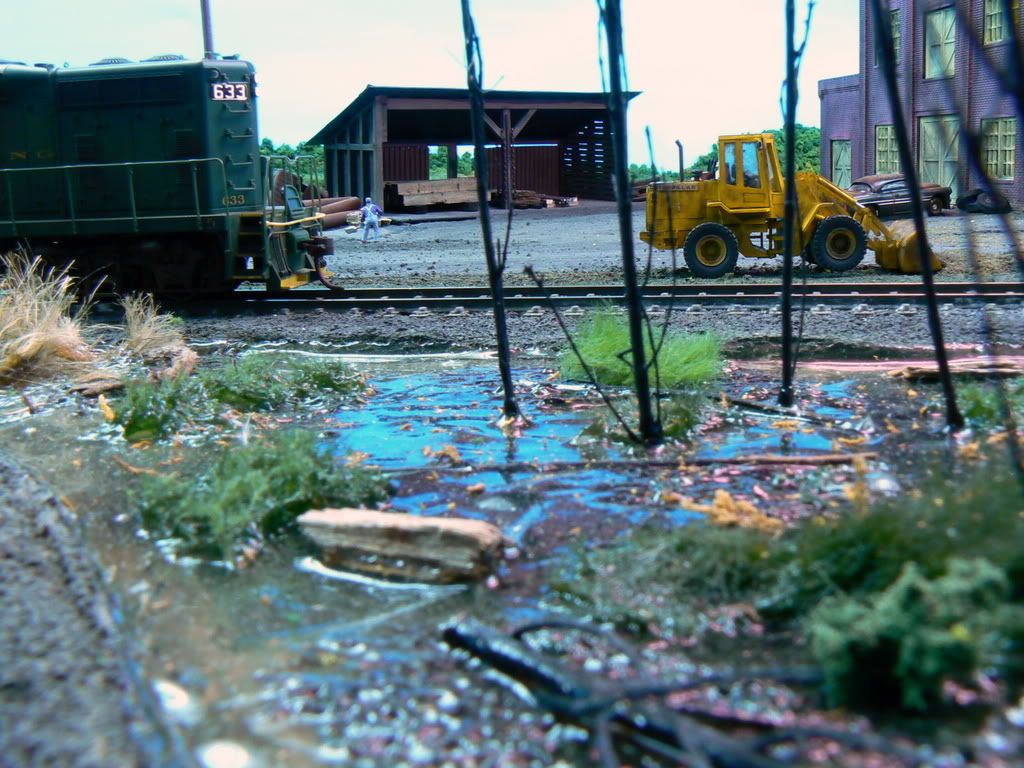
Here’s a couple of views also taken from the river, but on the opposite side of the tracks from that of the photo above:
For water in both my HO layout scenes and 1/35th armor dioramas I stumbled onto the “Minwax” brand wood sealer known as Polycrylic, sold in most paint and finish departmants of hardware, etc.
This product comes in a blue can with the above labeling and is about $15-20 for a quart and is worth the money. I poured it over colored sealing caulk as well as sand for great water effects. It dries clear after about 12-24hrs depending on the number of layers you pour it in. The deepening effect looks great when poured straight onto dirt or sand for a shallow river but could be done in more layers. It cleans up with water, which is great, mixes with acrylic craft paints (all I ever use) and goesover acylic caulk when dry. Another technique which I’m experimenting with is using all acrylic caulk, blended with earth tone colors and thinned with water to form a thinned paste that I brush onto all my scenery, as this dries I randomly sprinkle on the scenery material and if I want the wet look, i.e. puddles, etc. I pour on the wood sealer to make wet spots. This is great on snow and ice patches as well to add to the cold icy conditions in my WW2 Winter dioramas.
Try this stuff, you might even use it on a wood project, hey that’s what it was made for!
What strikes me about many of the photos are the colors of the water. Some are deep, dark blue, while others look very muddy. I am also in the process of building two small lakes and a stream but haven’t colored anything yet. Dave Frary suggests that the color should be black with earth colors feathered in the edges - which, to my eye, is too dark. As I have taken pictures, the surface of the water either reflects the sky resulting is the deep blue, or the water itself looks dark brown because of the tannin in it, or it looks muddy. I haven’t seen much really black water and the pictures here bear that out for me.