Someone must have put a hex on you… You shouldn’t experience any significant warpage unless you unnecessarily soak the wood. As previous posts commented, adding interior bracing can minimize it, although many lazer kits I’ve met already provide it. Next time, use paint from spray cans. It isn’t hard to oversoak the wood with them as long as you don’t put the sprayer too close… To me, lazer kits are a “God send.”
For any and all model work, you can’t go wrong buying a set of 1-2-3 machinist blocks. These are just steel blocks that measure 1" x 2" x 3" and have high tolerances used for setting up end mills, drill presses, etc. A good set can run several hundred bucks but there are guys selling on Ebay in the $20-30 range. These are not NIST gauge block tracable but are probably home made on good milling equipment. Their accuracy is somewhat less than the comercial versions but for our model work, they do just fine. Do you really need those walls to be 10,000/inch perfect? Great for building up loco body shells and Canon thinwall cab kits as well.
This is something I am doing with the local NMRA division. Basically it was decided to do a group project, as a series of clinics, the members decided on a model, ordered a box of them, and get together once a month to assemble it. Several members who have a lot of experience assembling laser cut kits lead the session. The first session was about distressing the wood, and painting. We had homework too: the floor was to be glued together before the session, and the painting is supposed to be finished by the next session in late November. The plan is to have the kit finished in time for the regional convention next year. Was this successful? Well, about 40 people showed up. Some were new members, others were people who don’t often come out. Very successful. More info here: http://www3.sympatico.ca/gd.knowles/laser_kit/laser_kit.htm
I think your problem might be the sequence of assembly steps. When I built my enginehouse kit earlier this year I used actual wood stain on the interior surfaces. I did have some issue with warping, especially on the peaks of the end walls. But it resolved itself when I applied the interior bracing and placed weight on them while they dried. Once the model was assembled I painted the exterior with acrylic paint and had no isues at all.
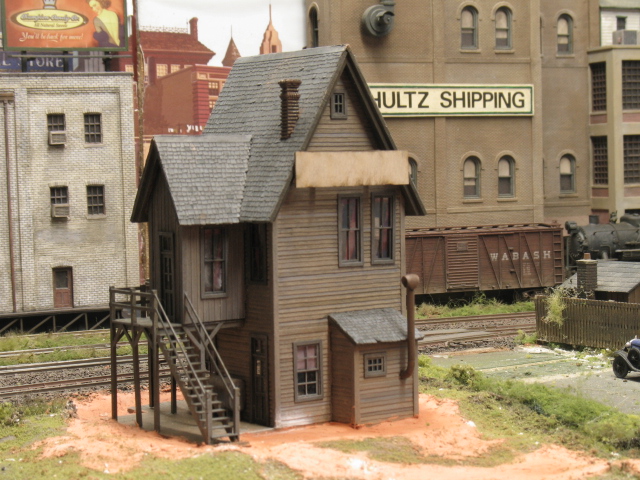
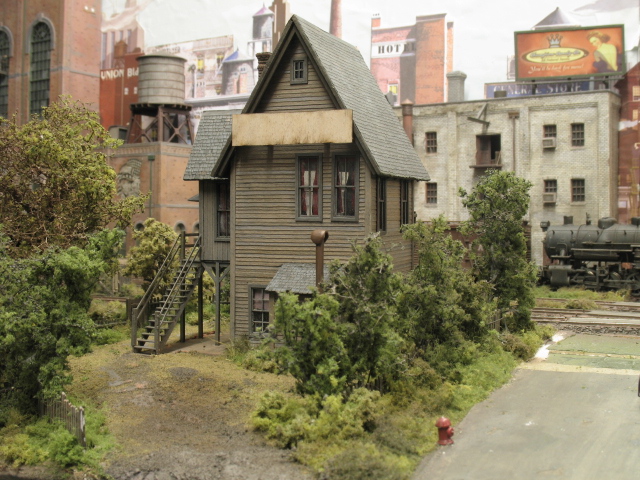
I only have the one laser cut wood building on the layout - from Bar Mills - but I thoroughly enjoyed making it and would have more if there was room on the layout (and if I had the money)
I like them a lot and I’ve built a lot of them. I don’t think there is a current manufactuer who is not represented on my layout.
I believe that the best way to represent a building made of wood is to build one from a kit made from wood. This is not to say though that some plastic and resin kits - Tom Yorke’s resin kits, for example, can’t be finished in such away as to convince almost anybody that when stained correctly they can reproduce a wood effect that defy’s belief.
Initially I did find warping a problem - bad warping caused by painting and applying water based stain before assembly. So now, I glue bracing everywhere and the problem is gone.
To build confidance, might I suggest a couple of the small structure starter kits by Bar Mills and Blairline - these offer the new builder all of the techniques required to sucessfuly build almost any wood kit while still offering an oportunity to develope these on a much smaller scale/size. They are inexpensive also which can not be said for most wood kits because many of these are multi-structures offered in a box of wood and casting designed to produce a diorama within the context of a larger model or layout.
Also, and here was the big plus for me, wood kits offer instructions that are almost an epic in their detail - offering all kinds of relevant tips and suggestions - they’re very comprehensive.