I am building a Details Associate Roundhouse and it came with Campbell’s shingles. The picture of the roof, is deceiving, and taking my own pictures did not help. It looks like a simple trapezoid.
It is not, nor is it a gentle curve. Each roof above each stall is a trapezoid in a separate plane from the next roof segment.
A strip of shingles cannot simply curve around, they have to change angles at every section (3) of roof.
My instinct is to start on the middle section, hard to explain why, but I think it might be easier to get the angle where they meet to look right. Is that right or should I start on the end and work my way right to left?
I’ve never done a round house roof, but pictures I’ve seen on a search, show each section, handled as a seperate roof, with a typical roof “valley” between each section. The back side would be a typical roof “ridge”.
I wouldn’t think it would matter where you started.
I’ve been using Campbell shingles for over 40 years and they are curveable. I don’t use straight water to wet the shingle strips, I use Arleen’s Wood Glue as the adhesive. Be extra carful and don’t get any glue on the surface of the shingles if you are planning to stain them, the glue won’t take the stain. Don’t saturate the shingles or the card stock because it can take 24 hours to dry and it will warp.
There isn’t a better scale shingle roof than a Campbell shake roof.
Mel
Modeling the early to mid 1950s SP in HO scale since 1951
Mike’s suggestion to use valleys between segments is prototypical, and solves the problem of the angles created by the shape of the roof segments.
I’d do the middle section first, since it’s the only one where each course will need to be pre-cut to length. The outer sections can be cut a little longer than needed, then trimmed after all shingles are in place.
I used Campbell shingles on several structures, but since all of them were styrene, didn’t use the pre-gummed feature. Instead, I cut all of the slightly oversize strips needed for the entire roof, then brushed-on gelled contact cement, being very careful to keep the strips from coming in contact with one another.
The roof was then given a quick brushed-on coating of lacquer thinner to “prep” the styrene (this keeps the styrene from drawing too much solvent out of the contact cement, and allows the brushed-on cement to go on much more smoothly). After the contact cement had dried for the specified time, it was quick and easy work to add the shingles. After all were in place, I used a sharp blade to trim-off the excess at the gable ends…
It’s been so long since I stopped using the stickum on the back of the shingle strip that I can’t remember why I do it that way. I do know it works great for me. I have used the Campbell shingles on styrene and that works good too.
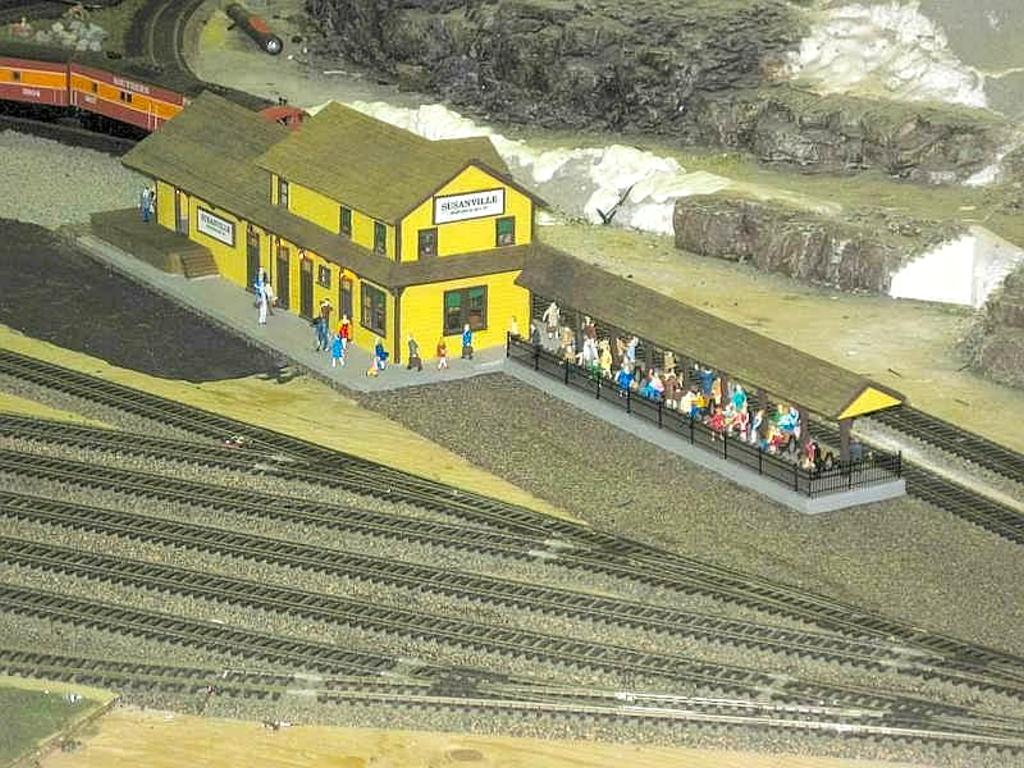
I bought a couple of Walthers Plastic Passenger platforms and used the Campbell shingles to match my 20 year old station.
Mel
Modeling the early to mid 1950s SP in HO scale since 1951
i no longer use the campbell shingles but when i did i used krylon spray adhesive ,a word of caution upon moving over to styreen from wood i found it would some times warp the roof. i now use B.E.S.T. shingles.
Campbell shingles are great. I use plain white glue and never had a problem with alcohol stains for finishing. You can curve the Campbell shingles. For the top ridge I use strip wood, just looks better to me than laying on single shingles as they end up being too thick.
In the real world, using roll shingles as you are doing, you would weave them, overlapping first one side then the other.
Here, I would lay the first row along the bottom of the center running a little long on both sides. Then do the outsides running long over the valley. Now complete both side sections before coming back to the center. Then I would lay the center section. Now when you cut the angles, there will be no gap, and no tell-tale modelers cut line.
The roof got delayed because of the roundhouse track work, which was delayed because of turntable electrical issues, which…
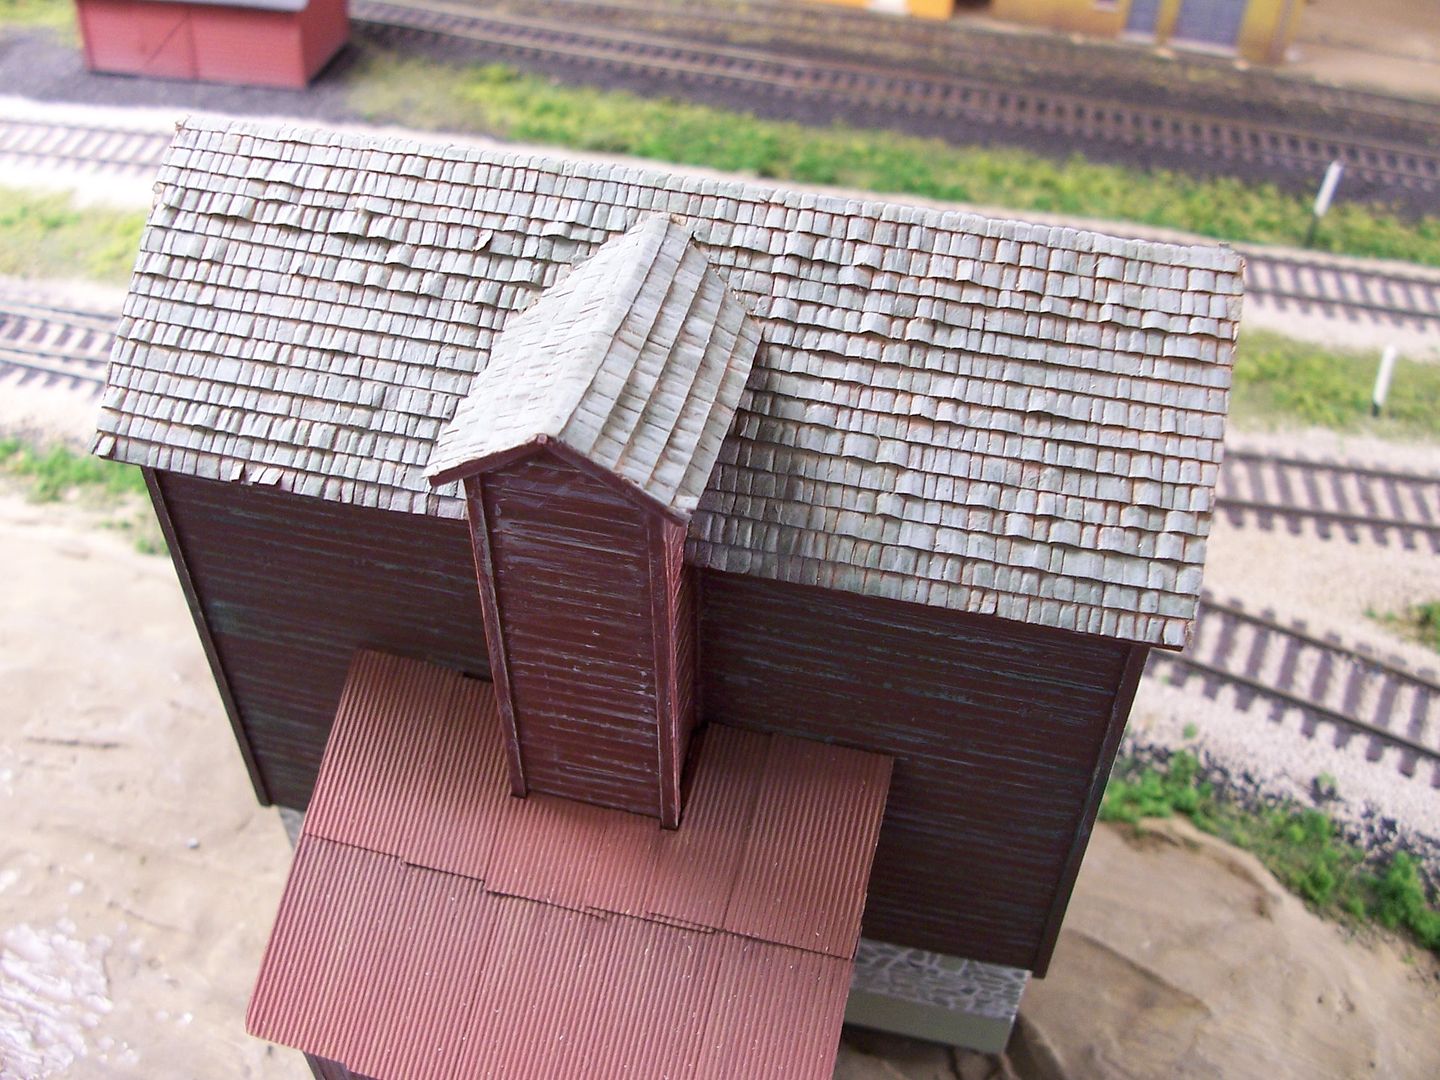
I brought the chimneys upstairs, still in their package, so I could cut them off the sprues and paint them a flat black and they disappeared off the kitchen table.
Until they turn up there is still plenty of roof to do. A pair of straight iris scissors and curved tweezers are invaluable.
The shingles are curved, because of the cuts in one end to make the shingles, that edge is longer than the uncut edge. As soon as you start laying a strip down, the end wants to go up. I takes a little practice to deal with that.
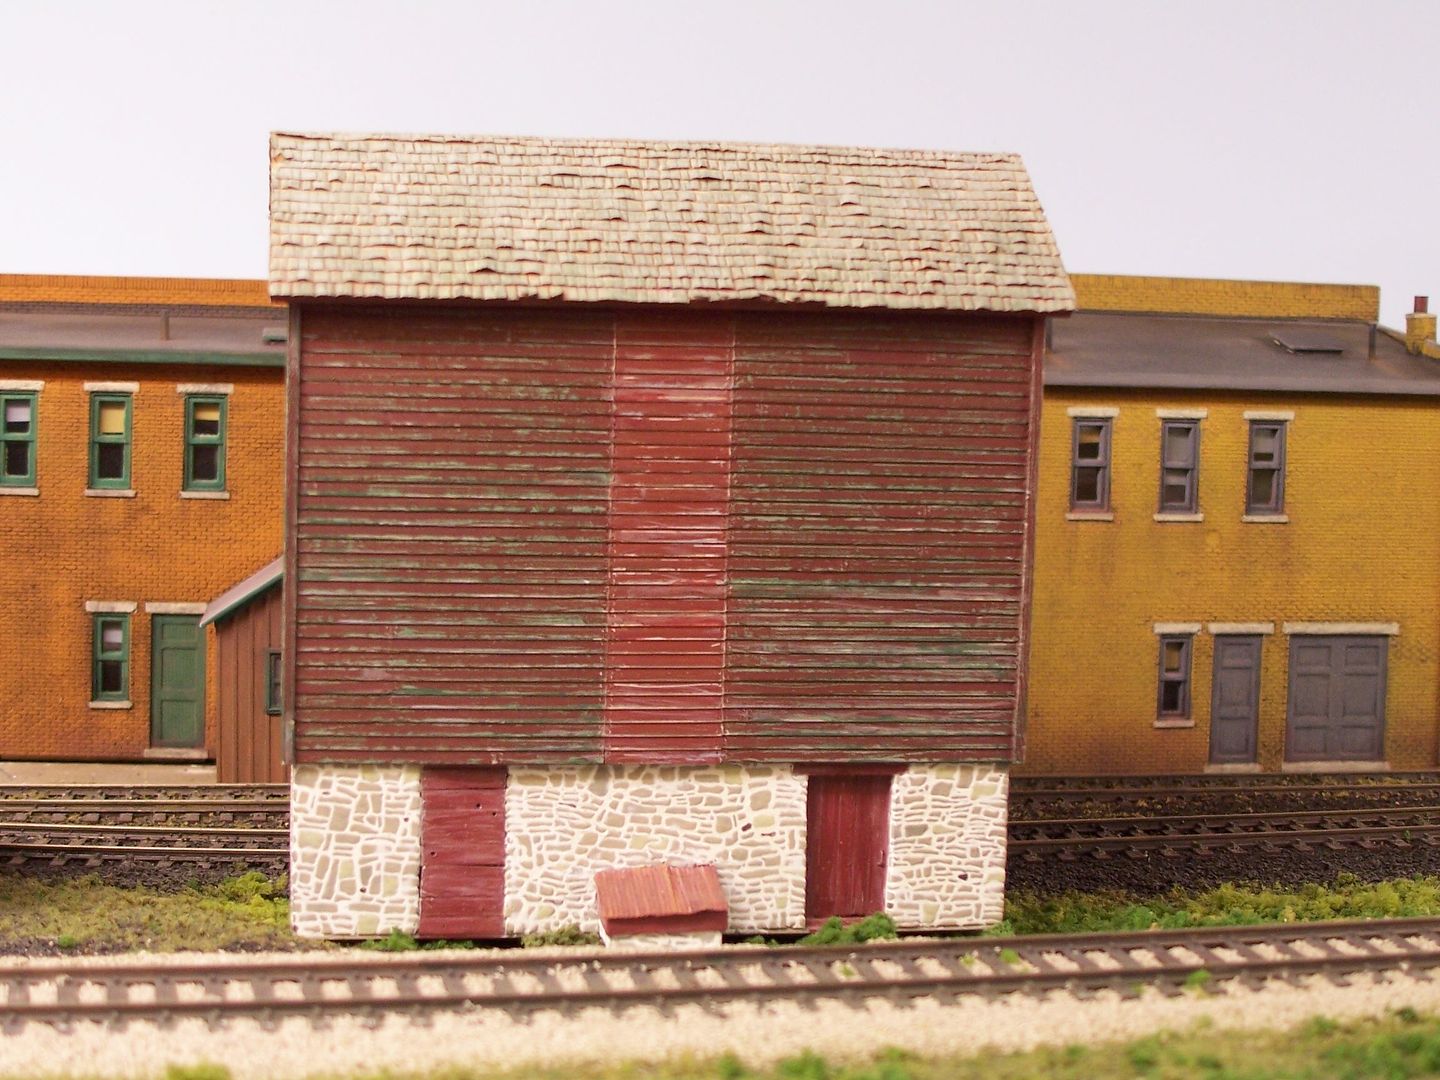
Wayne how did you do the top ridge? This is Wayne’s building from earlier in this thread, not mine.
Since I couldn’t remember, I took a closer look and discovered it to be not very prototypically correct. [:$]
As near as I can tell, it looks as if I likely cut a full-length strip of shingle material, then coated the entire back of it with the gelled contact cement, also coating the ridge area in the same manner.
Once the cement had dried for the appropriate amount of time, I used a sharp blade to remove the plain, non-shingle area of the strip, leaving the individual shingles more-or-less held together by the contact cement.
I don’t recall how I managed to apply them as accurately as they appear, with half of the shingles’ length on one side of the ridge and the other half folded-over onto the other side, but here’s a close-up view of the ridge, taken a few minutes ago, showing the unprototypical job, which hopefully won’t be so noticeable once the structure is in-place on the layout…
(For shingling the main areas of the roof, the contact cement was applied only to the styrene roof and to the entire back-side of the shingle strips - no cement was applied to the exposed portion of the shingle strips that would be covered by the application of subsequent strips - in other words, the shingles on the roof’s surface are cemented only to the roof, not to the portion of the strips over which they’re applied.)
Thanks Wayne, somehow contact cement isn’t on my go to list.
I don’t live in an area where we have these kind of roofs so I’m not sure what prototypical really looks like, but your looks good enough to view from 3’ away.
Anyone else have any ideas about the ridge cap?
My chimneys turned up, they were in a pill bottle so easily lost among other pill bottles that contain KD coupler springs and, of all things, pills.
I believe the Campbell shingles are made from the same type material as standard brown 2” packing tape. I make my roof caps from 2” brown tape, I cut it on my workbench cutting mat using a ruler as a straight edge and a sharp #11 blade. For my HO structures I cut it 3/16” wide and fold it down the middle. It’s easier to fold it after moistening them. I use Aleene’s Wood Glue to glue the shingles on the roof.
After the shingles have totally dried I use a small hobby wire brush to score the shingles with a downward motion. That puts a natural grain in the shingles and helps them to accept a stain.
I have read, in the past, that on shake roofs, the shakes butted together, from alternating sides, at the roof peak, but just recently read that a ridge cap, consisting of cedar boards, is preferable for cedar shingles.
I can’t see any reason why it wouldn’t work with shakes, too, as long as the boards are thick enough.
On a regular asphalt shingle roof, using 3-tab shingles, the usual practice is to cut the shingle to separate the three tabs, then lay each crossways on the ridge, bending half onto each side of the roof, and partially overlapping it with the next one - sorta like I did with the faux cedar shingles on my model.
That’s fine for valley’s but Henry is asking about the ridge, and Wayne’s explanation is great.
And his explanantion on how a ridge is done with 3 tabs, conventional or textured, is right on.
Maybe for modeling the shake ridge, you could cut two shingles from the sheet, and fold them in half, length wise, saddle them over the roof peak, and continue, leaving a reveal on each set of shingles as you go.
There must be somebody reading this thread who hasn’t seen the Campbells shingles product. This is a metric ruler, the cut part of the shingles are only 2.5mm.
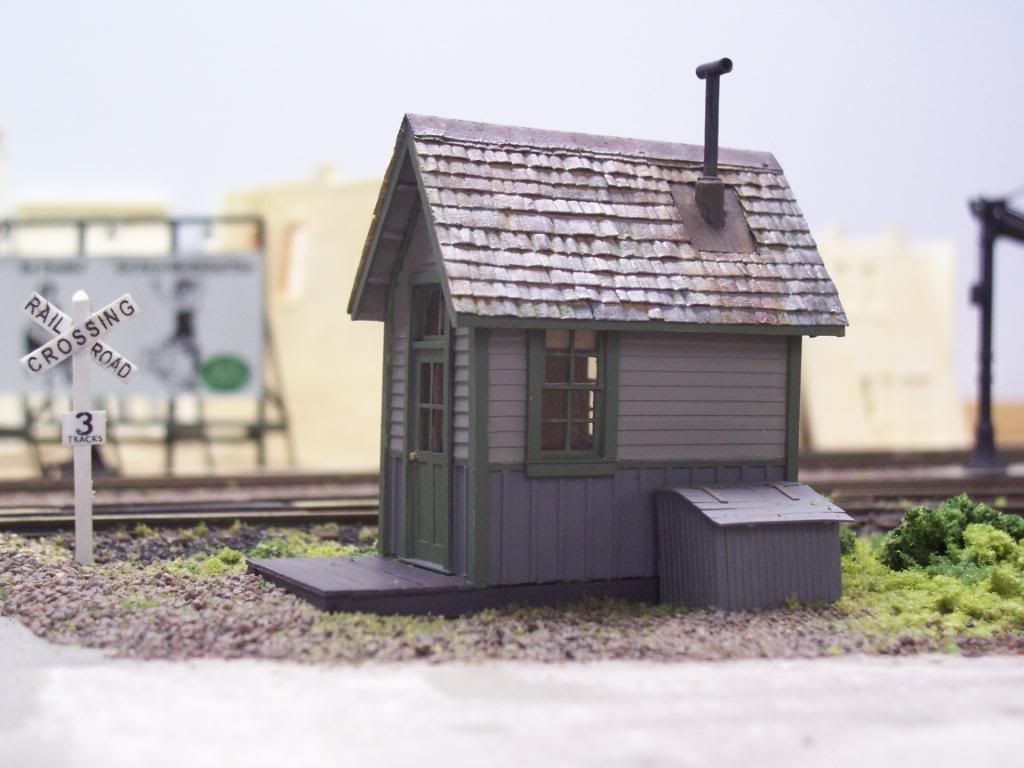
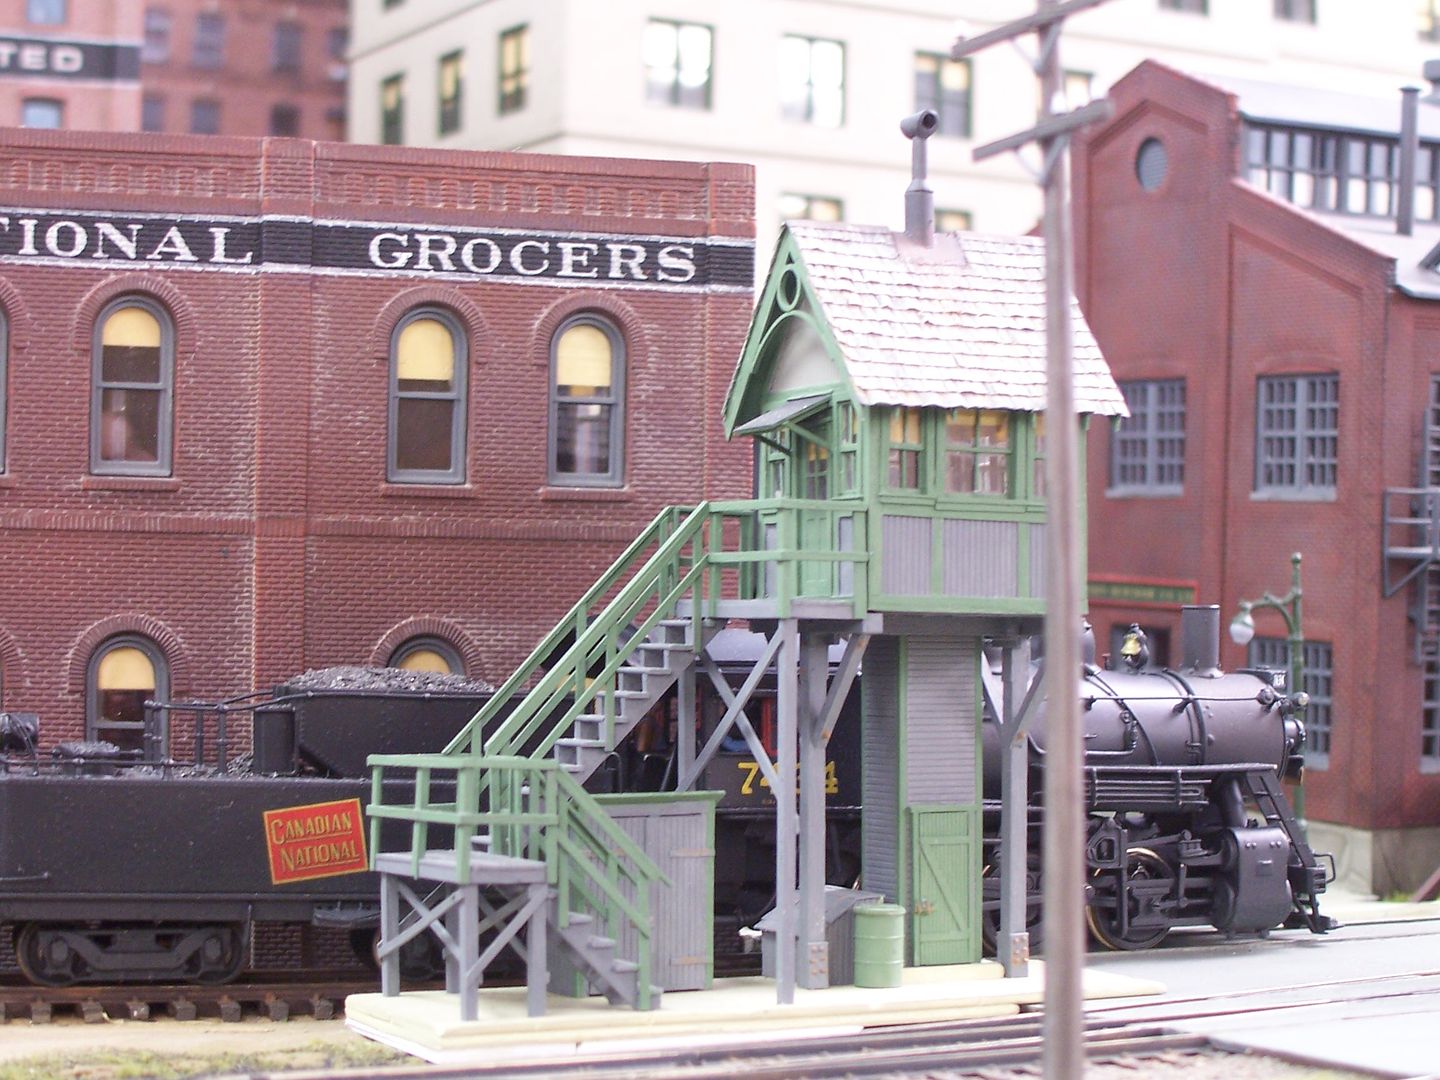
For my crossing watchman’s shanties, I used a “metal” (paper) ridge-cap, and didn’t worry about how a real one would have been installed without the use of visible nails…
My hope is that viewers find them interesting enough that they don’t bother questioning the particulars of prototypical construction. [:-^]