Layout Lighting for a new layout space in the basement - suggestions wanted (pictures on page 3)

OK, the lighting arrived; here’s what I’ve done.

I installed four 4 ft. tracks for track lighting thusly:

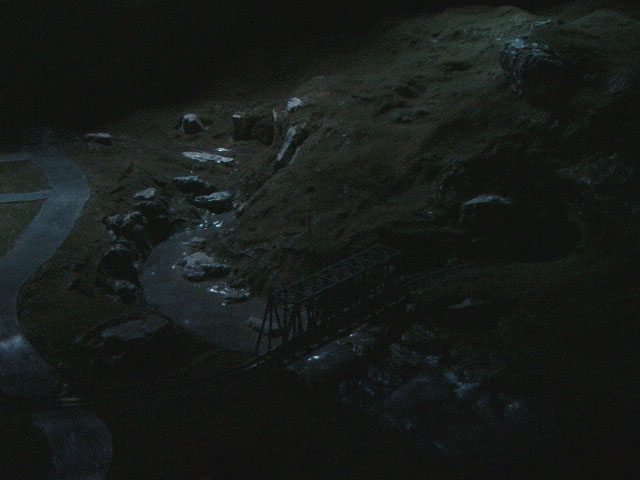
  1. One track, a few inches from the back wall, is for blue lights. There are two fixtures on this track, but it needs a third. This is for fill-lighting and general night lighting.

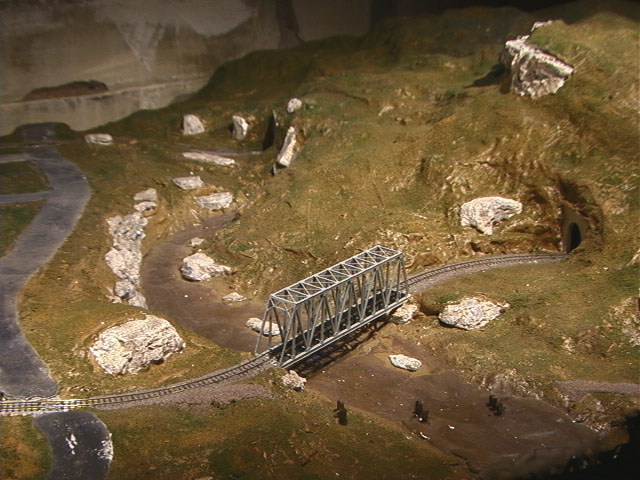
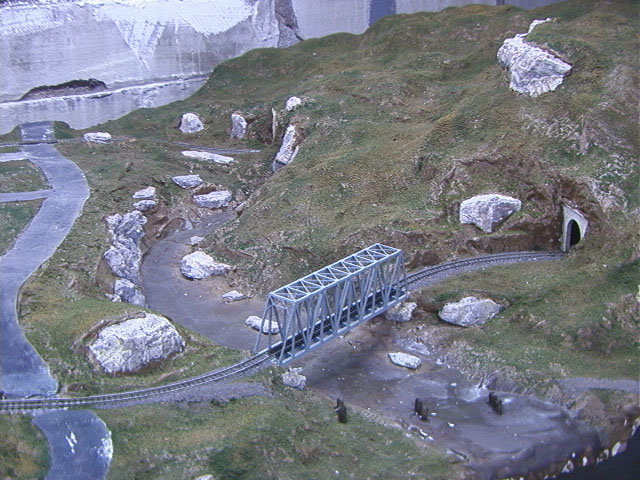
  2. Another track about four feet from the back wall, for white light. There are four fixtures on this track. This is daylight.

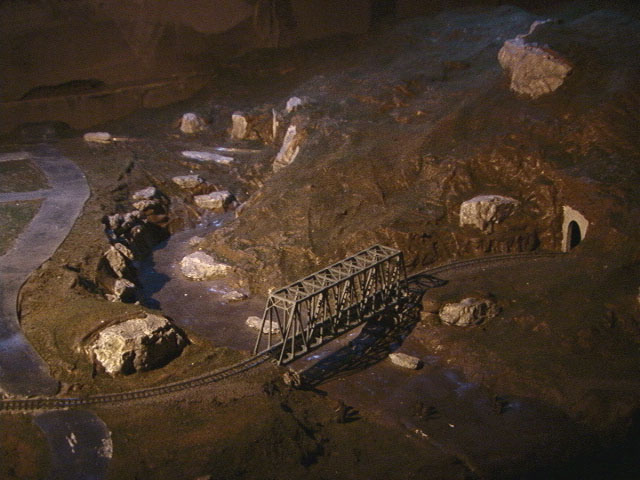
  3. One track, about six inches closer to the back wall than the white light track, is shift two feet to the left. There is a single, yellow light at the extreme left end of the track. This is for western light.

  4. A second track, similar to #3 but shifted two feet to the right, with a single fixture at the extreme right end of thr track. This is another yellow light. This is for eastern light.

All tracks are line-voltage. All fixtures have integral transformers to drive low-voltage lamps. All fixtures have a tilt-swivel adjustment so you can point the lamp in practically any direction you need. All fixtures have barn doors for masking the light off unwanted areas.

All lamps are low-voltage, 50 watt MR16 halogens with a flood beam spread. The colored lamps use dichroic filters. (Dichroic filters are glass, and reflect unwanted colors instead of absorbing them as transparent plastic filters or theatrical gel colors do; this makes them last longer.) I had purchased two red lamps, but the results were hellish. Maybe I’ll save them for Halloween.

Each track is controlled by a Smarthome SwitchLinc dimmer switch that can handle up to 600W of power. (This means I could have up to ten lamps controlled by a given switch, with room to spare…always a good idea to prevent overheating or otherwise overloading the switch.) The dimmers are X10 devices, but even without X10 programming, you have eight levels of lighting in addition to off. I’ve set the switches to change level over five seconds.

I have a Key

I’ve got the lighting installed, and I’m fine-tuning the control. Here’s what I’ve learned so far:

First, I didn’t need to get colored lamps. The dichroic filters are nice, but in the case of yellow, there’s color variation. I’ve stopped by the local magic and costume shop and picked up some Roscolux filters (*** Amber and No-Color Blue) to use for the sunrise/sunset lighting and shadow fill/night lighting. I plan to tape the filters to the barndoors. We’ll see if it works.

Second, I made a mistake on placing my breakers, which prevented me from programming all my X10 devices. When I realized the problem and changed the breaker panel configuration, everything was fine.

Third, I learned of a limitation on programmatic control of an X10 dimmer switch. You can configure a dimmer switch so that it has a ramp time for going from full brightness to off and vice versa. I set this time to be about 5 seconds, thinking that a level change would be well-concealed by the ramp time. It turns out that the ramp time is ignored when you are sending a command to set the dimmer to a specific level (like 30%). It only works for on or off.

The workaround is to do the level changes in the program, but that may be more complicated; I’m looking into different ways of doing it.

As a test, though, the overall look is neat, even though you have these sudden level changes. And that’s using the original filtered lamps, not gelled instruments. When I get back from Christmas travel, I’ll take some pictures and maybe some video.

One thing I would have done differently, since I’m mounting tracks directly on the ceiling joists (this is the basement, so they are really floor joists for the first floor), is to use shorter tracks for anything at the ‘ends’ of a module, and angled them instead of putting blocks between the joists in order to keep things perpendicular. I’ll take photos of this arrangement too, to explain what I mean.

Think the editors of MR wou

Had Steve come over this weekend, and he was awed by the lighting changes in the basement. Remember, I went from occasional pull-chain lights to a bunch of fluorescents, with computer-controlled track-lighting for the layout.

Steve helped me reprogram the keypad (SmartHome KeypadLinc, 8-button version). I’d had problems where the signals sent by the KeypadLinc didn’t seem to make it to the Mac running the Indigo controlling software.

What I did was change the nature of the buttons from non-toggle to toggle. In non-toggle mode, the buttons are supposed to send the same command each time. In toggle mode, two different commands are sent, depending on whether the button is already ‘off’ or ‘on.’ I reprogrammed the buttons to act in toggle mode.

This way, they do send a signal that Indigo receives. It takes a bit for Indigo to process the command, apparently. When I hit the button to bring up the midnight lighting, it takes about four seconds for that to start ramping up.

Steve agreed with my opinion that the blue-filtered lamps were too blue, and the yellow-filtered lamps were too greenish-yellow. I showed him the gels I got, and we agree that they should look better.

My plan is to tape the gels to the barndoor frames with electrical tape. This way it won’t interfere with the barndoor operation. The barndoors friction-fit into the lighting instrument’s hood, but they doesn’t mean they don’t get loose. I tried using a small-point nail set to deepen the bumps in the barndoors, and that seemed to work.

I need to purchase some 50W 12V halogen lamps, though, since I don’t have enough to replace the colored lamps I have. For amusement, I showed Steve the red-filtered lamp, and Thomas (my 4-yr-old son) thoroughly enjoyed the look. He called it the “Volcano light,” since it is a saturated red. He wants me to use it more often.

The sequencing in demo mode by the computer isn’t bad, but the filter colors work against it. I’m going to cha

Finally! pictures of all this lighting stuff I was talking about.

Unfortunately, my wife has the digital camera, so I had to use the 640x480 progressive still mode on my DV camcorder. Eh. I tried to correct as little as possible, just putting the brightness up by 15 points in Photoshop so that Windows users wouldn’t see things as a dark mass.

OK, you’ll find the pictures in the http://www.hugart.net/layout/ directory. In order, they are:

lights-1-midnight.jpg - this is the blue “night” lighting at a very low level. The image is dark, but your eyes adjust when you are there. Just imagine this with some lighting from buildings, campfires, etc.

lights-2-dawn.jpg - Bump the blues up a touch and add in the single instrument way out to the right as dawn. Look at those shadows! Notice how it brings out the strata in the eroded bank of Dropkin creek!

lights-3-noon.jpg - Full daylight. The dawn light is off, the ungelled track lights are on full, and there’s only enough blue to fill in the shadows.

lights-4-dusk.jpg - The sun sets, sending gold rays into the valley. Notice how this is different from dawn.

lights-5-fluor-as-int.jpg - This is what the layout looks like under the fluorescent lights when the camcorder was using interior lighting mode.

lights-6-fluor-as-ext.jpg - Same view, only with the white balance set to exterior lighting, which is normally blue, so you get a warm cast, but it is the same fluorescent lighting.

I think I mentioned this before - the dimmer switches from Leviton, which naturally are MUCH more expensive than the X10 ones, allow starting at 0 and ramping up, to ANY level. The X10 ones, if you say “light to 50%” jump to 100% and then back down to 50%. All of course within the limits of the number of steps supported by the X10 protocol.

–Randy

The SmartHome switches don’t go to full brightness and then dim to the level you want; they properly transition from whatever level they are at to the level you set. The difficulty is the ramp rate: the time it takes to fade from one level to the next.

Wow!!

I am majorly inspired by the results. My layout has 14 fluorescent tubes but nothing else yet.

It looks like your layout is already built. As I am totally broke at the moment (I have just finished the benchwork and bought tonnes of track!!), could you add all these things after the layout is finished or is it definitely a no go?

Thanks again for showing the results.

Kathy

This layout is hardly built…what you see is paint and ground foam over plaster. There’s no trees or buildings.

Adding track lighting afterwards isn’t a problem as long as you can get into position. This layout is small, so I could just rotate it out of my way, walking it elsewhere, so I could get a step-ladder in to install the tracks and such. The worst-case for an installed layout would be something against the walls, then you couldn’t get any lighting in that area easily.

Gah, I’m looking at these pictures from work, where I have a PC, and the gamma is all wrong. Here’s how you can see these pictures in something like the original glory:

  1. Save a picture to your computer. (Right-click on it and do a Save Picture As…)

  2. Open the Microsoft Photo Editor application. Mine came with Office 2000.

  3. Open the picture from within Microsoft Photo Editor. (Double-clicking the .jpg file may open something else.)

  4. From the Image menu, select Balance… . The Balance window displays.

  5. Adjust the Gamma slider to change the value from 1 to 1.79. This is closer to the original image.