I really like the effects of the new Woodland Scenic Plug & Play automobiles, but since I already have over 160 HO scale automobiles, I find it really hard to justify paying $25-$30 each for new ones with lights.
How difficult is it to install LED lights in HO scale automobiles? Once they are installed, I assume I can plug them into the Woodland Scenics controllers to adjust for intensity and effects.
My friend installs LED’s in vehicles. They run on 9-12V DC only and I know the power output on the Woodland Scenics system is not the same. Best thing to do is buy a 9V DC filtered UL listed wall wart and you can run quite a number of vehicles on your railroad. Right now, I have 3 emergency vehicles that he lit up each with anywhere from 12-18 lights plus 2 PRR style signals with no power issues.
I find it much easier to use 1mm 1½ volt micro bulb for my HO vehicle headlights. To me they look much more realistic than LEDs, the micro bulbs have a small lens that focuses the light on the road like the real thing. They are also much easier to install, I simply drill a 1mm hole and glue the bulbs in leaving the real looking lens looking at the road.
I use DC to DC converters to power the hundred or so vehicles on my layout. I adjust the voltage to 1.38 volts for longer bulb life. Operating the micro bulbs at reduced voltage greatly increases their life. I’ve only lost two micro bulbs in almost ten years.
I use a third micro bulb for taillights and running lights using .03” fiber optic cable.
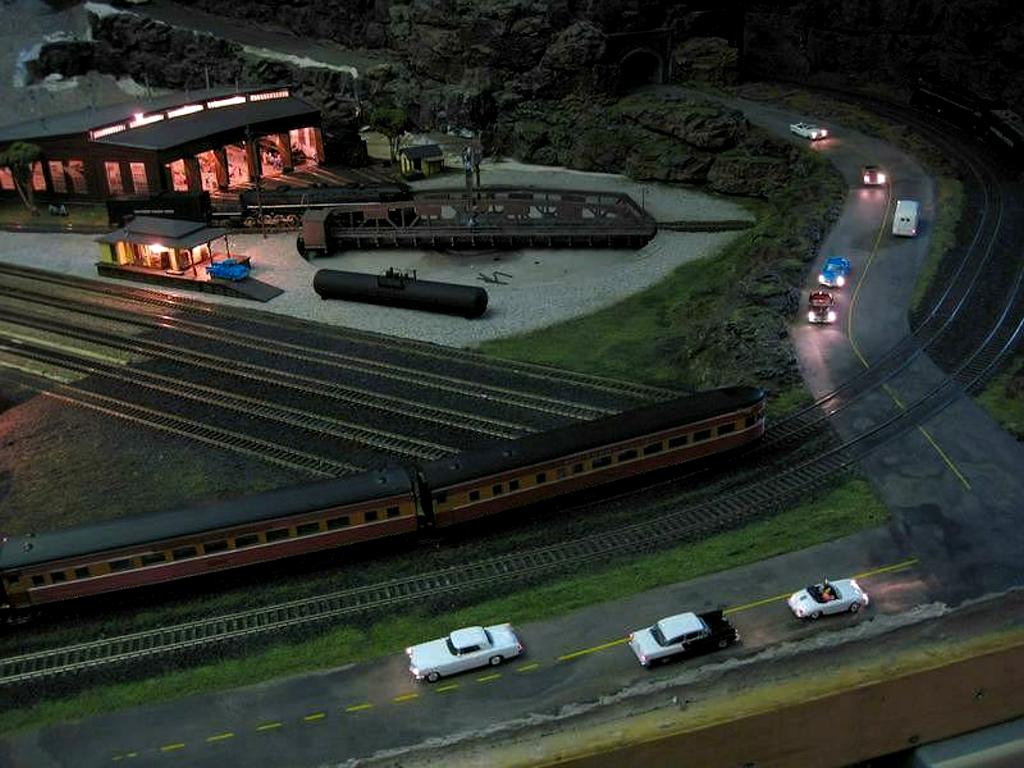
Here is a typical installation. Click on the pictures to expand.
I have installed LEDs in several HO scale vehicles. It is not a difficult process but it can be fussy. However, if I were starting over again I would probably use Mel’s method, especially his brass tube mounting system! You can probably use the Woodland Scenics system to power the LEDs but you will have to figure out what size resistor to use.
I use 0402 or 0603 LEDs. They are available on eBay for decent prices. I strongly suggest buying them with the leads already attached. Adding your own leads is fairly easy on the 0603 LEDs but the 0402 LEDs are a bit of a challenge.
The biggest problem with using LEDs is that they are hit and miss with the right colour (Canadian spelling eh!). Everybody has ‘warm white’ LEDs and some of them give off a nice slightly yellow light, but many of them are too green or too blue and they don’t look right. Mel’s incandescent bulbs solve that problem nicely.
I’ll offer a hint for working with the pre-wired LEDs. Sometimes the manufacturers use just plain copper coloured wire for both leads. The only way you can tell the polarity of the LED is by the length of the leads. One will be longer than the other. That works ok until you are trying to sort out which wire is which inside your vehicle. To avoid confusion I always colour one of the wires with an oil based Sharpie paint pen. This is another vote for Mel’s incandescent bulbs. Polarity doesn’t matter.
I use fiber optic cable to form lenses for the headlights and tail lights. If you hold a heat source like a hot soldering iron up to the tip of a fiber optic cable it will melt into a nice mushroom shape. You can control the size by the amount of heat you apply.
You will run into different situations with your vehicles. In some cases the manufacturers have been nice enough to install clear lenses for you in which case all you have to do is mount the light source behind the existing lens. Sometimes the lens will be part of a larger molding.
Thanks Mel and Dave for sharing your clever, dexteritas and impressive vehicle lighting work, really adds a great dimension to night scenes. Nice looking vehicles too. Love the postal scooter, I remember the mail carriers riding in those, guessing the 60s?
It can be done just a bit more work. Actually it’s a lot more work to hollow them out with a Dremel tool. Once they’ve been hollowed out they’re no different from any other vehicle.
The hardest part for me was cutting out the windows the rest was a piece of cake. I have several cast vehicles on my layout that I overhauled many years ago but unfortunately I can’t remember which ones are resin, old age kinda does that to you.
I do remember totally destroying my first cast resin car with my Dremel, I think it was an early 40’s Ford 2 door.
Old shaky hands Mel can’t do that any more but for younger guys with steady hands it’s very doable.
I have never done any resin vehicles but I have done a resin street car and I can attest to Mel’s comment that hollowing out the shell was a PITA, and I only had to do the roof.
Mel’s suggestion to hollow out the entire shell is great if you want to model clear windows, but if all you want is headlights and tail lights you might try just drilling holes in from the lenses. Start by drilling holes the size of the lenses straight into the casting just deep enough for the bulb or the LED to sit inside the hole. Then use a smaller bit to drill a hole on an angle from the headlight or tail light to the bottom of the casting. It only has to be large enough for the wires.
You could use epoxy to make the lenses, although it will yellow over time. Another option would be to use canopy cement to build the lenses up in layers. Canopy cement will stay clear.
As you are painting the cars I would test for light bleed through before applying the final colour coat and details, and don’t forget to paint the underside as well.
Please note that I am only relaying how I would approach putting lights into a resin vehicle. I haven’t actually done it. I would add that I think 0603 LEDs would be easier to work with rather than bulbs in this case. Bulbs will require deeper mounting holes and getting the hole for the wires in the right place would be a bit more difficult.
Thanks Dave for reminding me about the Canopy glue! I use Testors Window making glue for more than making windows. I use it to glue in the micro bulbs and layer it thick on the rear of the bulbs to help the bulb heat dissipation. The 1mm 1½ volt 15ma bulbs even operating at reduced voltage still get pretty warm for plastic vehicles. A good sized glob of glue helps a lot. I’ve never had a problem from the bulb heat but a bit of forward thinking goes a long way.
EDIT:
Couldn’t resist
I have almost a hunderd lit up vehicles on my small layout.
Most all of my cars are put together with a type of rivit that holds the undercarrage to the body. How did you remove the undercarrage or gain access to the inside of the car to run the wires. I model mostly the 50’s, 60’s, and 70’s automobiles. Got a lot invested, $15-20 each, in these cars and don’t really want to mess them up by experimenting.
Anyway, a number of YouTube channels out there that cover Matchbox/Hotwheels etc restorations touch upon this topic of drilling out and then tapping the post for a screw (for easy servicing later) - here’s one video from the WheelsNThings channel which shows drilling out the post during a project for adding lights to a Hot Wheels A100 van; other channels like BareMetalHW, Martys Models, and others use similar methods.