What is the nominal lighting level for a passenger car? I am in the process of redoing all of my rolling stock interior lighting. I have been using Grain of Wheat incandescent lamps for the past 40 or so years. I have gone to wide angle dispersion warm white LEDs and even dimming them they still look too bright to me.
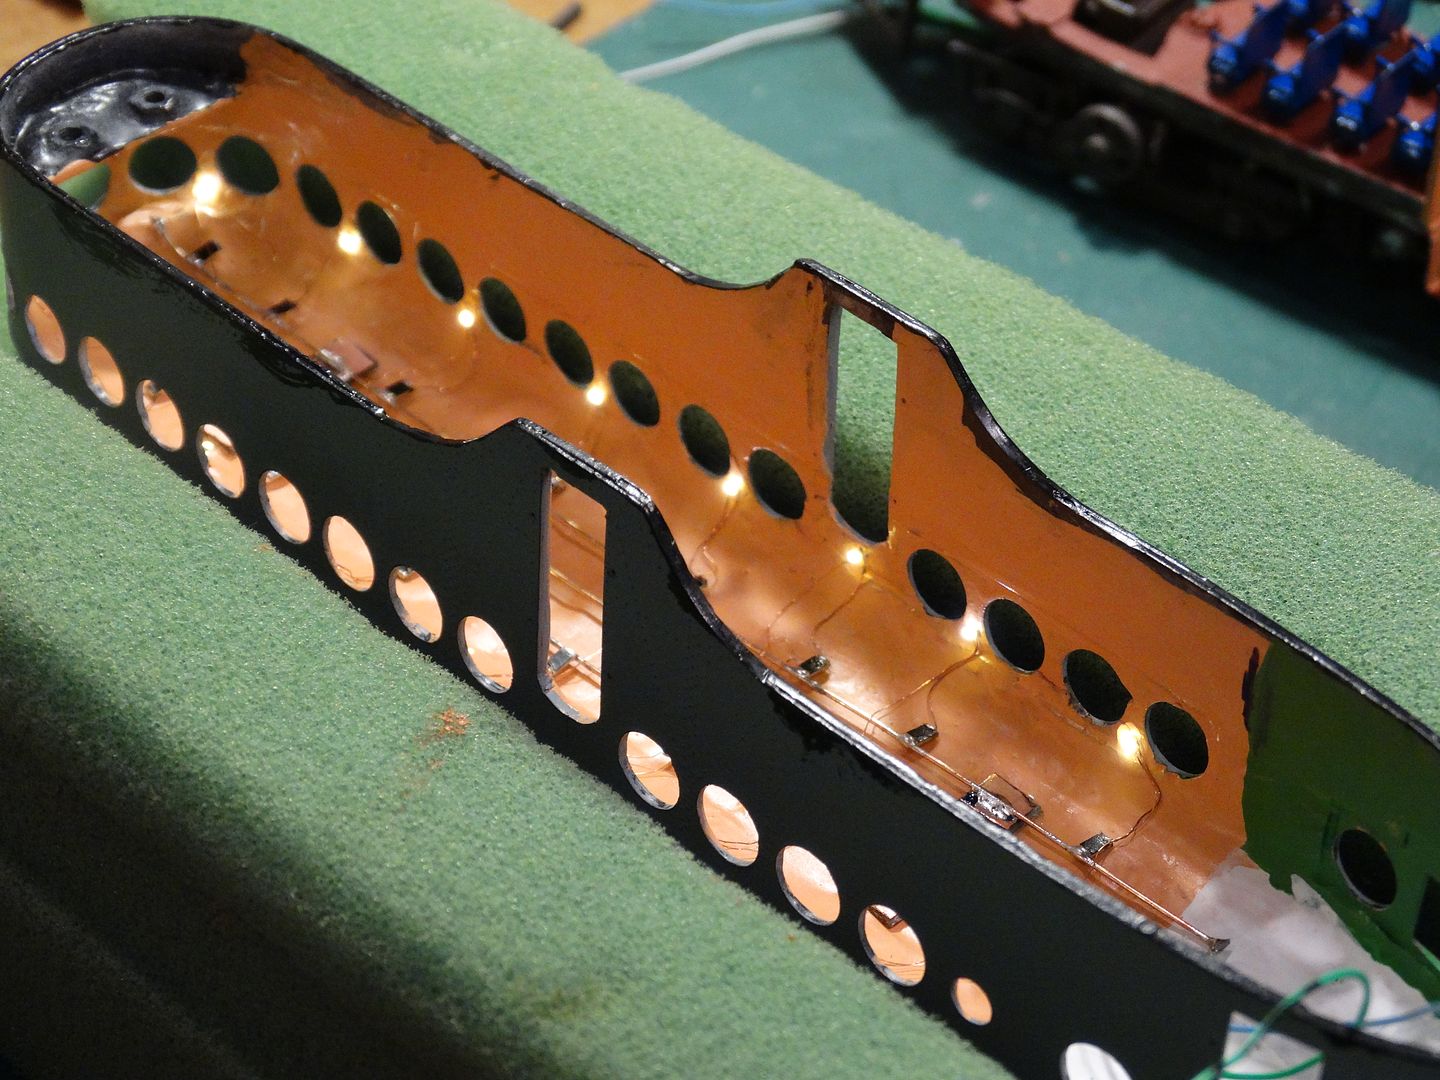
This car is an Athearn 72’ streamline coach. I’m also adding interior seats and they haven been painted yet. They will be painted a light grey and most will be occupied.
There are 5 wide angle 3mm warm white LEDs attached to the ceiling on a
I assume you have the LEDs wired in-series? You could try adding more resistance, which should reduce your brightness levels. The painted interior and adding painted figures with darker colors should help soften the light, as well.
I would try painting first then adding more resistance, if brightness levels still aren’t as low as you would like. Another idea might be to try the small flat LEDs that come in strips for lighting your interiors. Someone can correct me if I’m wrong but I believe those put out a more diffused and less intense beam than the bulb LEDs.
Since I believe normal interior lighting is much dimmer than sunlight, a less objective approach might be that you can only tell that there is interior lighting when the room lights are off. Can you see the interior of a train passing by during the day.
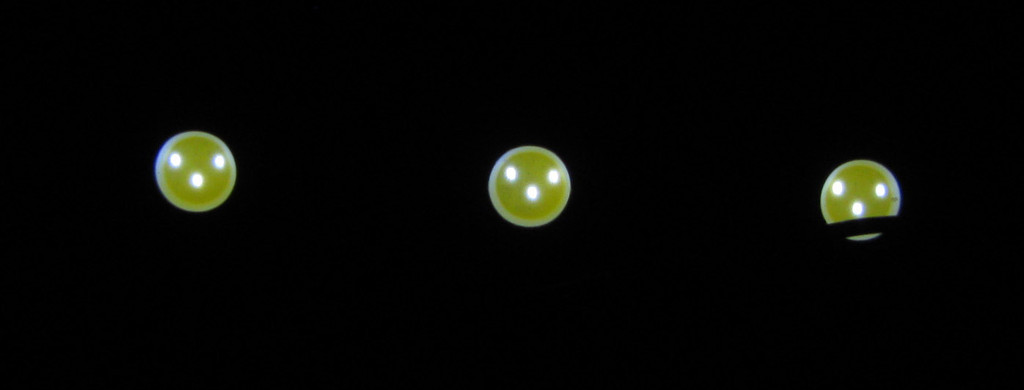
Tom these LEDs are 120° and work great, the Evergreen tubing helps contain the light inside the car. I don’t wire LEDs in series. Some cars (not this one) require different levels of lighting and the super low current of the LEDs isn’t a problem. I use 4 volts to light up my cars and each of the LEDs in this car has a 4.7KΩ resistor in series and that is way too bright for me, the total current dropped from 1.6 ma to .5 ma when I inserted a 2.2KΩ resistor in series with all 5 and they are still too bright. I’m sure that you are correct about the light level dropping after painting things darker.
I’m a weirdo when it comes down to powering stuff on my railroad, I use rechargeable 4 volt Lithium batteries for lighting my rolling stock. It’s a bit of overkill but I really like the ability to leave the lights on for long periods, sometimes hours without rail power.
My Daylight Passenger cars are powered from a dummy E7B unit with a 4 volt 5 amp Lithium battery and charger powered from the rails. I have about 100 hours of battery power available, like I said I’m a weirdo.
Ok, using the “Greg Rule of Reference” I ended up with 56 micro amps on each LED. With a single two lamp 96” florescent lamp fixture on 6’ up and 8’ away from my layout the interior lights can’t be seen. With the overhead lights off and two 8 watt florescent walk lights under my layout turned on the passenger car lighting passes the Mel test.
Thanks again Greg! From this point on my lighting reference will be called the “Greg Rule of Reference Lighting”!
Mel
Modeling the early to mid 1950s SP in HO scale since 1951
Greg did sum up what is essentially how I also see this balance. Most factory interior lighting is more likely suited to illuminating a model movie set. In plain daylight, you can see every detail from the lighting inside, but your little people are probably more likely to need sunscreen working in there. I tend to err on the side of a little more light, so that you get the effect of seeing into the car as you would with full sun beaming in.
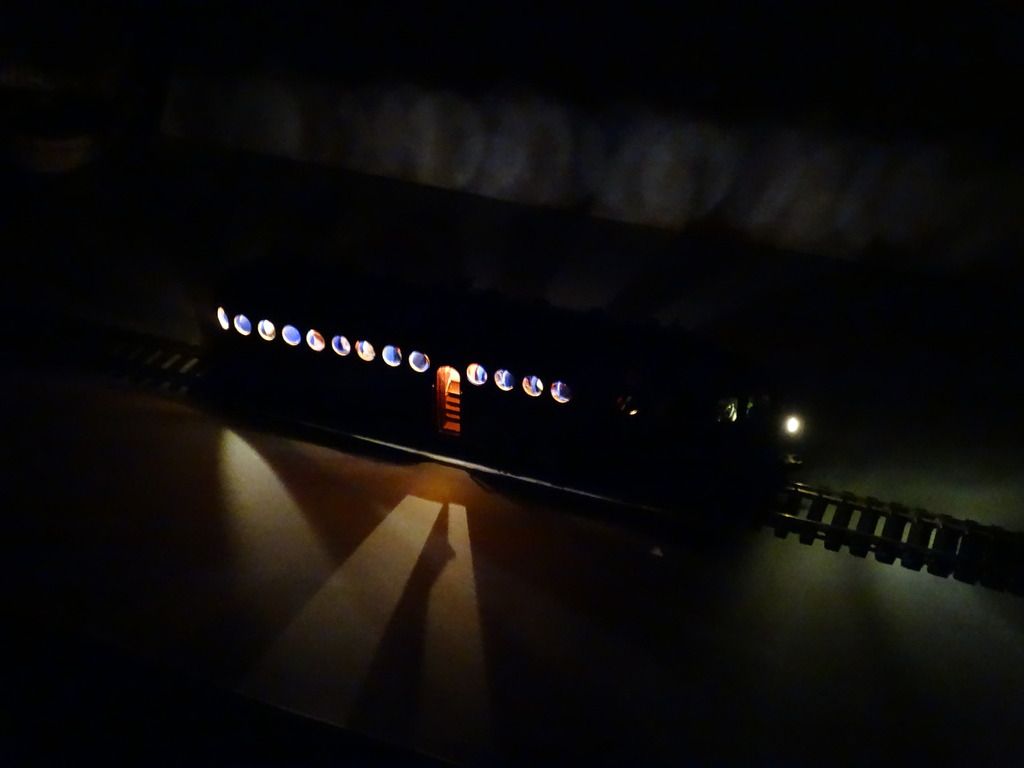
I’d also encourage trying differing light levels. Here’s an obvious example in the contrast between exterior and interior lighting.
A coach with dim interior lighting a bright markers.
A sideview of the coach above:
I have used upwards of 125k ohms with success, but I mostly use that with the 12v strip light segments. Here’s a Pullman I set up as “officer” territory to go with my troop train.
The far left end in the bedroom is the train commander’s office and staff, up working late. In the middle are the 16 sleeper berths, dark so people can sleep. On the right end is the bathroom, lit and ready service in the middle of the night.
Finally, one of the poster children of the “way too bright from the factory” crowd, the BLI CZ, which I modified by hacking the board to add more resistance. It looks more realistic IMO with dimmed lighting. In this case, IIRC the lounge end of the car is well-lit, while people are trying to get a rest in the other end downstairs.
The lighting on my layout is very important to me. I give it my all for realism.
When I finish this coach my next car will be my final kitbash SP ¾ Dome/Lounge. I too will light up the Lounge end and barely illuminate the Dome area.
I’m going to use this coach as my Greg Reference and redo the rest of my Daylight cars to match it. I think The Greg Reference Lighting Level will work on all of my illuminated rolling stock. I ended up using a 4.7KΩ resistor in series with the five LEDs to get to the Greg Reference point, that brought the total current down to 280 micro amps. My normal lighting will be slightly over 50 micro amps per LED per Greg’s Rule.
I have finished the LED installation on 9 Cabooses and they also need to be reduced.
I agree bulbs do looks great and I still use them from time to time in special situations where apperance really matters.
For onboard lighting, bulbs are mostly done around here. Here’s why. The layout has 24/7 DCC power and I don’t bother with decoders to control train lighting. LED life is very long at the dim-level voltages I use for lighting, so no need to turn it on and off. Once you’ve done away with the car lighting being brighter than room lighting, its previous annoyance is gone. Might as well leave them ON to simplify things. I don’t recall ever actually losing an LED yet.
Oh, here’s another tip. The LED strip light segments are often thought of as 3 single LEDs. In fact, once you go dim, you can see there’s actually 3 tiny LEDs behind the white plastic diffuser. In effect, it looks a lot like your standard three-bulb overhead light. I haven’t done much with this yet, but I can easily see crafting the individual LED housings into various styles of overhead lights.
I use the decoder in my powered E7B to set a latching relay in the E7B lighting power unit to turn on and off the passenger car lighting. I also have a latching reed switch paralleling the relay contacts for when I’m running DC powered E7s, I can turn the lights on and off with a magnet.
Mel
Modeling the early to mid 1950s SP in HO scale since 1951
Great work on the passenger car lighting! It had never occurred to me that different areas on a passenger car should have different lighting levels.[D)]
Mel:
I used resistors 30K on the individual LEDs to get the proper glow in my McKeen Motor Car. They still came out far too bright:
Such variations tended to be found in extra fare cars. With coaches, it tended to be all on or all off, according to what I’ve been told, but I suspect there were more modern examples with more flexibility, maybe a switch covered only half of the lighting in a car, etc?