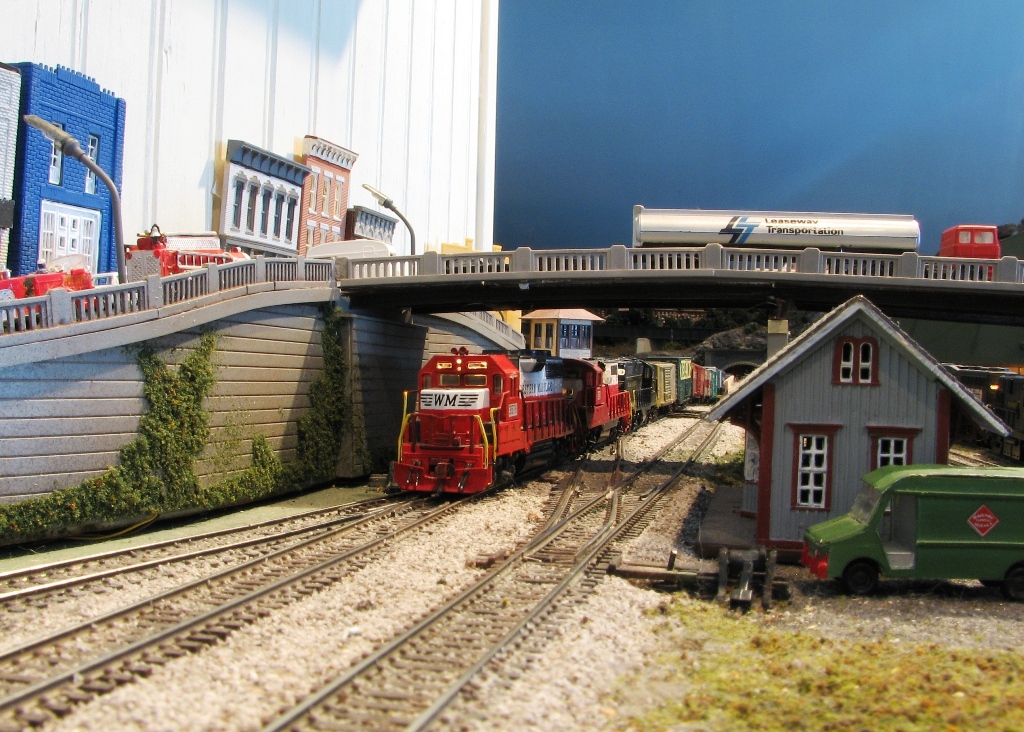
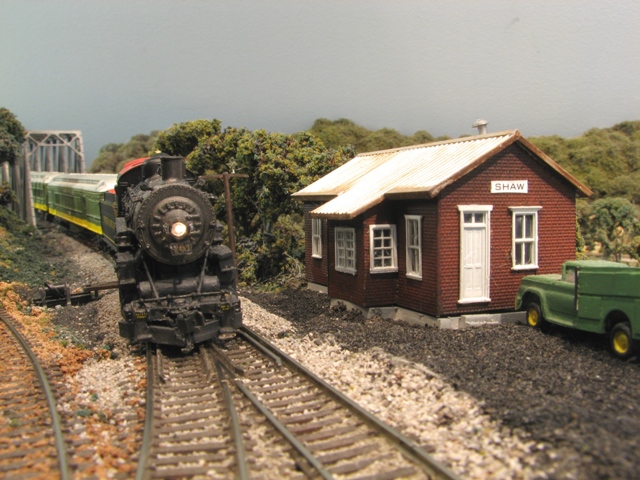
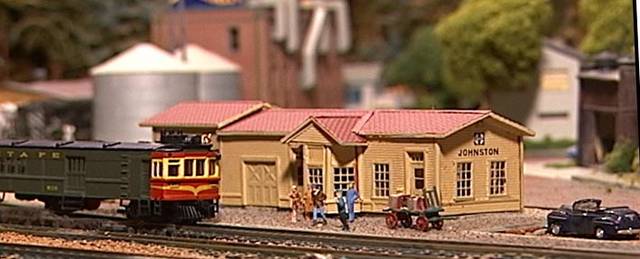
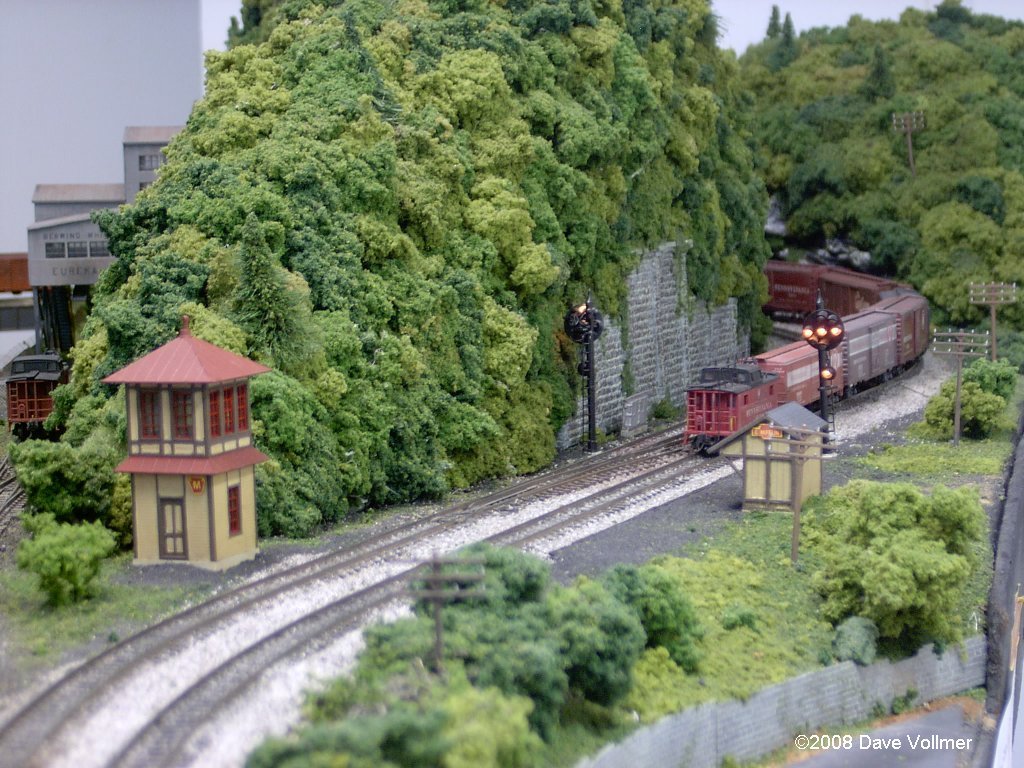
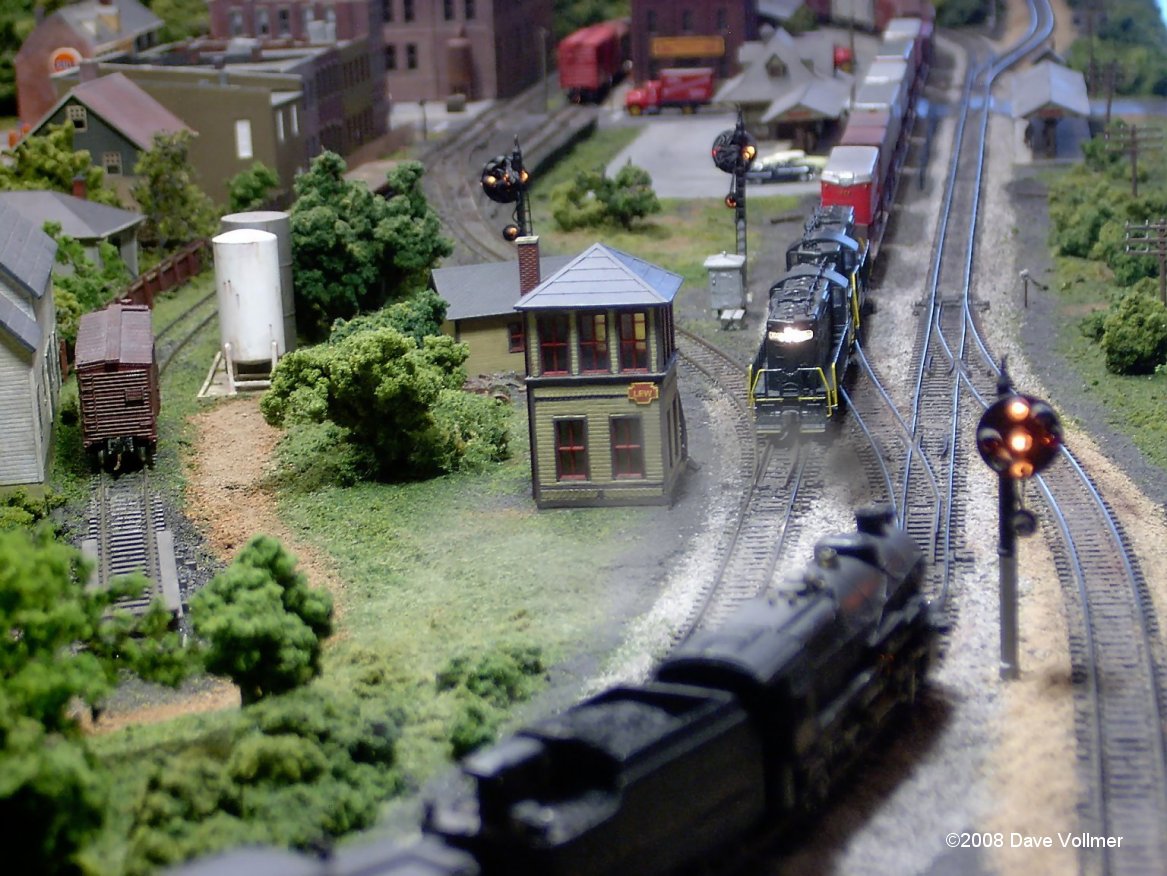
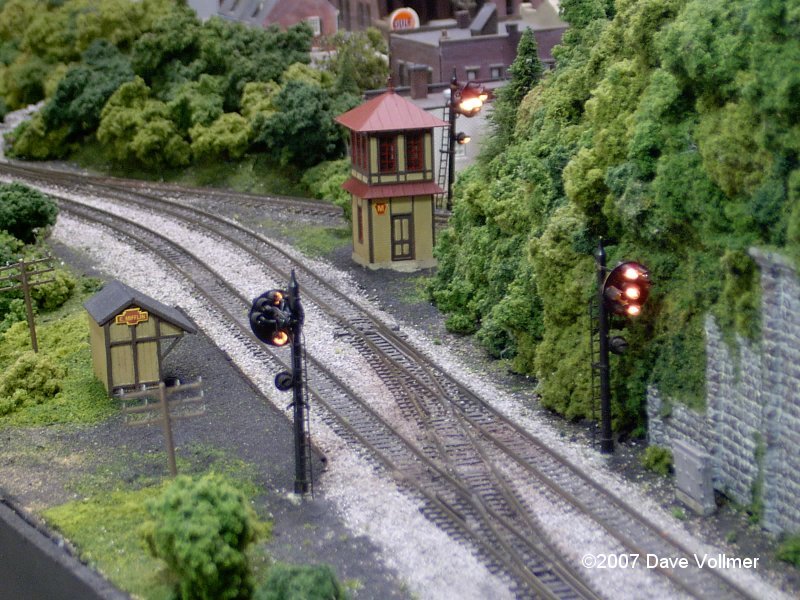
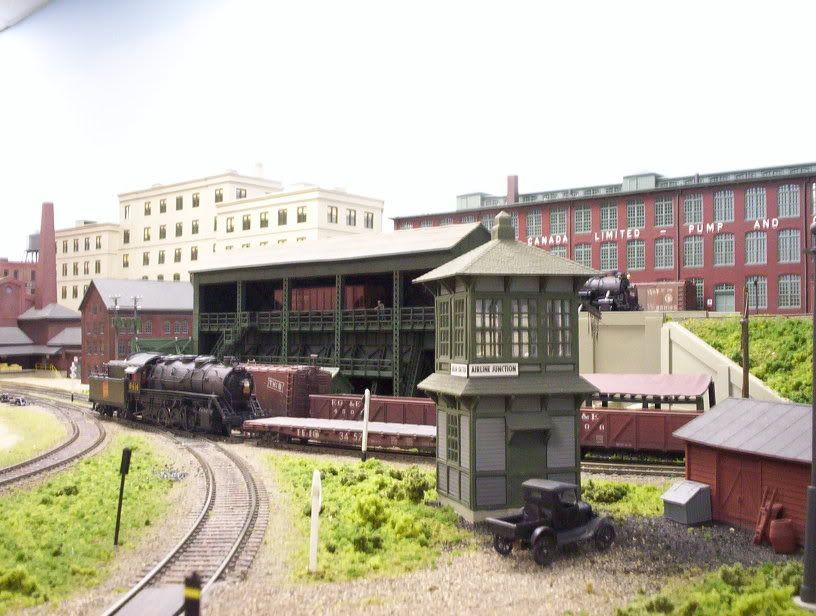
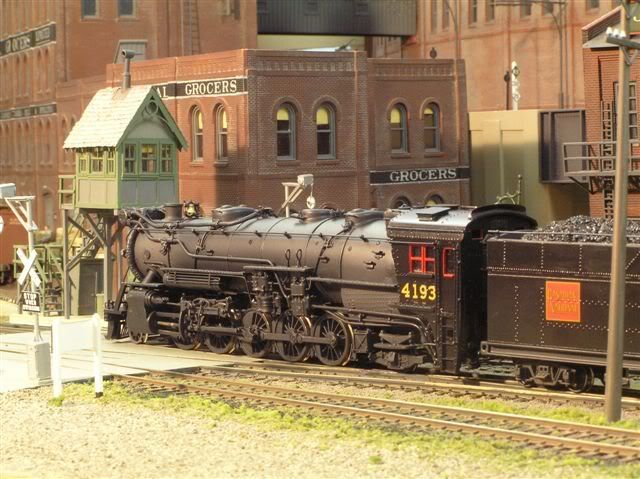
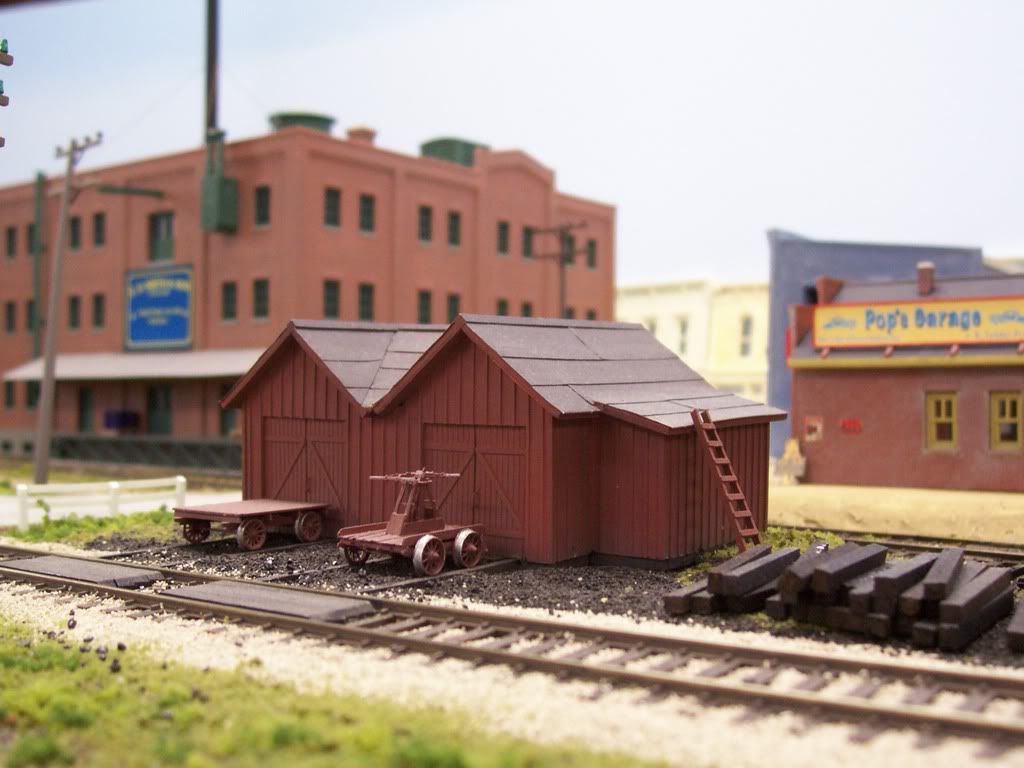
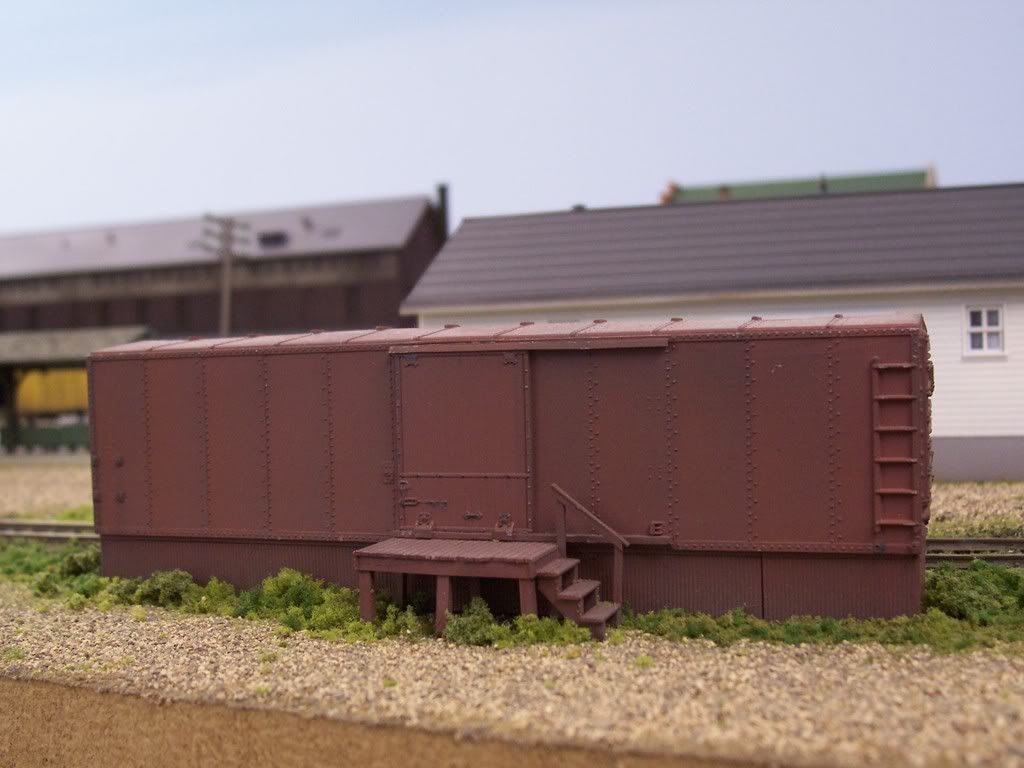
In the same vein of the other post on engine paint schemes, how about posting shots of the color scheme you use on your company buildings: offices, stations, sheds, storage buildings, outhouses, telephone shacks, turntable control shacks?
I’d like to contribute a photo or two myself, but I haven’t gotten that far yet on my RR. If fact, this may just be a sneaky way to find a good color combination that I can “appropriate” for use on my RR.
Thanks to everyone for the photos they contributed.
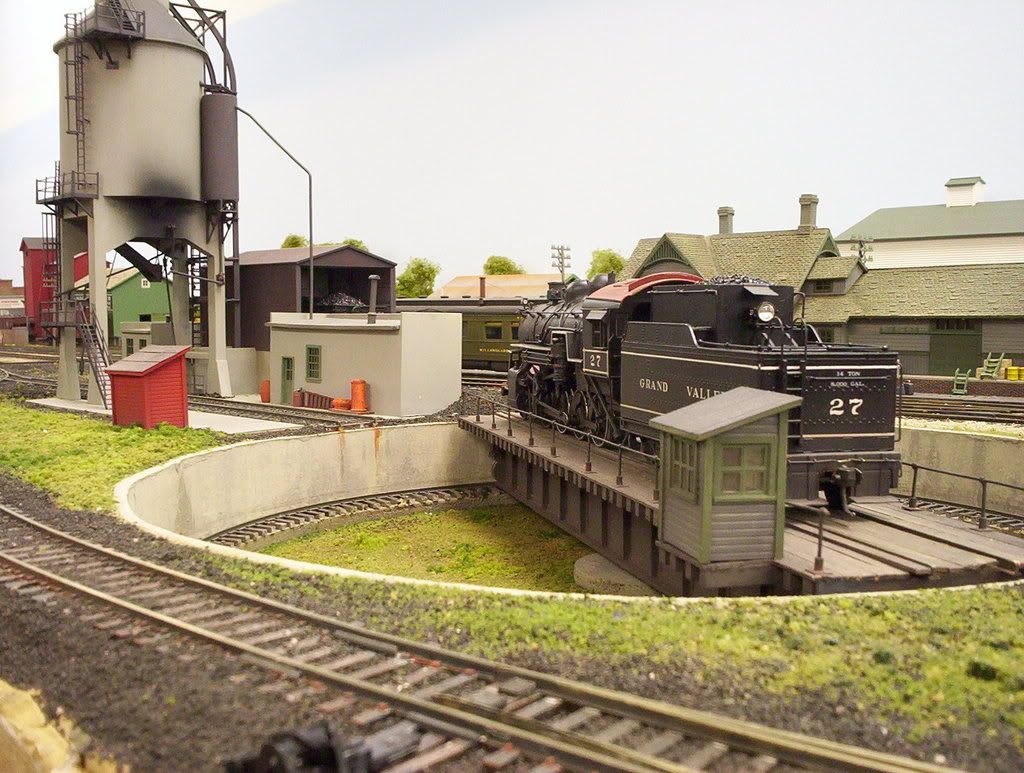
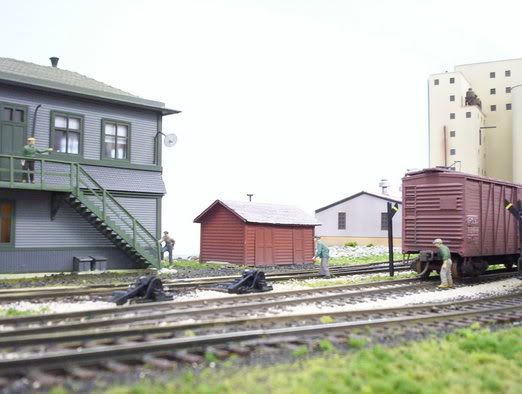
Doctor Wayne - I’m particularly interested in your turntable. Who makes it? What color did you use as the base color of the TT pit and then how did you weather it with those streaks? Did you scratchbuild the control shack or was it part of the kit? I notice there is no arch, you’re supposing the power is routed underground?
I have a CMR TT that I’m about to weather. I’ll scratchbuild the shack and make my own handrails. I’m about to start weathering the pit walls and I’ll have a cinder floor. I noticed you had grass/weeds growing in your pit. I like that.
The turntable was scratchbuilt using a couple of Atlas through girder bridges from the “used” table at the LHS. I cut the sides from the floors, then spliced them together to fit the pit, which was squeezed in between the main line and the edge of the layout - it’s roughly an 89-footer. The girders were cemented to a block of wood, through which I’d installed a beater shaft from an electric hand mixer. My plan was to use the beater gearing, powered by a hand crank through the layout facia, but found it too much bother to mount the beater beneath the layout. Instead, the turntable is operated by pushing it in the direction wanted using my finger - I guess it’s a finger-strong turntable. [swg] For the track, I used a piece of Atlas code 83 flex, with all of the webs between ties removed. I spread them apart, inserting long basswood ties in the spaces, then glued everything to the wood block/girder assembly. The basswood planking covered this “trickery”, then I made the railings from Athearn diesel handrail stanchions in “feet” of brass tubing, along with some music wire railings. The control shack is styrene strip and siding, with Tichy door and windows. I haven’t got around to building a power arch, but there’ll be one, eventually.
The pit wall is a piece of Masonite, glued in place, then painted with Floquil’s Aged Concrete - the rust streaks are drybrushed Floquil, and the “weathered blotches” are just the way the paint was soaked-up by the Masonite. The bearing pad and the “concrete” base for the ring rail are cut from 1/4" birch or maple plywood, and the ring rail is more Atlas flex, with the ties cut short, then spiked in place - not strictly prototypical, but it looks decent and was easy to do. Total cost was under five bucks, and it works fin
Im humbled by the turntable pictures. So much for the 300 dollar walthers deluxe gigabucks model.
HOW did you get the two wheels to face each other AND get the axles to stay true on the whole thing??? THAT is killing me and would be nice to learn more.
The wheels are easily removed from the axles by twisting and pulling at the same time. Of course, those Athearn wheelsets only have one metal wheel per axle, so I had to get the second one from another axle. Then, it’s a simple matter to twist the one remaining metal wheel and reposition it a little farther onto the axle, then add the second wheel, with the flange facing out.I positioned the outer wheel approximately where the original wheel had been - it’s not too critical, as long as the flange rides to the outside of the ring rail and the outer face of the wheel doesn’t rub on the inside of the sideframe. The original inner wheel was removed, as there’s neither need nor clearance for it. The trucks are held in place with a wood screw, and do not pivot - with the extra-wide double wheeltread, there’s no need. The axles stay true and in place, whether there are wheels installed or not. “Indexing” is “by eye”. [swg]


 Click to enlarge picture