Wonder if anyone has tips for ensuring that a word or name spelled with individual decal letters and numerals is in a straight line on a surface. So far, the only instance where I’ve used individual characters is with the relatively large initials of a railroad. Those three (in this case) letters are spread across most of the side of a caboose, so lining them was fairly easy by just eyeballing them. With a long word or name, however, straightness (or lack thereof) is more apparent. A line drawn on the surface first would seem like a logical guide, but it would be difficult to draw on the glossy surface required for decals and, even if a line could be drawn it would be difficult to remove without damaging the decal film.
I have used the sticky edge of a Post-It® note and I place it about 1/8" or so below the line I’m aiming for. Don’t forget some rounded letters descend below the primary lettering base line so you may have to account for that.
Good Luck, Ed
I have a fairly lengthy write-up about decaling, but will only use a couple of excerpts from it, as I don’t want to put the audience to sleep.
"Use references on the model (rivet lines, panel lines, doors, ladders, and other details) as guides to position the lettering correctly and level. Where those details aren’t available, I like to cut strips of masking tape as guidelines, and when lettering with individual letters or numerals, often use a pencil to denote, on the tape, the beginning and end of each word, so that the spacing is correct.
Likewise, individual letter spacing is not usually uniform, but rather depends on the particular letters and their sequence within the words. Google “kerning” for more info. "
For such lettering, I cut a strip of masking tape to a suitable length and width, then use dividers to place it level at the required height on the car’s side…
After the decals (or dry transfers) are in place, I apply some setting solution. On a car with “wood” siding, once it’s dry, I use a sharp blade to slit the lettering along the grooves between the boards, then apply more setting solution, repeating the process as necessary until the lettering appears to be painted-on…
I’d guess that about 90% of my freight cars have been lettered in this manner, using both decals and dry transfers…
I use similar techniques for pretty-well all of my passenger cars, but they’re done wit
I use templates that are spaced up from the side of the freight car by a 0.040" shim. I clamp these to the freight car, and use them as a guide. The decal film goes under the visible edge, but does not touch the spacer.
The photos show an arched lettering template, but the straight templates are similar.


-Kevin
I’ll never have the specialized dexterity to do this with decals, but something I found a very good idea in pasteup – including when making headlines with Letraset, which was a form of dry-transfer lettering – is to sight obliquely, so the line of lettering is heavily foreshortened, when checking the vertical alignment. Then do the rotation, kerning adjustment, etc on the letter and check its vertical alignment obliquely again before ‘committing’ to fix it down.
A modelling sized steel rule or set square is handy. I most usually use mm but 1/32 is even finer. 1/64 is pretty hard to use with older eyes.
The Mark I eyeball is surprisingly accurate for straight lines and spacing. After all that’s the only “device” anyone is likely to use to see that your decal is not straight and level.
Once it looks straight and level it is for practical purposes.
The use of tape, paper or other template techniques all suffer from the same challenges. The method of alignment you use must also be put on straight.
Finally, whatever method you use besides eyeballing it is affected by the accuracy with which you cut out the decals, perhaps the trickiest part. The clear part of the decal determines the alignment, even though it is the printed part you want straight and level.
The decal itself is very difficult to cut out perfectly square. You are actually aligning the clear backing portion. Unless the aligning edge of that cut out clear portion of the decal is also square and straight relative to the template or guide and the other decal pieces you need to align with it you will still be relying to some extent on eyeballing. With a guide you align to the edge of the guide instead of “landmarks” on the model, which may or may not be easier.
On my first attempt using a mini steel rule to align and space I got the decals more or less aligned to my satisfaction but got the spacing wrong due to doing the simple calculation in my head, incorrectly.
Staybolt: Are you lettering a ficticious roadname?
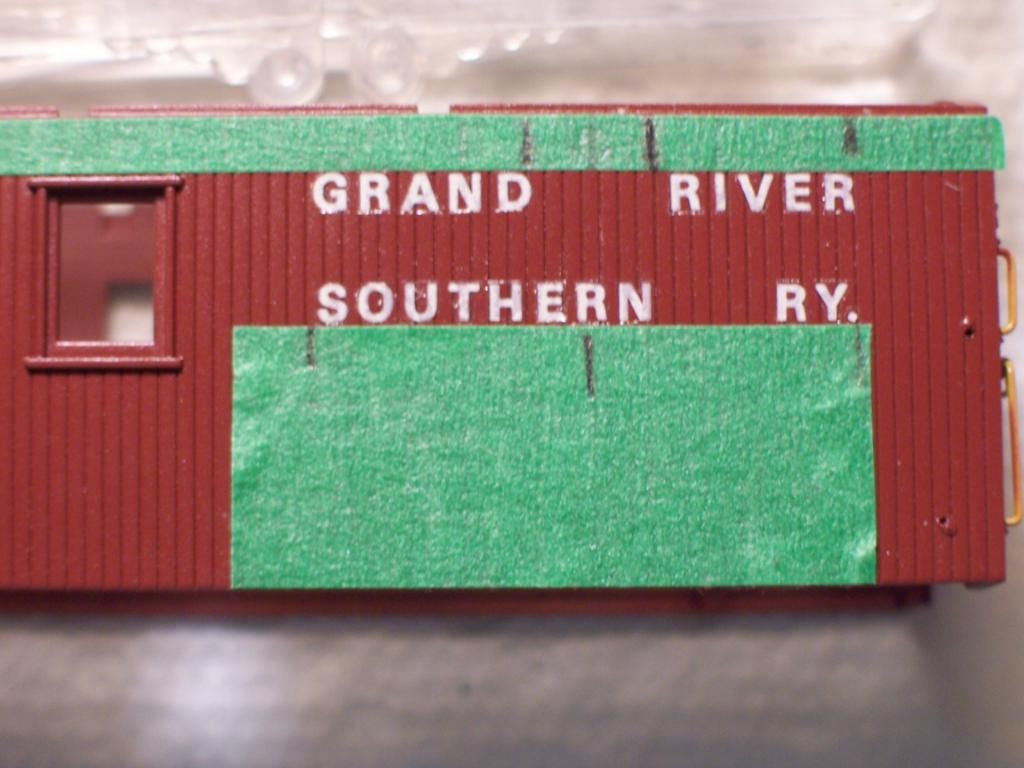
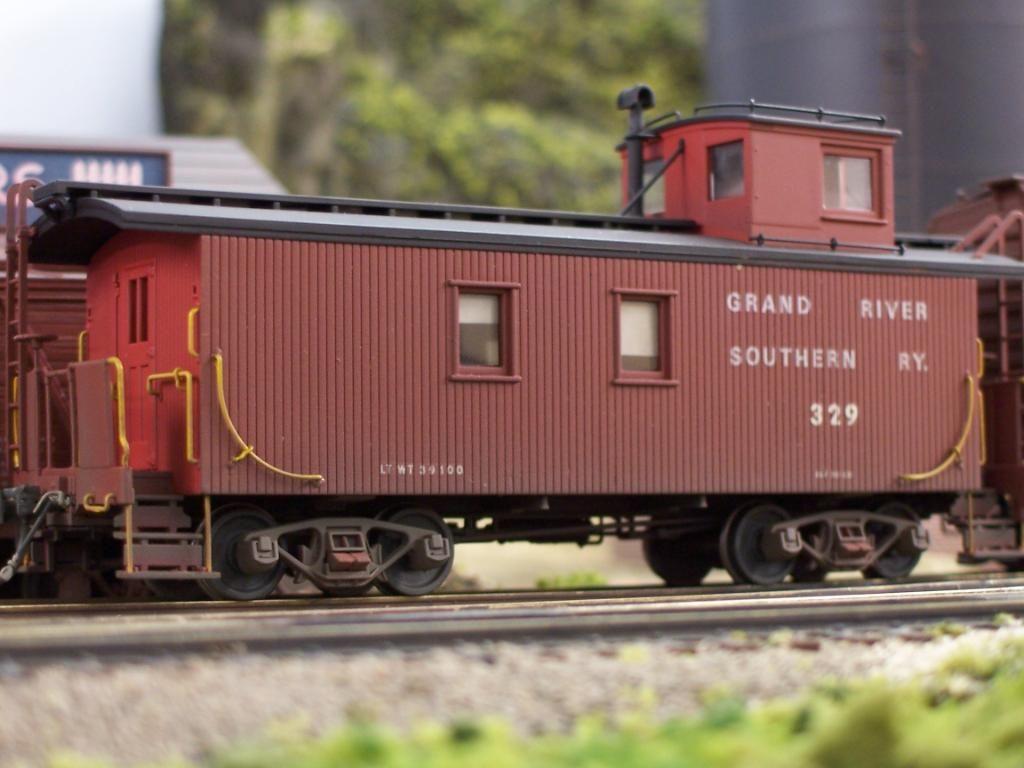
If so, another nifty trick is to just add a horizontal stripe, and line up all the lettering to that. This car was one letter at a time.

The only freight car I have with unaligned lettering was actually done with custome decals, and the decal “sagged” while being set in place. Oops.
Look at the word RAILWAY on this boxcar. It happens.

-Kevin
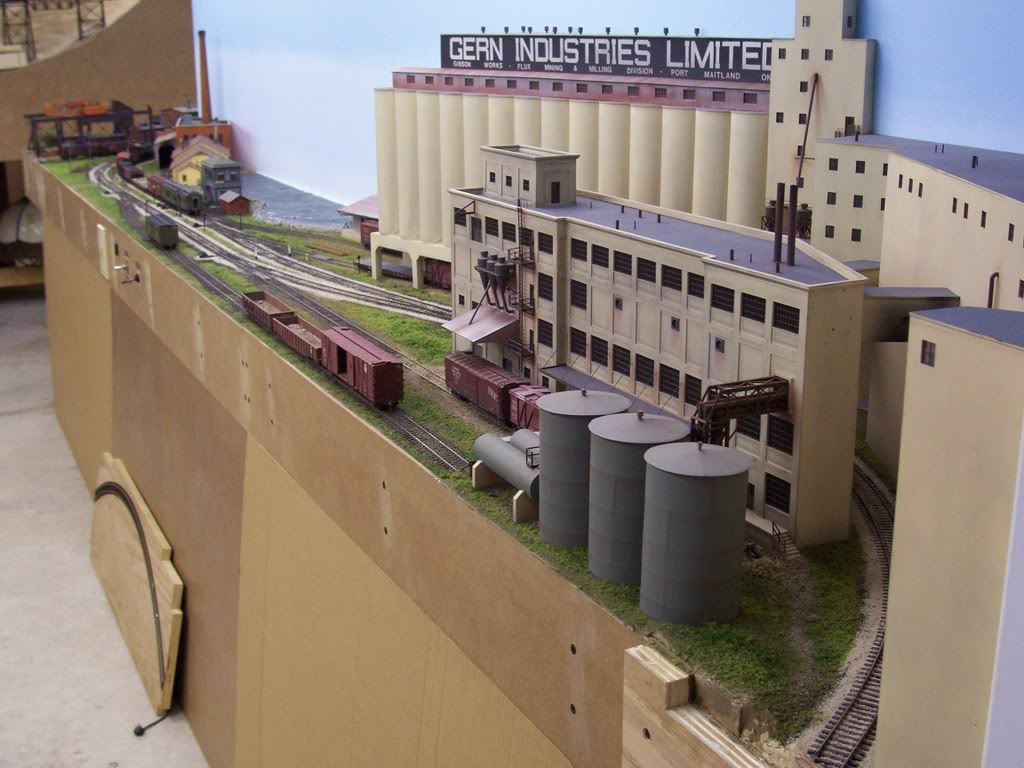
Thanks to all for your suggestions. They would work in a lot of cases. In the particular project that prompted my post, though, I have the curved, horizontal surface of a vertical oil product storage tank (part of a trackside oil product business) as the place where I want to identify the contents, e.g. “HEATING OIL”. That surface already has rows of two-dimensional rivet decals at the seams of the plates of the tank that I recently applied. The font size I want to use for the letters is such that the name of the product will overlap at least one vertical rivet decal row. I think that would argue against using any sort of alignment device with a sticky backing (e.g. tape) which would lift the rivet decal line when it was removed. Someone’s idea of an above-surface template would work to protect the rivet lines, but I think it would be difficult to make a rigid template that would conform to the curve of the tank surface.
Yes, I should have applied the product name letter decals first…ahhh, hindsight!
Do have any of the rivets in a horizontal line? Maybe use that to line up the letters, or, if using the sticky note, or tape, don’t put it on the rivet decals. Skip that one spot. Use the eyes.
Mike.
One additional tip I learned by mistake is that a decal can be reactivated fairly easily, and realigned, as long as you haven’t used any decal softener (like Micro sol red) nor sprayed any fixer over it.
Before softening the decal you can benefit from carefully rechecking the alignment. Only when you’re completely happy should you soften and then spray.
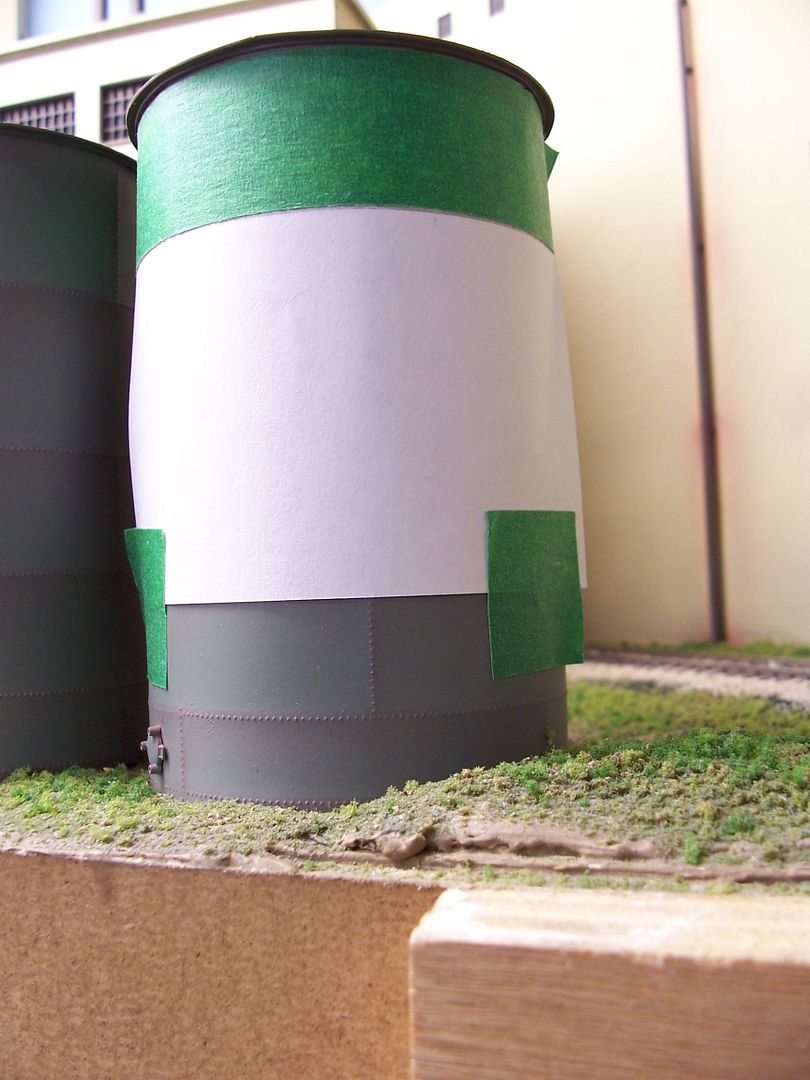
Depending on the planned location of the lettering, you may be able to use tape to hang a piece of paper like a curtain around the tank, then use the bottom edge of the paper as the guideline. The tape holding the paper wouldn’t need to be one continuous strip, but could be cut into segments which would allow it to skip the area(s) where there are vertical rivet strips.
If the paper is long enough to extend past the vertical rivets beyond the start- and finish-points of the actual lettering, a small piece of tape at each edge would keep the paper tight against the tank. Here’s a quick mock-up which should be easier to understand…
The rivets shown were embossed with a pounce wheel, but illustrate your mention of vertical rivet decals.
Wayne
This is a great thread.
doctorwayne - I have admired your excellent work for a long time and would like to read the long version of your decaling tips. Would you please post them or direct me to where I might find them? Thanks.
DEW
Wayne,
Your “curtain” idea is a good one…thanks. Snuggling letters against a horizontal rivet line would work, but I’d rather have product name in clear area of tank plate(s). Your idea would work for that.
Your 3-dimensional rivet lines look great! Hadn’t heard of a pounce wheel until you mentioned it. I found other forum “rivet posts” afterward. One said he runs wheel along a straight edge on very thin styrene sheet, flips that sheet over, then fastens (glue, I guess?) it to the rigid surface of the model. Is that what you did?
Before going with Microscale’s 2-dimensional rivet decals I looked at Archer’s raised resin rivet decals. For the number of rivet lines I needed for the 4 tanks I have the cost would have been exhorbitant. When looking at pounce wheel use on this forum a while ago I found a reference to MicroMark’s raised rivet decals which are less costly. Now I need to decide, after all that tedious work, whether I want to now re-do using pounce wheel or MicroMark. The great look of 3-D rivets may push me to that re-do!
-Chuck
Hello All,
Check out this thread:
Did or Do Paint Shops Make Mistakes?
Not all paint jobs are perfect and a little imperfection might not be a bad thing.
Hope this helps.
I used Micro-Mark’s raised rivet decals with great success. I am very happy with them.


-Kevin
Hello Kevin,
The Micro-Mark rivets on your cars look very realistic. I didn’t know about theirs until I had already applied Microscale’s 2-dimensional ones. The only 3-D rivets I’d seen were Archer’s, which for the number I need, would be expensive. I’m now tempted to remove the 2-Ds and replace them with Micro-Mark’s or use a pounce wheel as suggested by “doctorwayne”.
The current 2-D rivets on my storage tanks are about 5 (HO) scale inches apart, which looks reasonable. I’d estimate they’re maybe 3/4 or 1 scale in. in diameter. The Micro-Mark website photos show a couple of spacings on their decal sheets. Is one of them close to 5 in.? The rivets look to be all the same diameter. What would you estimate it is?
-Chuck
Yeah, the rivets were done on .005" sheet styrene, which was then wrapped around each of the three tanks, which were nothing but very thick cardboard tubes which had held paper for an office writing machine. The wrappers were overlapped at the back of the tanks, and that’s the only place that they were glued, as it’s easy to damage such thin plastic using solvent-type cements.
The tops of the tanks were done with .010" sheet styrene, with a wedge of material removed so that they could be formed into shallow cones, again with the overlap at the back of the tanks.
Here’s a wider view of the tanks…
I have used both the Archer rivets and those from MicroMark and while the Archer ones are considerably more expensive, in my opinion, they’re a better product.
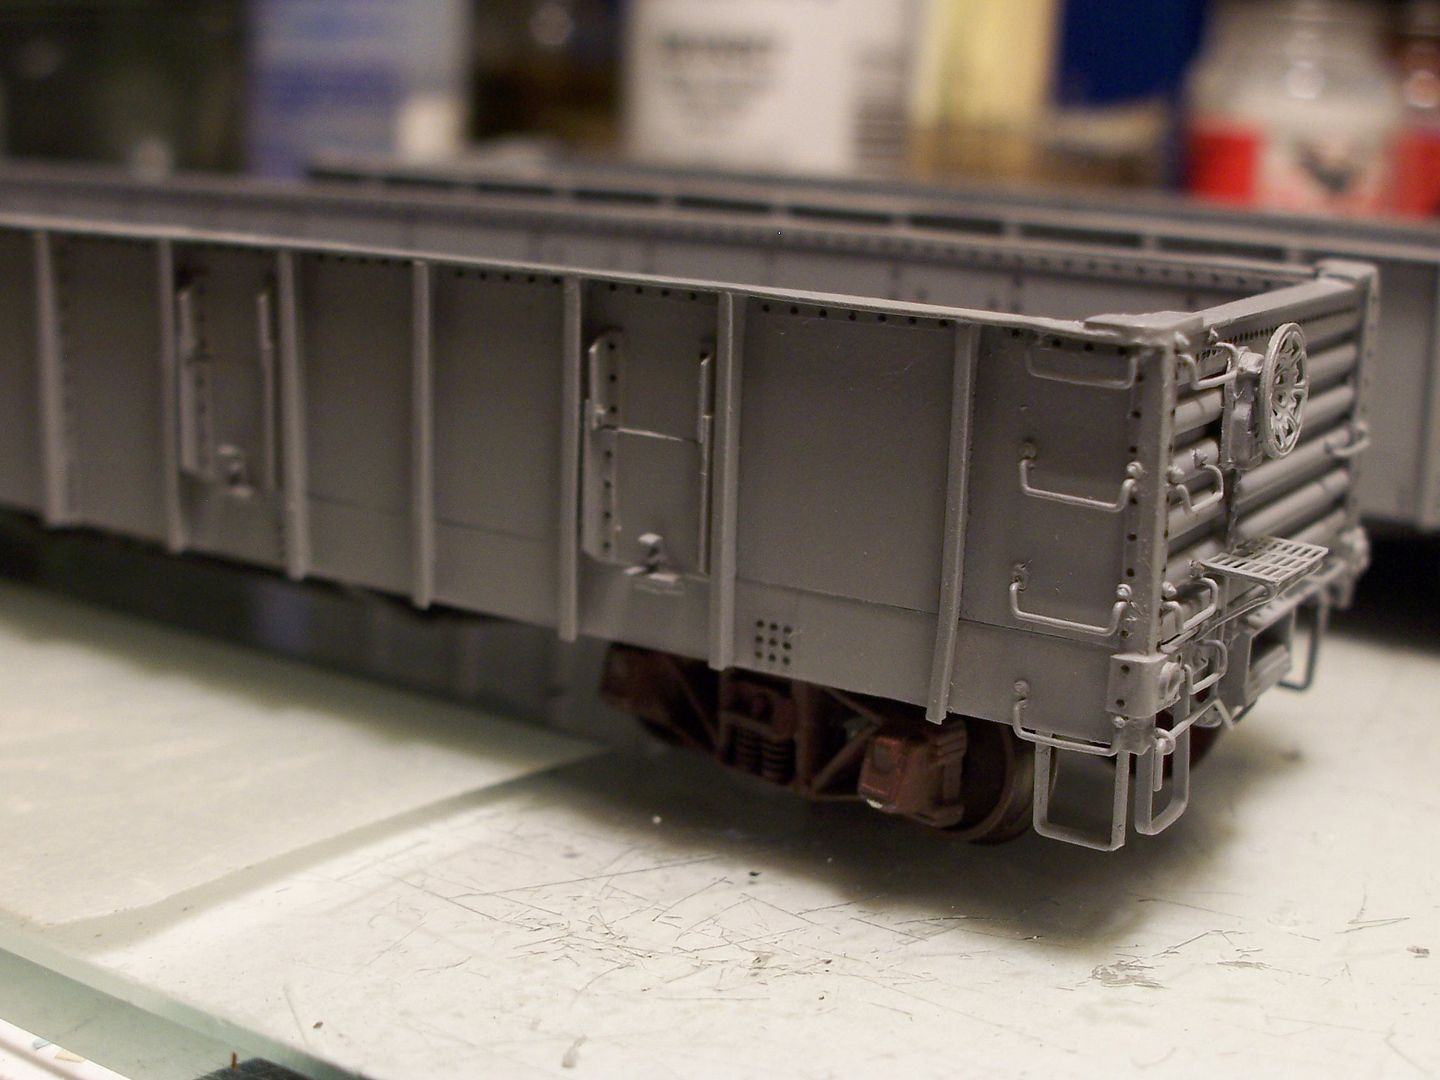
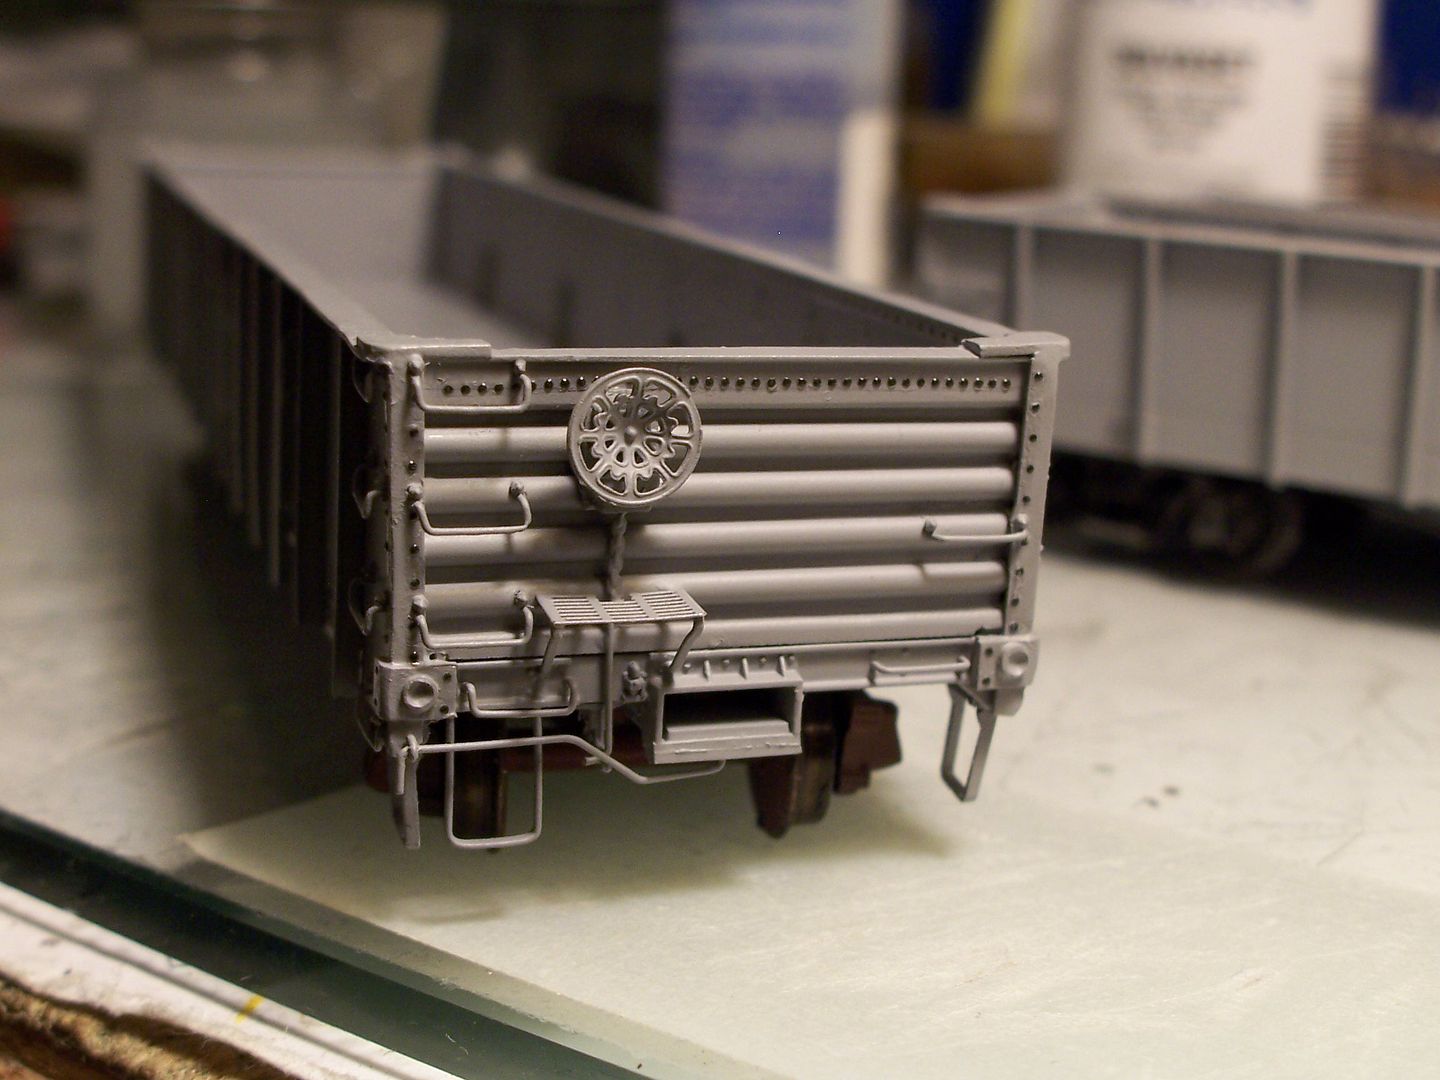
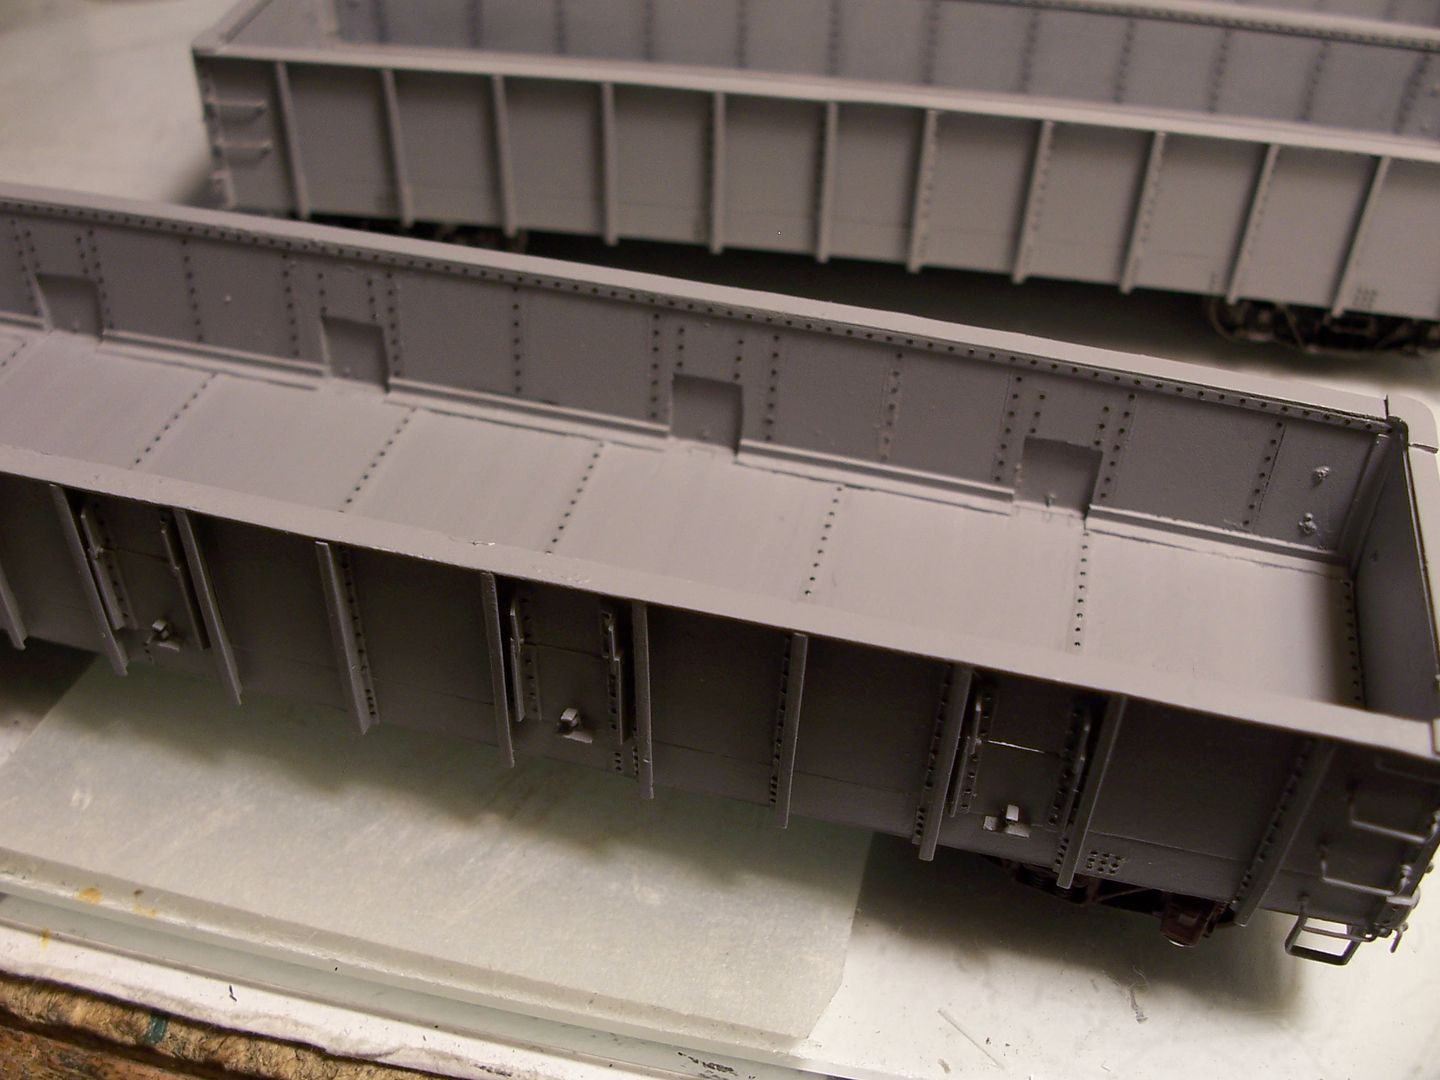
I used the MicroMark ones on the cars shown above, mainly because I was doing five of these cars, which needed lots of rivet detail to make them appear fairly close to their prototype. Many of them required usin
Thanks for your kind words, DEW.
I may have posted it somewhere on this Forum, but it would have likely been in reply to someone who was experiencing difficulties in applying decals.
I also searched for it on my “home” Forum, but couldn’t find it there, either. I do, however, have a copy of it, which is located below…
First, I would suggest that you wash the car (or locomotive, structure, etc.), using warm water and dish detergent, then rinse it thoroughly with water and let it air-dry.
Once it’s dry, airbrush it in an appropriate colour(s), then set it aside to let the paint dry/cure/harden, depending on the type of paint you use.
Once that is done, airbrush the entire areas which will be decalled with Glosscote (or your preferred clear gloss) then let it fully dry until there’s no odour of solvent present on the car. Don’t apply the gloss only where the decals will be applied - for rolling stock and locomotives, those areas are usually the sides and ends - cover them completely with the gloss, even if the amount of decal work will be very minimal. Allow the clear coat to fully cure/harden - there should be no noticeable odour to it, (this minimises the chance of the setting solutions reacting with the clear coat).
Next, use a sharp blade to cut the needed decals from the sheet, keeping as far away from the lettering as possible. Once you have all of the required lettering free of the main sheet, use a sharp blade (re-sharpen or replace as necessary) and w
doctorwayne - Thank you for posting the long version of your detailing tips. Great tutorial. I will definitely copy it to my “tips” file. Thanks again.
DEW
Wayne,
Looks like your aluminum tape experiment was worth doing…beautiful result!
Re Micro-Mark’s rivet decals…I’ve tried contacting Micro-Mark with questions, but they haven’t answered yet. I’ve heard there’ve been Internet outages on the East Coast (think they’re in NJ)…maybe that’s the reason. Can/would you please tell me what the scale diameter of the rivets is…e.g. 5/8 in., 3/4 in., 1 in.? In Micro-Mark’s website photo they all appear to be the same diameter. Are they?
Also, the rivets appear in their photo to be in different scale spacings. What are they, e.g. 3 in., 5 in., 8 in.?
Finally, in their photo each decal sheet appears to have duplicate halves, i.e. the pattern of rivets on one half is duplicated on the adjacent half. Is that correct? There also appears to be some duplication from top to bottom of each sheet…correct?
Thanks,
Chuck