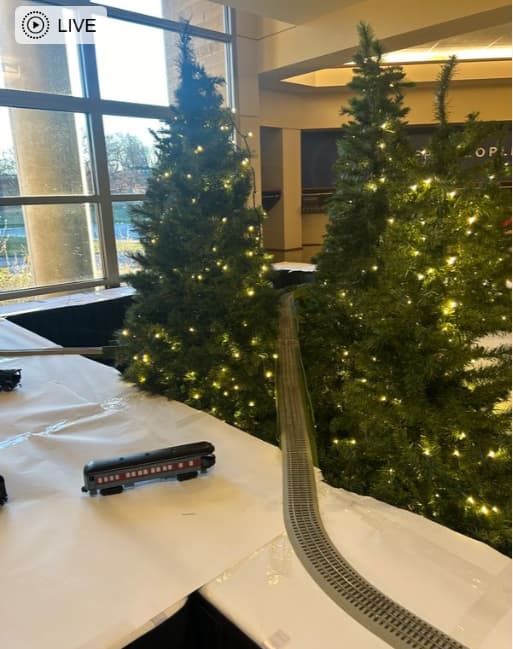
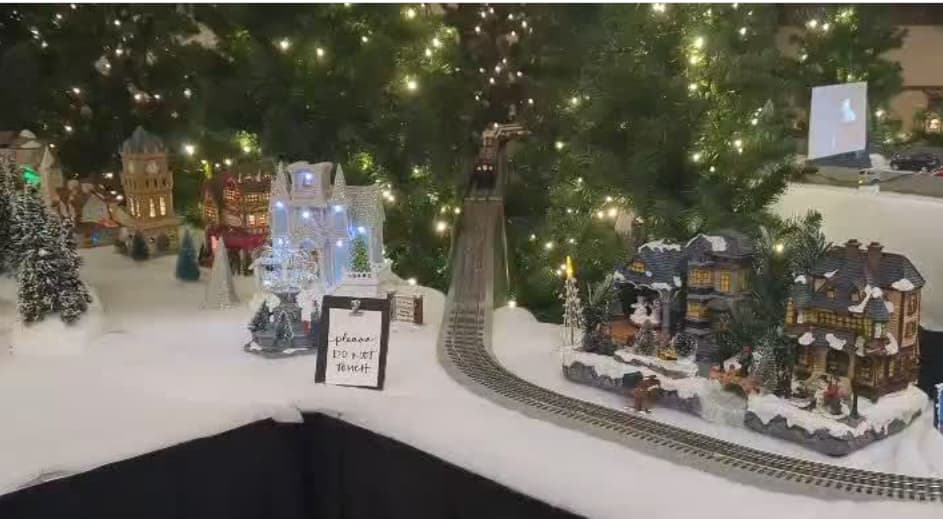
For anyone who sets up a Christmas train layout that is elevated and struggles with filling the middle section in, or wants to captivate viewers more, here is a concept that’s easy to build and incorporate. You can have your train disappear into a forest of Christmas trees to really get onlookers attention! This was a concept I built for our church layout and it turned out really good.
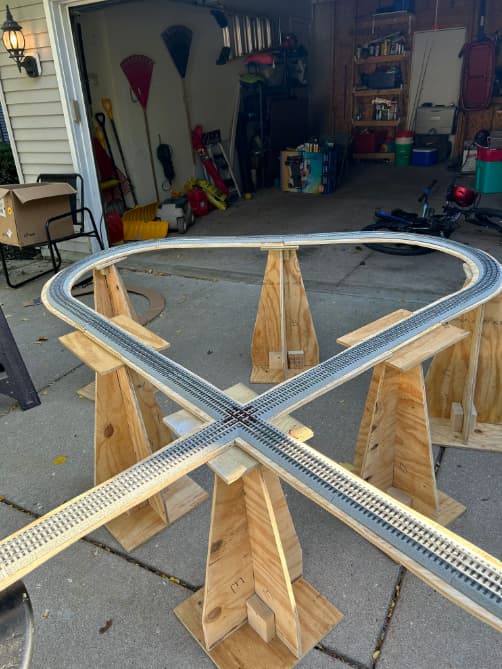
From concept, to build to install. Just make sure to have enough supports to handle the overall support that the platforms will require. Level it to your tables so the track is flush on the platform to the tops of the tables.
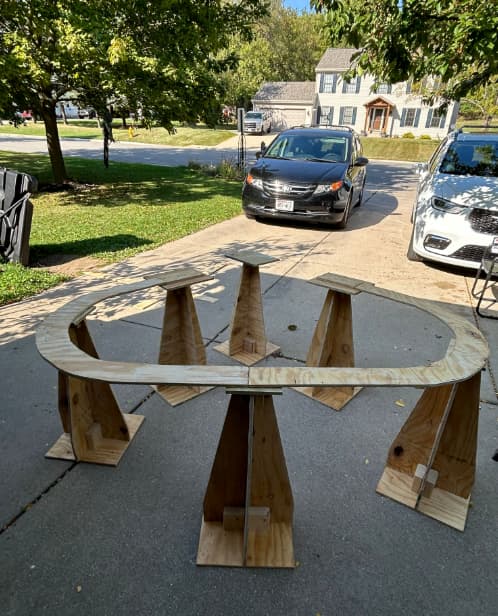
Make sure the base supports, top plate for each base and the platform resting on the bases all equate to a flush transition from table to platform.
The base supports I notched two pieces per platform so they slot fit together and used 2x4 to secure the upright base supports to the base plate that sits on the floor. I did this to reduce on space for storage. These are all universal in construction so any upright base supports should fit in any base you make.
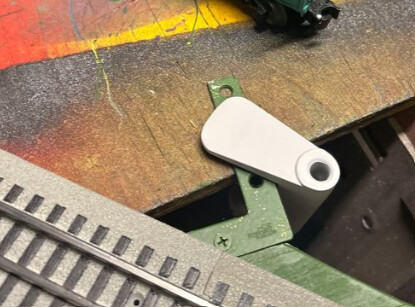
To clamp the platform to the table, I used “L” brackets you can buy from your local hardware store to be used to clamp (inconspicuously) to your table using a clamp that wont stand out. I found a pair on Amazon.

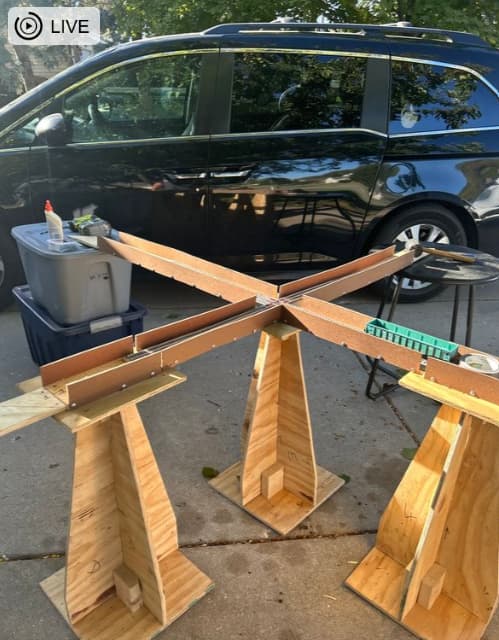
Now the underside for this length will need to have power. So you would have to run bus wiring under neath the plywood platform. I used 14 guage AWG with with trailer:
Nilight - 50020R 2Pin Way 16AWG Waterproof Wire 1.5mm Series Terminal Connector-10 Pack,2 Years Warranty
This allows for quick disconnects when breaking down the sections of the plywood platform for storage. Using eye hooks and quick disconnect chain links you can string the wiring to rest under the platform. I gently stapled the wiring so that the wiring was always secured and still allowed the hookups to sit in the chain links where connectors met to complete the wiring circuit,
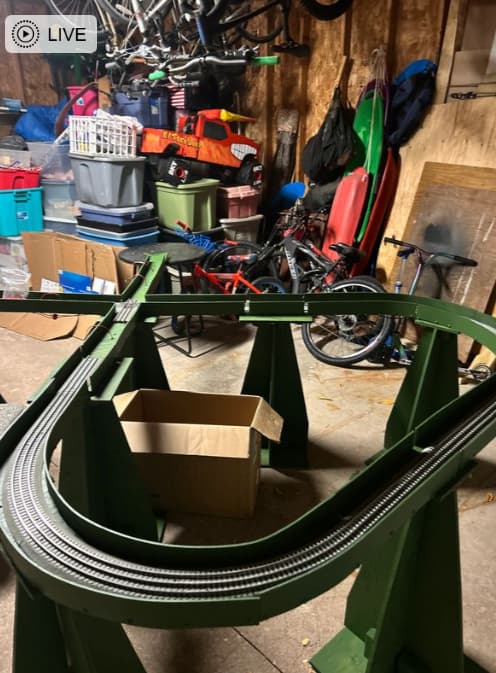
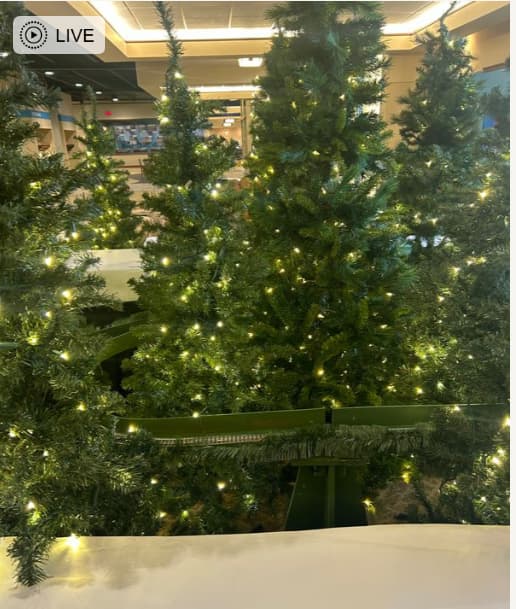
I matched the paint color to the color of the Christmas trees to give the appearance the train disappeared in to the trees and the base did not stand out on the layout.
Now for installation on the layout at setup time!

Products used:
1/2" thick plywood 4x8 sheets (3 sheets)
machine screws, washers and nuts to secure platform to bases, this allows for quick disconnect. Use flat head machine screws so track sits flush on base of platform.
1 2x4 to build supports for bases.
1/8 thick hard board/panel board 4x8 sheet. To bend the board around the side of bases, you must get the board wet and bend and clamp it in a vice or some contraption so that when the board air dries the bend stays. this will be easier for assembly.
Panel screws (found at your local Home Depot/Menards):
Teks® #8 x 3/4" Zinc Phillips Drive Oval Washer Head Sharp Point Lath Screw - 200 Count
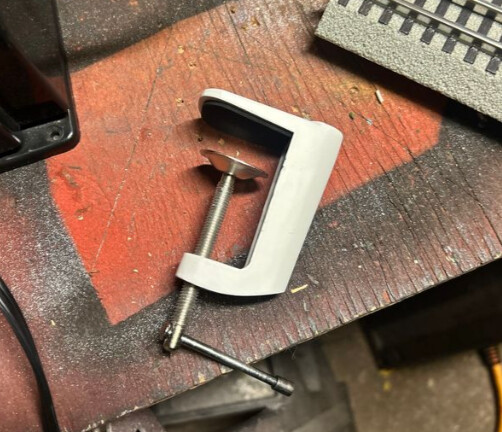
2 white table clamps - Amazon:
# RTNLIT Universal C Shape Table Mounting Clamp for Microphone Suspension Boom Scissor Arm Stand Holder with Adjustable Positioning Screw, Fits up to 2.16"/5.5cm Desktop Thickness-White
2 corner braces found at local hardware stores (Home Depot/Menards):
# National Hardware® 2" x 3/8" Zinc Flat Corner Brace - 4 Pack
Wood screws that can secure the corner braces to the platform that butts and clamps to the tables.
Green Paint