I hope it is not too late to suggest a modest alteration to the Mantua Mike. The three parallel sand pipes coming from the sand dome are one of the key features that scream “Mantua Mikado” in any photo. Grind those off and replace with new lines that actually go to the drivers can really help the appearance.
Not really OT but I read somewhere that if the Mantua Mike resembles anything specific, it is a Wabash prototype.
I’m no expert, but I believe they all needed a piump of some type. Worthington BL’s were massive & mounted on the left side. They had a pump integral with the heater, and are not in this discussion.
Worthington SA’s and Elescos were usually mounted ahead of the stack. Exceptions were Worthingtons behind the stack on PRR M1a’s and K5’s, and Elesco bundle heaters ahead of and below the smokebox on many Santa Fe engines. The pump for these was usually mounted on the left side. The Worthington SA pumps were all similar, while there was an early and late version of the Elesco pump. I’m not very familiar with other systems such as Coffin, and cannot address them.
As produced, the Mantua 2-8-2 represents an engine with a Worthington SA system. The rough rectangular shape ahead of the stack represents this, and the rectangular shape just above the left crosshead represents the pump. These are very rough approximations, typical of the time when this model was designed. The piping to the check valve is probably wrong. I would consult something like the MR Cyclopedia for a better idea of that piping. If you are really ambitious, you could file those lumps off and add nice lost wax castings in their place, but there is no rule saying you must.
As mentioned, the engine is represented as having air pumps on the pilot deck. They are not actually represented, but would be behind the shields attached to the front ladders. The ladder/pump/pilot casting was actually “borrowed” from the Mantua 4-6-2, which represents a B&O P-7c or P-7e 4-6-2 (except for the non B&O cab and tender). The engine should not have another air pump added.
The angled sand lines are a nice addition, and are much more in keeping with traditional practice than those vertical cast-on ones.
Tom
P.S. (edit) I am delighted to see you making the stretch to try stuff like this on your own. It’s the way most of us old coots learned. You’ll get satisfac
Was able to get some work done on the front and the one side. Replaced the one missing sand pipe on rt side that had fell off before i took the pictures. Having a little probelm with the plastic parts staying gluged onto the metal body, i used super glue, is there another glue that might work better to keep them in place?
Not going for a 100 % accurate model, i want to leave body of it, close to organail as possible so going for the classic look that has been updated some with parts etc.
Hi there. I’m not sure what parts you are referring to, but attaching something to metal usually involves drilling a hole in the metal to anchor the part. CA is usually ok from there.
Glues always work better when the surfaces are clean. Real clean. I’d wipe the metal down with a strong solvent. Alcohol on the plastic might work. Or wash it in dishsoap and do a great job of rinsing. Then no touching.
You might try epoxy. It’s usually better to choose the long-set epoxy instead of the 5-minute, at least for joints that take any stress. I’ve done work similar to yours on the Mantua/Tyco 0-6-0 and 4-6-2. Super glue wasn’t generally available back then, so it was epoxy exclusively for plastic/metal bonding.
Epoxy is good at gap and void filling. Roughing the surfaces will also help with epoxy.
I built Belpaire fireboxes on the two above locos with epoxy. Something tough to do with super glue.
And, yes, using a pin connection can be quite helpful. You can even add your own.
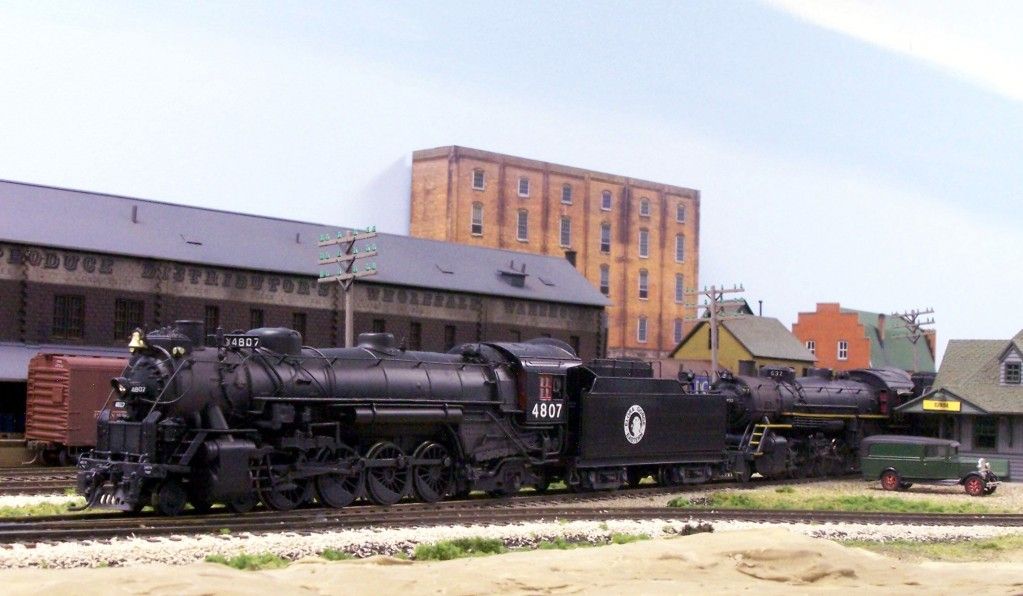
Yes, that is a Bachmann Light USRA Mountain, re-worked somewhat to give it a bit of Central character.
NYC was part owner of the TH&B Railway, based in my hometown of Hamilton, Ontario, so I’ve been a lifelong fan of both. The TH&B actual bought two J-1s from the Central, and were the only Canadian road with Berkshires, two of them, built in Montreal:
My nod to those locos is mostly in the shrouding over the turret piping. It was done with styrene, while most of the other added details (cast pilot, shrouded air pumps on the pilot deck and Worthington feedwater heater) are from Cal-Scale. The air tanks are lead-filled brass tubing, so the loco is a pretty good puller:
A relatively easy way to attach detail parts to a cast metal locomotive is by drilling holes in the boiler, and since cast zinc and Zamac are pretty rough on small drill bits used by most modellers, it’s easier to use something a little larger - say a 1/8" or 3/16" bit in a full-size drill. The holes should be perhaps at least 1/4" deep. After you’ve drilled the holes, use styrene rod (in conjunction with styrene tubing if the hole is especially large) to plug the holes: apply some ca in the hole, then force the plastic plug into place. When the cement has had time to set, file away the excess material protruding from the former hole, then use your modeller’s drill bits and pin vise to drill the plug to accept mounting pins on cast brass detail parts or plastic ones, or even brass wire used as piping or mounting pegs.
If you’re adept at soldering, use brass rod in place of the plastic, which will allow you to solder cast brass details in place.
For attaching piping, it’s preferable to have both ends of the pipe inse
The only difference I’m aware of is that the long-set is supposed to be “stronger”. I got that from reading the packaging. And that’s about as much detail as I can give you. I’ve got both, 'cause “ya never know”. I bought mine each in two-bottle sets. It’s much more cost effective than getting it in those squeeze tubes or super-dooper syringes. But first-time cost ain’t small.
I almost always use the 5-minute because most of what I do is not exactly high strength. For example, the last time I used it was to stick on some additional metal weights inside a car–plenty of surface area and not a lot of “stress”. Hey, gravity alone would work most of the time.
BUT.
If I were to do another one of those Belpaire fireboxes, I’d use the long-set. Not so much for strength, but 'cause I wouldn’t want it setting up before I was done with the pour and related activities.
There is a toxicity difference between the slow and fast setting epoxies. I remember that from when I built an epoxy/fiberglass sheathed boat. If I recall correctly, which may be difficult considering how many gallons of that stuff I used, [:P] the slower/stronger stuff was the more toxic.
They also mixed at different ratios. Many of the consumer grade epoxies mix at 1:1 no matter the strength and speed. I have always wondered if that ratio is achieved with filler in order to make it easier to use.
NICE!!! You got a 1949 Mikado by Mantua. FYI, HoSeeker has a full set of plans.
According to your picture, your tender is correctly insulated. Insulated wheels on the right. Also your pickups on top of the motor appear to be correct as well. Check your lead wire in case it is shorting on something on the engine. Those cloth wires were something else!!! And yes, when I rebuild, I put a new cloth wire on. I lucked out and found a few rolls of this old stuff. I rebuild some old Gilberts once in a while. They got wire up the ying yang!!!
And you are correct about the oil and cleaning spots.
Oh, the tender instuctions your using can be found on the instructions for the Mantua Berkshire, 2-8-4.
One of the problems I found on my steamers with die cast tenders - the post where the tender trucks mount to became oxidized and conducted very poorly. Cleaning the bolster on the truck around the screw and the post where the screw mounts improved operation tremendously. If I were putting a DCC decoder into the locomotive, I would probably add wires from the tender body to the bolsters on the tender trucks, and make sure the wire from the tender to the motor has a good connection at both ends. Eliminating as many rotating points of electrical contact is needed for reliable pickup for DCC (and improves DC operation, too). Some even go to the point of adding axle or wheel wipers, and direct wiring those all the way to the decoder/motor. Fred W