Show ME bridges.
This bridge is build by FREMO friends, not me.
Here’s a video from Léon and the HowTo.
Wolfgang
Show ME bridges.
This bridge is build by FREMO friends, not me.
Here’s a video from Léon and the HowTo.
Wolfgang
Nice job whoever built it-I had to take a break from buildding the strut towers-Fun to build but man,they are a bugger to keep flat and square.
Looks very nice. What process did you use to keep it flat and square?
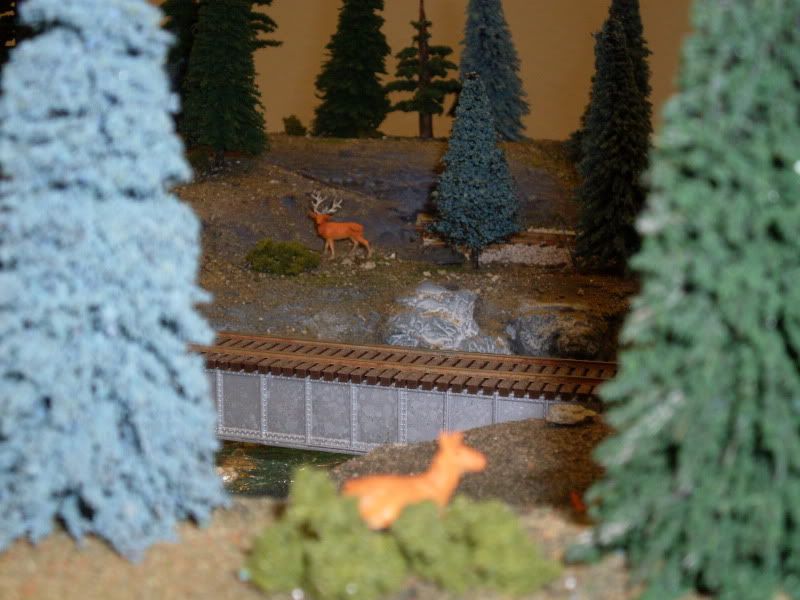
These are from my friend David Martin’s modules, based on the Pacific Northwest.
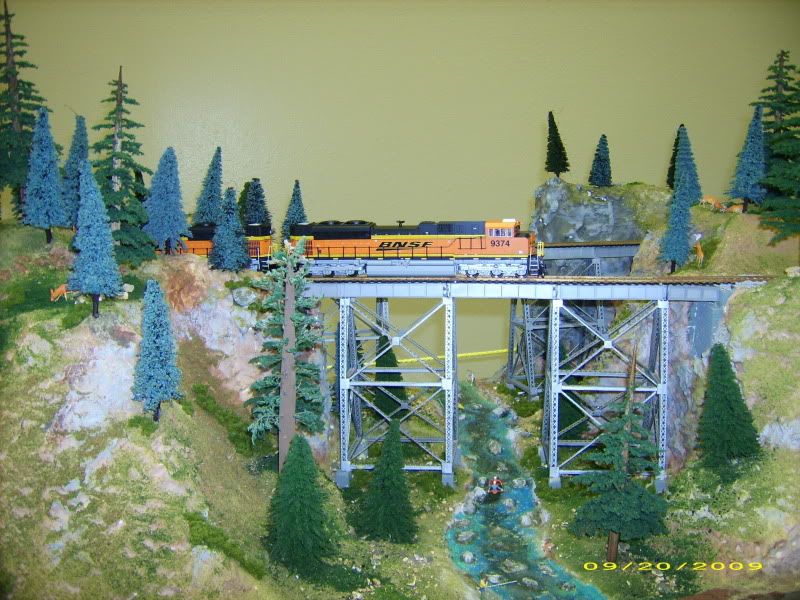
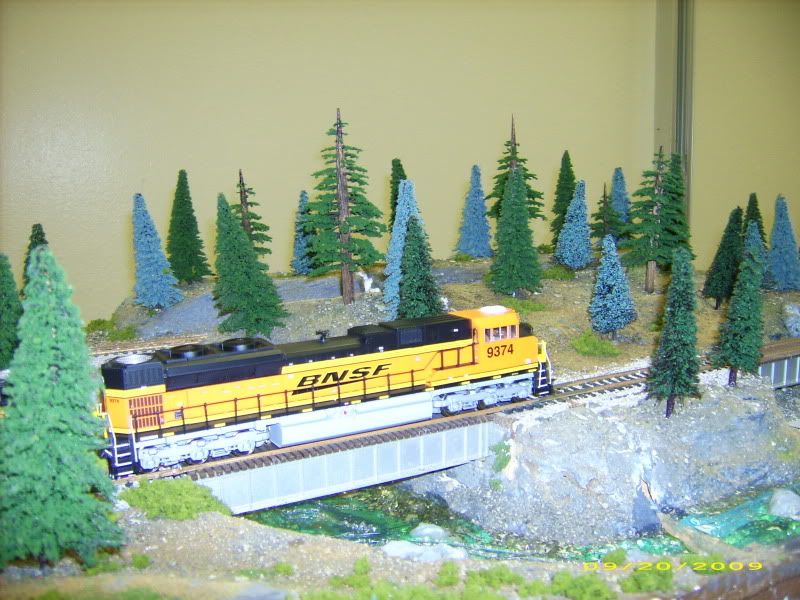


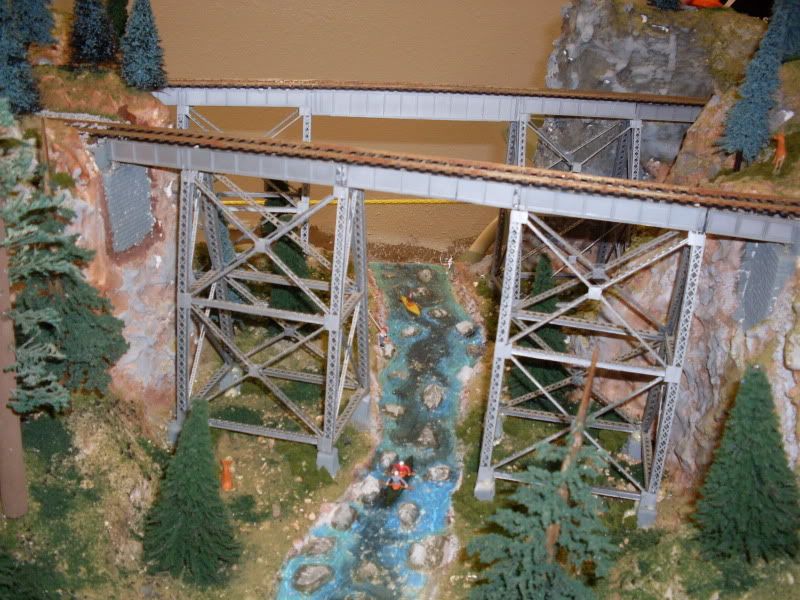
We had our layout set up a couple of weeks ago at the Temple Model Train Show, and between those and Canyon Diablo, there were a lot of positive comments. [:)]
This is an ME 120’ combination through/deck girder. It somes with several lengths of their bridge track with ties. The through girder comes with squared ends, but you can cut and sand the top corners to round them, and then glue pre-curved (u-do-it) top plates.

-Crandell
Wolfgang, you might want to weather that “puppy” something like the ATSF (now BNSF) Alhambra Valley bridge, adjacent to John Muir’s former residence in my hometown:

Mark
These are nice bridge photos.
Anybody know if M.E. bridges also come in N Scale?
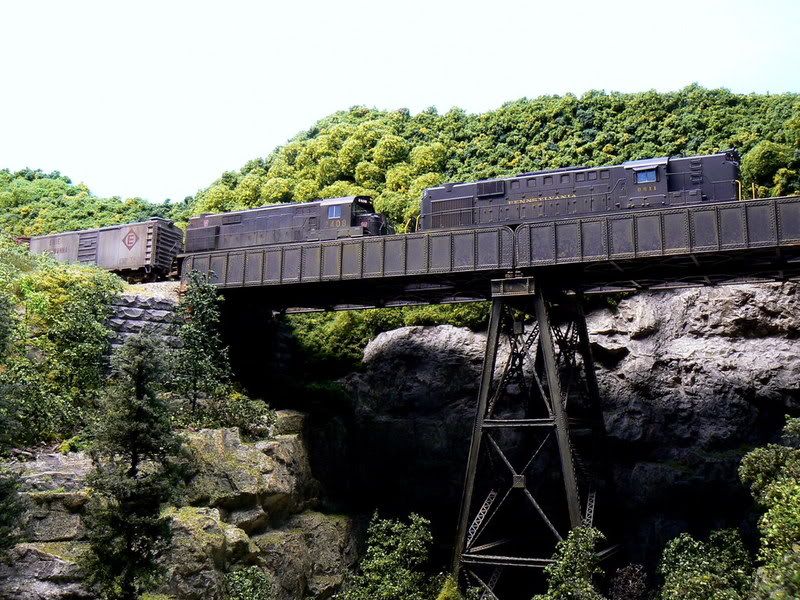
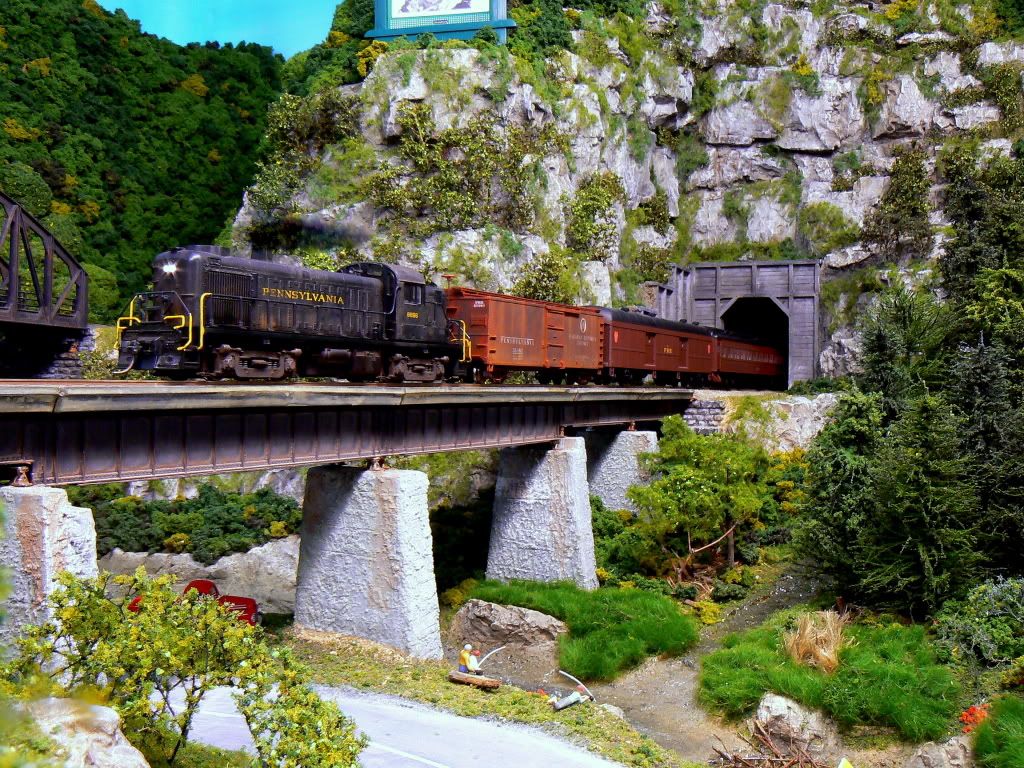
Here’s a couple of my ME bridges.
I only had the patience to build one tower. Double 50’ thru girder.
3- 30’ and 2-50’ thru girder with ballasted deck.
DJ.
Nice job on the bridges.
To help with squaring up any of the assembly, I build all the subassemblies on a flat 3/4" MDF base. Once it is time to glue up the open deck, the tower assemblies etc, I use various pieces of scrap oak, poplar and maple blocks in 1x4,6 and 4x4s at least 4" long… These can be arranged in any way to aid in keeping the model square. I realize that not everyone will not have these large chunks of hardwood at their disposal, but any blosks will do the job. As a carpenter, I always end up with this stock left from stairs and ballastrade. 1X pine or 2x will work but the cuts must be done on a chop saw for clean square cuts. Many times weights must be used to hold the blocking to keep position.
This also helps when assembling structures as well.
Another helpful hint for those curved ME Viaducts: When building a curved bridge, the directions do show to make a template. I make sure that my template follows the true arc and is as wide as the ties themselves. ME bridge flex can be troublesome to curve w/o kinking. To gain a perfect arc to my template, I cut a piece of 1/4" luan to the inside of the tie. Now all you need to do is flex/ bend the bridge flex to fit the wood template. If you develop any kink and need to start over, just straighten the track by pressing on a flat surface.
I find that bonding the track w/ Pliobond to work fantastic. Pliobond (rubber cement) holds extremely well and remains quite flexable. It seems to and a slight cushion to the joint which is just what we need for any slight flexing and vibration from years of running.
Nice photos Arjay1969. I really like the 2.
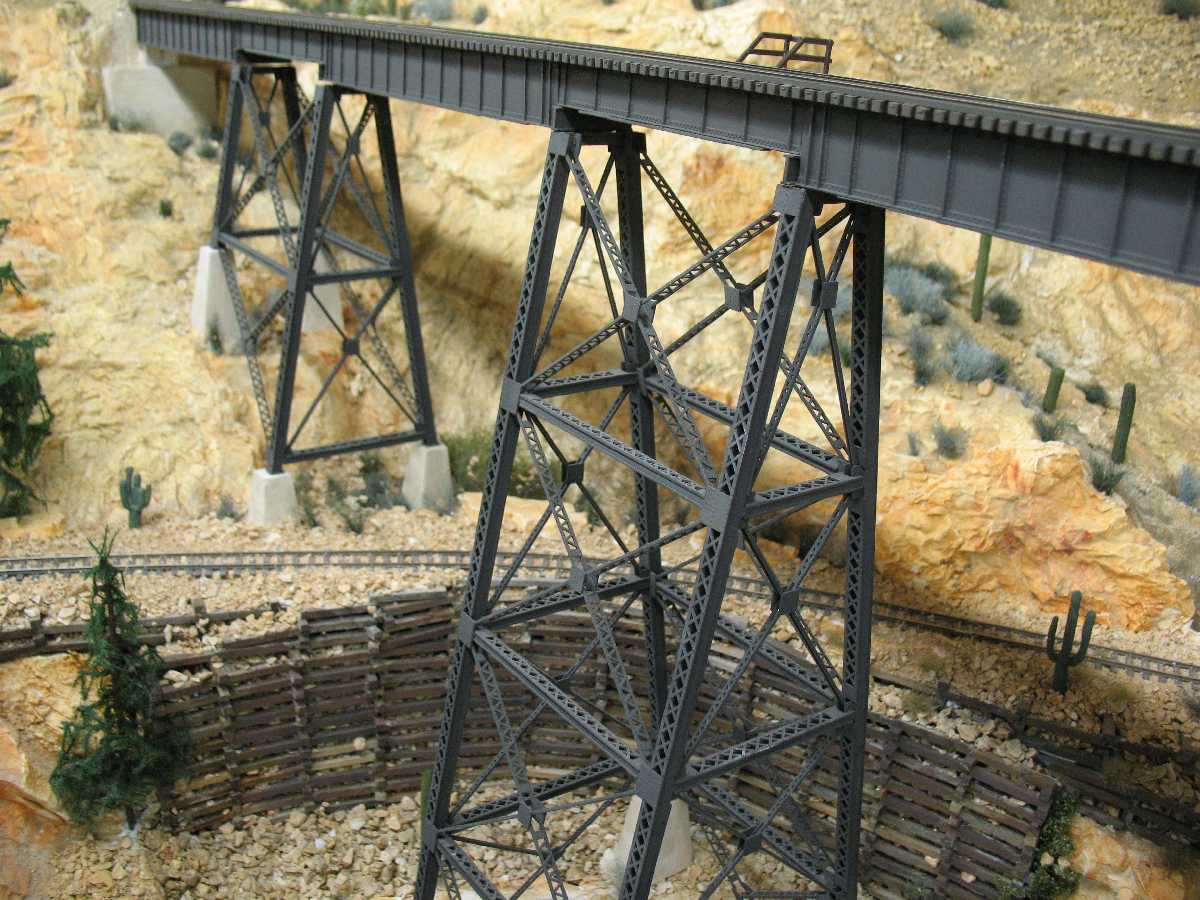
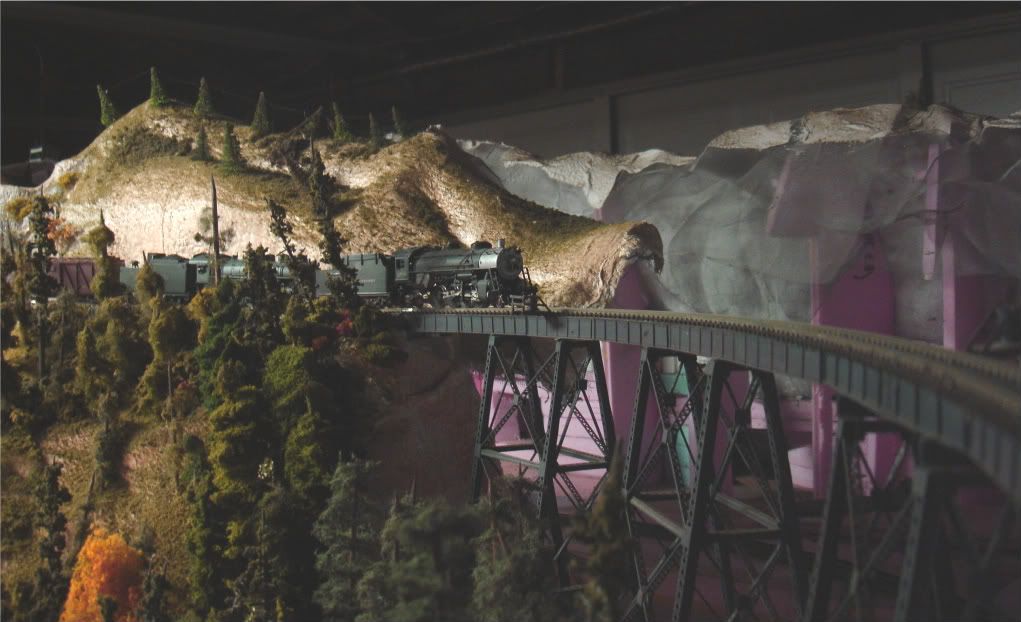
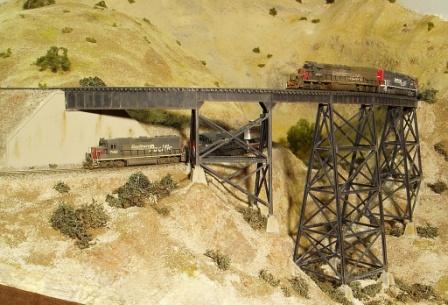
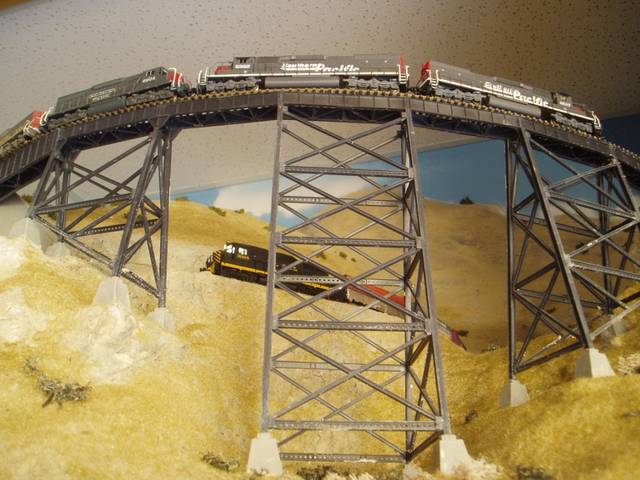
Well, I’ve posted the Deer Creek Viaduct several times before, but here it is again–it’s two ME tall viaducts joined together on a 36" radius curve.
Pardon the unfinished scenery in the background of the two shots, LOL!
The first tower was the worst. After that, it went relatively quickly.
Tom
Tom, that has to be the granddaddiest of all the bridges so far. [:P] If you happen to have one, howzabout showing us an RDC partway along that bridge?
-Crandell
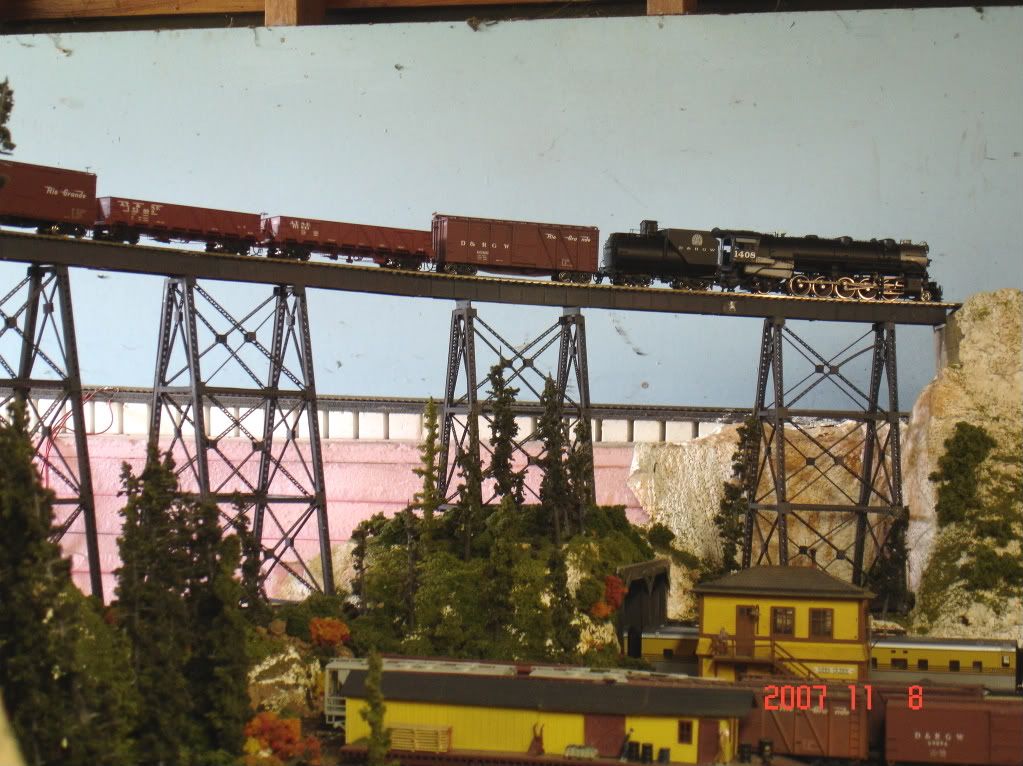
Crandell:
Closest I could get would be my little 4-6-0 and a combine, LOL! [:P] But actually, if you want to see the GRANDDADDY, you should talk Wolfgang into showing a picture of that complete bridge at the top of the thread. I think it’s based on the former SP viaduct over the Pecos River in Texas, and it’s just Bloody ENORMOUS! It looks like at least six ME kits with tower extensions.
BTW, saw your video on the MTH/BLI thread. Excellent! How about some more? [bow]
Tom [:D]
I’m just starting M.E.'s City Viaducts (4 of them). They’re a nightmare. Spindly leg pieces that fight you every inch of the way. I think my lst kit is going to be a “learning experience”. I’m keeping my pieces flat and square using the magnetic tray from Micro Mark. (steel plate with approx. 1" high walls and 8 magnets). I also use sticks stuck between the noodly leg pieces as a gluing jig/spacer and some bar clamping
It’s still a fight and takes forever to get it just right before letting go and walking away to let the glue cure.
Part of the problem is that the instructions are terrible!
The kits are very nice but not for un-patient or short of expletives people.
The people at the company are very nice and helpful though.
I have no idea at this point whether or not I’ll be able to get all 4 bridges city (viaducts) built. It’s day by day by day…
Close up Pics of the M.E. city viaducts completed would be greatly apprectiated.
Captain:
I think that Crandell would be a lot of help on the City Viaduct–his own ME bridge appears to be made up of mostly City Viaduct components.
As to the ‘general’ assembly of ME kits–what I found frustrating at first was the fact that the girder assemblies for the towers seemed extremely fragile while I was putting them together. All I could think of was “Oh, man, this AIN’T gonna work!”. However, as I worked them together, I found that they all fit just as they were supposed to, and I was both surprised and incredibly pleased at how sturdy they were as the various components were assembled.
The more you assemble of the various components, the better the kits seem to be designed. Though I’m unfamiliar with the instructions for the City Viaduct, the instructions for the Tall Viaduct, once you study them VERY thoroughly, start to make sense.
As I told Crandell, the first tower was the worst. Frankly, I didn’t think it would work at all, but after I got it assembled, I was amazed at how absolutely well the kit was designed. After that, the other towers went together quite easily. And after I got the towers finally assembled (the most difficult part of the kit) the deck girders went together in about an evening–and that included clipping the girders for the radius I needed.
So don’t get discouraged, my friend. The ME kits are complex, and they take a LOT of patience, but as far as design, I’ve found them absolutely fool-proof. The result, at least for me, was a tall viaduct that doesn’t weigh much at all, but will support the heaviest train you can think of to run over it. My Deer Creek Viaduct has no problem supporting my VERY heavy fleet of Akane Yellowstones–it’s that well designed.
Keep working on
Well, Dang, almost forgot my ME twin solid-deck girder bridge over Plum Creek at Sierra Buttes.

Tom
I havent seen them advertised in my new MRR issue but I did find an issue in which they were, i believe from 06, and they had 2 sizes of N scale bridges. May do a lil searching and find more.
Great posts. I think that I will look closer at the ME kits. Thanks.
Sue
Why yes they do;
This is made up of three ME kits built upside down on a traced templet with Peco code 80 flextrack. The curve is 17" with an easement on the 80 foot girder section.

The abutments are scratchbuilt and the piers are from http://www.finenscale.com/architectural.html
Anyone have a link for ME’s website? R. Staller