Hi everyone!
I have just received two bottles (one of Micro Set and one for Micro Sol) for using with my decals.
Now I would like to know how to use those products with my decals.

Hi everyone!
I have just received two bottles (one of Micro Set and one for Micro Sol) for using with my decals.
Now I would like to know how to use those products with my decals.
Blue stuff helps you position the decal (“set” it into place)
Red stuff is the tricky stuff. Many decals won’t be soft enough to settle down around details on the model surface. Micro sol ( think “dissolve”) softens the decal material so that it sucks itself down onto the actual surfaces of the model under the decal.
You can use the Blue stuff fairly casually. It’s basically a wetting agent that softens the water on or in the decal material and helps you float the decal to where you want it to set. You can use the very tip of an Xacto #11 blade (the really pointy blade) to move the decal around or a fine hair paint brush. I use micro brushes. The very point of that knife blade is also handy for pricking tiny invisible holes into any stubborn air bubbles that remain before you apply any Red stuff.
I use the words Blue stuff and Red stuff to remember the difference because the names on the bottles remain confusing to me. Red stuff can damage a decal if you use too much.
Another tip is to create several scraps of torn edge paper towel or Kleenex scraps for fluid control. Once you get the decal floated to where you want it then very carefully slide the torn edge of paper towel or Kleenex just to the edge of any excess fluid. Capillary action should draw the excess fluid into the torn paper edge without also moving the decal. Trying to dab excess fluid off the top of the decal invariably moves it. Capillary action on the other hand tends to suck the decal down right where you set it. Then add a little Red stuff, a bit at a time until the decal “looks right”.
Don’t try to touch or move the decal after you put Red stuff on. Don’t put Red stuff on until the decal is exactly where you want it.
I got my first important experience with this on a set of passenger cars that I stripped and repainted.
In addition to LastSpikeMike’s comments:
I let the decal initial set with Microset dry completely
Then I applied Microsol and let that dry thoroughly, pricking any bubbles as described. I used a QTip to apply and pricked any bubbles as described.
When dry, if not completely settled (e.g., atop a rivet) just applied Microsol again the number of times required. Be sure to let it dry reasonably before re-applying.
It is a process. With my 7 passenger cars, by the time I went through an application on the 7th one, the 1st one was ready for the next step.
Another note: many suggest that the finish you are applying the decal to matters. I believe that most suggest a gloss coat under the decals. After decals, the final finish can be a semi-gloss or dull coat as desired. Not sure if an initial gloss coat over the decals is suggested before the final coat. Those with more experience can clarify.
EDIT: Some related older threads on this and Walthers Solvaset can be found here:
Yes in scale modeling (plastic airplanes and such) they always say put down a gloss coat (either spray or by brush) on the surface prior to setting a decal. This will help prevent the “silvering” phenomenon where the decal can sometimes become opaque. I can’t tell you the reasons why they sometimes become opaque, but I think sometimes it has to do with if the decal set is an older production. After it is set, then you can add a dull/flat coat on top to seal the decal if desired or if it is on an area of a model that will be touched often. You can also use microsol(red) to remove some factory-applied decals on rolling stock, which can come in handy.
Sorry, but there is some bad information already presented in this thread that can cause poor results.
You should practice on a test model first. My “test model” is a textured sheet of plastic I spray-painted gloss orange with a rattle spray can. It is great for testing/practicing decal work.
Also, maybe a search to a thread on decals that contains a response from Doctor Wayne will be a huge help.
This link goes to a thread that has a good response from Wayne, there are more, and all contain excellent advice:
The goal of these solutions is to make the decal look painted on. This is a skill that takes practice. Do not expect results like this from your first attempt.

Decals are a very relaxing part of the hobby for me, frustrating for others.
Good:
Have a glossy surface to apply the decal film onto. Use Microset or Water to slide the decal into position.
Bad:
I would avoid using a paper towel to draw excess fluid from the edges of the decal. Instead, allow it to evaporate naturally. Removing the fluid from around the edges can cause “silvering”, and lint from the paper towel can get beneath the decal edge. Only use good quality brushes to apply decal solutions. If there is way too much fluid, a dry natural Sable bristle brush will pull away excess and leave nothing behind. I keep a #5 artist round Sable that has only been used for decal solutions and never paint.
Only pierce the decal with a knife or pin as a very last resort. I need to pierce less than 1% of the decals I apply. Pricking the decal creates a weak spot in the film that could tear as the setting solution dries. Instead, If I have a trapped air bubble, I carefully lift the decal f
I used to have trouble keeping them straight. Because it can be months between decal settings I used to forget whether it was red or blue to go on first. The way I keep it straight in my head is MicroSol is a solvent and it can dissolve the decal if applied to generously. It can smear the lettering. Apply it sparingly after the decal has set. I like to use a cotton swab. Just dab it on. Better to use two or three stingy applications than using too much at once. If the decal film remains visible after several applications of MicroSol, I’ll dab some around the edges of the decal and use a SHARP hobby knife to cut it as close to the lettering as I dare and then carefully remove the excess film with the point of the blade.
You’re sorta half-right and half-wrong, Mike. Water is for positioning the decal, and using it will allow multiple attempts until you get the decal exactly where you want it to be. If you apply Microset, you will be limited in re-positioning the decal, as it is a weak setting solution…as it evapourates, the decal will not be easily moveable - parts of it may move, but a torn or distorted decal is not usually recoverable.
I use Microset only when the decal is in its proper place, and allow the excess to evapourate before making additional applications. I don’t use MicroSol at all, as I prefer Solvaset for tough-to-set decals.
Wayne
Wetting agent. There are other ingredients.
I find you can reposition a decal after the Micro set has dried somewhat, if you re-wet it with more Micro set. Technically, I discovered this by accident and it was annoying to find Micro set could refloat a decal that seemed dry.
You have be very careful to let the Micro set refloat the decal. I would not try to move a fully dried decal. It is true that even a partly dried decal is weaker after Micro set has been used. A water only wetted decal can be re-wet and moved, usually, as long as it has not been softened enough to start conforming to the surface.
I would not try to move any decal that has been treated with Micro sol whether still wet or fully dried.
Micro sol certainly isn’t the most aggressive decal softener out there, one reason I like using it. I have some of Tamiya’s product which is much stronger and requires more care.
And the way capillary action works the water/Microset that the edge of a torn paper towel pulls away cannot flow particles in the other direction. That’s physically impossible. The fluid always flows towards the capillary, always. The only tricky part is the capillary action tends to draw the decal along with the fluid so you need to just touch the fibres at the torn edge to the fluid that is the most distant from the closest decal edge.
I much prefer Walthers Salvoset to the MicroScale products, but I do keep them on hand for special situations.
A few of my results:
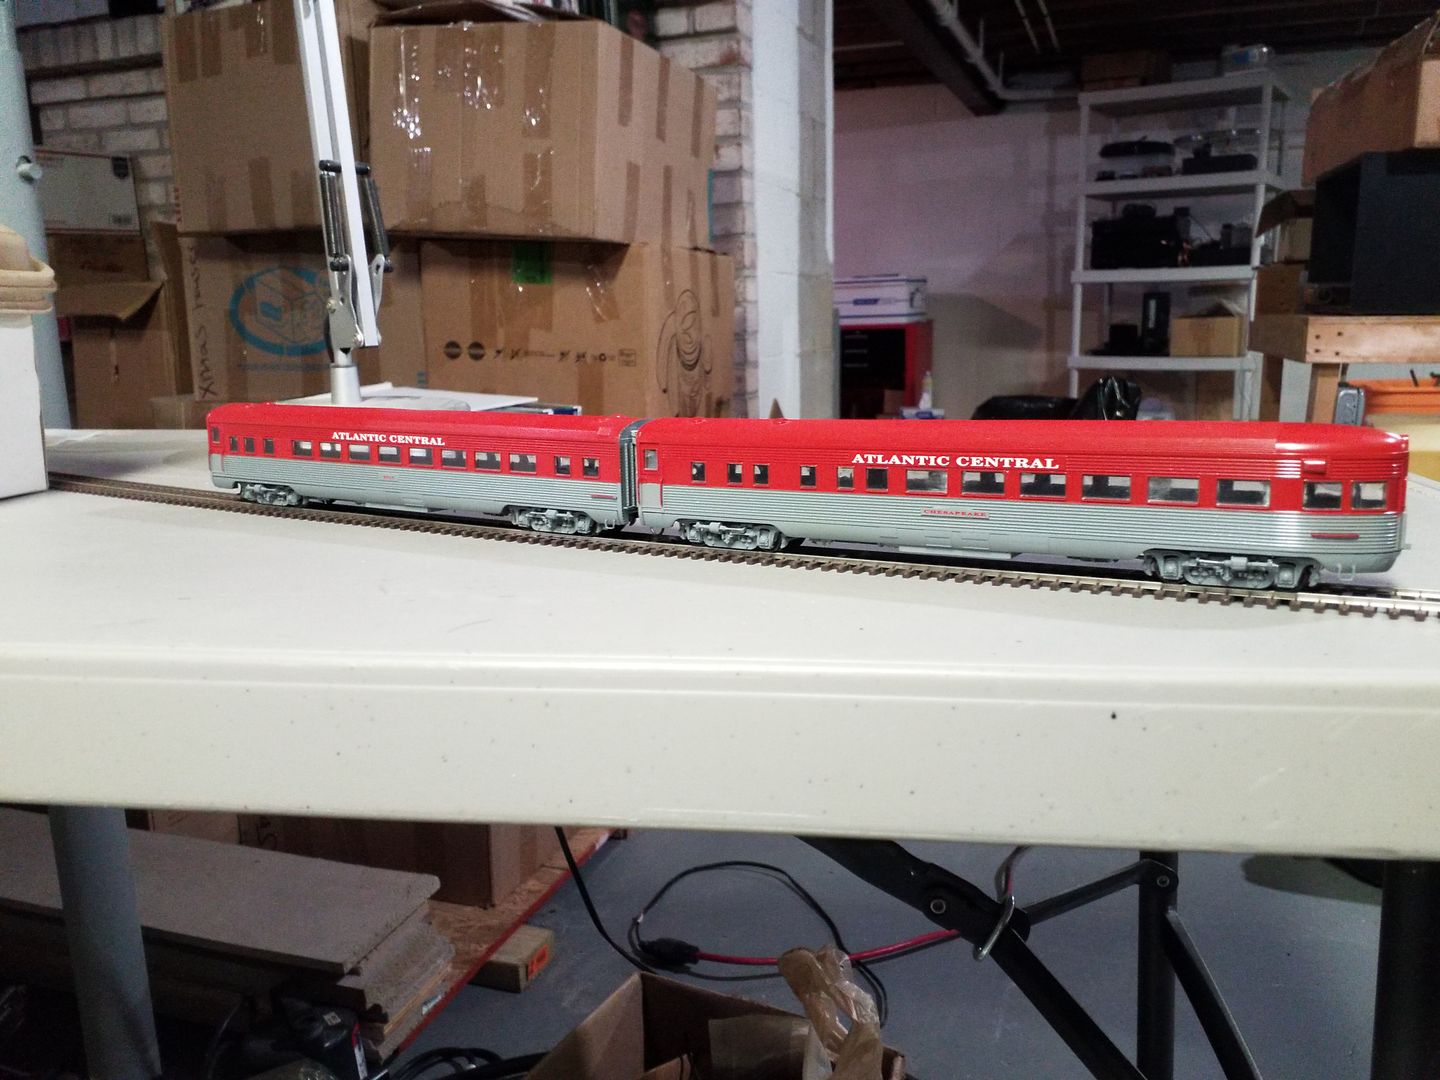
Sheldon
I like these passenger cars. Very handsome paint scheme.

-Kevin
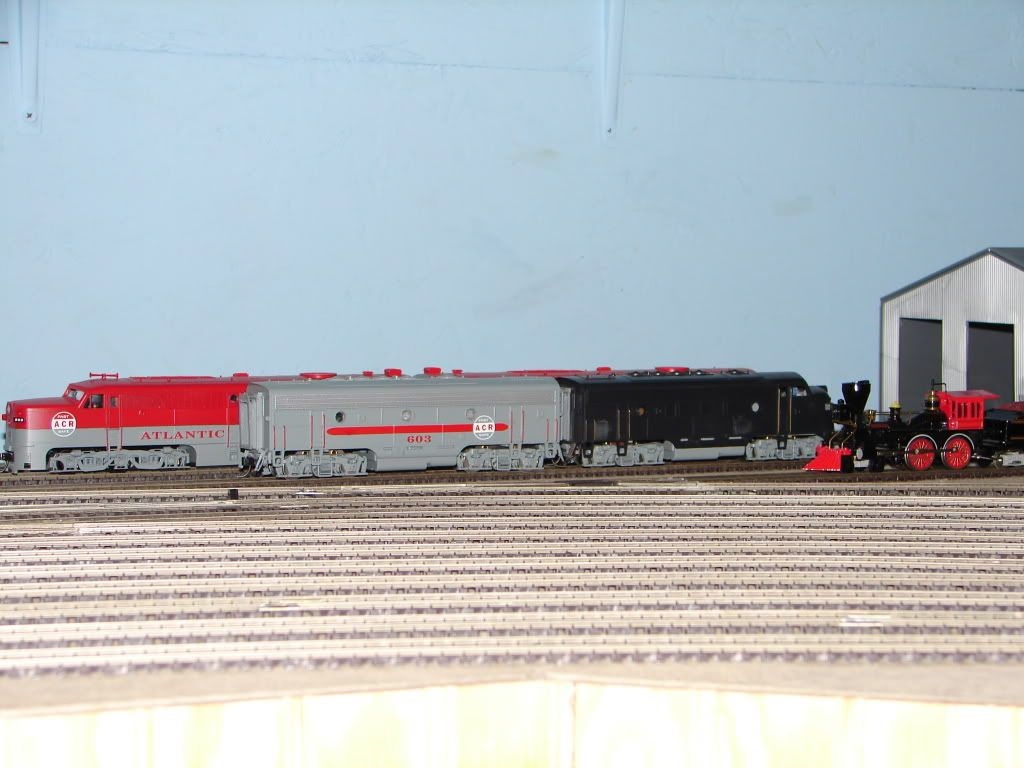
Thanks Kevin, I have ALCO PA/PB sets that are painted to match. You can see part of the PA in this photo:
Sheldon
I will agree with doctorwayne about using water to float a decal into position. I used to use MicroSet to get decals in place but I found that sometimes the decals became very soft and were prone to tearing. That was paricularly the case with pinstripes. When I switched to just plain water the problem went away. If you have hard water you might want to get some distilled water. I just use regular tap water with no ill effects.
Another of Wayne’s points that I agree with is to let the decal dry thoroughly between each step. The decal will be far less likely to move out of position if it is dry. If you apply a setting solution to a freshly positioned wet decal it may float out of place.
I will make one suggestion regarding MicroSet and MicroSol. Don’t over tighten the caps. Both caps on my two different solutions became brittle over time and the tops of the caps actually broke open. I bought the solutions quite some time ago so I don’t know if the cap material has been upgraded since then. If you are worried about getting a good seal then put a small piece of plastic wrap over the bottle before putting the cap on.
Dave
We cannot use the tap water down here. The water from the Floridan Limestone Aquifer has way too many dissolved solids/mineral content.
Buying distilled water for decal use is a neccessity.
Also, for heavy equipment batteries. Distilled water only, never the tap water.
-Kevin
My 2 cents worth on decals:
Everybody seems to have a different way that they do their decals and it seems to work for them. Find what works for you and go with it.
[tup][tup][tup] Do some experimenting and find out what works for you. Start with the weakest solution, i.e. distilled water, and work up from there.
Cheers!!
Dave
Wow, thank you Kevin and all the others for your help. I really appreciate.
Here is the first attempt I did yesterday. What do you think?


DSC03712 by wp8thsub, on Flickr
I find that I don’t have much use for Micro Set at all. I normally float the decal into position with Micro Sol. On the rare occasion I feel like repositioning a decal that landed in the wrong place, I flood it with water and move it before applying more solvent.

DSC03689 (2) by wp8thsub, on Flickr
If a model has lots of surface variation and/or the decal film is thicker than usual (e.g. Herald King), I may proceed to something stronger than Micro Sol, like Walthers Solvaset. I only do that after ensuring Micro Sol won’t finish the job the way I’d like.
The decal has settled into the brick seams nicely. You have done a good job. Tell us what you did.
If I can make one observation, you have done a fantastic job of weathering the building, but the sign looks like it was painted on this morning. Perhaps a bit of weathering on the sign might be appropriate. I would try gently using very fine sandpaper and then some washes, but others might have better ideas.
Dave
I am so pleased to hear that some of my ramblings were helpful. I don’t think that actually happens very often.
[:$]
I zoomed in on the picture you shared… GREAT JOB! You succeeded masterfully at getting the decal to snuggle into the texture of the wall.

-Kevin
If you don’t feel like weathering the sign, you could always say that the owners decided that it needed to be repainted and it just got done. (or even put a few painters on a scaffold to have workers repainting it now.)