In order to jut out into the middle of the room I had to make some kind of shelf support. I think its working out, but I will figger some kind of ceiling support. I might use some kind of long metal something to support the module fronts. The shelf viewing direction reverses going back on the left, front shelves when built to the right depending on circumstances will not have backdrops to see to the back. It may be a lot of viewing supports in the way however thats not my design to view the layout in a distance. This is more forcing you to get up closer to the action. This is why I am going for higher detail, but I won’t go to fine scale standards.
Shelf modules sit right on shelf brackets, but nothing is perfect here, I am adjusting with mini-stilts C-Clamped to correct height and the modules here have been bolted together and may likely get bolted to the shelf brackets once heighth and all other issues cleared.
The shelf brackets have either front or rear holders, but they are of no use, I will be zapping them off somehow. BTW the front module is on wheels and can be rolled around.
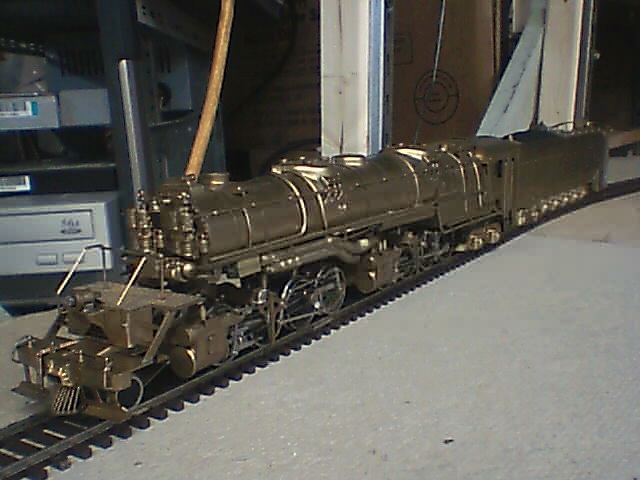
For those who would like to ogle the DM&IR 2-8-8-4 better here it is sitting on the “Correct” track.
maybe in 2 weeks or so I will have this finished and a running loop on it. :yay:
looks good! keep us posted on your work! That 2-8-8-4 looks really cool.
phew, 2 days work, yesterday and today with another day to go…
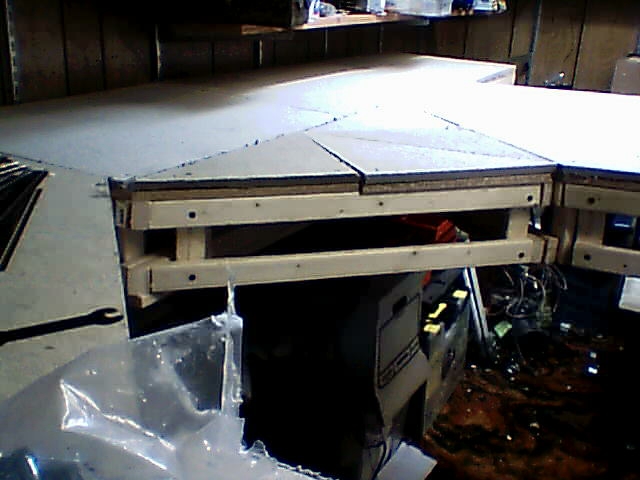
The far distant module is not an hour old from this writing from the finish time.
The South Shore module I had been working on is outa sight to the right.
This section of modules will become the “Burnham Yard” of the South Shore. I was debating whether I was going to have a huge yard for the Belt Railway of Chicago, instead, this yard takes its “idea” place, and gets more South Shore going. Belt Railway however can switch into it and interchange.
The Burnham yard has tail track leads on both ends of the yard, since I have to loop the yard around, guess what I planned in, I hooked the tail tracks together and I made a continuos loop using the tail tracks. All level. Nifty with overhead wire and Little Joe compatible. I call that my zany trick and it’ll work!
The trick now is to bridge the gap for the modules that curve around and make a test loop.
Point is I need to have a duckunder. The running idea I have is to make the walled modules and the last curved module support the “duckunder” module area somehow.
My thought is to make a supporting lip on the existing modules then the duckunder model rests on the lip.
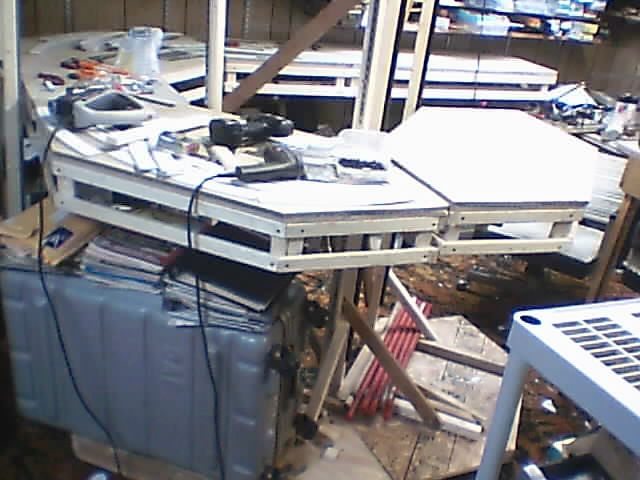
You can see the supporting structure of the floored modules, the 2 curved modules are on wheels (casters) and can move around with ease. However when connected to each other they will be rock solid.
whew, beat, drill screw saw drill screw saw measure run off buy lumber, drill screw saw…
for now
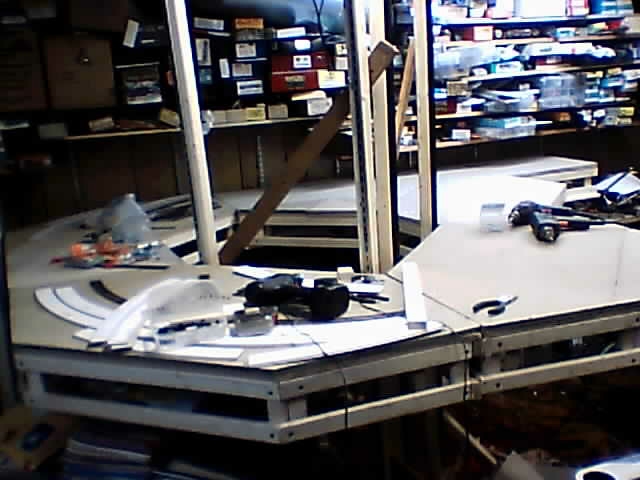
compare to pic above, the looped area is donners! well, for now…
not more than 10ish minutes ago from this writing and take pics…
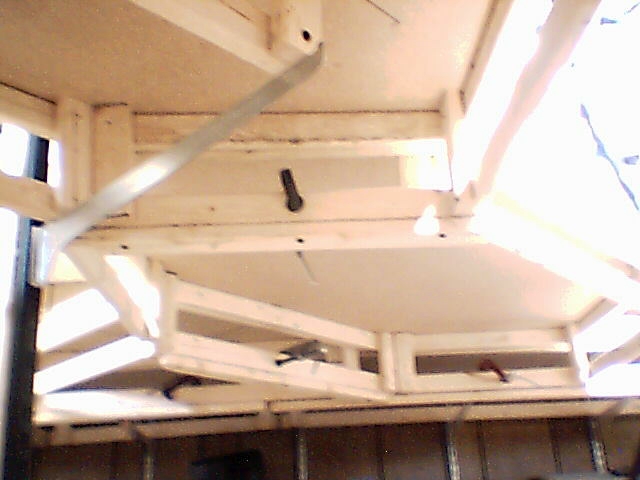
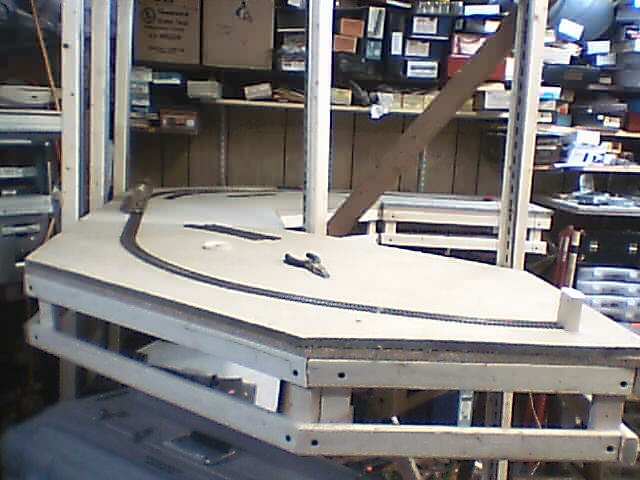
This shows the duckunder section, near module has a lip and the far module has a lip, and the mid module rest right on it, then it too also has a lip to support…
the triangle module. This was made from the cutout pieces of the corner modules.
Save everything, bub!
The whole shebang can be taken apart and moved with ease, the floor shelf supports are bolted together and break down completely. But this is not your takeout public display layout. I want it moveable should I need to move and NOT destroy my layout. Whew!
The South Shore in the last photo enters the yard area on the left side westbound, loops behind and exits on the right side still going westbound, yeh huh? but you can see both ends of the yard! yeh, okay, makebelieve time, I won’t be visually separating it, thats impossible. Maybe some kind of visual cue will separate it, but I won’t blow the reality scene with obvious blunt viewblocks. All for fun and fun for all. Michigan City module will actually work one level below this in the end result, however for now test tracks will loop from it across all this while I work on that module further. Then also test loops go down here and I tear out my old loop and build that area correctly. Nifty how modules work out. Also the plywood and homasote boards are screwed down, not glued like I used to do, it all comes apart with relative ease should it come to that.
Big 3 days of work, and I’m goin wowsers.
I don’t have a perfect alignment at one module joint, so gotta fix that sometime, thats laterz. Parteeee!!