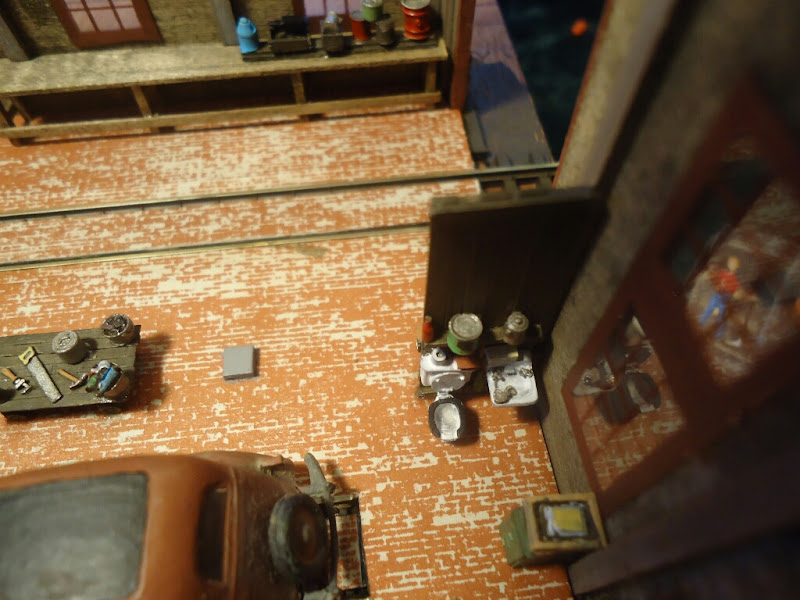
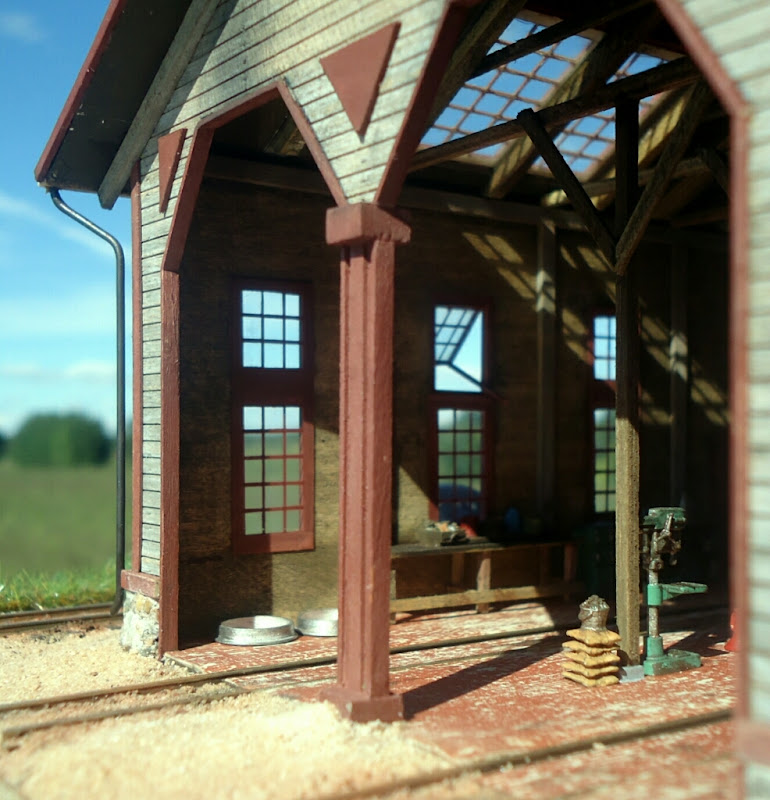
I have many of these castings from Rick and Mary and the detail is astounding and, I believe, an excellent value. One of the resaons I suggest some of these is because the work benches and shelves are pretty linear so would fit along the walls and down the center of the shed.
Take a good look at some of the “junk piles” Rusty Rails offers, too. They look great piled up along the outside walls and helps to make the structure look “planted”.
Take a look at the gallery page for some nice examples:
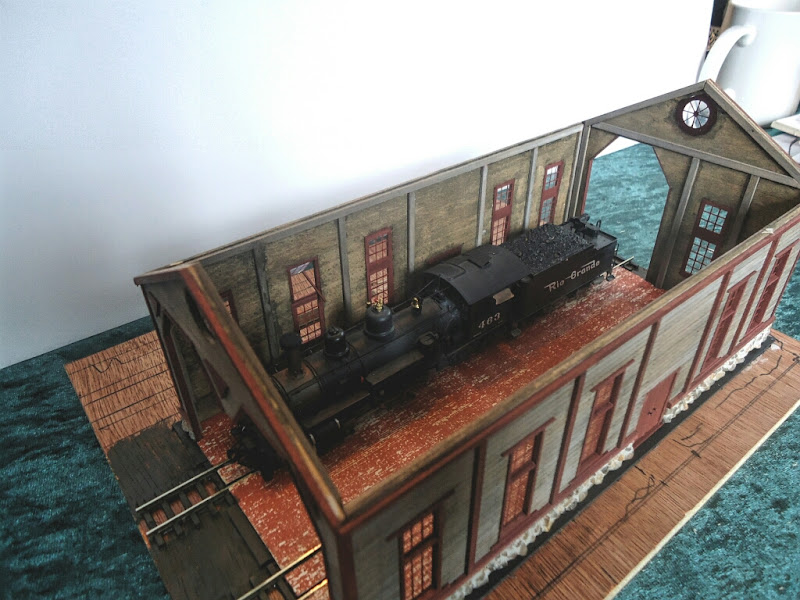
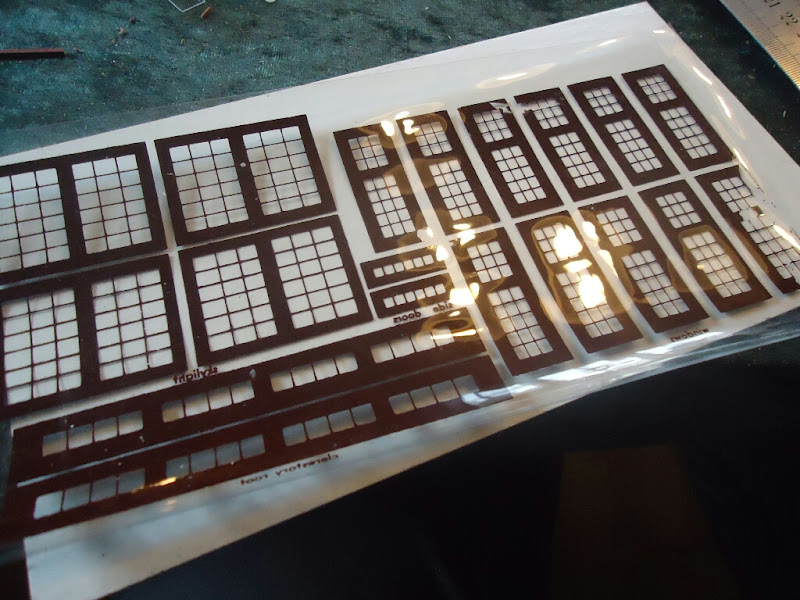
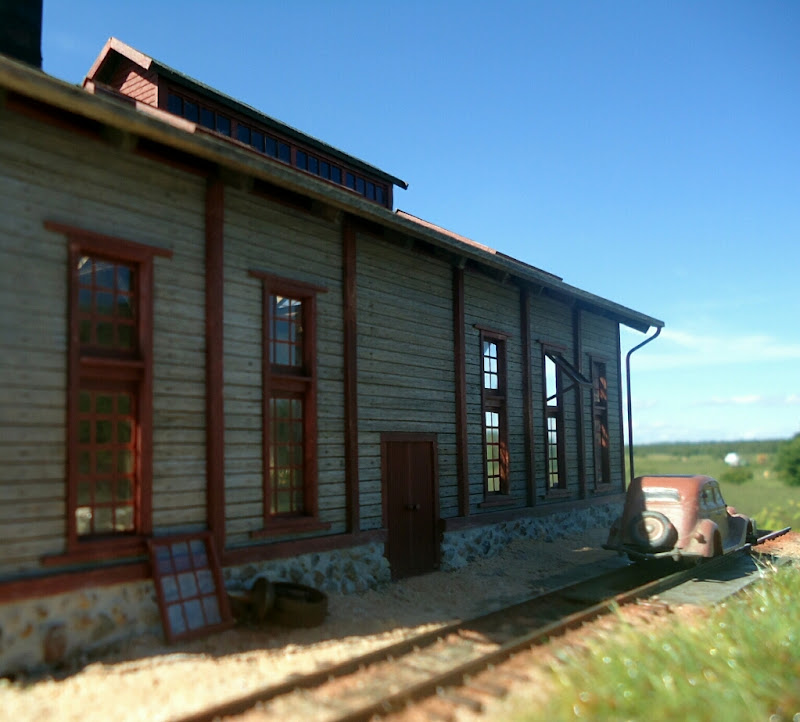
There are two versions of this from FSM. The first had the celuloid windows and the second had plastic. I have the second which also came with castings. This is one kit that always seems to build up nice!
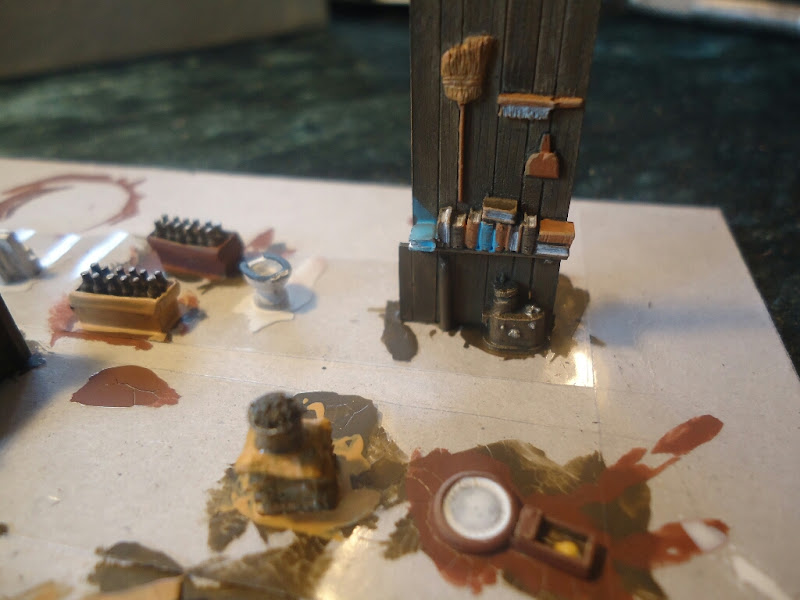
I looked at some other engine house builds and got really inspired so I got busy right away, the kit had some rather nice castings which I added with some from the scrap box.
It is a bit fiddly to paint the small details, but with good light it works alright.
Fantastic! What a great job you are doing with this kit. I would love to do this build but it is so hard to find it. I had it sniped from me a couple of times from ebay. I kin of wish some one would release it again. Anyway you will have to get pics of it on the layout.
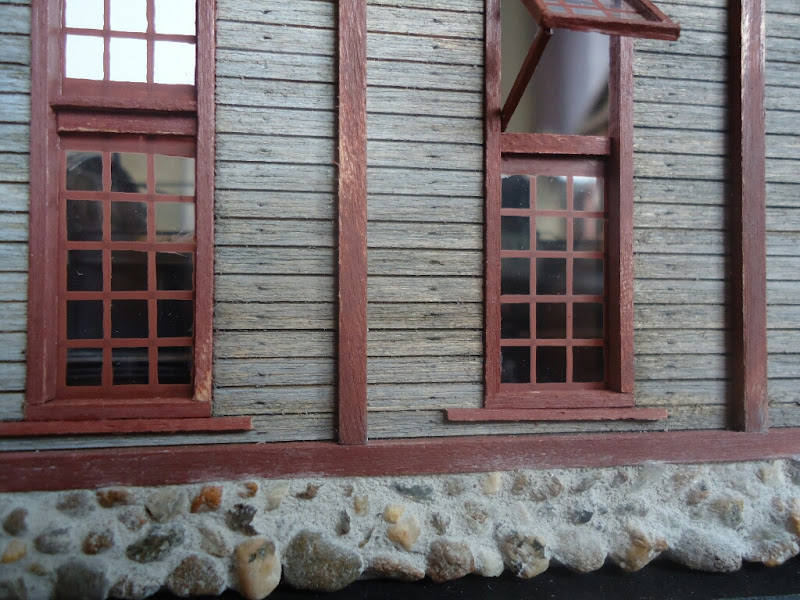
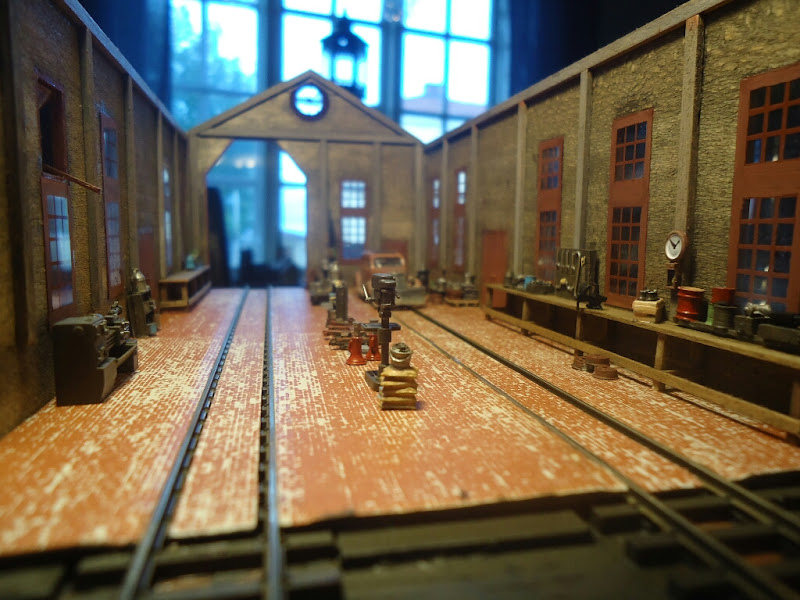
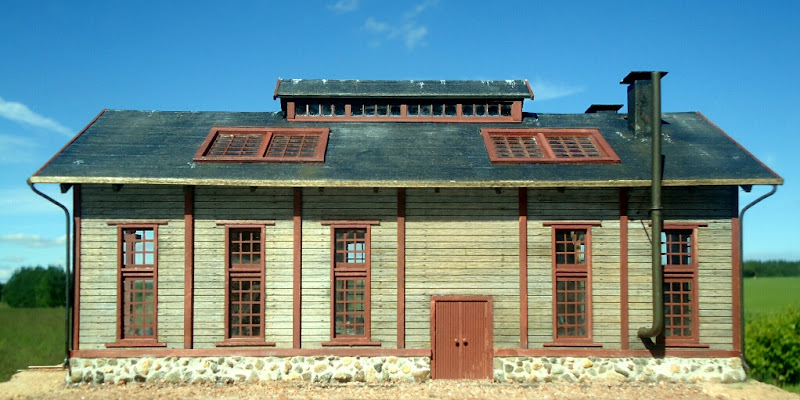
The exterior looks fantastic, and you did a really great job on the windows. The detail painting is superb. The mortar on the foundation stones is inspiring! Your work is excellent as usual!
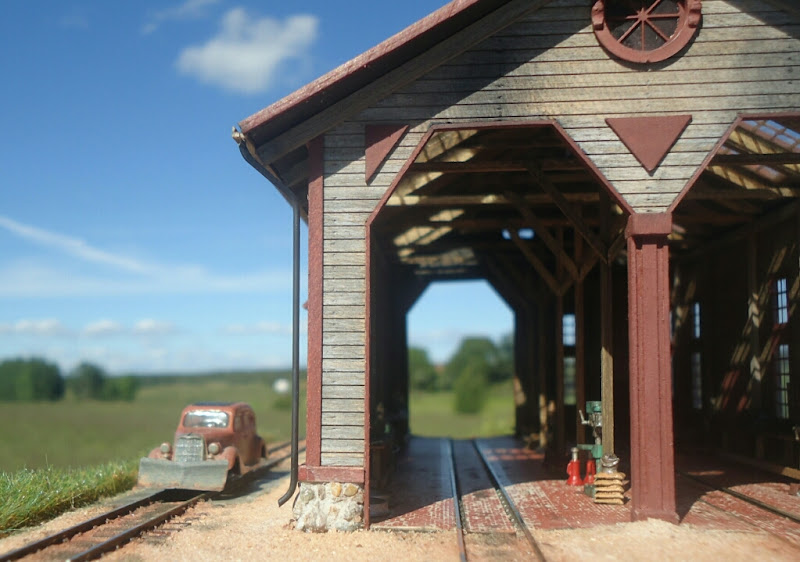
As for the interior, I’m not seeing the sort of stud wall construction that would seem to go with the exterior wood framed walls. Perhaps I’m missing something, but even with the post and beam structure there would have to be something to nail the exterior cladding to between the posts. The nail marks on the outside suggest as much. I would suggest measuring the spacing on the exterior nail marks and adding an interior stud wall structure based on the nail mark positions. (Please read my comments below on lighting before starting work on the interior walls.)
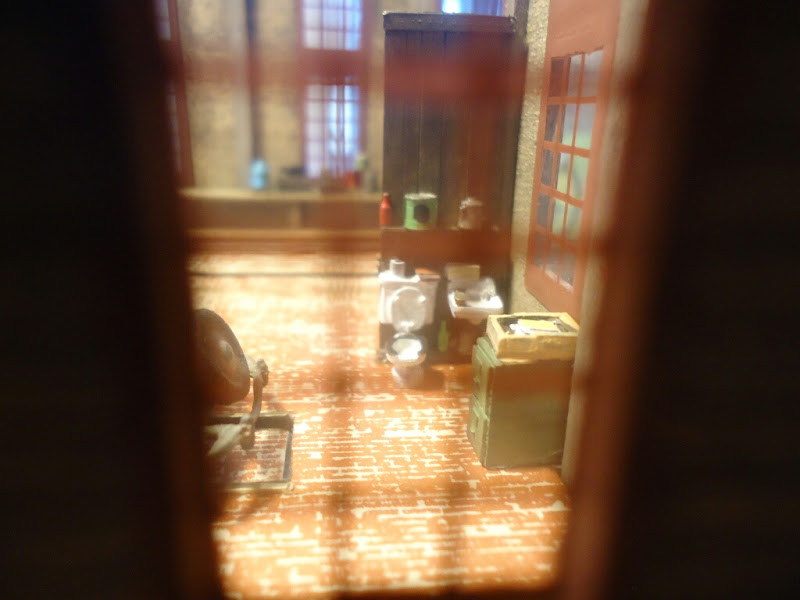
The other thing that seems to be missing is any sort of interior framing detail around the windows. The window/wall joint is just too flat IMHO. In a frame structure, window openings would have had a jamb liner, usually a 1" x 6" or 1" x 8" board ‘box’ installed in the wall into which the window would be mounted. If the interior of the building was not finished the jamb would be visible. There also might be an interior sill very similar to what you have done on the outside, and possibly some interior window trim, although the ‘rough’ nature of the structure might have precluded such fancy finishing.
For interior lighting I’m going to assume that electricity was available in your era. I would suggest some form of ‘goose neck’ lighting at intervals along the walls as well as a few overhead lamps with round ‘pool room’ style shades. Goose neck lamps can be made very easily using 0603 or 0402 LEDs, or Miniatronics 1.5 V bulbs. The bulbs look a lot better IMHO but they won’t last as long as the LEDs. As you are no doubt already aware, bulb life can be extended by reducing the voltage.
For the goose neck lamps I use 30 ga. solid core insulated wire as oppos
It looks fantastic, but I would have had a pit in at least one of the tracks. And the floor is going to get really filthy from the grime and grease and oil falling off the locomotive.