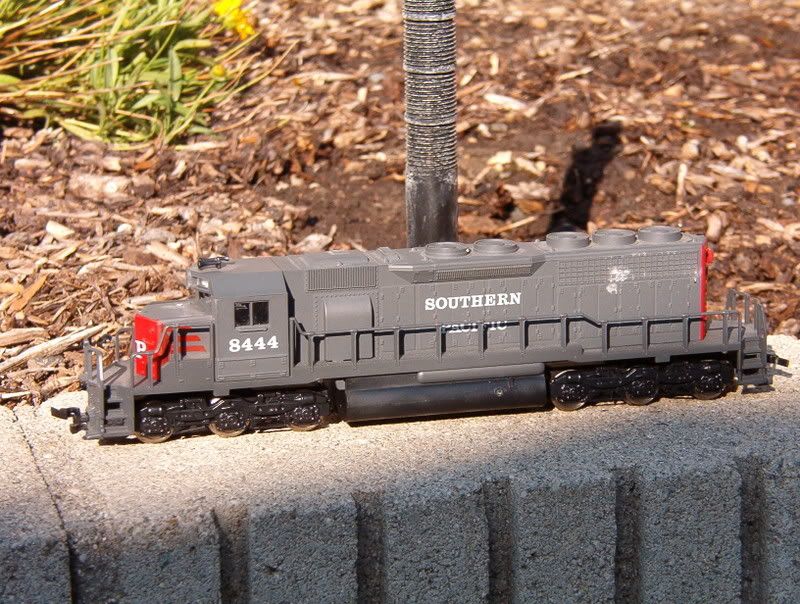
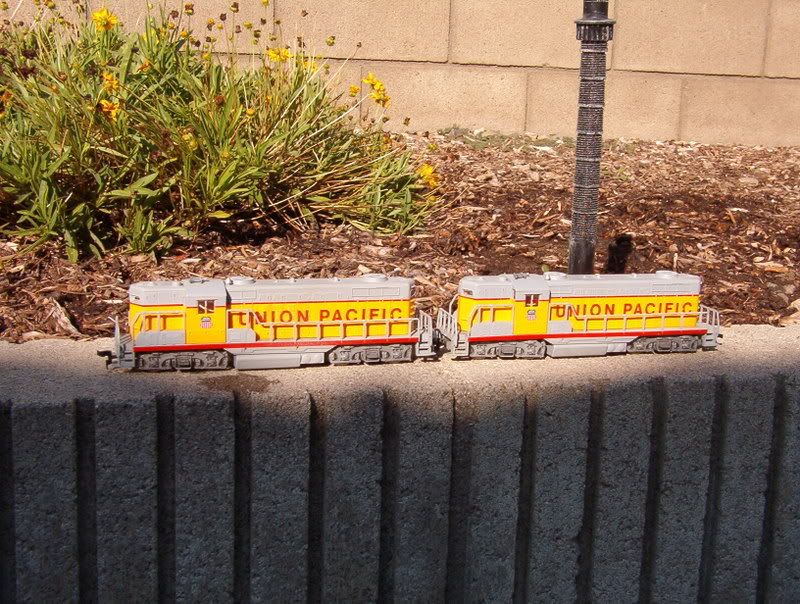
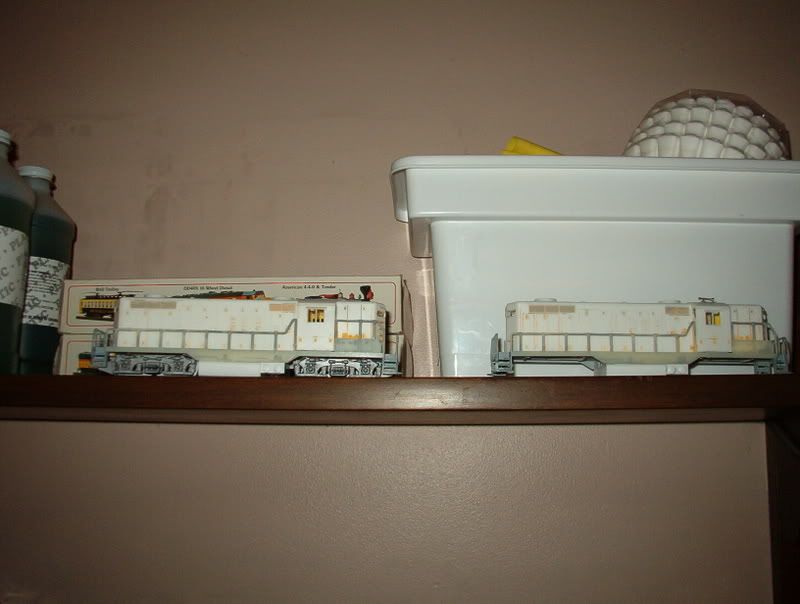
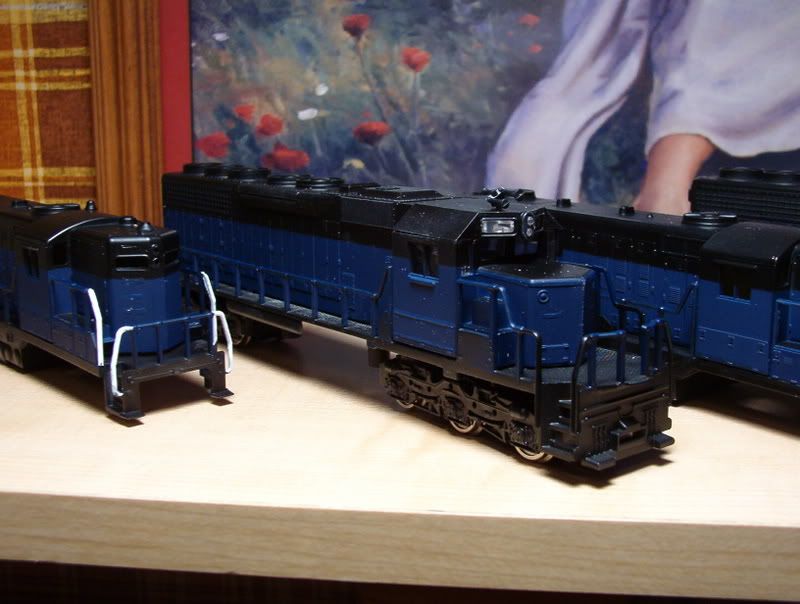
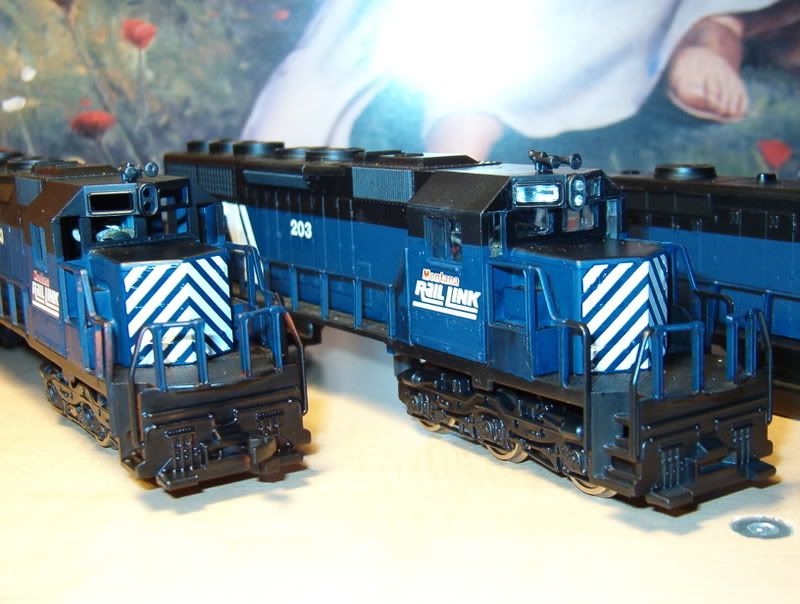
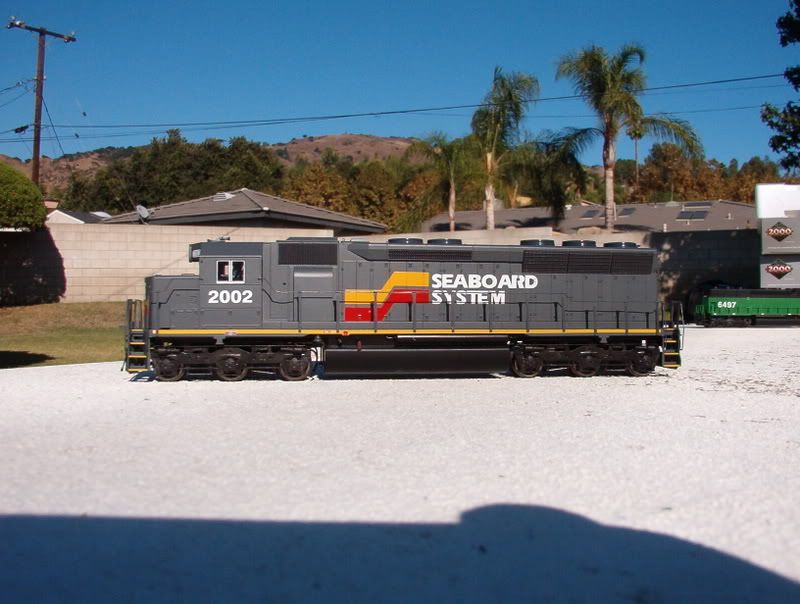
Here is a couple of pictures of my work in progress. these are two SD40s from AHM that I received from my grandfather some time ago, and two Geeps from Bachmann as well… I’m using them to practice on. Tell me what you think. I’m at the point of applying decals and I need to hear from you guys what the best way to get out the airbubbles. Remember, they aren’t finished
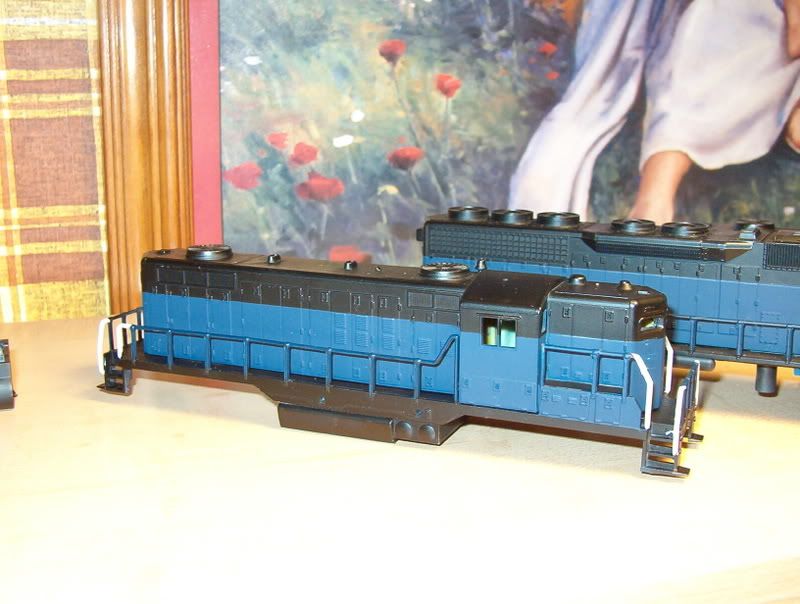
If you look at the picture of the two GEEPs with no paint there are two bottles on the left side, that is Scalecoat II Paint remover. It’s about $9 bucks a bottle. I filled up the white container behind the engines up then submurged the shells. After some time I removed them and scrubbed with an old tooth brush under warm water. Most of the paint did come off but I had to resubmurge to get the rest. It wasn’t too painful.
Air bubbles: first, use the point of an absolutely new #5 Xacto blade to prick the decal at each bubble. Then apply a coat of Microsol (carried by most LHS) following the instructions on the container. The bubbles will flatten down and hug the model’s surface.
That is kind of what I did but my biggest problem was on the side stripes where the door’s hinges are as well as the grooves between the doors. I did use Microsol about 20 minutes after applying the decal then again about 30 minutes later, and once again the next morning. finally it looked better, but I don’t know if I should have waited longer than 20 minutes the first time or what?
Looks like you are ready to move on to better-looking models! Those handrails are HIDEOUS!
Oh, you wanted a critique on your painting and decaling? My bad. They look like an A-1 job. Looks like you got all the decals in the right place.Your paint lines are all crisp and clean. What kind of tape did you use for the seperation between black and blue? I’m in need of a good modeling-purpose tape. Maybe you should take one and weather it? Hehe.
Yep, those handrails are crazy! I’m almost thinking of keeping the SD40s, removing the handrails only to install factory Athearn rails, and using them for retired units, that is if I build my layout that has the Livingston, Mt. yard where there are a few retired MRL units, but we’ll see.
The tape I used was normal blue M3 painter’s tape. I took my father-in-law’s glass shelve without permission, spread the tape and with a metal ruler, I cut down the middle. I was instucted to use the cut edge for paint line, so that is what I did. I read once in an article in MR (I think from last year) about custom painting engines, the lady used sculping tools to push the tape into the grooves. I didn’t have anything like that so I found a plasic knife and did the job. It worked great and I had no runs whatsoever. I’m really proud of my nose and front side walks which I painted black the same time I painted the upper portion of the engine. I also have to note that this is my first time using an airbrush as well.
On the topic of masking. Perhaps I ahave just been really lucky, But by and large for the most part I have not had to cut the tape to get a sharp edge. also for getting the tape to settle down nice and tight, I just use a regular old Mini Flat Blade screw driver.
Sorry if I didn’t make myself clear but I tood the SP, WM, UP engines, stripped the paint and then painted them in MRL colors. MRL is the backbone of my future layout and as most of you know there isn’t too many MRL engines to choose from for modeling, which leads me to costom make my own. Now Athearn RTR has two SD40s and Atlas has the SD35, both of which I have. I’m practicing so I may paint a couple SD45 from P2K, and some F45. I’m hoping that when Athearn Genesis comes out with their F45 that they will have a MRL.
The stripes on the nose are a decal from Microscale. It wan’t hard to apply at all.
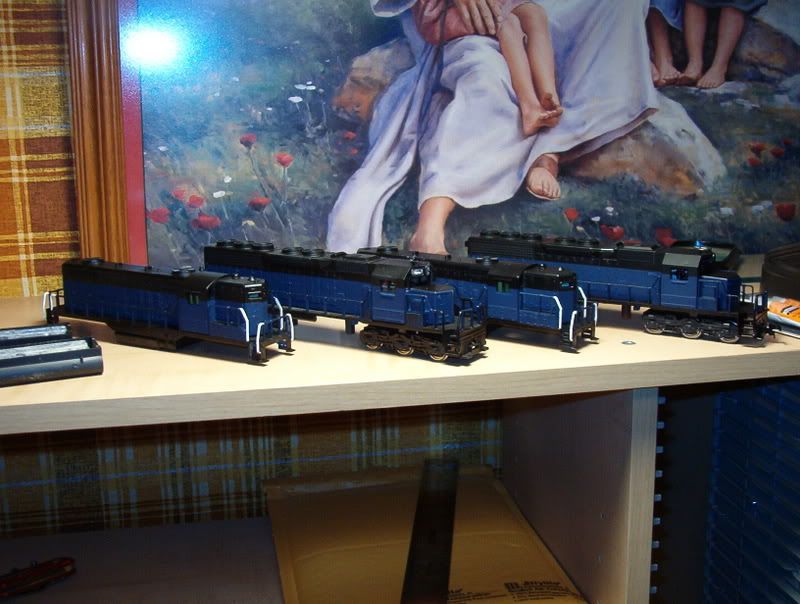
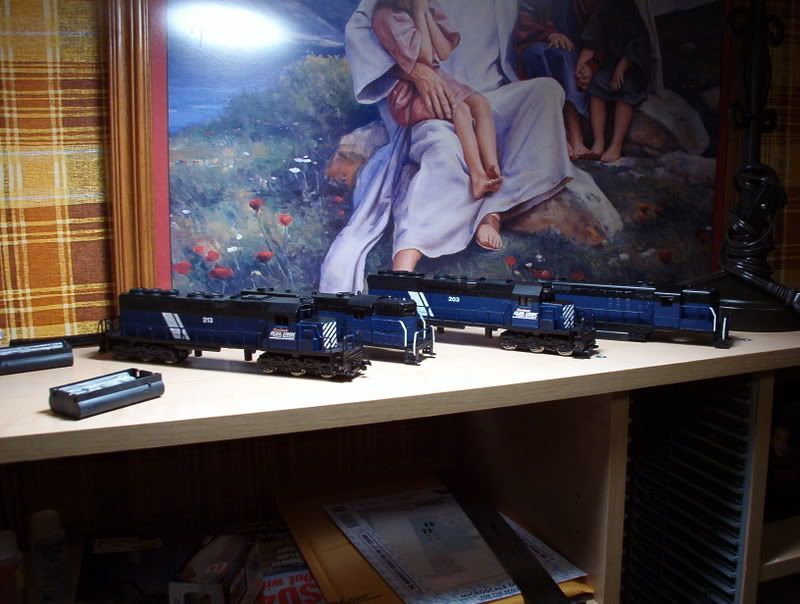
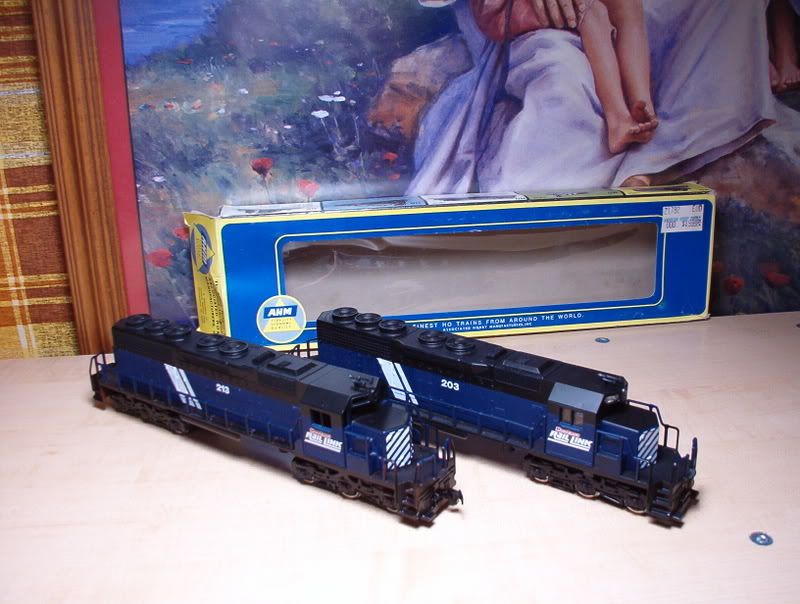
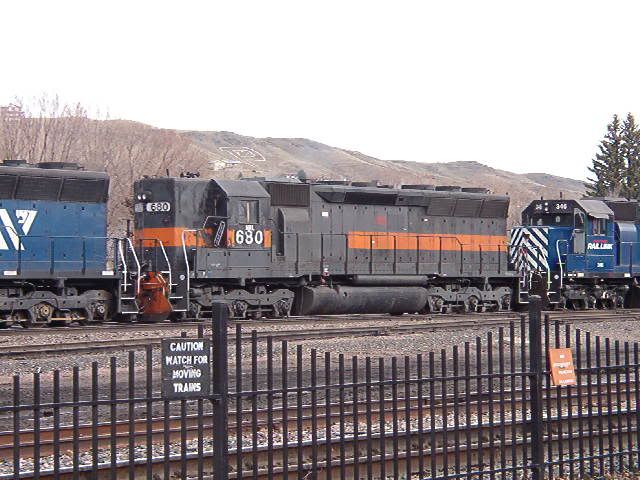
Here is my other project for MRL that I am working on. I’ve shown these before but here they are again.
I ran into a little problem over the weekend, where I was applying the rest of my decals on and somehow my fingers pulled off my custom numbers. Then the red dot on the rear of the engine came off. What did I do wrong to have this happen? Did I let the decal soak too long or should I have sealed the decal job?
Did you use solvaset or setting solution on the area before applying the decal? I find that helps them stick better and it says to do that in the decals directions I have. I also use setting solution as I stick them on and seal them with dullcote when done.
BTW, I think your paint jobs look great. I got a few engines I’ll send over - need them repainted for New York Central. [:)]
When working with decals. I always apply Solvaset when I finish a decal.
I decal very slowly and when I finish a side, or work to a point I need to let other decals dry before I continue, I walk away and let them sit over night. Then when I finish I give them a light coat of Gloss coat before continueing to avoild the problems you describe.