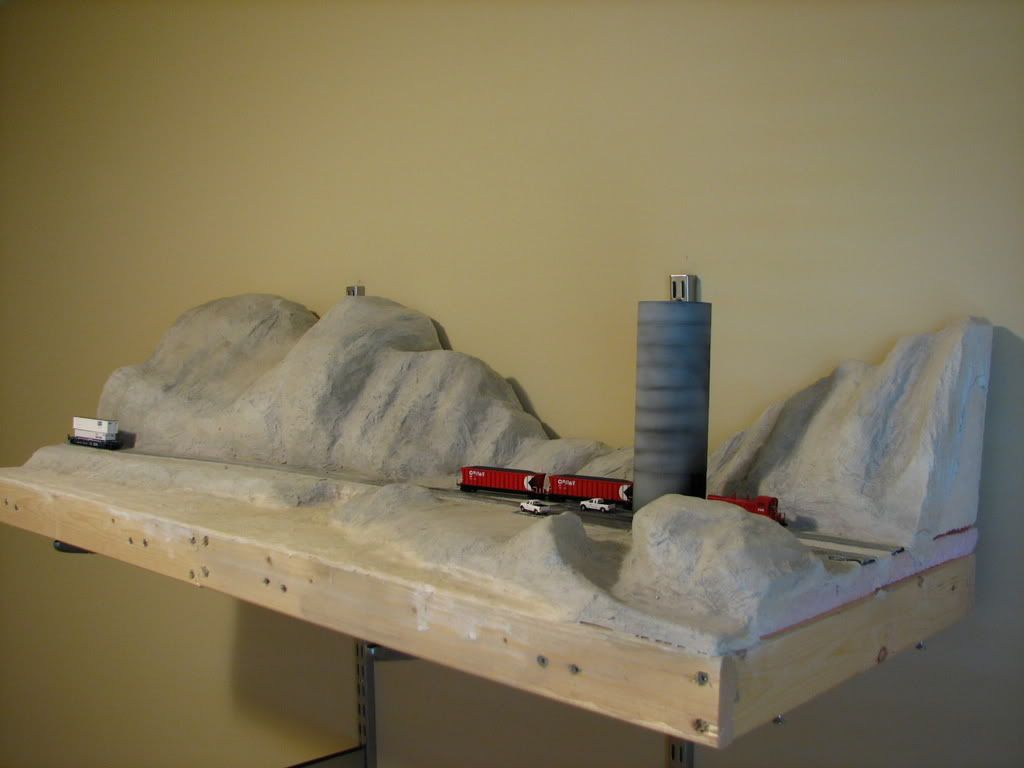
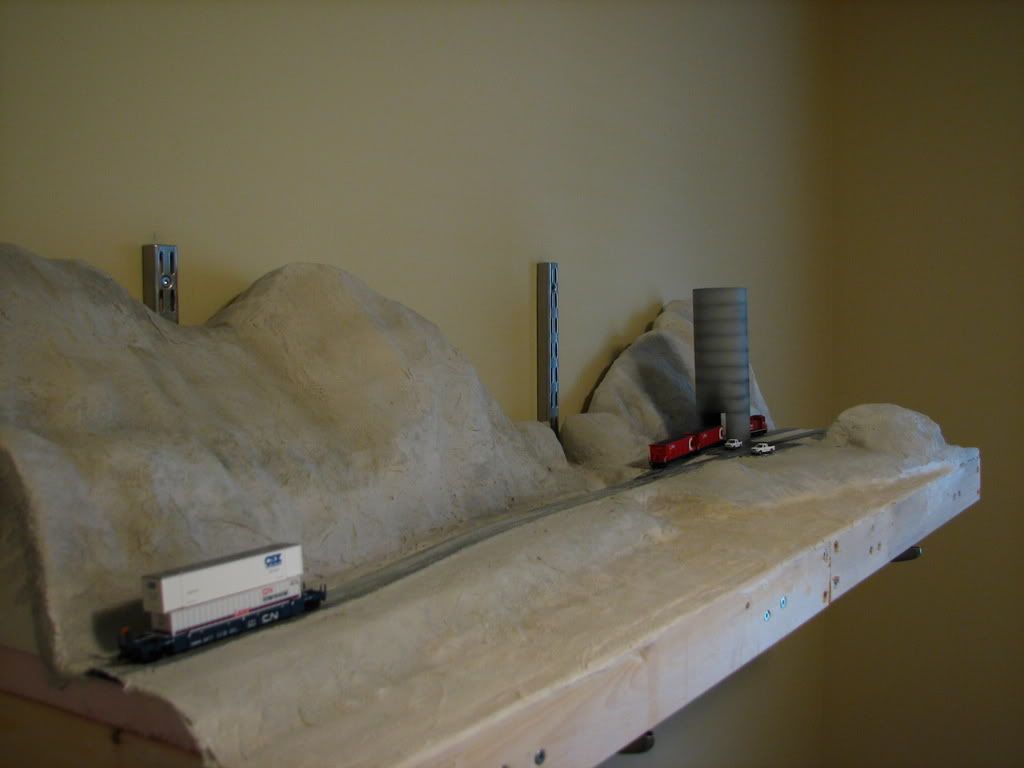
I finally have the batteries charged in my camera, so I thought I’d share my in-progress pics of my N-scale diorama.
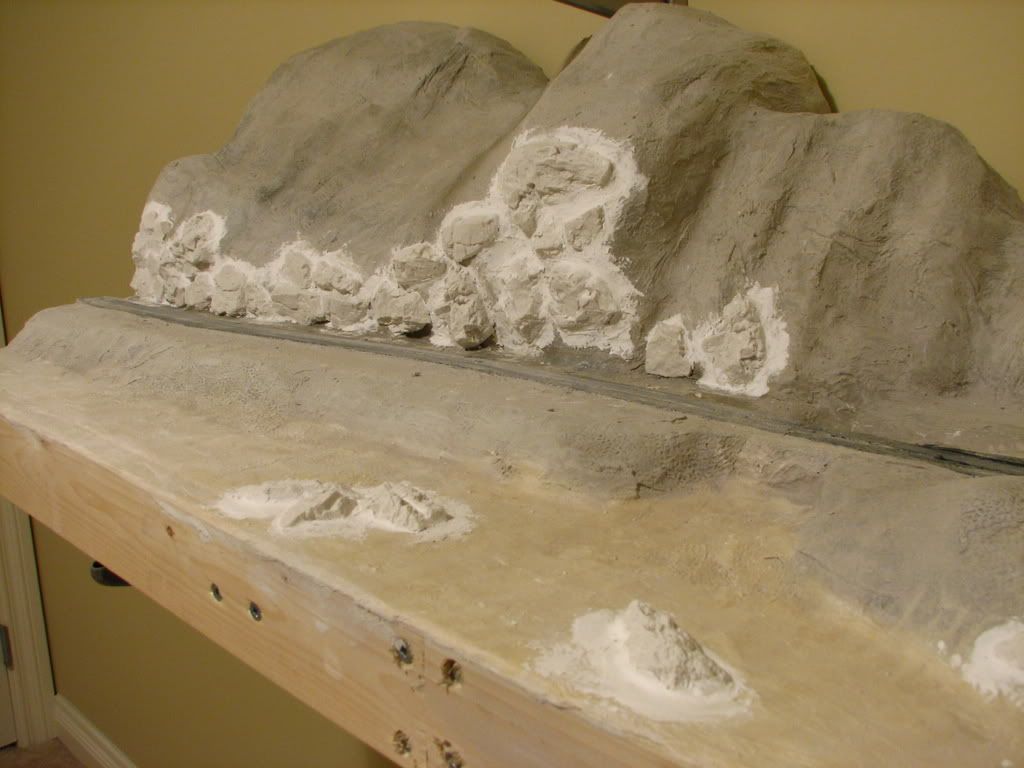
It is 1X3 construction with 1/2" Pink insulation board as a base and 2" thick White styrofoam stood on end for the mountains. I have placed a few things on the layout to give a scale perspective of its size. The overall size is 4’ X 18".
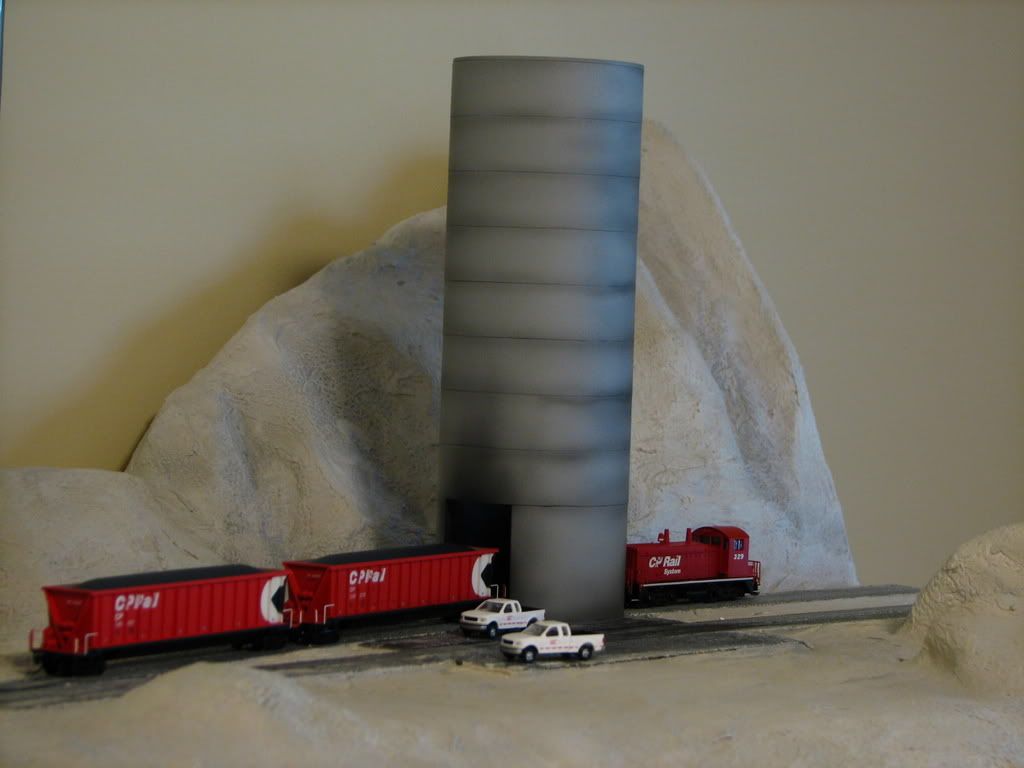
The coal tipple is my first real airbrushng attempt ever… I think I might redo it. It looks like it may have caught fire recently!
I owe a fellow modeller and Canuck an honest appraisal, so here goes: I like what I see, and hope to see it nicely greened and perhaps forested a bit, with more details of the sort that would be appropriate. As it is, it looks like a commendable start, and is coming along nicely. Of course, your choice of rolling stock is exquisite and beyond reproach.
The silo or bin looks just fine at the portal that is visible, so I wouldn’t play too much with that part of it. I would like to see, though, more vertical weathering patterns as if oxidation of some materials was being encouraged to be positively geotropic with the rains and due to gravity…if you follow. Vary the streaking with some browns, maybe? And vertically. Otherwise, what’s not to like? [8D]
Nice start. It is a shame to be wasted on N scale, but that is my problem, not yours. I will watch as you ad the details to the mountains and cliffs. I am always learning from every ones artistry.
as a fellow Canadian modeller all I can say is keep it coming. Hopefully your diorama’s will not be as heavy as mine in HO. Looking forward to more pictures.
Thanks. I agree it does need some verticallity to the weathering. I might just do a light concrete wash over the blackest areas to blend them in and then weather with gravity. I am going by a protoype pic of a floodloader on the BCR Tumbler Ridge sub, which admittedly is a lot cleaner than mine is! The diorama itself will be semi-arid as I am using it as practice before I start my Kamloops Division Point Layout, which as you might have guessed is modelled after Kamloops.
My current problem is lackofmoneyitis which means next week will be as soon as I can buy more scenic details such as ground-cover and trees etc. I will repost as I slowly go about this!
Looking very good. [tup] I my self have just started a dorima at a interchange. I may have some pictrures up in WPF. Can’t wait to see more progress on yours.
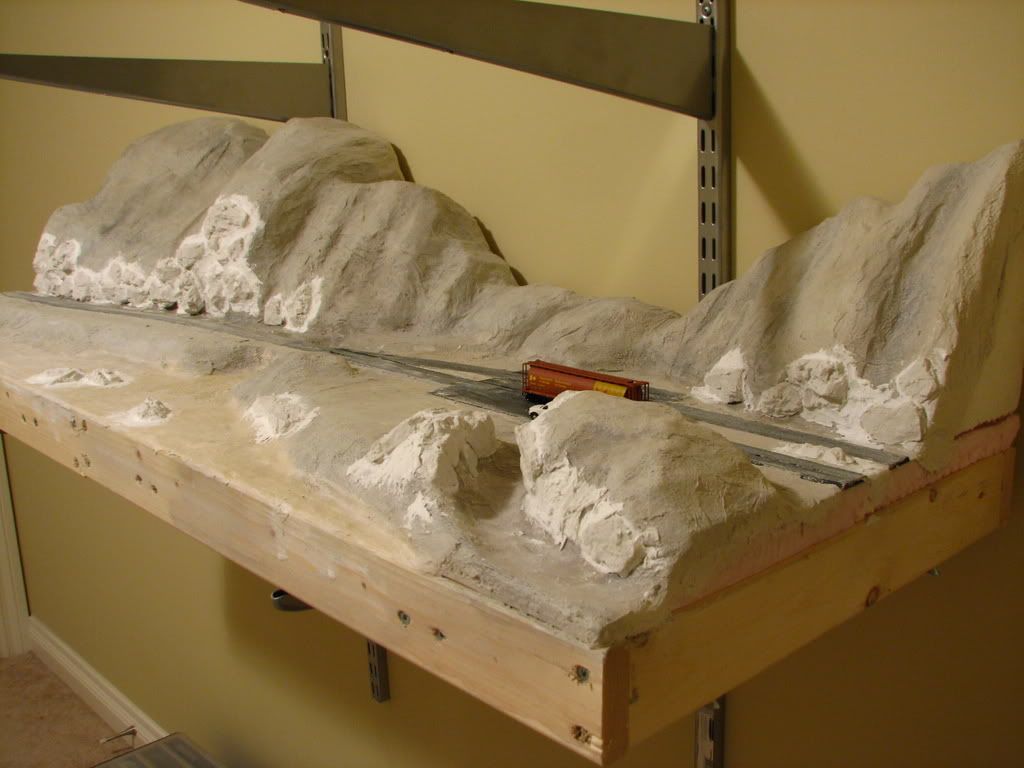
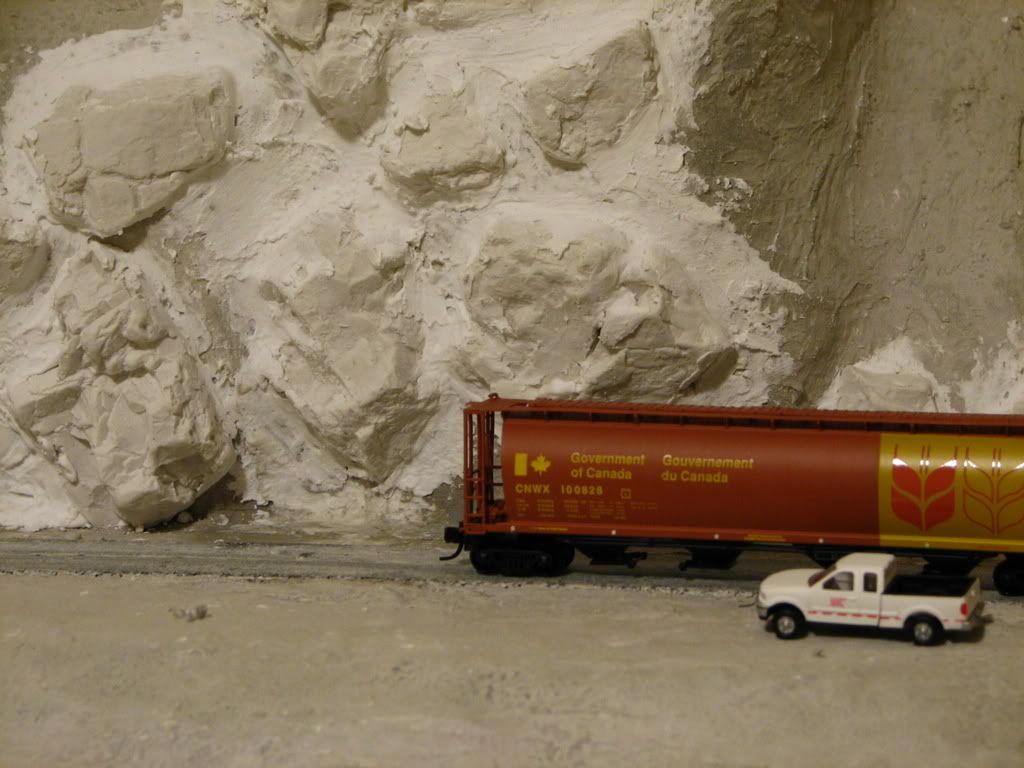
Well, I spent the better part of the day adding some rock castings to the scenery to form the cliff walls. I also added some to the river bottom to act as large rocks there. I still have to sand some of the rougher areas and then tint the rocks the appropriate colour.
Once I’ve coloured the rocks, I hope to get the track in and painted.
Great looking pictures. Let me ask you a question. What did you use on your mountains. The gray color. I am interested in what you used and where did you buy it.
Thanks Robby. I used Woodland Scenics Earth Color Kit C1215 which is a kit with 8 liquid pigments that you dilute with water and brush on. The predominant colour you see is the Stone Gray colour in the kit and I applied it by spraying it with my airbrush. I really diluted it to a wash and applied it in layers. In person, the colour is more green than I would like, but most of it will be covered with ground foam etc. anyways. They sell individual bottles of this pigment, but the better deal I thought, was to get the kit as the 1 oz. jars will go a long way and you can figure out which colours you like best before investing in a larger bottle of one colour. I purchased it from my LHS.