For my moduler N scale Chicago and Northwestern Railroad (CNW) layout I need some advice on color choices, in particular:
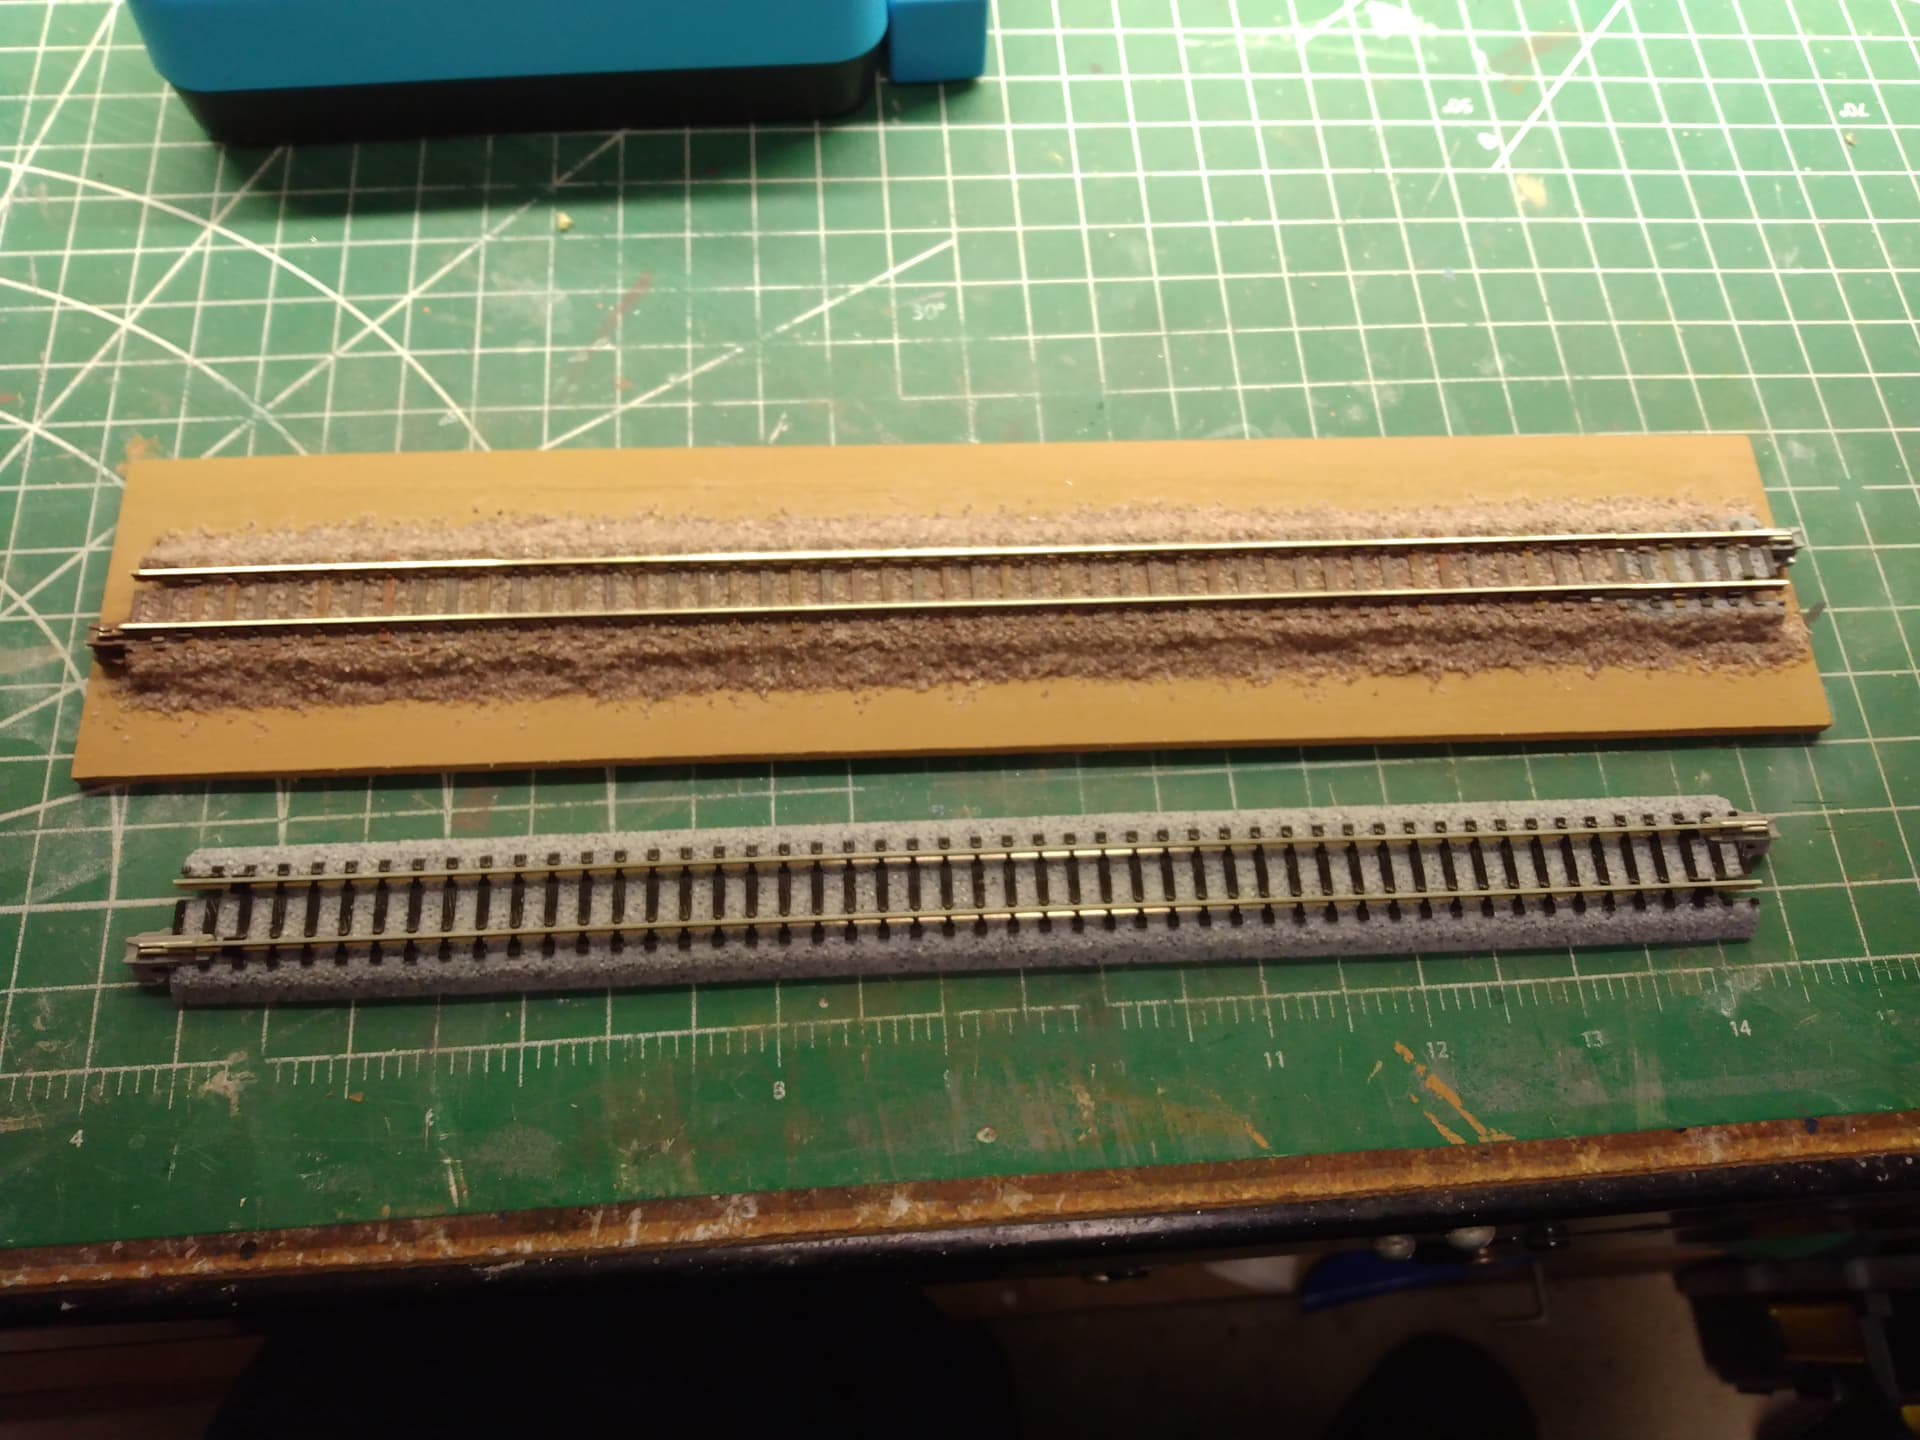
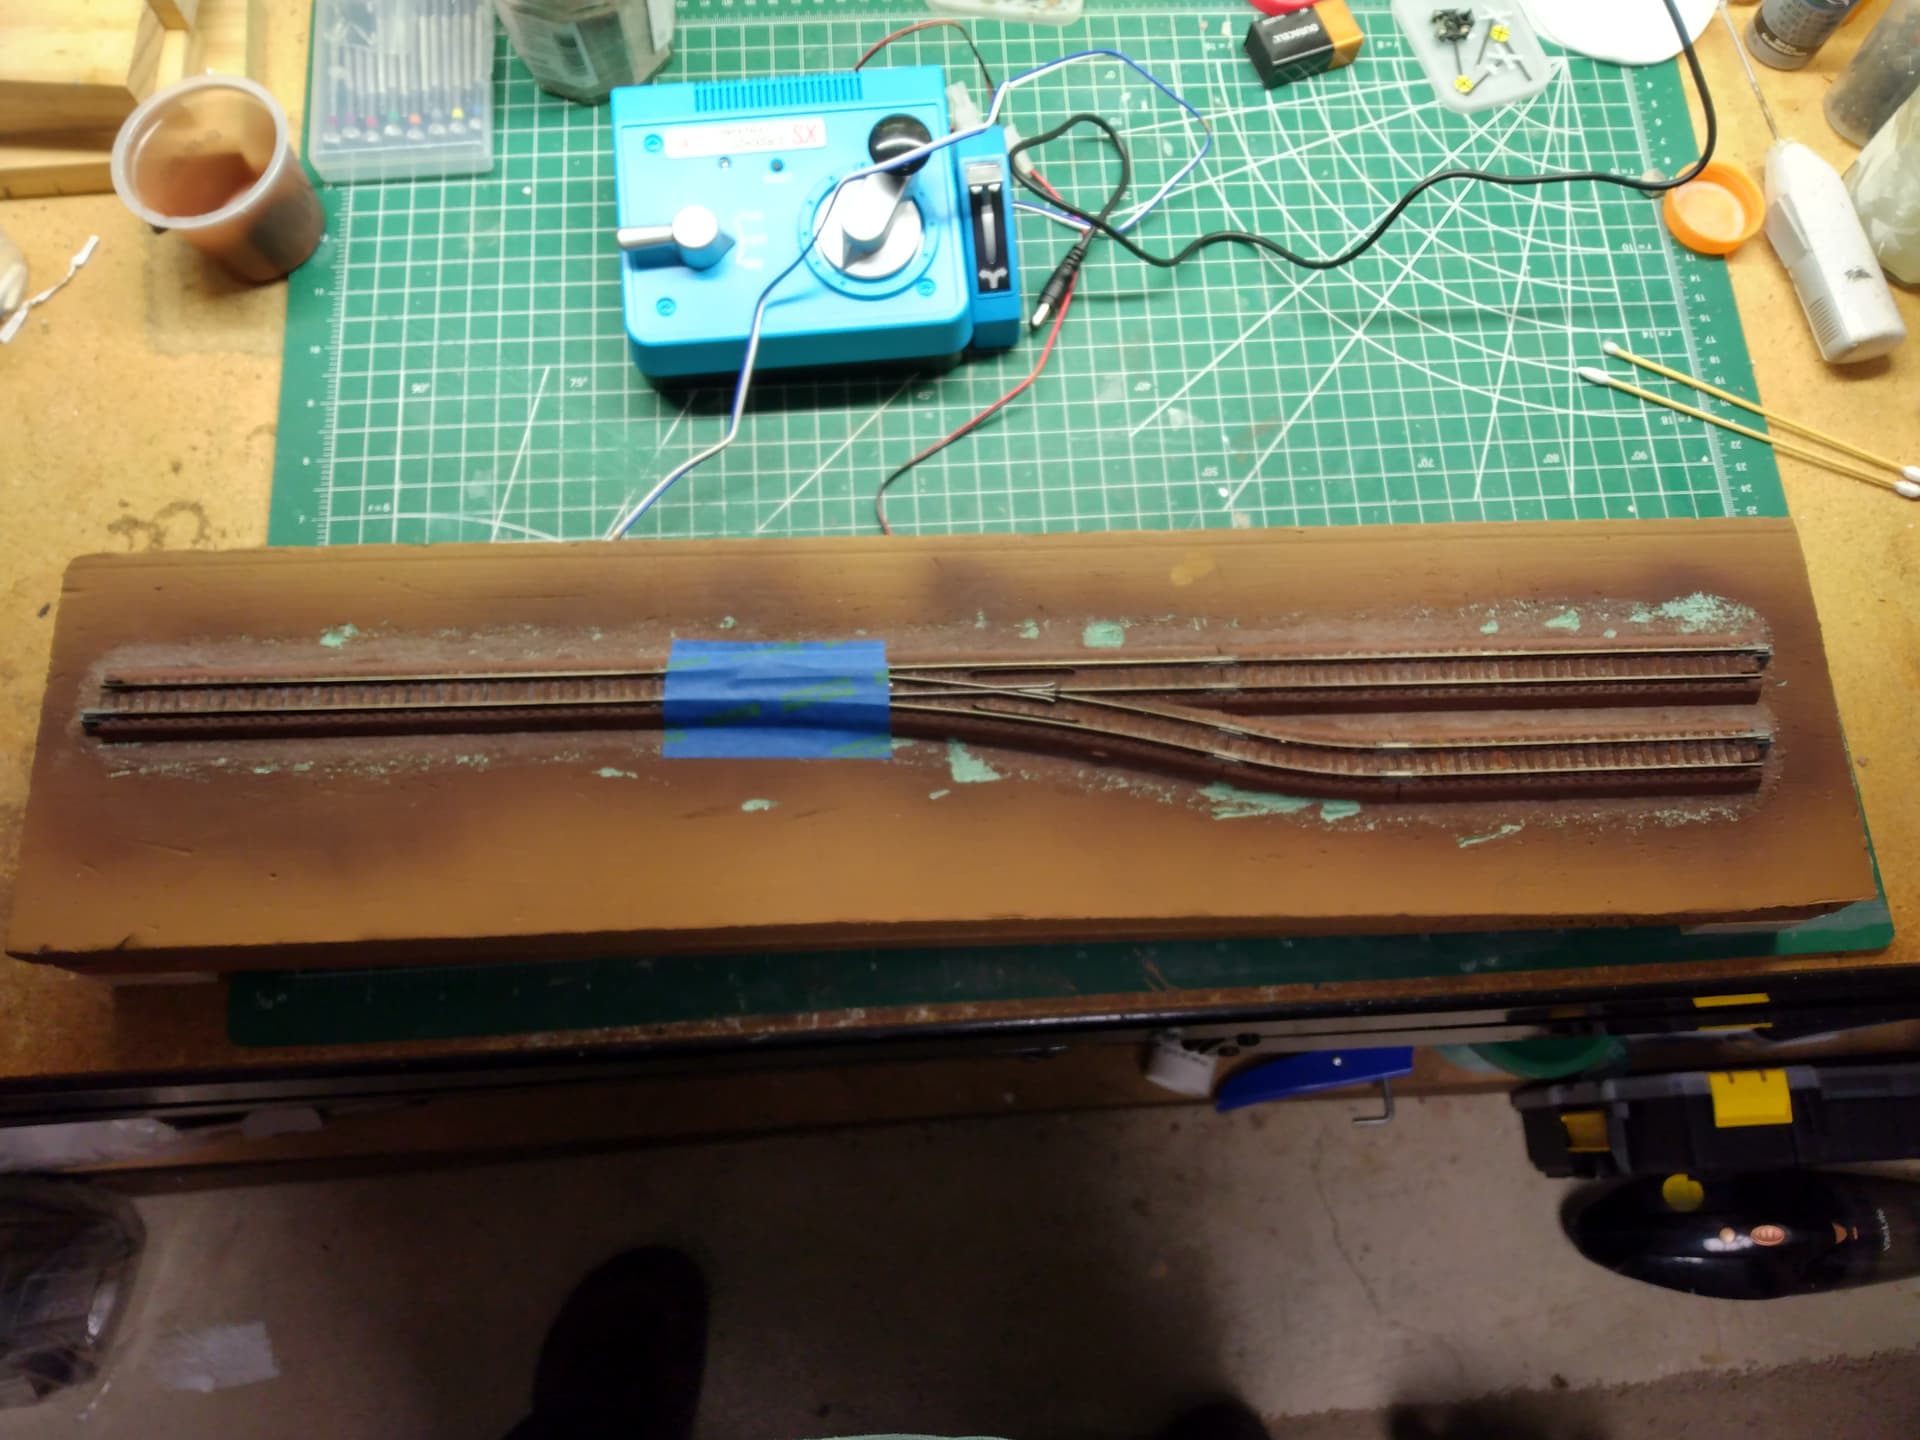
I plan on using Arizona Rocka and Mineral N scale ballast on Kato Unitrack. After reviewing several postings and videos it appears unwise to try and use ballast under the points on Unitrack turnouts. Therefore, I plan on painting the plastic ballast near the points to match the Arizona ballast. Would any of you please recommend an appropriate paint color to match the CNW Pink Lady ballast?
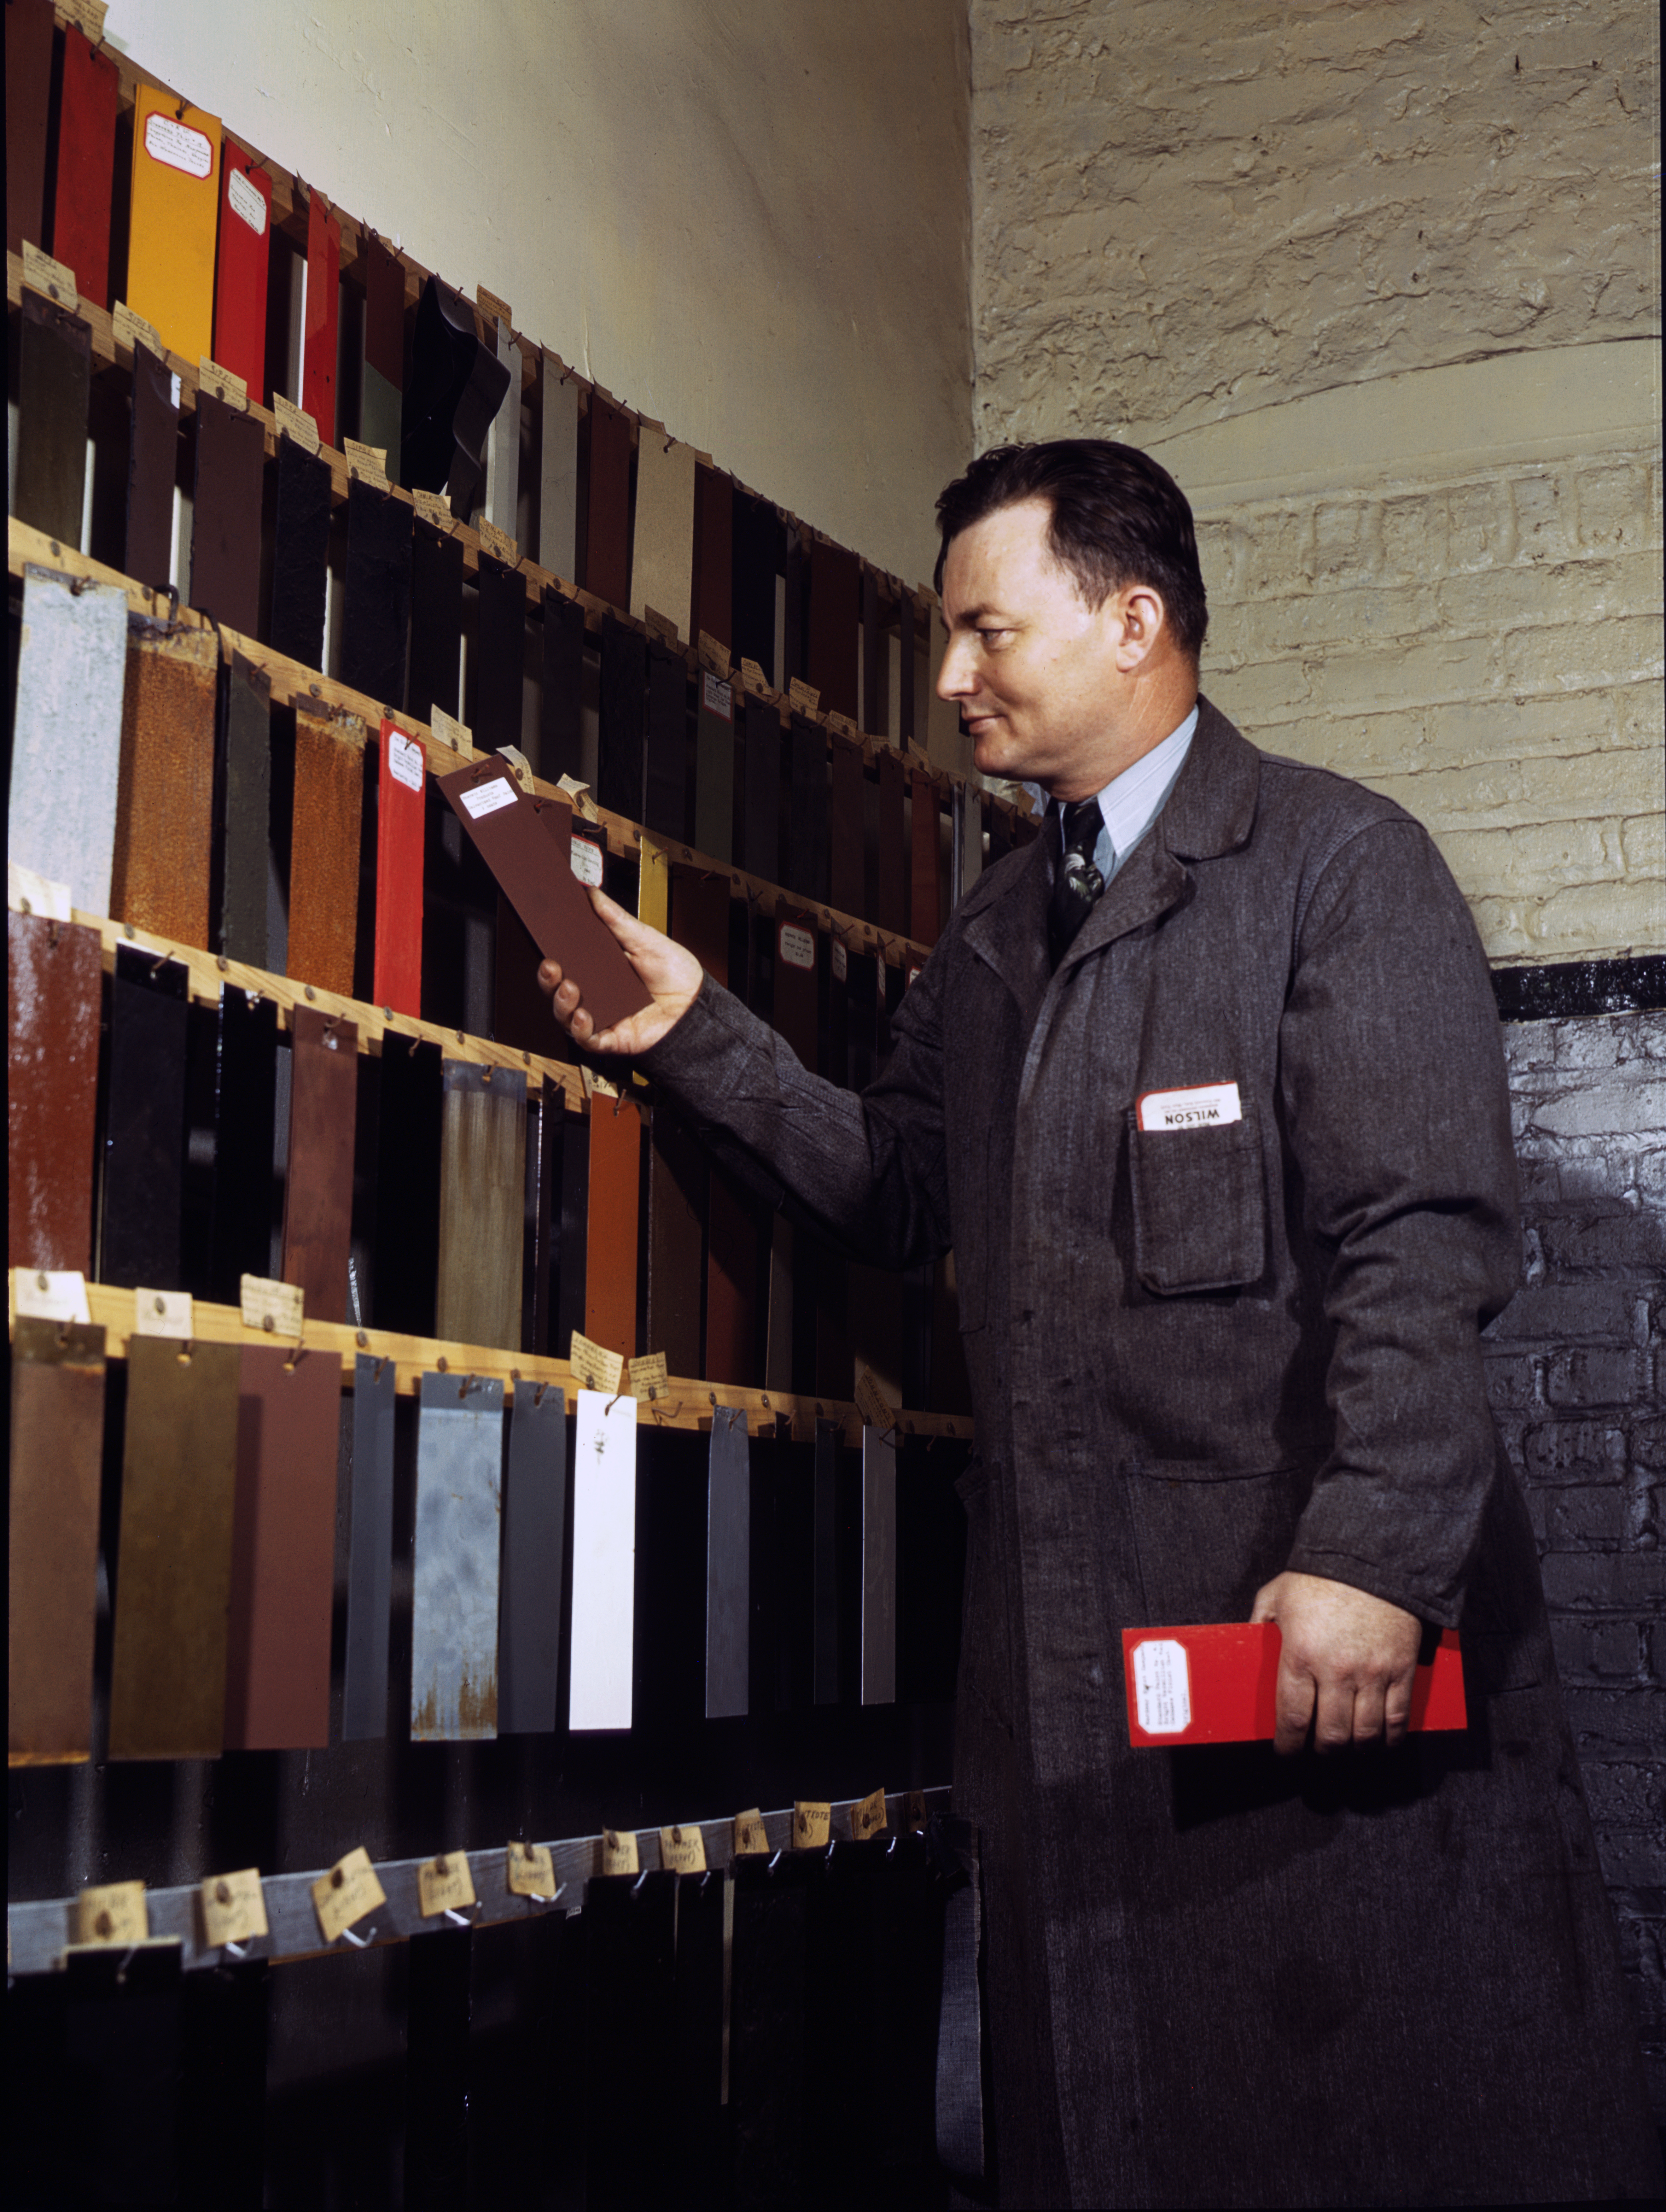
What color would you recommend matching the oxide red color used on CNW buildings?
And it appears the trim on CNW buildings is a barker reddish brown color, what should I use for the trim?
Preferably a Vallejo or other acrylic paint color can be suggested for the ballast and buildings.
I normally model the Milwaukee Road in HO scale and I am very familiar with its color schemes, but I am just learning about CNW color schemes.
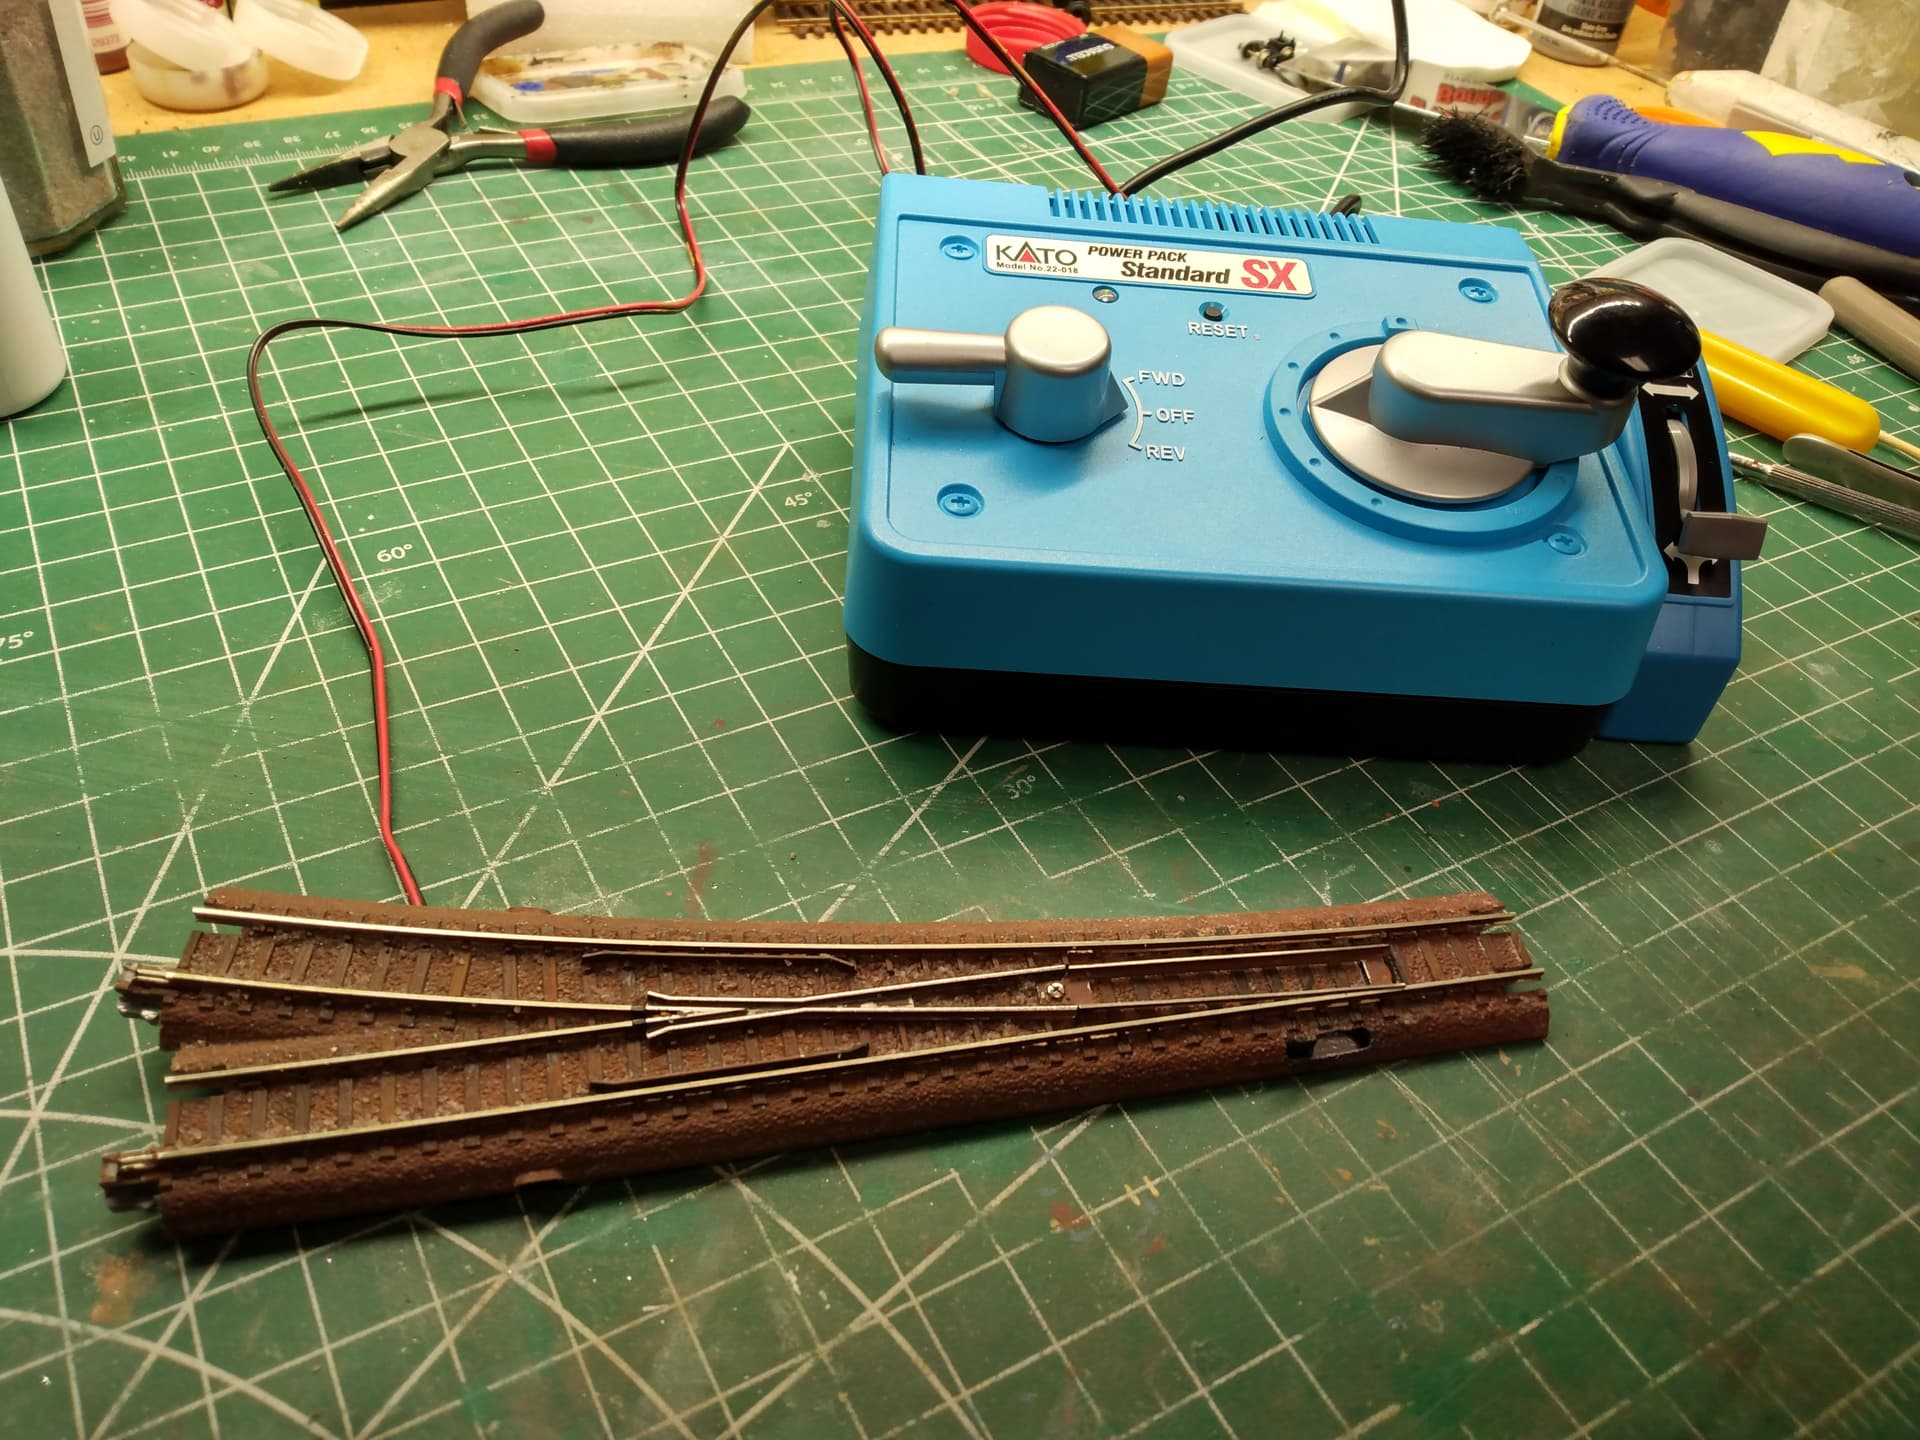
I generally don’t paint or weather anything around the moving parts of a Kato Unitrack turnout. Although the switches are very reliable, an issue is that in order to allow them to work as spring switches, the wire that connects the points to the internal mechanism is very thin. Early on using Unitrack, I found that just painting the tops of a couple of ties in the area of the moving rails could make them hang up. If you’re careful, you could color the rest of the ballast between the ties, but I’d leave the area around the points ‘as is’.
The problem is that I am modeling the CNW which used a distinctive ballast, Pink Lady. Leaving the area around the points the Kato grey color would stand out.
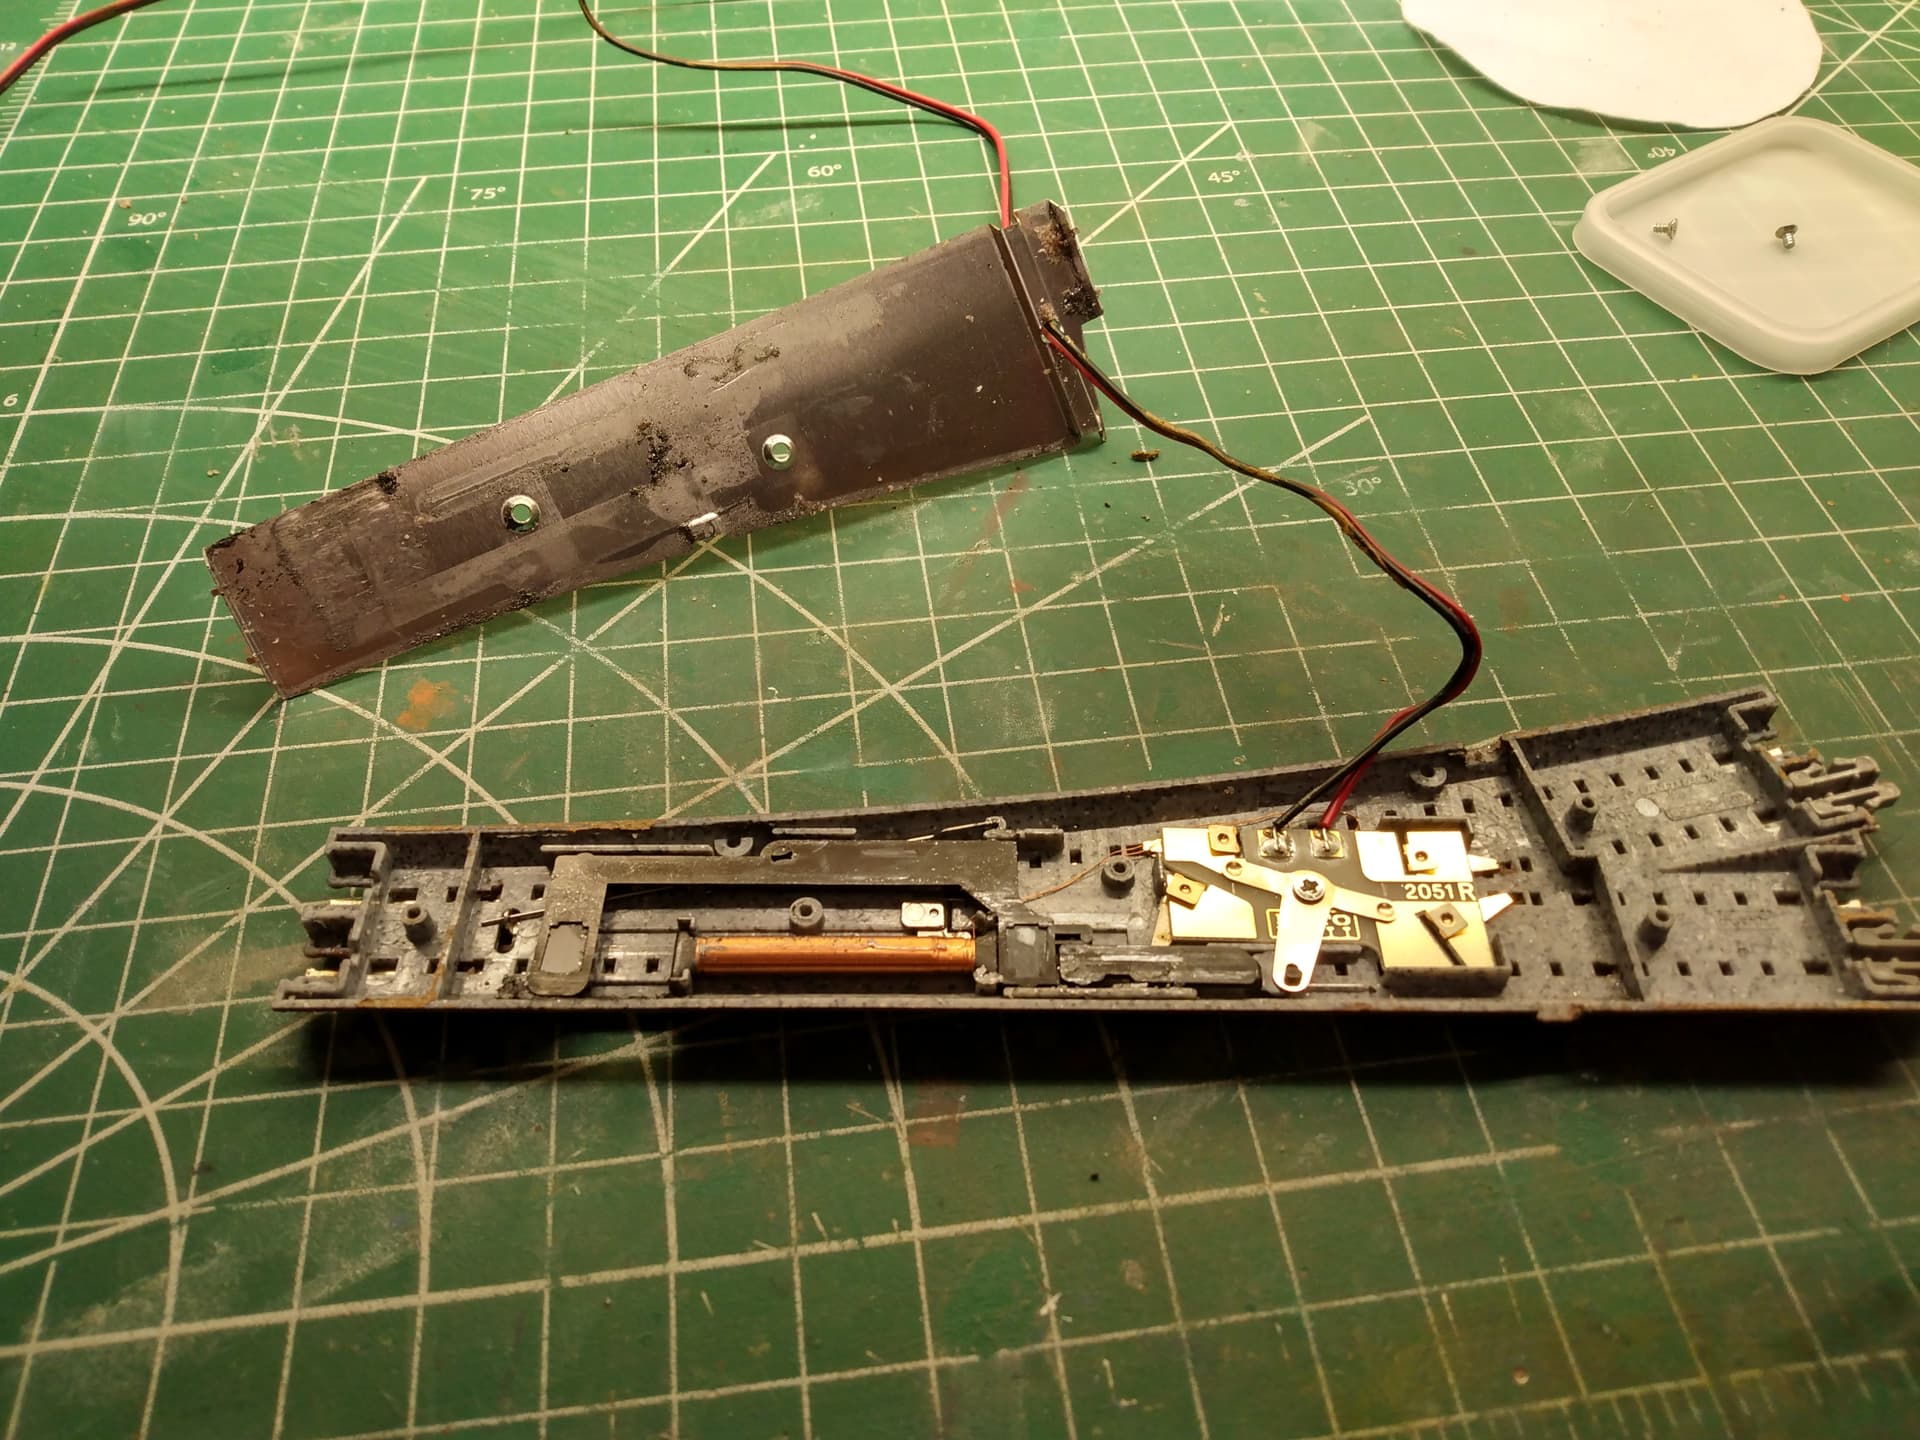
I tried ballasting a test turnout by avoiding any ballast around the points and the little switch knob. I only lightly painted the ties and between the ties under the points. The points switch easy with the knob. I also placed tape over the points and the knob when ballasting. Unfortunately, some of the scenic cement glue apparently seeped into the mechanism and the Kato toggle switch does not work consistently. I am working with powder graphite to make the knob glide more easily.
When I try this on the layout I am going to make sure I keep the scenic cement glue well way from the mechanism.
Being from Minnesota, I am familiar with CNW’s pink lady ballast. I guess if you really want to go for it, I would maybe just try to color the pre-cast ballast with a watered down wash similar to the ballast color, rather than actually adding ballast on top of the existing cast ballast. I would keep any ballast glue as far away as possible from the moving parts!
Just to be clear, I will not be ballasting anywhere near the points. I only use a thin coat of paint near the points. That is why I am looking for a color that comes close to the Pink Lady ballast.
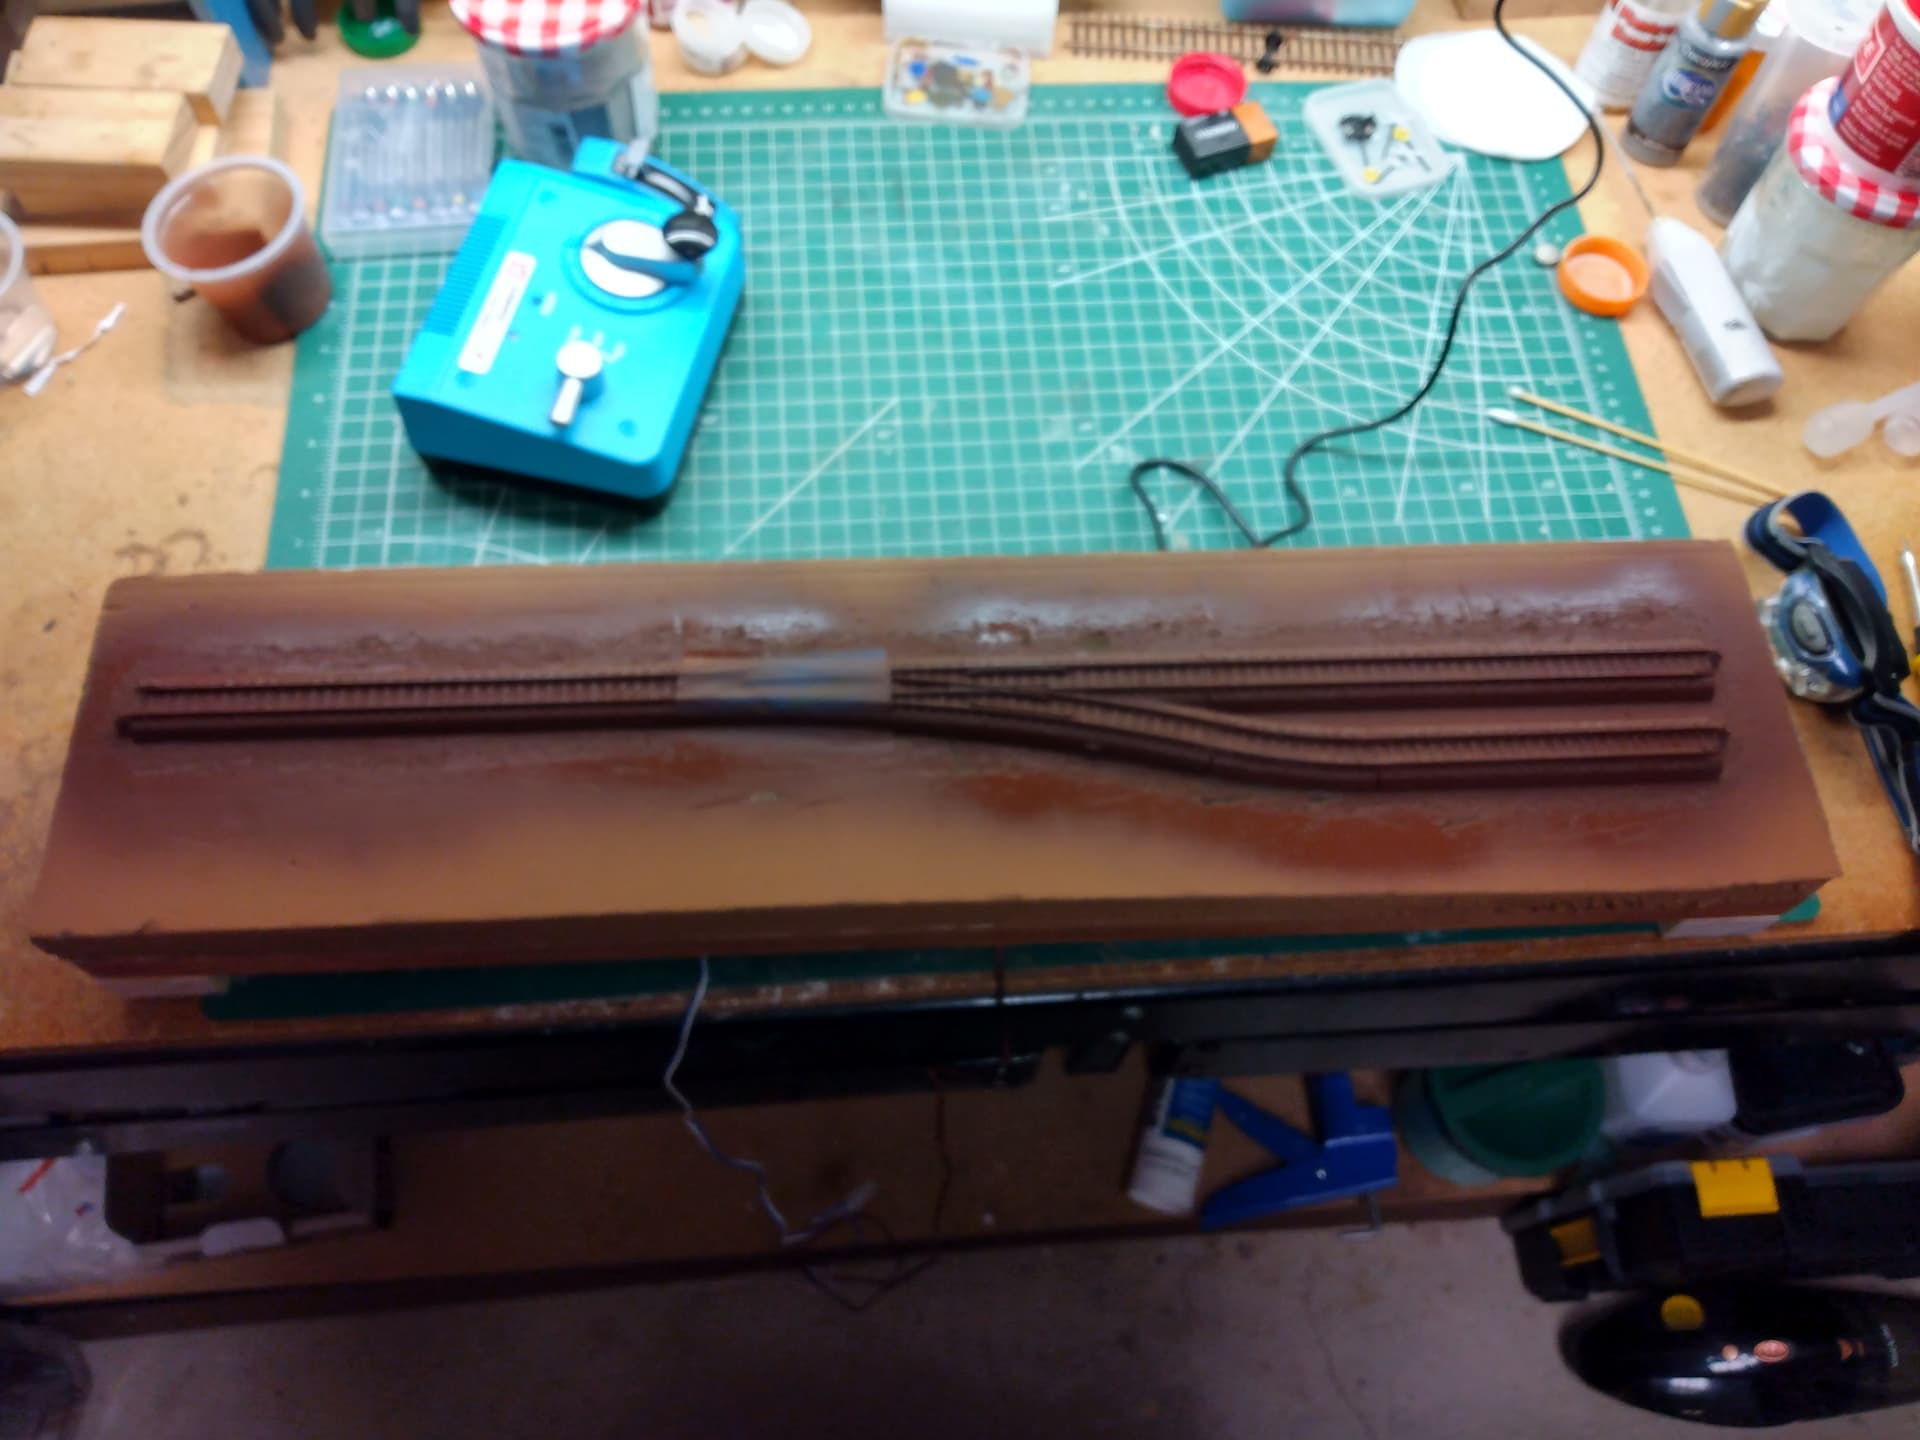
I am using Tamiya Nato Brown to paint the rest of the track. This gives a nice rust color to the rails and covers the Kato black ties. Again, I do not spray the paint on or near the points.
My mistake on my first test was not taking into account that the scenic glue can wick its way into the mechanism of the turnout.
On my next test, I will tape nearly the entire turnout to make sure this does not happen again. Once the rest of the test track is painted and ballasted, I will remove the tape and very carefully hand paint near the points and apply ballast to the sides of the turnout. I will frequently test the mechanism to make sure it keeps working.
To apply the ballast on the sides of the turnout, I will use a tip I saw elsewhere to mix white glue with the ballast to make a paste and to then carefully apply it to the sides of the turnout, thus avoiding scenic cement getting inside the turnout.
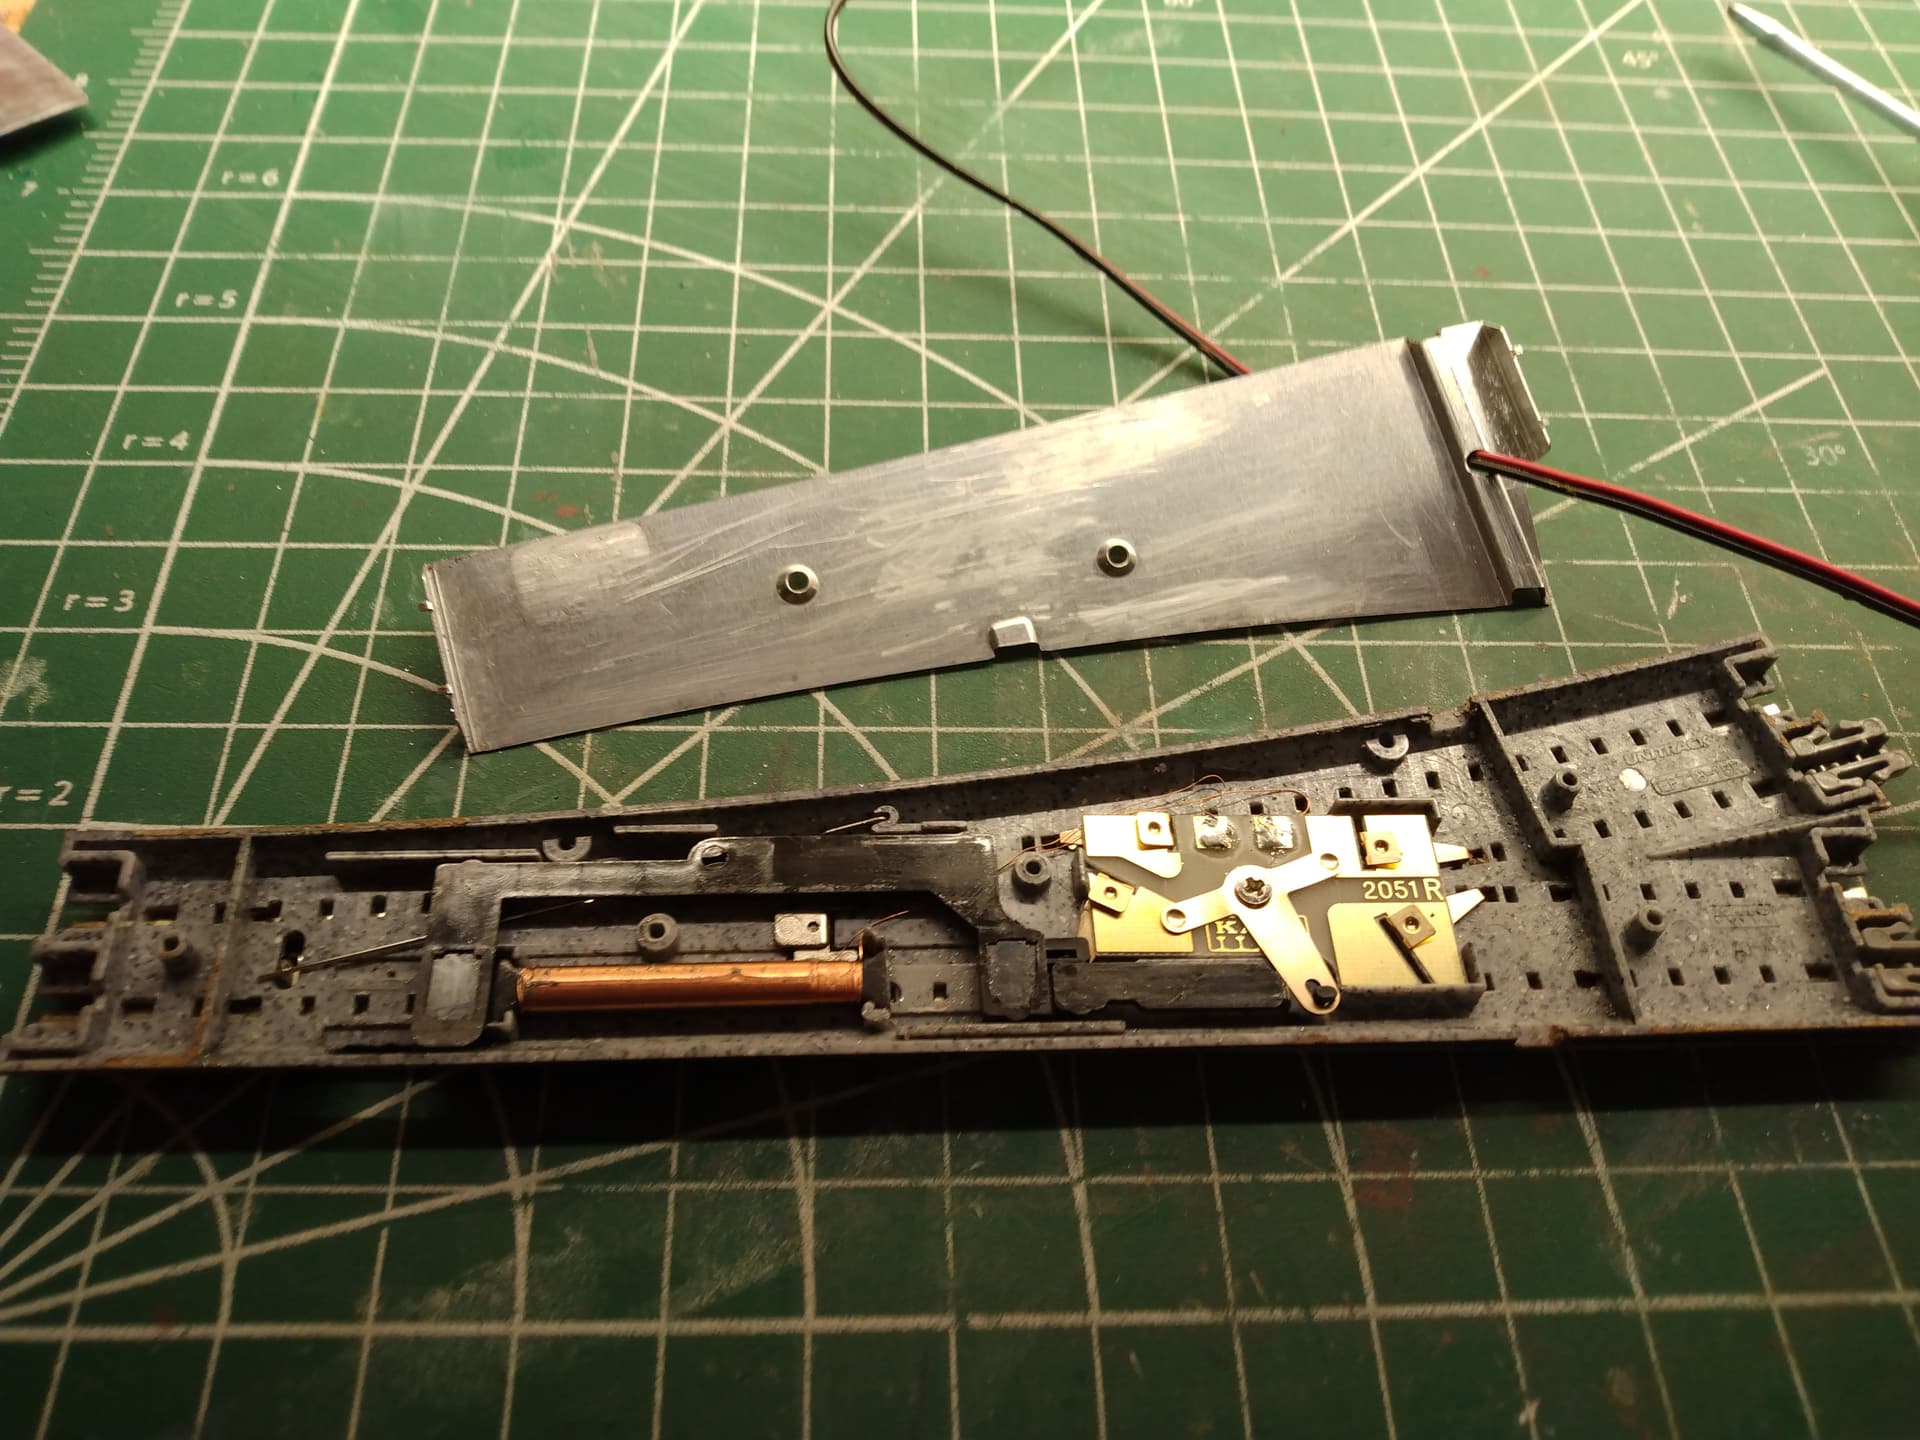
As for my first test, I plan on removing the ballast, taking up the turnout, open it, thoroughly clean it, and see if I can resurrect it.
OK, I removed the ballast from my first Kato turnout test track. I removed the track and the turnout. I disassembled the turnout and confirmed that scenic cement was the culprit. I thoroughly cleaned and removed the scenic cement. Reassembled the turnout. It now works fine.
So, on my next try, I am going to make sure that the scenic cement comes nowhere near the turnout. This will also be important when applying scenery materials and glue in the future.
Live and learn. I should probably take some photographs and post them.
I have no familiarity with Kato turnouts, but since you are able to disassemble the turnout, I am back to my suggestion that you try crushed Pink Lady ballast instead of paint. I know that you said that you will not be ballasting anywhere near the points, but if you were able to disassemble the turnout and clear the scenic cement, you should be able to apply crushed stone without gumming up the points. Use a small paint brush to carefully apply the glue and then lightly sprinkle crushed stone over the glue.
Photo 5: The cleaned turnout placed back on my test track. Notice I have covered the points with tape to protect them from the Tamiya Nato Brown spray paint. I decided to re-spray the test track because some of the paint was scrapped off when I removed the ballast.
Photo 8: I randomly paint some of the ties different craft paint colors (burnt sienna, milk chocolate, and raw umber).
At this point I would start the ballasting. However, I have to wait until my order for more Pink Lady ballast from Arizonia Rock and Mineral arrives. When it gets here I will update this thread with my progress.
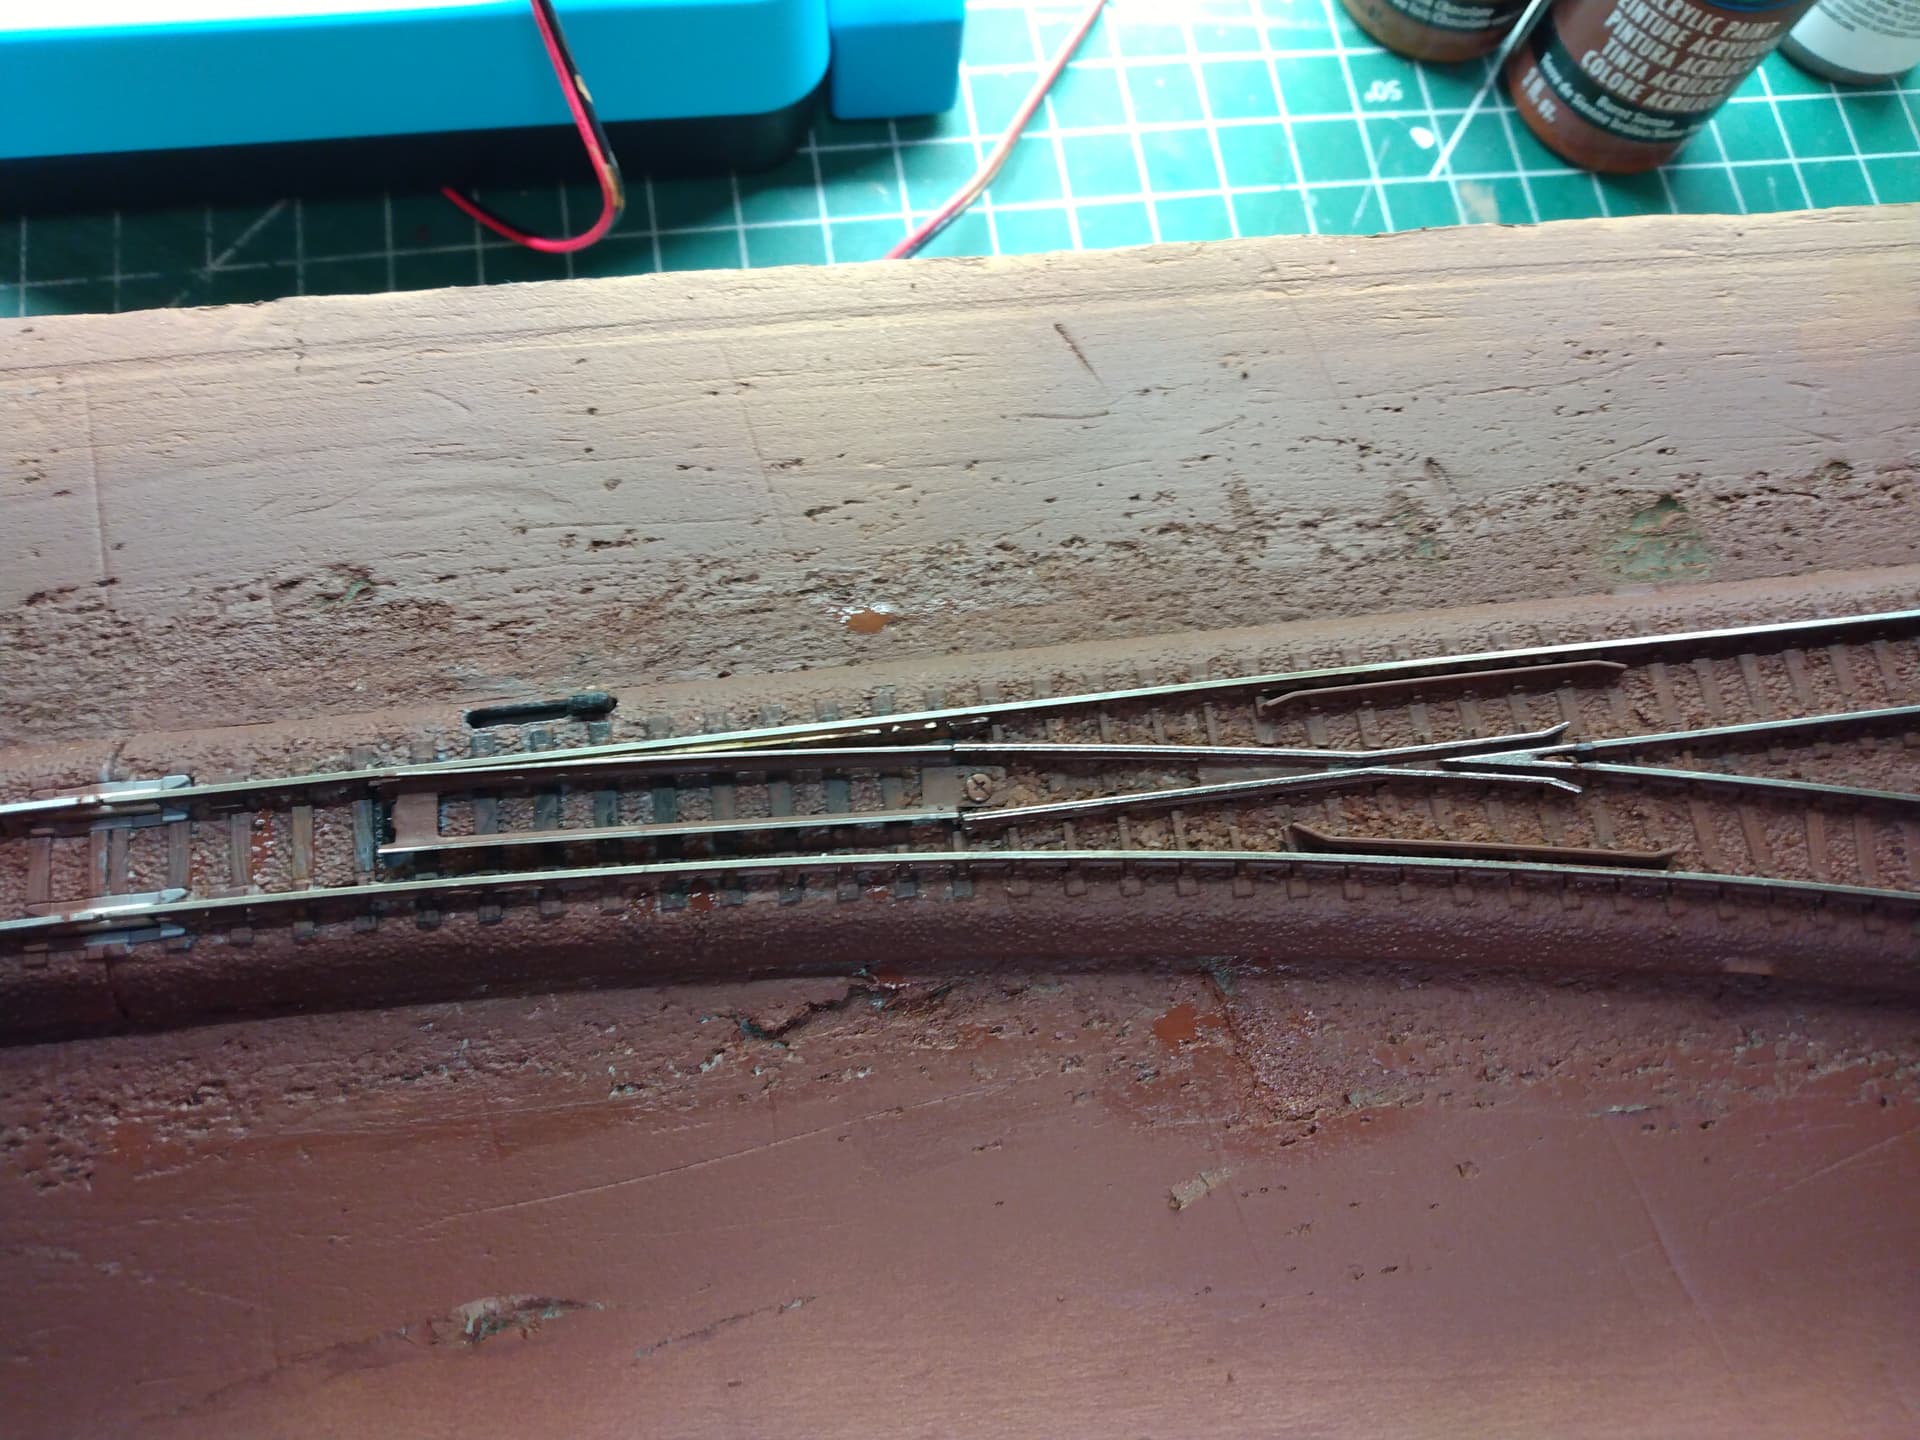
As I mentioned previously, I am unfamiliar with the N scale Kato turnout. After viewing your photos, I was able to find some photos of an N scale Kato turnout on the Internet that I could magnify for a closer look. Now I see your problem with ballast versus paint. The ties appear to be full embedded in the Kato ballasted roadbed. So, that prompts me to ask how you plan to apply the Arizonia Rock and Mineral ballast. Is your plan to use a glue mix on the Kato roadbed and then apply the ARM ballast to the wet glue mix and just on the sloped edges outside the rails?
As I mentioned earlier, it is easy to ballast straight and curve track even if the Kato ties are embedded in the blastic roadbed. There is still about 1/16th or 1/32th of the ties sticking up. It is simply a matter of carefully spreading a thin layer of ballast between these ties. I know some do not bother to ballast between the Kato rails, but I found it not to be challenging. I used the same approach to ballast the Kato Unitrack as I did to ballast my HO layout track.
Likewise, most of the turnout can be ballasted between the rails too, just not anywhere near the points or the little knob.
For these sensitive areas I plan on just painting under the points. As for the sides near the points I plan on mixing white glue and ballast together to make a paste which I will carefully apply.
Unfortunately, I am stalled right now waiting for my ARM order. On an earlier experiment I did use another company’s Pink Lady product, but I found the color unsatisfactory to me taste.
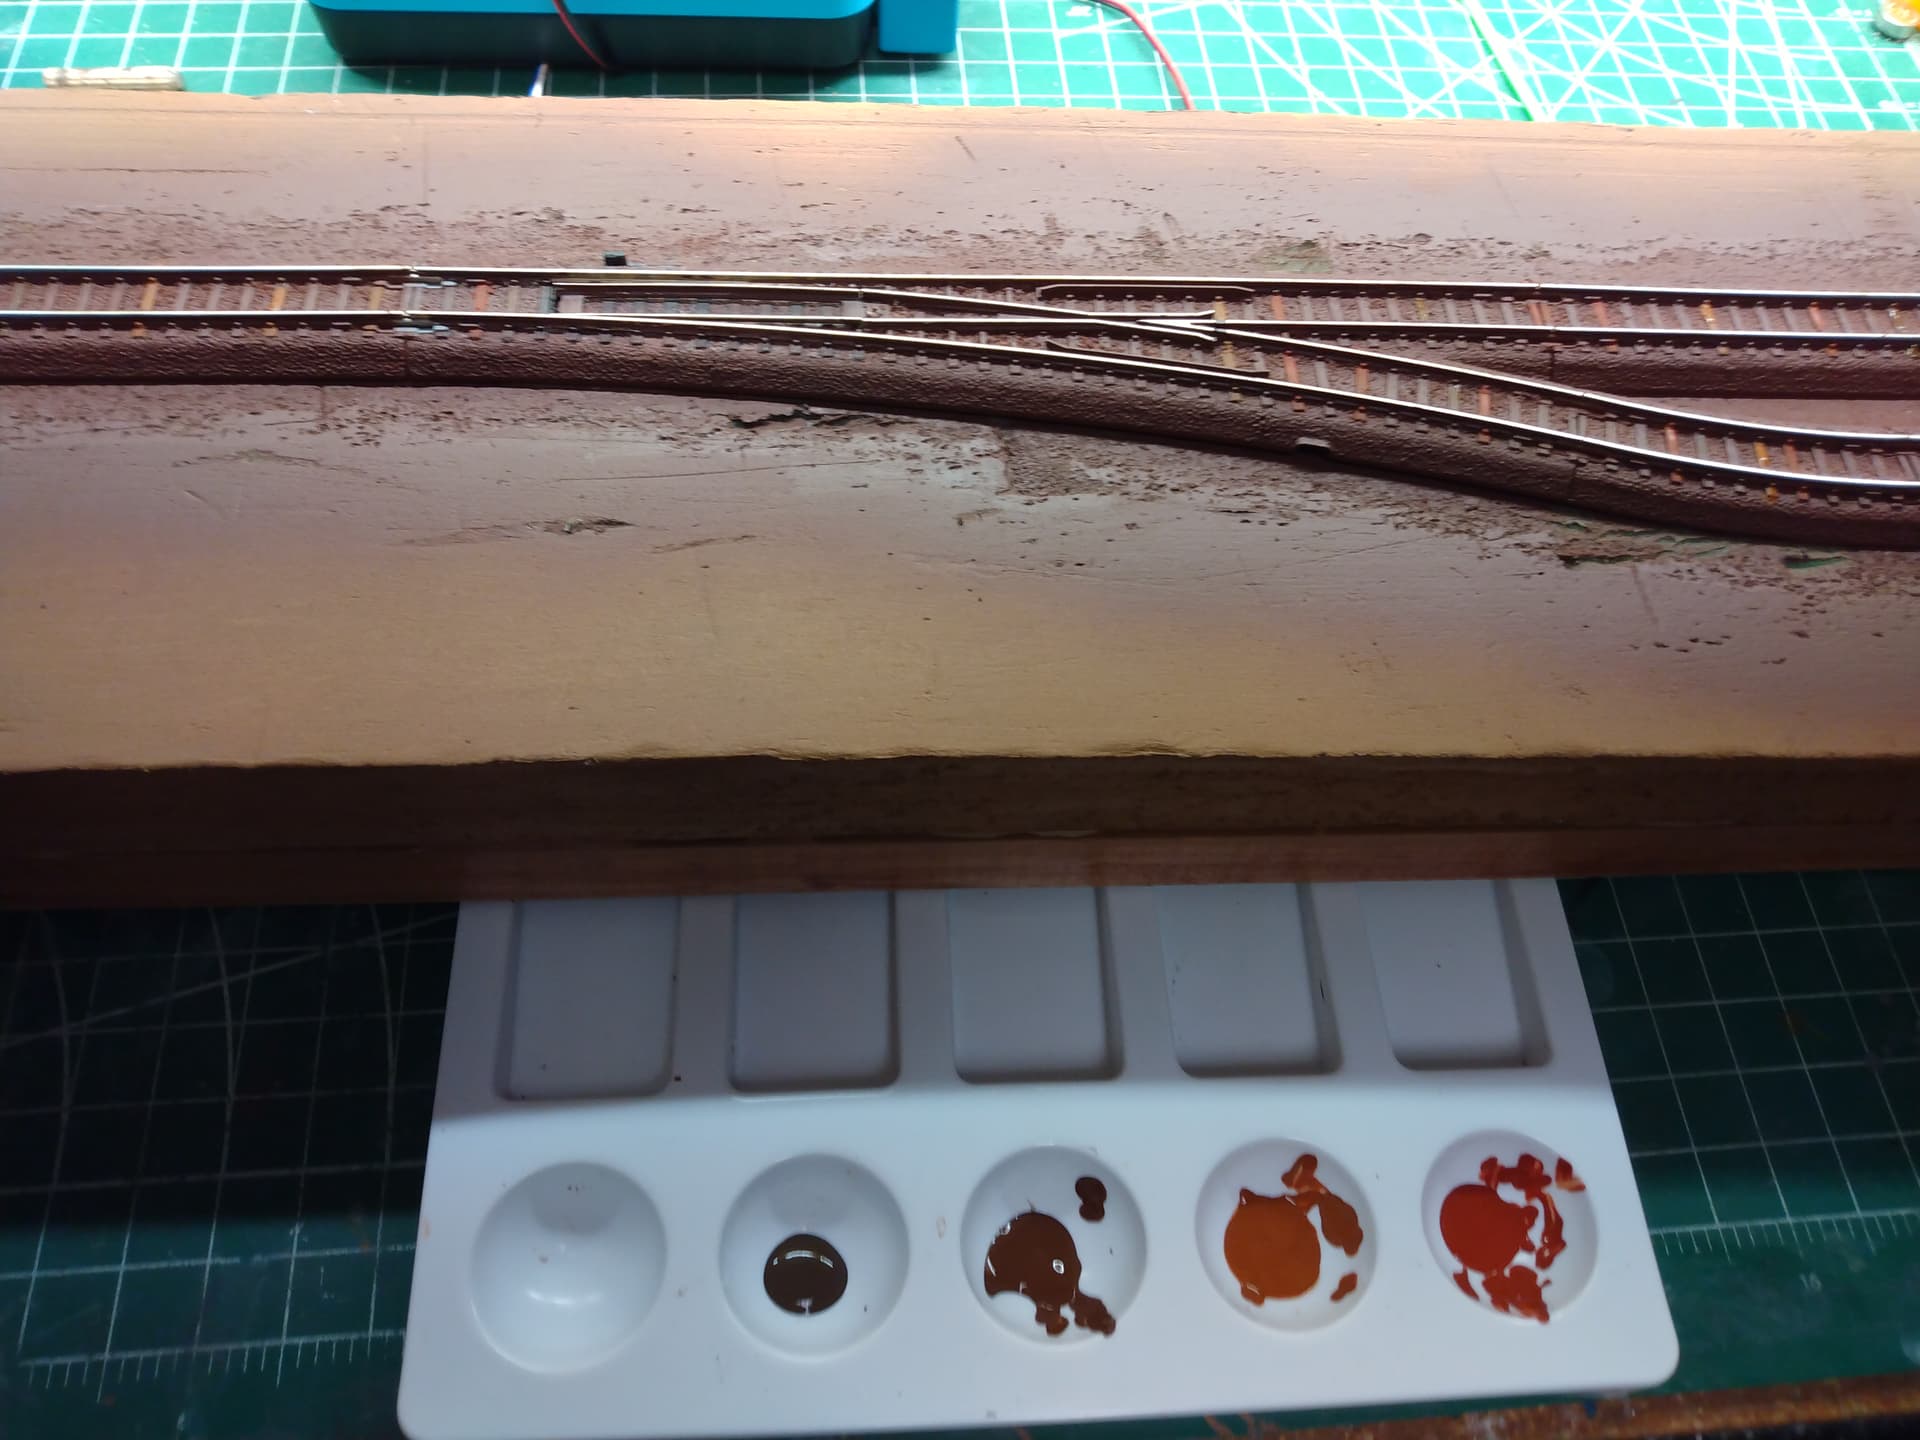
I guess to find a color that matches the ARM Pink Lady ballast the best thing for me to do is ballast a small piece of track, take it to Hobby Lobby, and search for a cheap craft paint that comes close to the color I need.
Indeed, it is Pink Lady ballast from Superior Scenics, the ultra-fine version. It is a perfectly good product, but the color does not exactly match the ARM ballast on my HO layout. Hence the reason I want to try ARM N scale ballast. That plus, I like the ARM black cinder ballast for sidings and gray ballast for the Milwaukee Road crossover on the N scale layout.
My HO layout is the Milwaukee Road, but I have three places where CNW tracks appear on the layout. Visitors ask about the color changes in ballast and I explain about the Pink Lady quarry the CNW used. So, I thought it would be fun on the N scale moduler layout to have the quarry on it. Hence my desire to ballast the Kato Unitrack with Pink Lady ballast.
This thread has so far focused on ballast, but I also need guidance on the color of CNW buildings. Tru-Color paint offers a CNW Maroon-Red (TCP-374). Is this the color used for most buildings? What about the color of the trim? Also, I see reference to some buildings being painted Yellow with Green trim, is this true? Was Yellow and Green used in a particular period or place?
To answer the original question, yes most of the stations were painted in the maroon red color with brown trim during the steam era. As the diesel period went on, some stations were painted in a grey scheme.
There were several stations painted in a yellow and green scheme, most notably Merrilan WI , Eland WI and Hudson WI during the 40’s and 50’s until the end of the passenger train era..
Let me take a look at my standards book to see the colors used on the other buildings.