After doing some reading and seeing results in a recent WPF I decided to pick one up. It should be in tomorrow and experiments will start right away. Good weekend project [:D]
In past threads here on the forum {if you care to search for them} the people who have used them found them to be relatively satisfying results. The biggest complaint was about the price of the Noch static grass machine.
THere are other threads here on the forum {if you care to search for them} that will mention and even show you how to make one at a far cheaper price than Noch asks for theirs. Those threads may make you want to cry.
You are right experiments with it should make for a nice weekend fun project either way.
Thanks
I read several posts on it and watched a few youtube video’s of making your own. At 180 bucks I figured I saved money after figuring in that you have to acquire the materials and then build it. The final result doesn’t work as good as the original and after figuring in the time I save money since my time is worth more to me than just picking it up. Another thing is when you see the self made units there are bare metal parts with 7000 volts on them. I’ve been zapped enough in my life and don’t want any more if I can help it.
A $2.99 electronic flyswatter from Harbor Freight, two D cell flashlight batteries, and a cheap tea strainer from a dollar store. Thirty minutes of work. It’s not difficult at all to make one.
Finding the static grass to use in it is the biggest drawback to them. I have tried several sources and no one can get static grass.
Thanks
The cost does look good on the surface and for many it’s worth it. I’d personally rather pay the extra money to the originators.
-
I feel more comfortable handing it to my 14 year old Son to work on scenery. The flyswatter method would probably zap him. That alone is worth it.
-
The suppliers offer a good product at a decent price. I feel strange taking their idea and making the poor mans version only to use the manufacturers grass to actually lay it down. That’s being trailer park trash in my book.
I have been doing some work with the Noch Grassmaster (rented, not bought). Aside from the price, its biggest draw back is the use of batteries - it eats them in no time at all. When you work with it, make sure that you have a couple of fully charged batteries handy.
The best looking results you will achieve by using the longer fibers - unless you want to model the green on a golf course!
I love my Noch! I don’t think the price is really that objectionable, considering how much money we throw at all the other elements that are gonna cover our layouts - building kits, the rolling stock itself, etc. One grass applicator is all it takes to do an entire layout; compare its price to the total price of the layout, even a small 4x8, and it hardly registers. The great-looking grass texture, on the other hand, seems to register with every one that views my scenery.
I was looking at my Micro-Mark catalog last night, and saw they had them on sale for $159. MSRP is $249.
I saw that video. Even the author of that video said it works so so. No thanks…
There’s some very good info HERE on building your own, powered by an inexpensive “wall wart”. With some additional info from Joe Fugate, I built one for about $12.00 and it works great.
There’s also an easy-to-follow tutorial HERE, although non-Members won’t be able to view the photos. [sigh]
Wayne
For anyone that might think that $150 - $180 is way too much money:
http://www.ztrains.com/pages/tech/grassinator/grassinator.html
ANY static charge device generates high voltage and due care should be excercised.
For those that “can’t find” static grass, try:
http://www.sceneryexpress.com/
They have tons. So do many other online suppliers.
If saving $140+ on a scenery tool makes me trash… Well then buy me a doublewide and call me billyray.
LOL Ok Billyray [(-D]
Steve, The ztrains link didn’t work.
Ulrich, thanks for the tip on the batteries. I’ll pick a few up.
Sorry. I went back and fixed the link. Here it is again:
http://www.ztrains.com/pages/tech/grassinator/grassinator.html
I built this one. Works pretty well.
I’ve been pretty happy with the results. It took some experimenting early on to dial in the best way to do it. In my case a few things that helped were:
-It’s easier if you start with a base coat of shorter grass, 2mm for example, then add taller after that.
-To get started, smear a thin layer of white glue on the surface with your hand. Mist with water. Stick the probe in and apply the grass, misting with hairspray (weak adhesive) as you go. If you start with the short grass after the first layer it stands up pretty quickly.
-A nice look is can be had if you lay down an initial layer of 2mm Heki Prairie Grass (pn 3363). This is sort of a beige straw. You can leave it alone or add a second layer of green.
-Keeping the surface moist with a spray bottle of water or hairspray helps the process.
-Sealing the finished grass by misting with dilute matte medium makes it last longer.
Lance Mindheim
Visit Miami’s Downtown Spur at www.lancemindheim.com
Thanks for the tips.
FEDEX just delivered the package. I’ll be digging into it tonight. [:)]
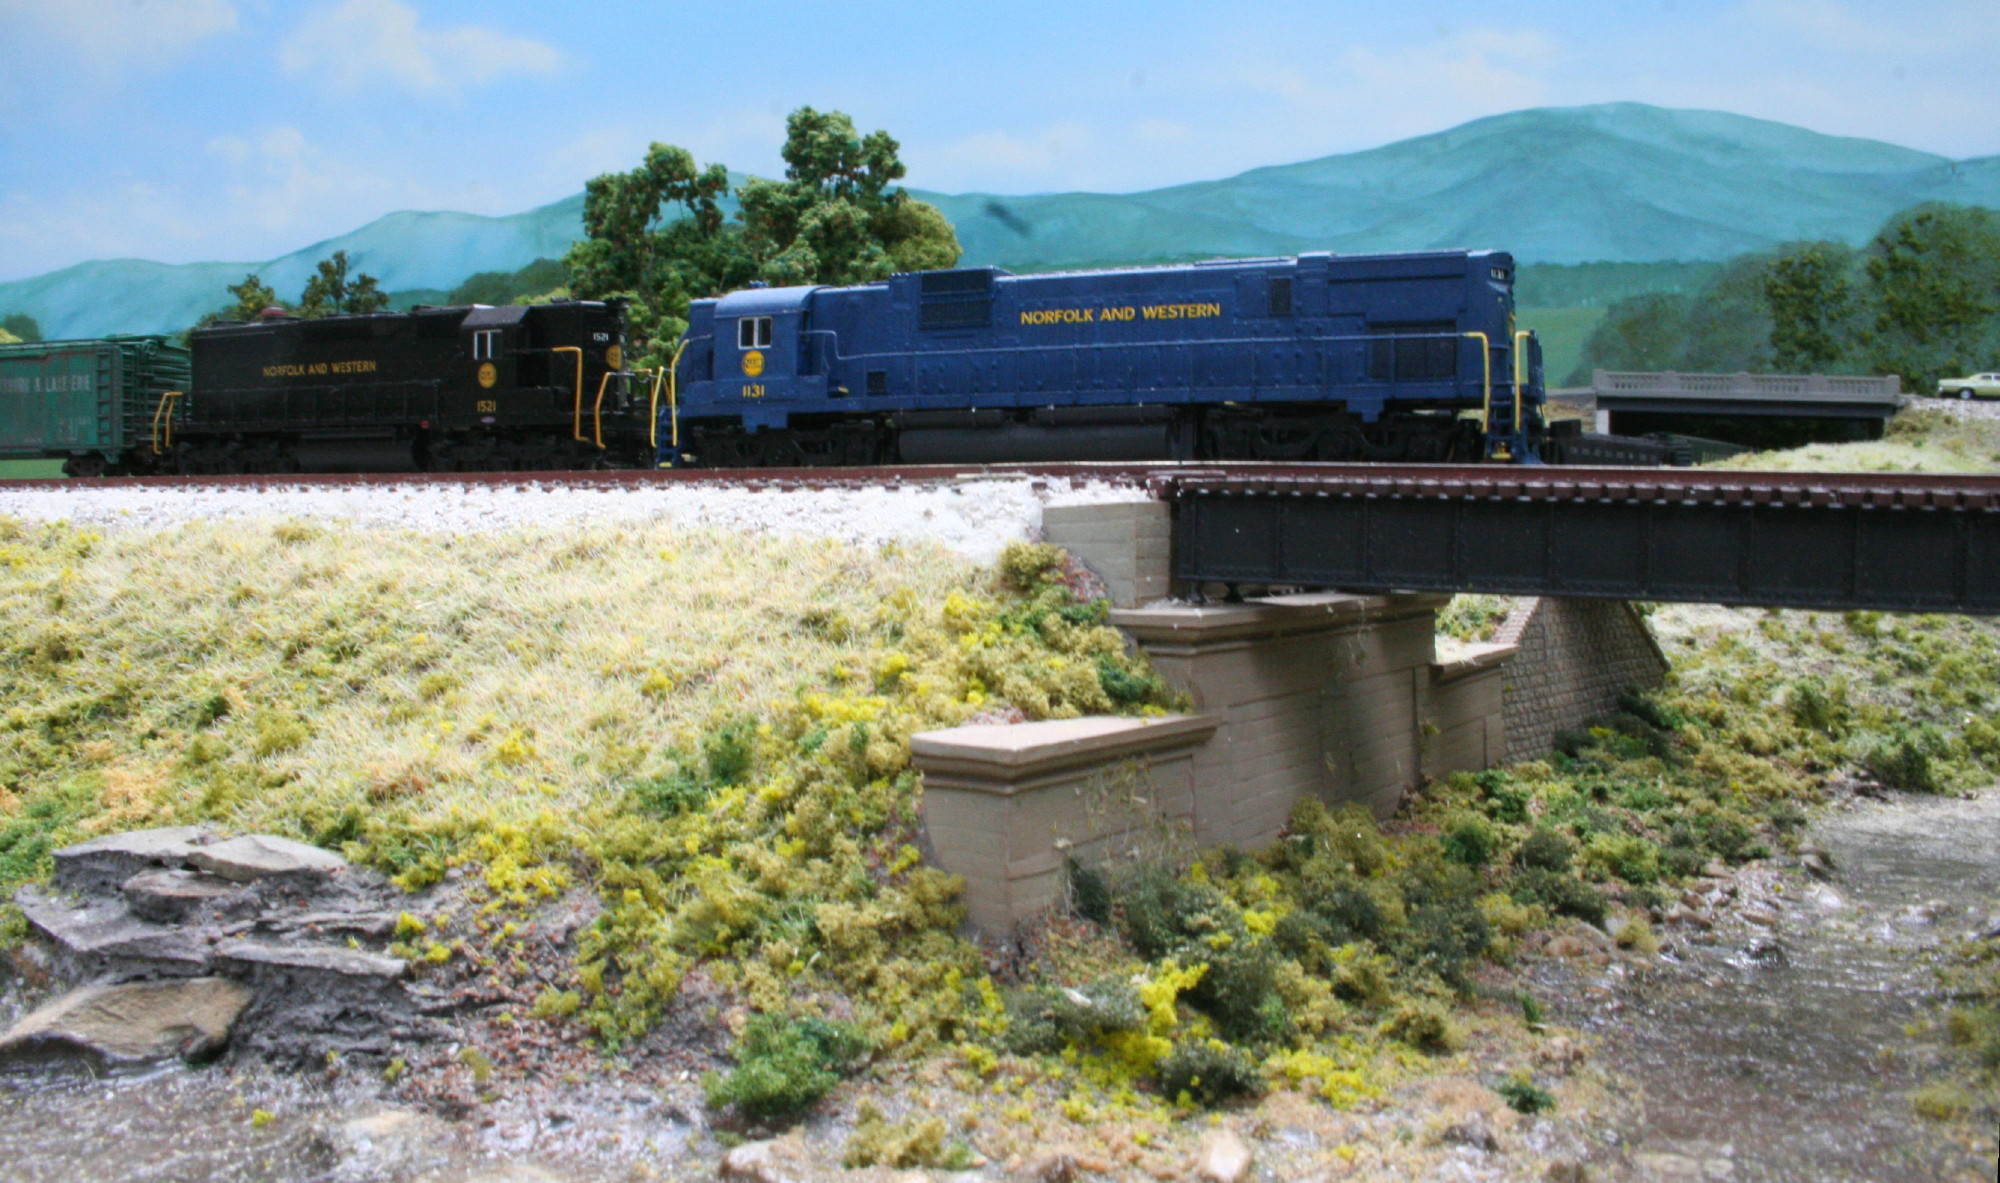
I got mostly 2 mm grass since it’s more to scale with HO. 2mm is equivalent to 6.8 inches at scale.
Keep us posted on how it goes for you. I am going the homemade route; the ion generator came in from Down Under yesterday and I picked up all the remaining parts parts this evening (under $50 for everything). Operation Grassinator is well underway.
Jamie
Which version are you building? The open fly swatter or the Tupperware enclosed unit?
I’ve read about the flyswatter and the grassinator. But doesn’t the flyswatter just use the electronics since it’s already there? I’m going to try the grassinator type
The Tupperware type. Following the instructions as shown on the Z-Trains website and in Joe Fugate’s videos. Jamie