been doing some searches on swing up/down gates ,I need one of each (2 level top swings up,bottom swings down) about 12" x27 " each . any good Pict’s of recent successful gates of this type and hardware required ? thanks in advance Jerry
You can start here: http://waynes-trains.com/site/LiftBridges/Lift-bridges.html
!(http://waynes-trains.com/site/LiftBridges/Main entrance.jpg)
This is a dated image and not very close. But, it shows my swing down bridge. The hinge comprises two 2" brass cabinet hinges on the right hand side as you view the layout. On the left end of the bridge are two brass barrel locks that provide both electrical contact and alignment.
Sorry I can’t help. Mine swings sideways.
some good info ,nice site Elmer ,and havent completly ruled out a side swing on the bottem but @12" deep its going to be cramped…Jerry
Here’s how I did it.
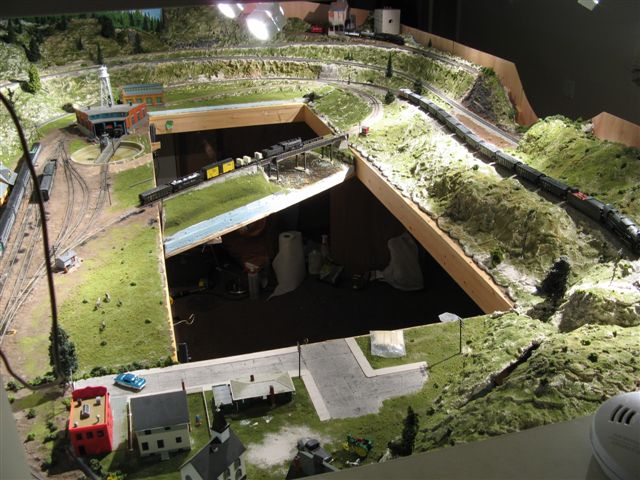
That is my hatch/gate in front of the door. I did just clean it up for new scenery.

thanks guys ,I got the top one done (swing up) with hinges set high per Elmers site and am looking at the swing out gate for the bottom, more room than I thought,we shall see…Jerry
My two smaller swing up of the four on the layout., all hinge underneath

All my swing ups have been in service for over eight years and seeminly bullet proof, all have macro addjusting features for minute alignment. The two on this end of the room are overbuilt, as inadvertly opening the door from the other side. Parts, used only i door hinge and adjustable cubbard latch, plus ability to miter cut wood. Noticed your a WP fan too, LOL Pm me if you wish, as I am seldom on this site, glad to help…John
This is my roll-in/roll-out bridge (and you can also crawl under if you had go real bad).
now you see it:

now you don’t:

For more ideas - Here is a link to a build thread that includes a swing gate that swings to the side.
http://cs.trains.com/TRCCS/forums/p/127351/1434632.aspx#1434632
Guy
thanks Guy ;Ive seen that one and it is first cabin ,I’m making one similar in construction but BORING compared to that beautiful bridge…thanks again.Jerry
GandDancer,
Thanks for sharing your info. I found the PDF on your website helpful as I’m going to need a vertical lift bridge for my shelf layout. [Y][8D]


This lift-up bridge replaced a sidewise swinging gate that was sturdy and solid, but difficult to keep the rails properly aligned.
This new bridge features a solid piece of 3/4" plywood, and a thick spline roadbed laid across it. The spline was laid solidly right across the bridge and once smoothed out and planed, was cut at each end. The hinged end is cut at an angle so it properly drops down and doesn’t bind. The other end also has a very slight angle so it drops into place properly. The sides of the spline at the free end are slightly beveled, and an adjustable beveled block on each side forms a nice tight pocket for the bridge to drop into to keep it in perfect alignment. These blocks are adjustable with screws if need be. An electromagnet and steel plates attached to the bottom of the spline roadbed hold the bridge firmly down, and a pair of microswitches cut off track power when the bridge is lifted.
So far this new bridge has been quite reliable, we can run our 40-car trains at full speed across it with no issues.
WOW ,Chris ; thats a nice swing up ,had to look close to figure out how you keep the hinges lower than the track .very similar to Jwars swing up, Chris be nice if you got a shot from the side looking at the hinge/track area ?..nice ,
mine are done ,but not real shure how Im going to conceal the hinges,but still not to late to change it.
the lower is a swing out ,and its going to have multi tracks ,seems stable but we shall see
thanks to all Jerry
This is the only side shot online, it shows the bridge in mid-construction with the first track’s spline in progress:

Here’s how the spline was cut in order for it to swing down properly. The protruding spline drops down into a pocket behind the hinge:

I don’t think we have any pics of the alignment blocks and electromagnet arrangement at the free end, I’d have to take some detail photos at the operating session next weekend.
thanks Chris ;pictures tell it all. thanks again …Jerry