uestI’ve printed a sign on ordinary computer paper and I want to glue it to a brick building with shallow mortar grooves. I’ve seen an article which says to sand the paper till you can see the printing from the back side, slather the back side with diluted white glue and press it into place. BTW, the glue dilution in the article was 70% glue, 30% water.
Before I actually try this, does anyone have any suggestions, warnings, advice or tips to offer?
I also want to add mortar to the brick wall using greatly diluted joint compound, which I’ve done successfully before, but I was wondering if I should do that first or after attaching the sign. Any thoughts on that subject?
As a dumb question-- do you want this to look like a painted sign affixed to the wall, or as though it had been painted in the brick? If the latter, there are different techniques to get a better result.
And it can be vitally important to know how you printed the sign: fused laser toner behaves VERY differently from many kinds of ‘consumer’ inkjet ink around moisture.
If you have a flatbed printer, or one with a ‘straight-through paper path’ option, you can try printing on very thin material temporarily bonded to a ‘carrier sheet’ of known size. This removes much of the need to ‘sand down’ paper or card stock to get frameless scale thickness.
It should be possible if you are using inkjet material on a thin substrate to apply coats of damar/Kamar varnish until the substrate is fully sealed. That will let you use any of a variety of adhesives to hold the sign without ruining the lettering or the appearance and finish of the face of the sign.
I’d apply the mortar, pointing repairs, in fact any wall detail including weathering up to the putative time the sign would have been applied, before affixing the sign. Afterward you can weather in the soot, etc. that washes down, the erosion of the mortar from acid in the rain, any tendency for what’s theoretically attaching the sign to swell or rust.
I’d think that white glue between a properly-sealed wall and sign would have very much the same problem as with two pieces of plastic: it will take a long time for the water to evaporate fully out of the joint. I believe I’d use a thinned contact cement for that specific job, which will give good adhesion in a short time without the kinds of problem that ‘starving’ a thin bond can cause with some adhesive systems.
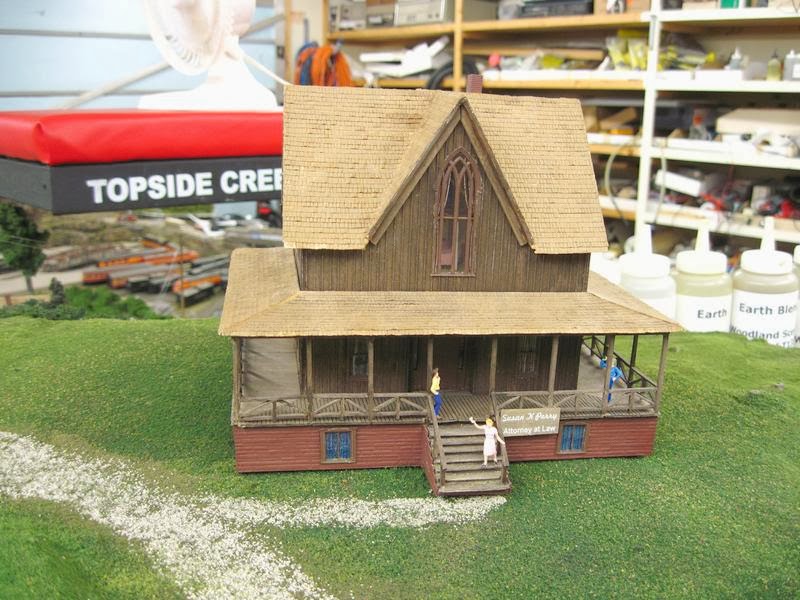
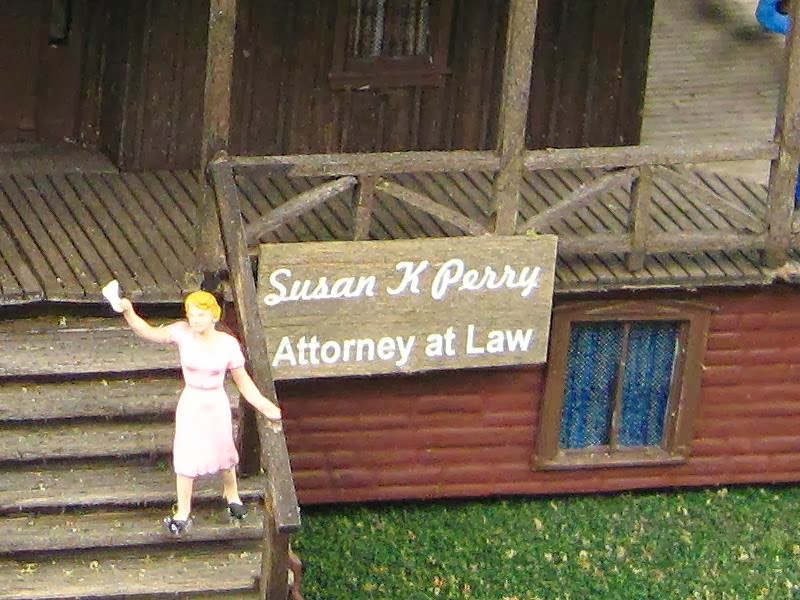
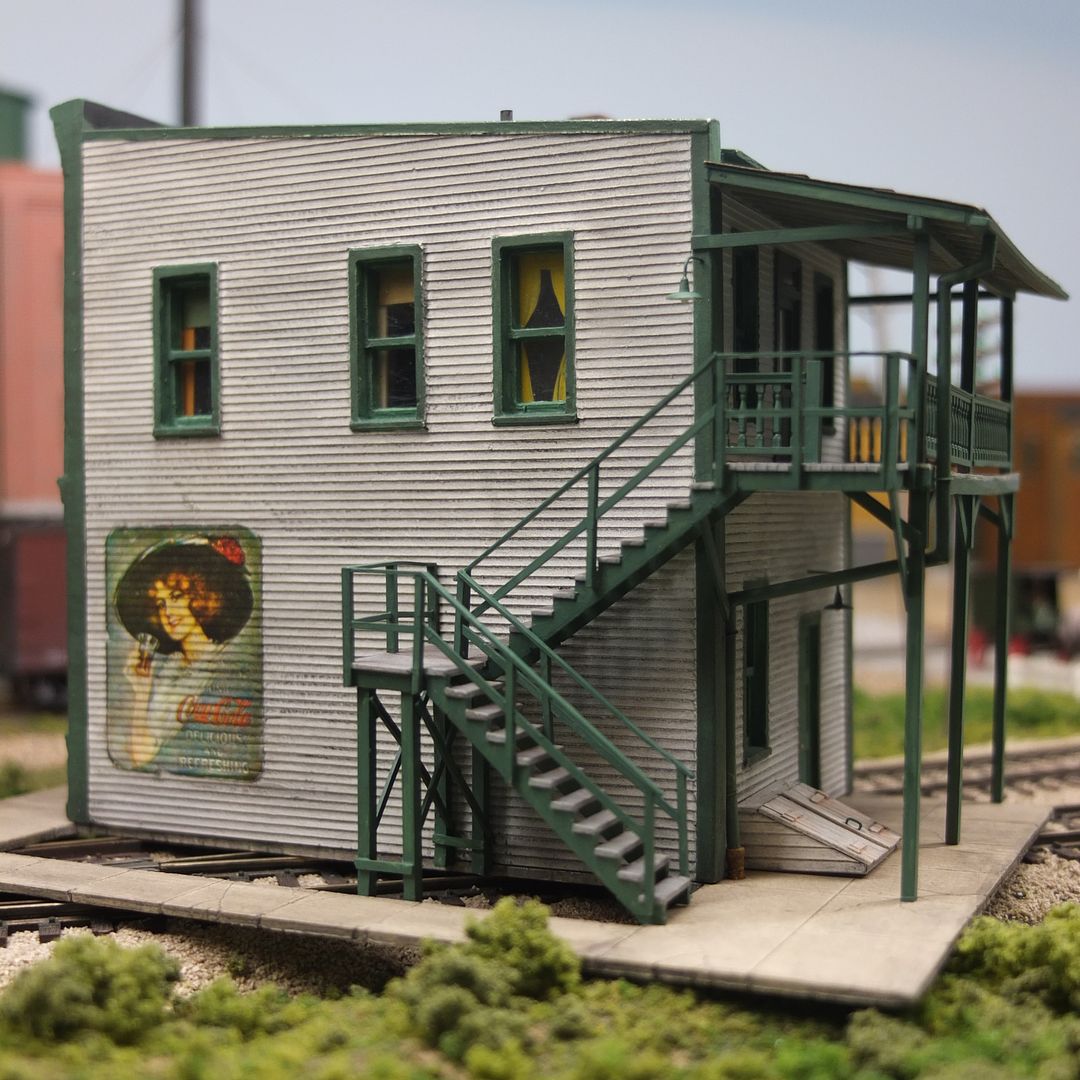
The sign on this building was done using the sandpaper and white glue method…
Well, if the sign was painted on the wall after the structure had been built (DOH!), then it’s only logical that the mortar be applied before the sign is added.
I don’t see any need to thin the drywall mud, though. I use a clean rag over my fingertips - simply dip into the drywall mud, then rub it onto the structure. It will dry very quickly, and the structure then can be taken outdoors, where you can use a clean rag to rub the excess mud off the surface of the bricks. Shake the rag thoroughly as you work - it creates a lot of dust, which is the main reason to do this step outdoors.
I’d offer more photos, but photobucket is not very cooperative today.
All of these signs were printed with an ink-jet printer on computer paper, sanded thin and applied with thinned white glue. The method is simple, cheap and reversible if necessary.
In truth, all of the methods discussed here will work just fine. Choose the one that appeals to you and meets your needs.
I use clear-backed decal paper. I paint a white rectangle the size of the sign on the wall surface, and then apply the decal. This allow white to be white and light colors to have the proper hue.
I do mortar before the decals. My signs really do have a painted-on look. If I use Dul-Coat before the decal, the whole scene takes on an aged look.
I tried using full strength joint compound but found that it accumulated in corners and along raised edges which then required scraping to remove and I didn’t like the prospect of scraping off the paint underneath.
Have you experienced this ‘accumulation’ problem? How do you avoid it or how do safely remove the accumulated joint compound?
You’re right about the accumulation of the joint compound around details, but I find that a little extra effort with the clean rag will usually take care of it.
For really stubborn build-ups, try using either the tip of an X-Acto #11 blade or a #17 or #19 chisel-type blade, depending on the amount of room available to maneuver the blade, which does not have to be sharp.
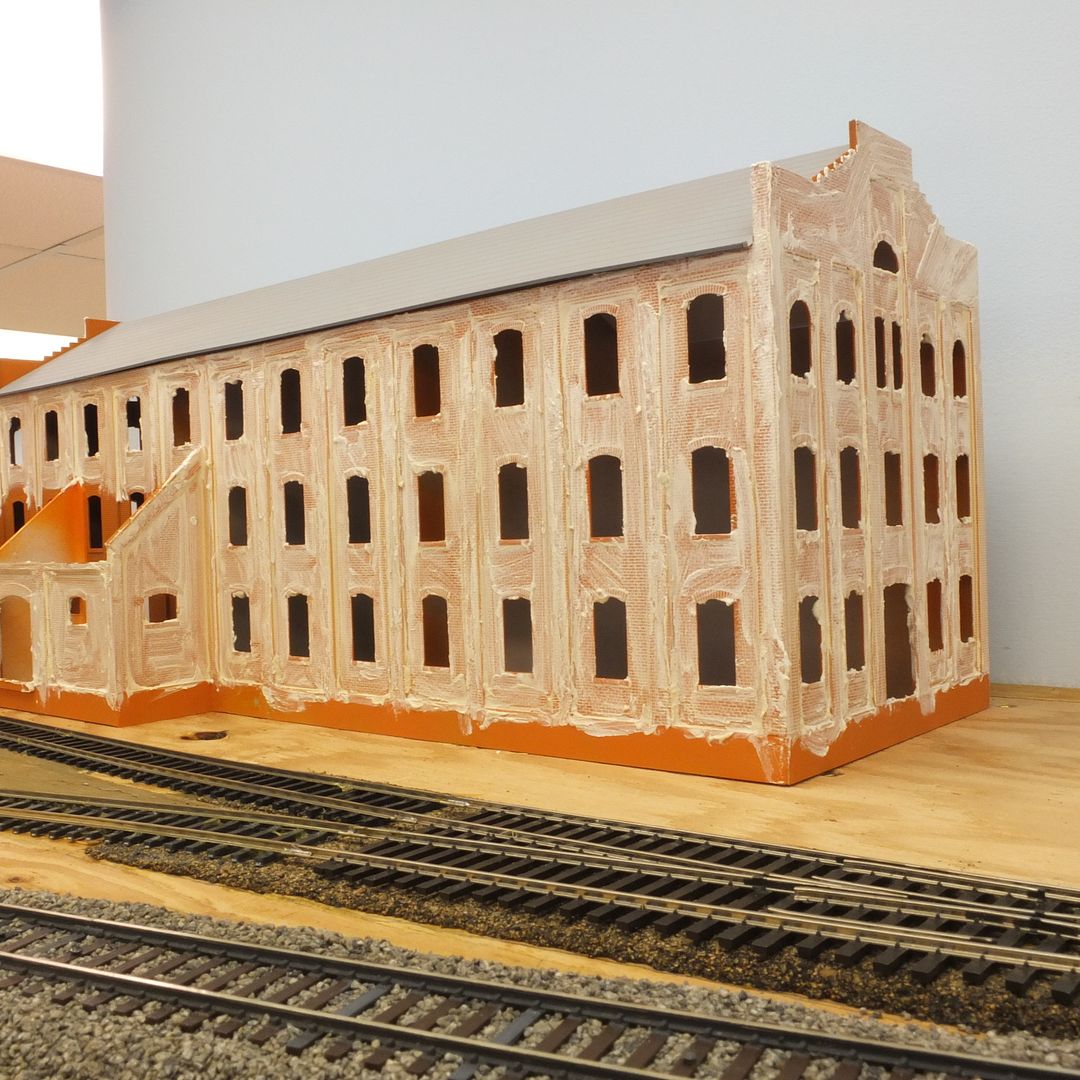
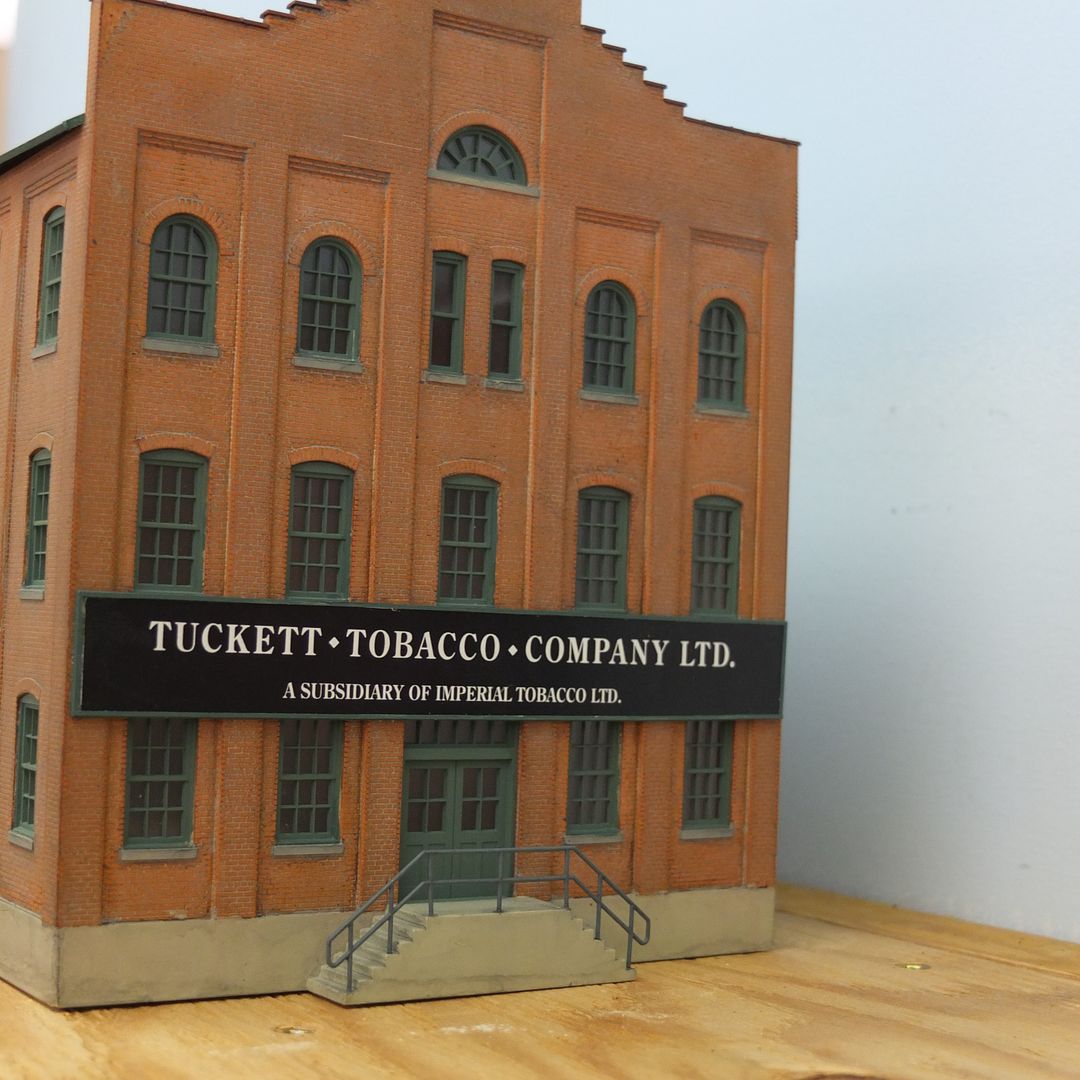
This is Walthers Greatland Sugar, somewhat revised to represent Tuckett Tobacco, an industry in my hometown. I used both long walls on the same side, to create a bigger structure, so the unseen side is simply plain .060" sheet styrene…
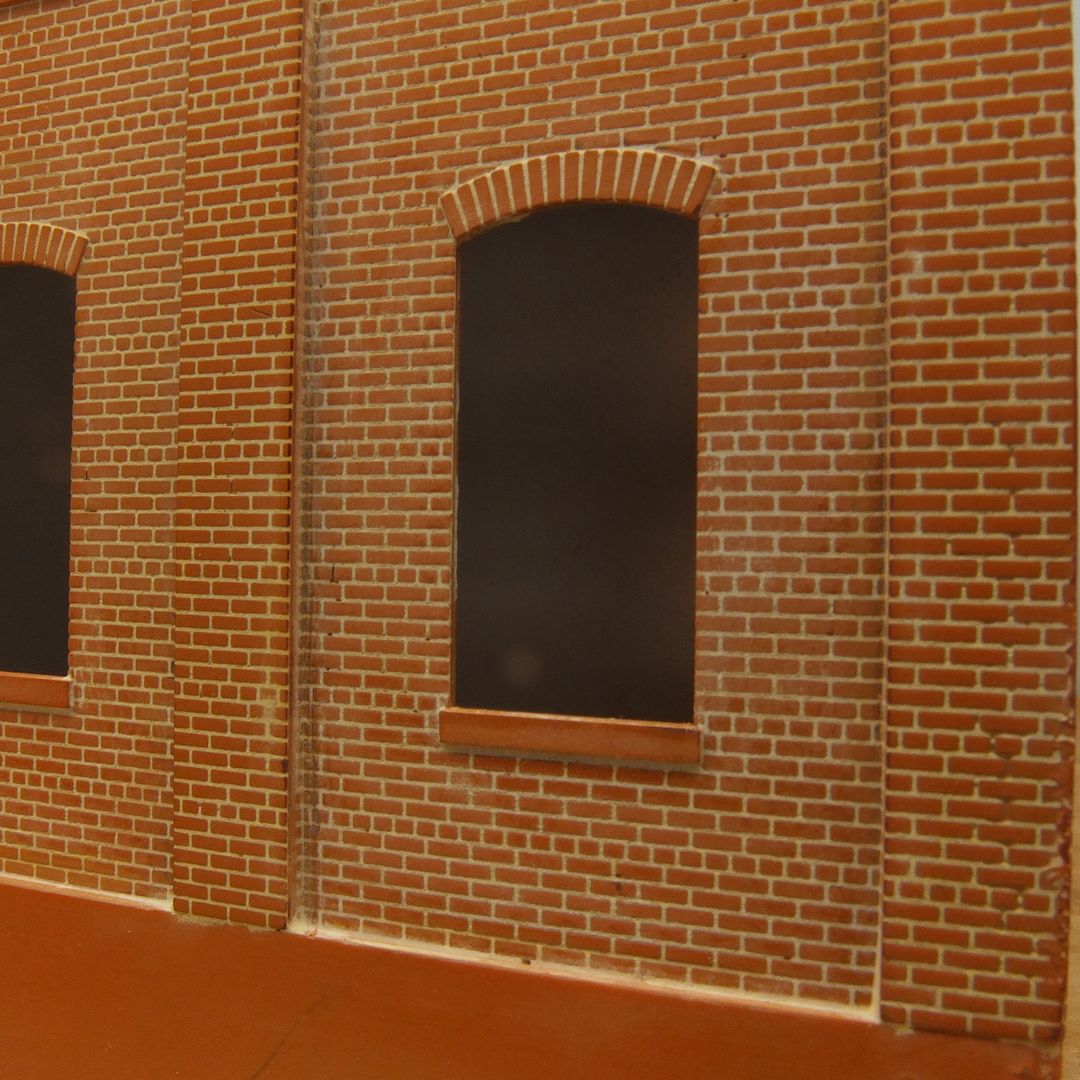
Here it is after getting plastered (no alcohol was was injured in this process)…
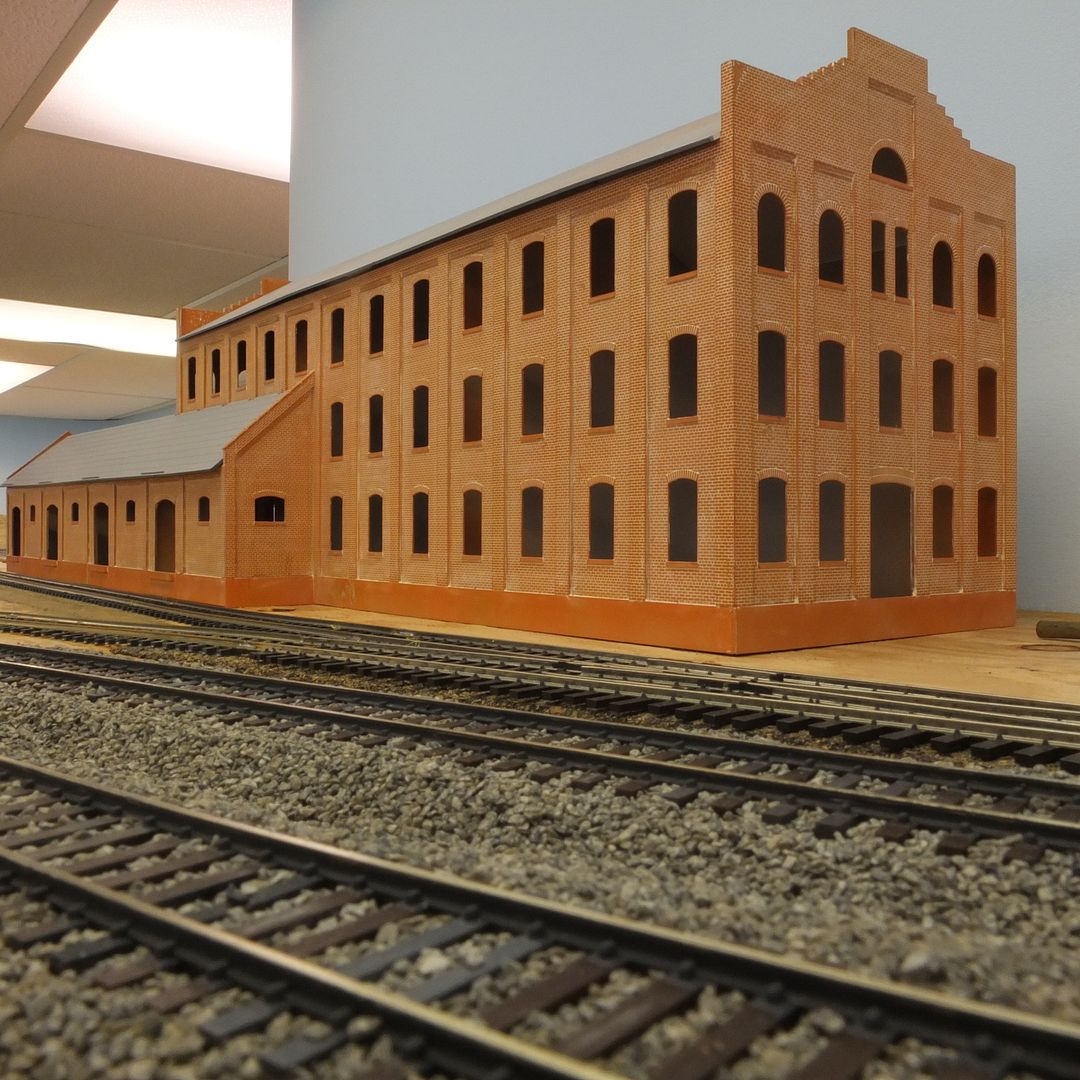
…and after some clean-up using a rag…
…here most of the details have been cleaned-up using the rag, with only the mortar line above the foundation to be done…
It does help to have fingernails when using the rag, and it’s a defining characteristic of many modellers, I think. [swg]
Here’s a view of the side facing the street, since other photos aren’t currently available…
Something that may be useful in getting the mud out of detail areas is one of those glass-fiber scratch brushes used to rough up things like solder pads – you can get them in retractable-pen form. These have more compliance against a surface than a stiff knife-blade, but enough strength to move the dried compound out of ‘square corners’ against trim or in undercuts. Very little pressure is required, and as the fibers are glass there isn’t any staining or buildup of plaster dust.
Thank you so much for the great photos. I was hoping you had some secret method of applying the mud or scraping it off. Your buildings with the mud applied look like the ones I did with full-strength mud except my buildings don’t look as good as yours before or after. I like using the joint compound because if it doesn’t come out right for some reason, I can throw the building side in a bucket of water and brush it off. Plus it takes India Ink/rubbing alcohol weathering really well, as you noted. I’ve done that more than once.
I love seeing photos of your work, always inspiring.
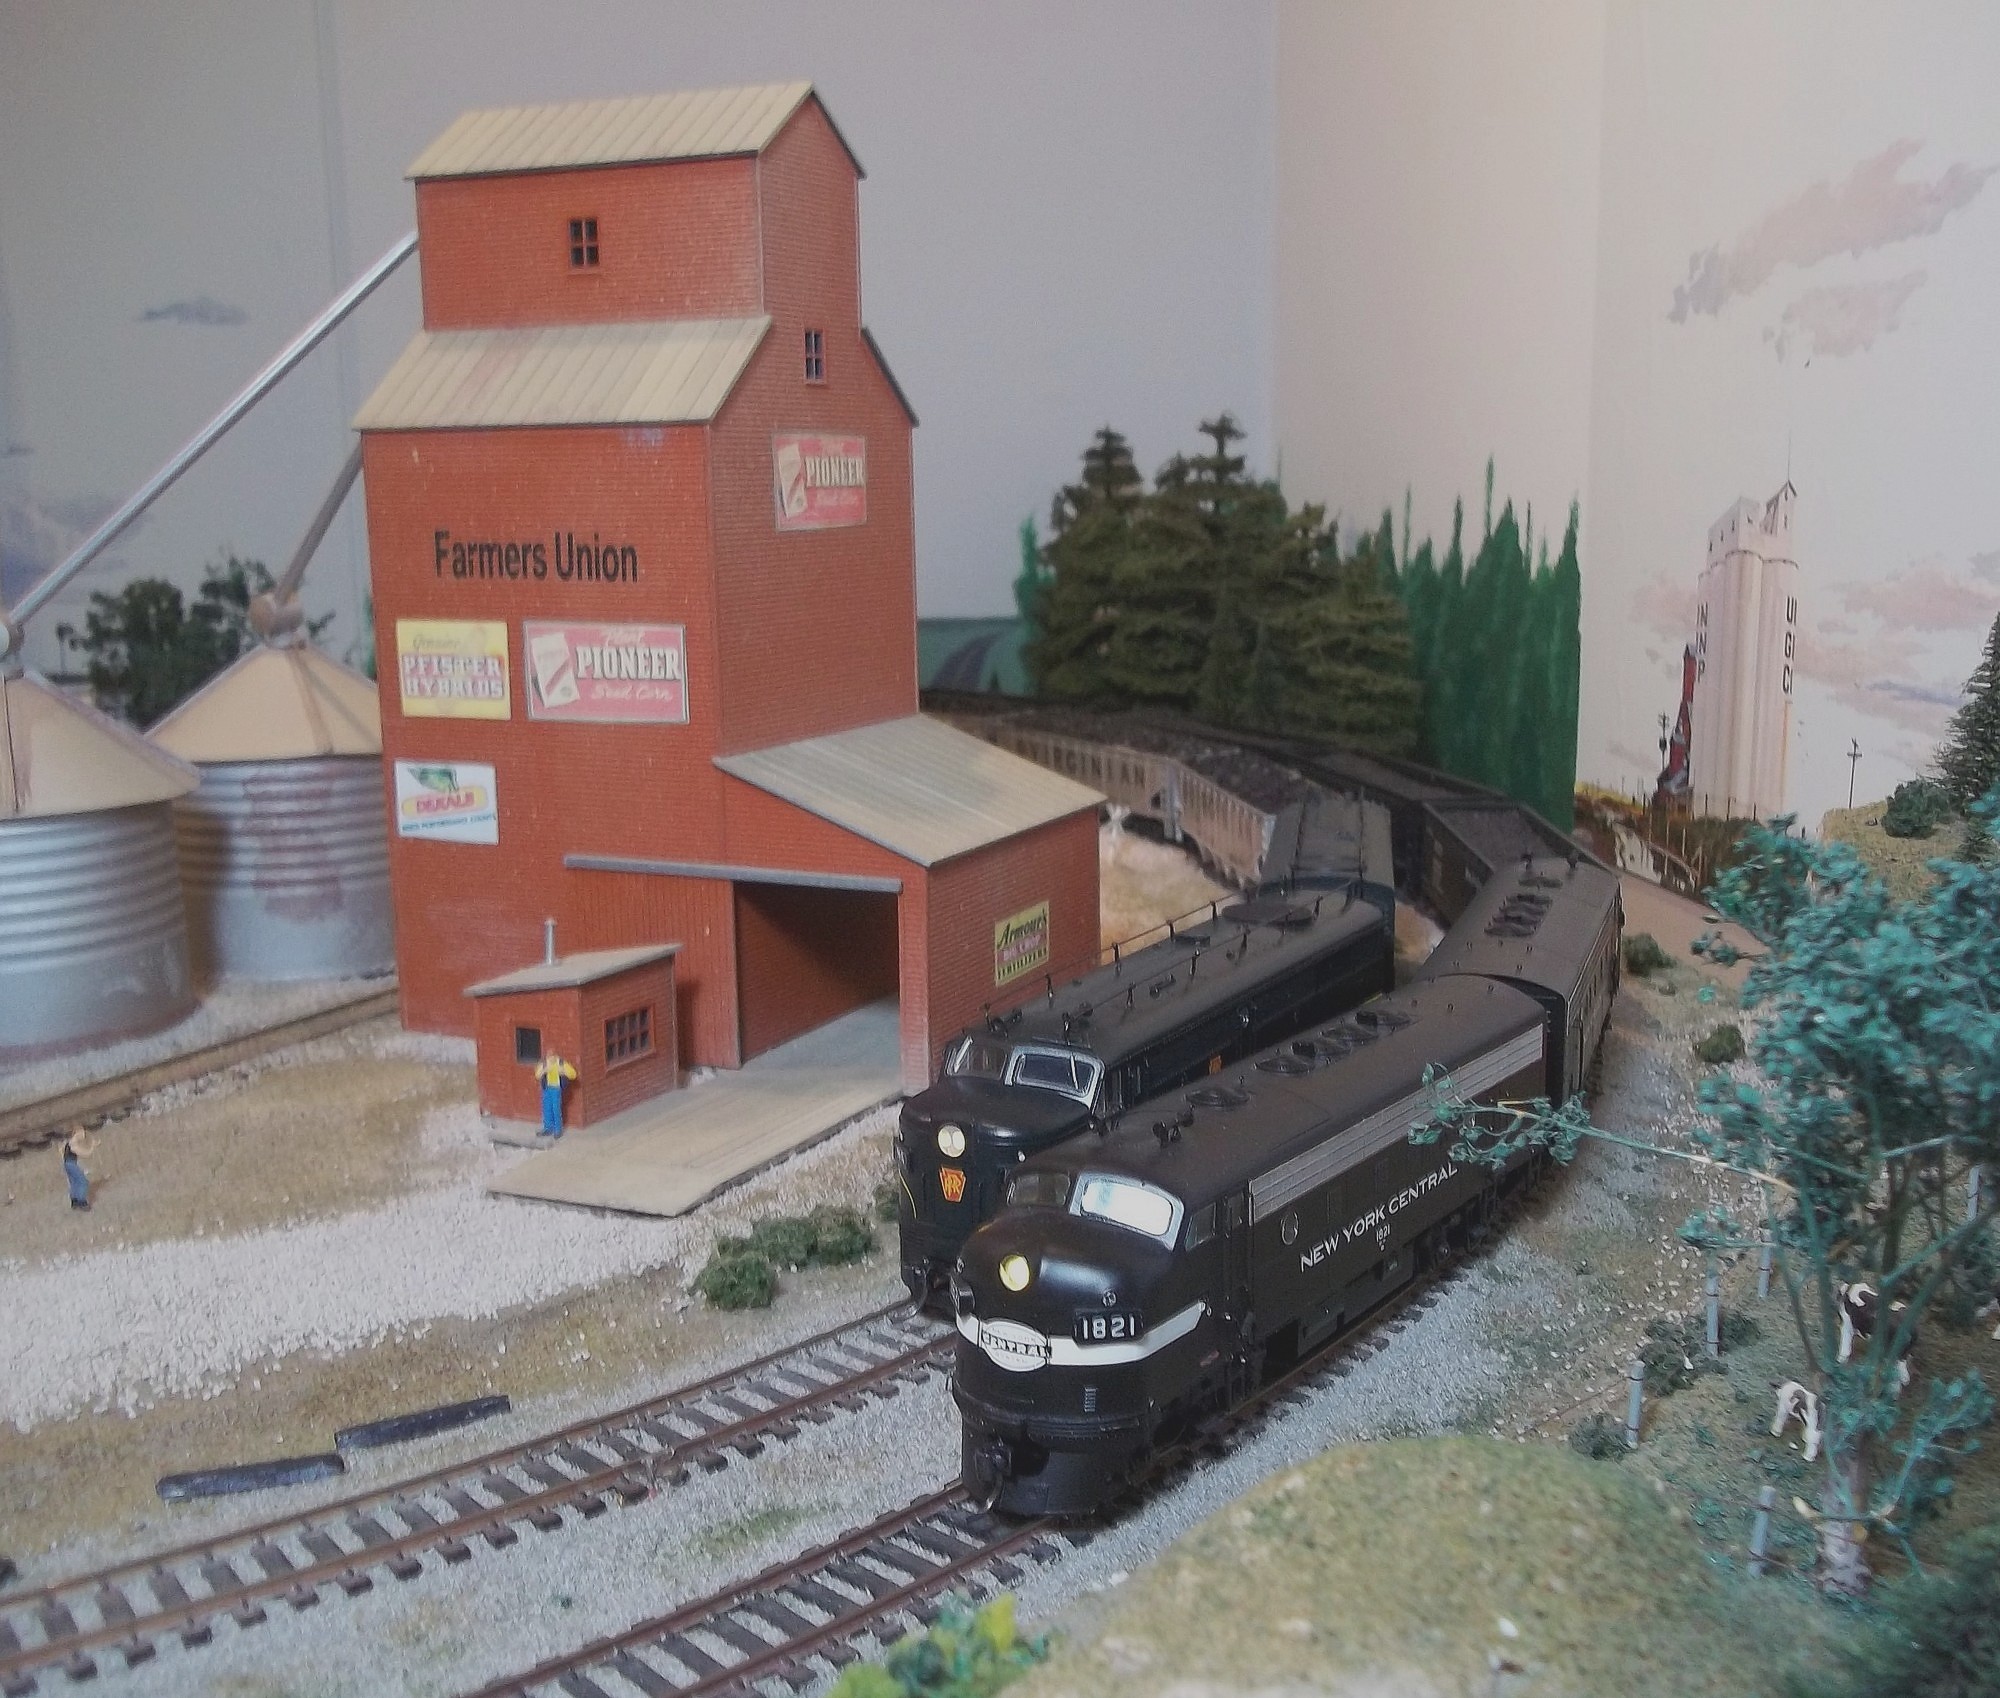
Nice photo! I like how you captured the farming scenery.
Your method for applying stickers is EXACTLY what I do. 100% correct that there’s no “right” way of doing things. Trying and adjusting is the most important part.