I need some help. I recently visited the club layout at The Antique Barn in Wilson, NC. It was a great layout. One of the gentleman in the club shared with me that the club had begun to switch all of their Peco Insulfrogs for Peco Electrofrogs because the insulfrogs were shorting out at the frog. I have always used Peco insulfrogs and I have no problems. The problems that I have ever been made aware of was that the contacts on the points need to be clean so that connect solidly with the stock rail. I had read the Allan Gartner’s article on wiring DCC and how one might have to bevel the rail leading to the frog point toward the insulated frog. I have not even had that problem with my insulfrogs. From my experience with Peco Insulfrogs, one only has to install the insulfrog as it is without any modification, as long as you feed power behind the points of the insulfrog. Please help this newbie with this perceived new issue.
The only problem I have seen with the insulfrog turnouts is the gap between the stock rails and guard rails at the frogs. I always glue a shim to the guard rails to narrow the gap.
Pete
Pete could have part of the problem, and it would be worth checking any commercial turnout (or handlaid if you didn’t make it) with an NMRA gauge to see if the guards are spaced from the stock rails correctly. If they are too far, they may allow the wide HO tire treads on power-transferring metal wheels to bridge the splitting frog rails where they commence their courses just after the small black plastic spacer at the wide end of the frog.
What you can do are two things…one that must be repeated periodically, and one is permanent (and potentially catastrophic if you don’t do it correctly). The one that must be repeated periodically is to paint the first 1/4" of each of those two frog rails with a clear varnish…polyurethane…something durable and clear…that will provide an effective, non-conducting, barrier between the metal tires and the rails themselves. Once they are past that spacer, they are powered rail once more, and metal tires wide enough to bridge both will cause a quick short.
The other, more drastic, but permanent, way is to us a jeweler’s saw or a cut-off disk and create a second, physical gap outward from the black spacer. The trick is to meet the needs of your shortest pickup wheelbase (probably your tiniest engine) and also get the cut gap far enough up those frog rails that no metal tires could possibly bridge the space between those two diverging rails. I would place the gap about two ties up so that the spike heads on two ties would retain the small section of rail you have “de-powered” by severing it. If you go shorter, you run the risk of having a wobbly section of rail.
-Crandell
There a a number of possibilities wcu boy.
One possibility is the extra current on a DCC layout may cause the straps under the frog to get warm enough to melt thru the plastic and short out.
Another possibility is this
We had a club layout we used to take to shows a lot. After a few years, the plastic frogs in the insulfrog points started to wear down. We were running long trains with all metal wheelsets. On the mainline that got all the use, the plastic frogs in the turnouts and diamond crossings showed physical wear and eventually caused derailments so we replaced them with electrofrog ones. The ones in the yards didn’t show the same wear but we eventually replaced them too.
Maybe if the plastic wears down far enough the straps under the plastic can short out.
I doubt if you would have this problem on a home layout unless you run a lot of trains.
HTH
cheers
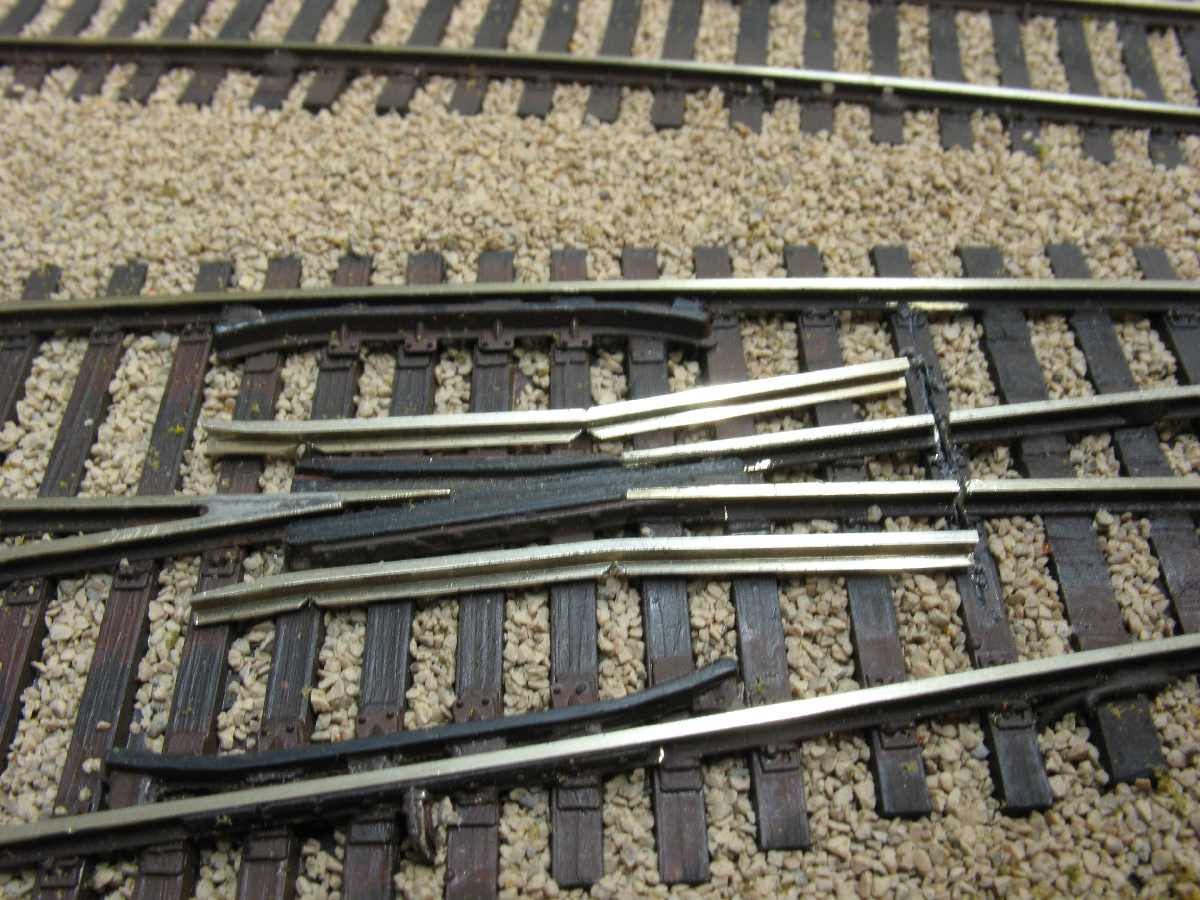
I’ve had such problems with my CV turnouts and made new frog parts. Here’s my How To:
Now, even the tiniest engine runs fine.
Wolfgang