Hello, PM Railfan asked me to post these pictures for him since he is having trouble with this.
Note: All text below is from PM Railfan. All views, and opinions are from him, and not the OP SeeYou190.
[(-D]
Enjoy…
* * * * * * *
Top of the day to all. I am sharing some of my “top quality” photos of a few things I’ve been doing.
Since I print things in white, its going to be very hard to see the details. In some cases the details show up as a haze, blur, and even blobs. And if your eyes are as bad as mine… my apologies.
I appreciate Kevin’s offer to post these. Since I only have mobile internet here, it makes it hard even to do simple emailing.
Heck, I cant even venture into the photo threads like Weekend Photo Fun etc because it takes forever to download all those nice pics just to view them… and burns data! Of which I am limited.
I hope you and the guys enjoy these. Feel free to pick them apart. I persue perfection and would love to hear any pointers you folks would like to voice out. It will only make my models better.
This is a quick photo I took concerning yesterdays post in the Diner about replacing an MDC tender frame. You can see here the 3 pieces of the original, upper left is the body shell mounted on the new printed frame, center top is a more detailed frame with a few additions, below that are a couple of sprung trucks (not printed for this project -just tossed them in there), below those are the replacement steps and footboards.
The frame is pretty much an exact duplicate with the exceptions of adding holes for wiring and to mount a Kadee. The steps were made to be separate (unlike the original) so that different designs may be used. If you note the front two steps are not duplicates of the MDC model.
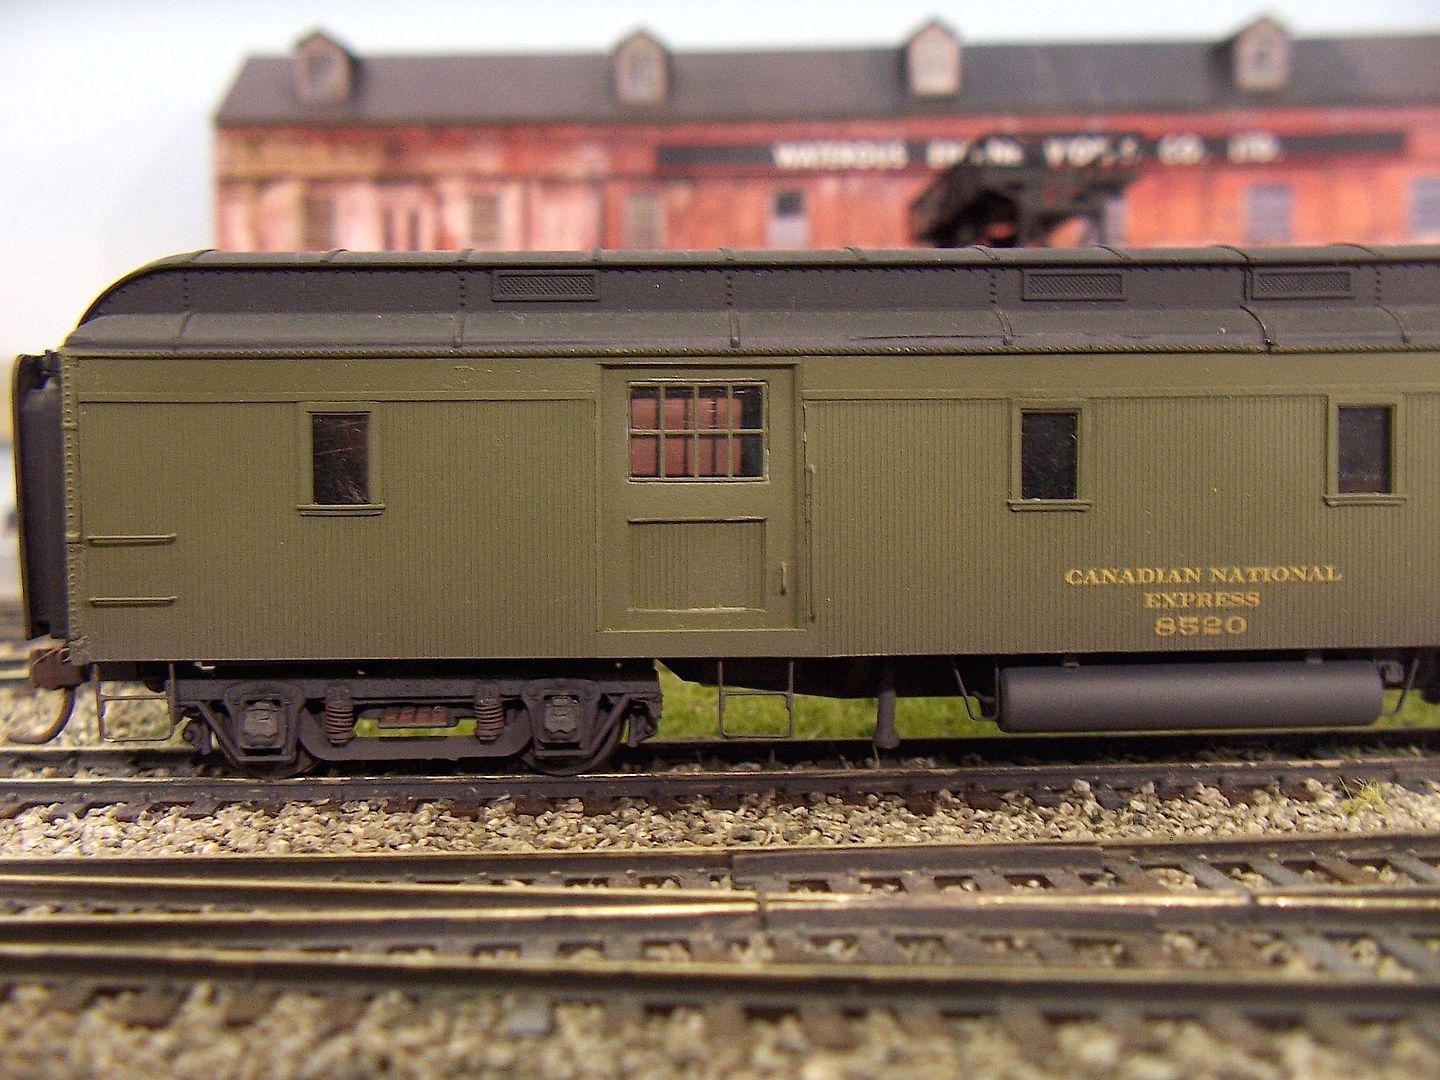
I’ve found that you can get pretty good detail in your photos if you use the close-up option (if your camera is so-equipped)…like this view of what was formerly an Athearn steel Pullman car…
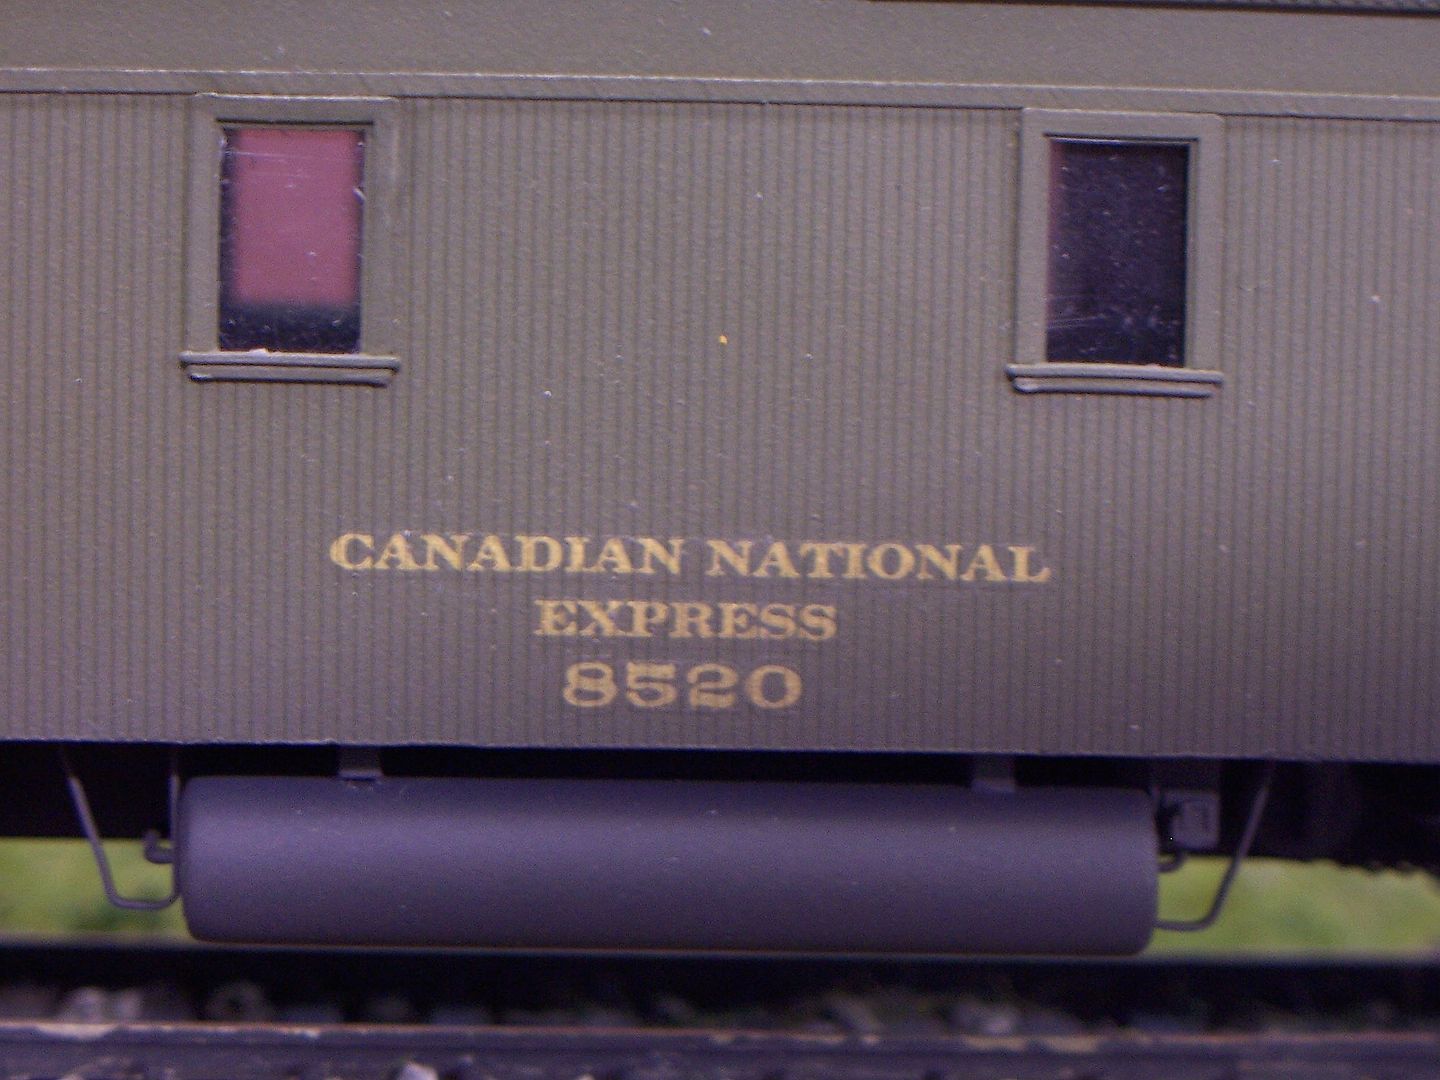
Another option I use is to place one lense of my Optivisor in contact with the camera’s lense, to achieve a picture with better detail (and even a bit of dust, too)…
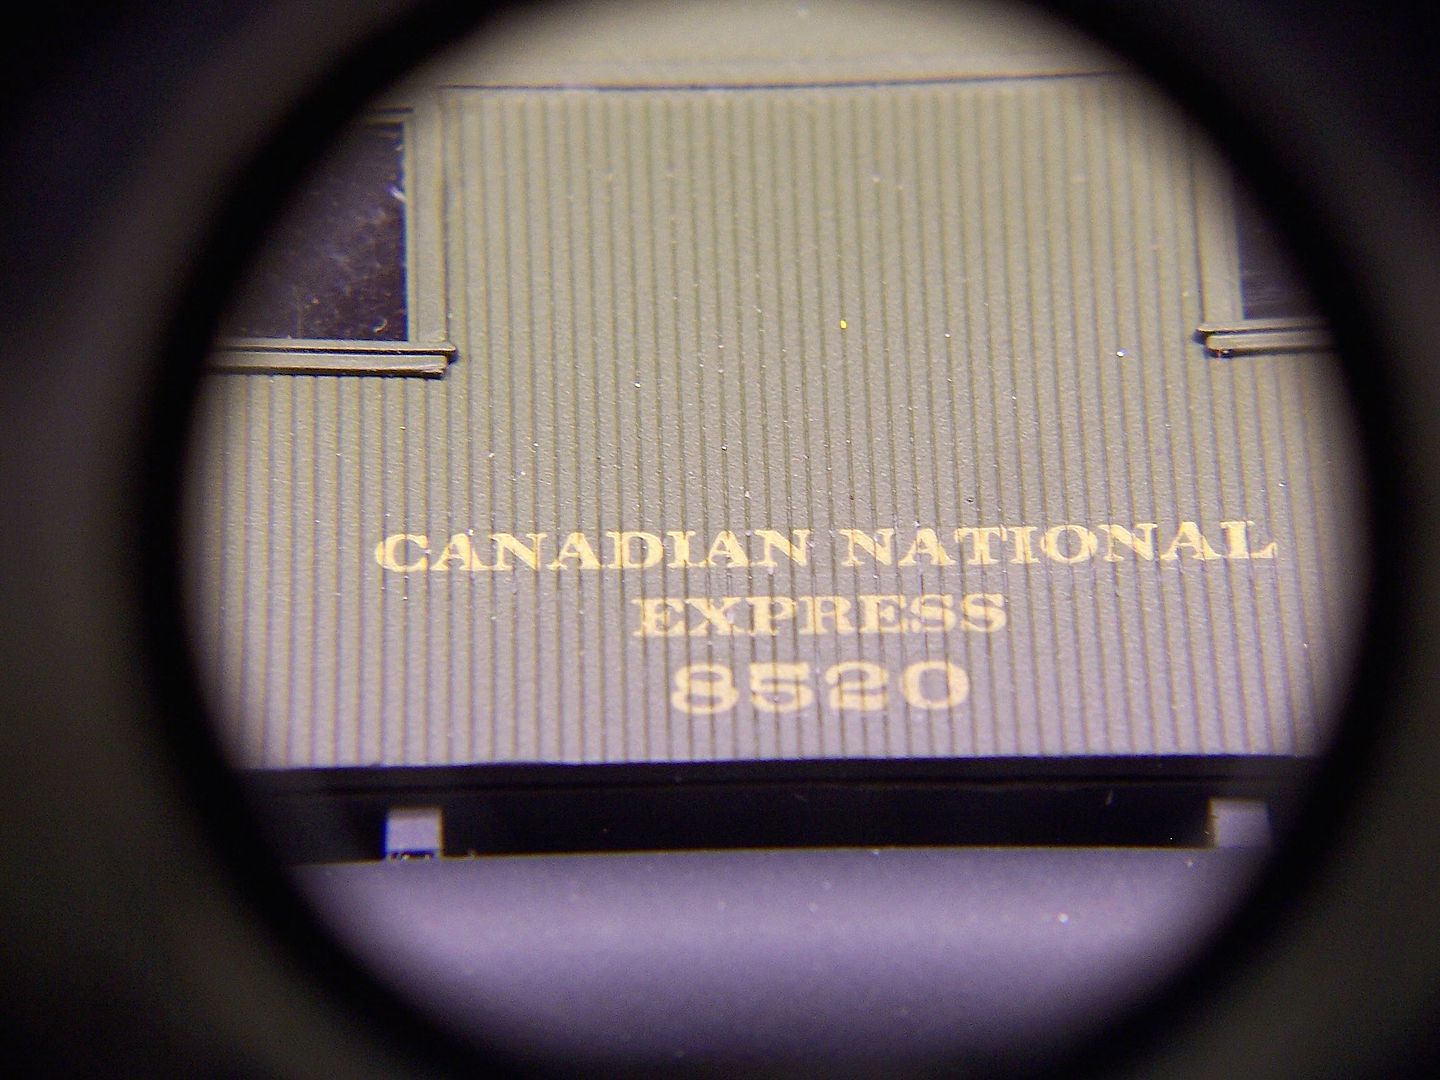
For really up-close stuff, I use a loupe, again, in direct contact with the camera’s lense - just as it would be close to your eye when looking through a loupe…
I’m impressed with what can be accomplished with 3-D printing, but your baggage car could have been easily done with styrene, too - Evergreen offers sheet material in a variety of thicknesses and board widths, and all sorts of thicknesses of plain stock for things like floors and roofs, along with strip styrene, again with a wide variety of sizes and shapes, too.
Car ends, in various styles are available from Tichy, but you could also do similar ends with flat styrene and Evergreen’s half-round strip stock, in various sizes.
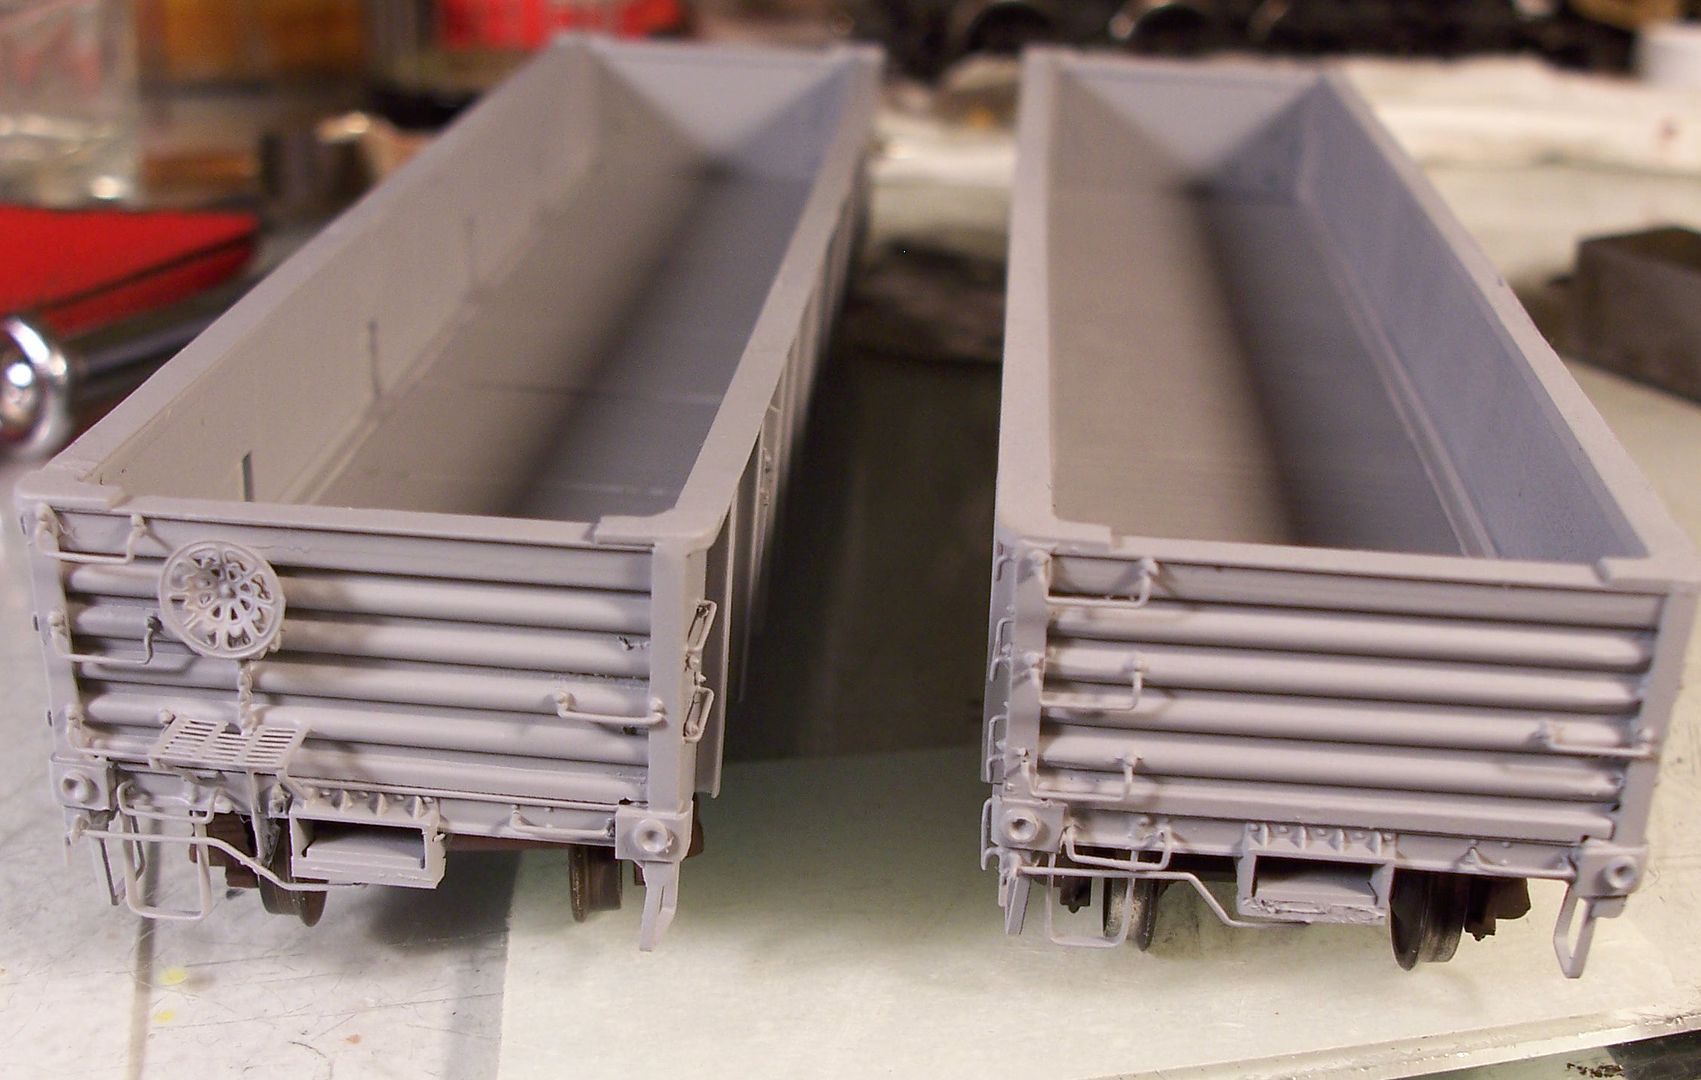
These gondolas were scratchbuilt on Tichy flatcar kits, but as you can see, I didn’t bother adding ribs on the inside of the ends…
…while the rivets were added using Archer 3-D surface decals…
Sorry, Douglas, I got called away while searching for the photos that I included, and then forgot to mention the caboose.
I think that the photo should have been taken more level with the side of the caboose, rather than from an angle above, as it seems to exaggerate the height of the caboose, and especially the cupola.
It looks to be nicely-done, but the windows are a little too large for my tastes.
I do need to scratchbuild some cabooses for my layout, as I sold-off most of them with my diesels. I’ll get to those when I finish a bunch of headend cars for a couple of friends.
I’d guess that if you can do one, you could likely do the other 11 just as well, and for less than the cost of the 3-D printed ones.
I also need to make another dozen-or-so cabooses for a couple of my freelanced roads, but plan to make them not only with variations between the two roads, but also variations in each type, as they might not have all come from the same order or same carbuilder…
I plan to use modified (mostly shortened) floors and underframes from Athearn cabooses - I bought a bunch of them, not realising that there were two in each package. I gave a few of them to a friend, but still have four extra ones, if they’re of use to you, Kevin.
My main reason for buying them was to avoid having to make the steps for that many cars - the railings and ladders are challenging enough me.
Thanks for thinking of me, but I have PLENTY of Athearn caboose underframes. I bought tons of Athearn parts and undecorated models when I first switched to HO back in the mid 1990s.
Back then, Athearn parts and kits were dirt-cheap. I bought so many thinking they would be the backbone of my operation. Then I decided to use more detailed models, and I still have quite a good supply.
“I wonder is printing them would be a reasonable option?”
In the case of my tender frame… I found the problem, and had a replacement frame under the shell in the same day. I doubt EBay, or even my LHS could match that. The part was free, was the one i needed, fit perfect, looks better than original. I find that reasonable.
In the case of needing 11 of them, more so.
“How much design work would be involved vs. the amount of time saved?”
From what i see in your pics, designing that would take about 10 minutes. Printing it about 20 mins - singularly.
Since thats a part you can fit more than one on the printer at once, you can save time by printing more than one… at a time. Printing 4 at once for example might take an hour, saving you 20 minutes than if you printed them singularly.
“Also, the idea that they all would be exactly the same is quite appealing.”
Yes, its not like scratchbuilding in that you hope you make the same ‘exact’ cuts or drill holes from model to model. Mistakes happen. This is one of the benefits of 3D printing, they are all the same.
(ofcourse, if your design has a flaw or mistake, now your cloning mistakes!)
Thank you for posting about this project! I’m looking forward to seeing a completed model. I’ve done similar 3D printed rolling stock projects myself, and it’s a tool I enjoy using. When I had the urge to start modeling a very specific prototype, I decided to pretty much jump head first into the deep end with custom rolling stock without any prior scratchbuilding experience.
Being able to design in CAD first let me more easily line up my model with blueprints, undo any mistakes, visualize the final product, and have consistent results. While the design process took a long time, less material was wasted because mistakes were all digital, and I felt more confident taking on a project when I had an undo button. As I move more towards the kitbashing side of things, I find myself more concerned with making mistakes.
Don’t mean to hijack the thread, but here’s a picture of a boxcar I did a while back just to show what a finished printed piece of FDM printed rolling stock can look like.
“I’m looking forward to seeing a completed model.”
So am i!
Welcome to the thread DA, just jump right in. Were pretty informal here. Post as many as you want as long as they pertain to the thread topic (house rules ya know).
Mighty fine looking boxcar car you have there. You probably wont see a finished product here from me though. Im pretty much focussing on the ‘making’ of the model.
Procrastination will take care of the painting and decalling. Im almost sure of it. [(-D]
For gross dimensions on the wooden box express cars, you just need to find a set of dimensions for a USRA double-sheathed boxcar- the PM built them from its 80000-series cars immediately upon receiving them in 1920. They lasted in service to about the end of WWII.
For all of the box express cars (X-513 through X-531), the side doors are six feet wide.
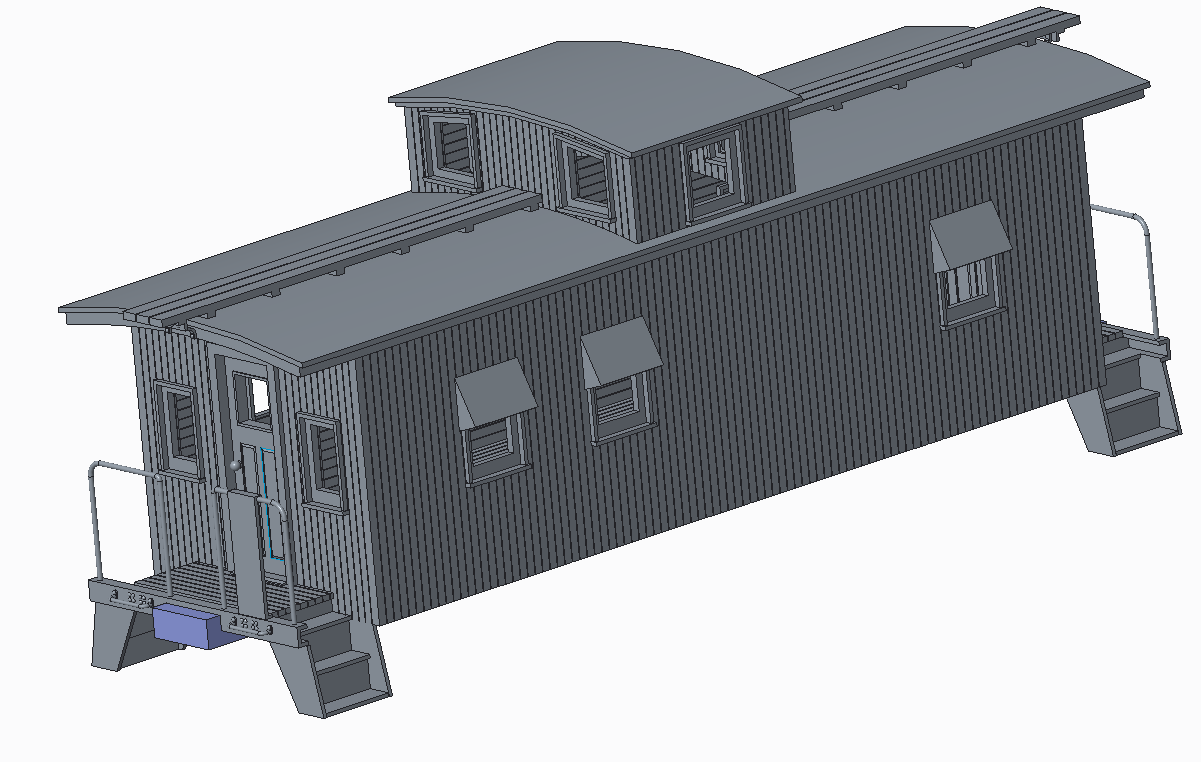
The “three-window” caboose looks great! If you’re interested in specific dimensions, there is a diagram for one of the batches of those cabooses in the big “The Pere Marquette’s Wooden Cabooses” issue (#120) of the Pere Marquette Historical Society’s PM Tracks newsletter, available from the PMHS ($10 postpaid), if you don’t already have a copy.
One of the guys on our PM modelers’ Zoom meeting a couple of months ago showed us a nicely-rendered 3D-printed PM 90000-series steel auto boxcar.
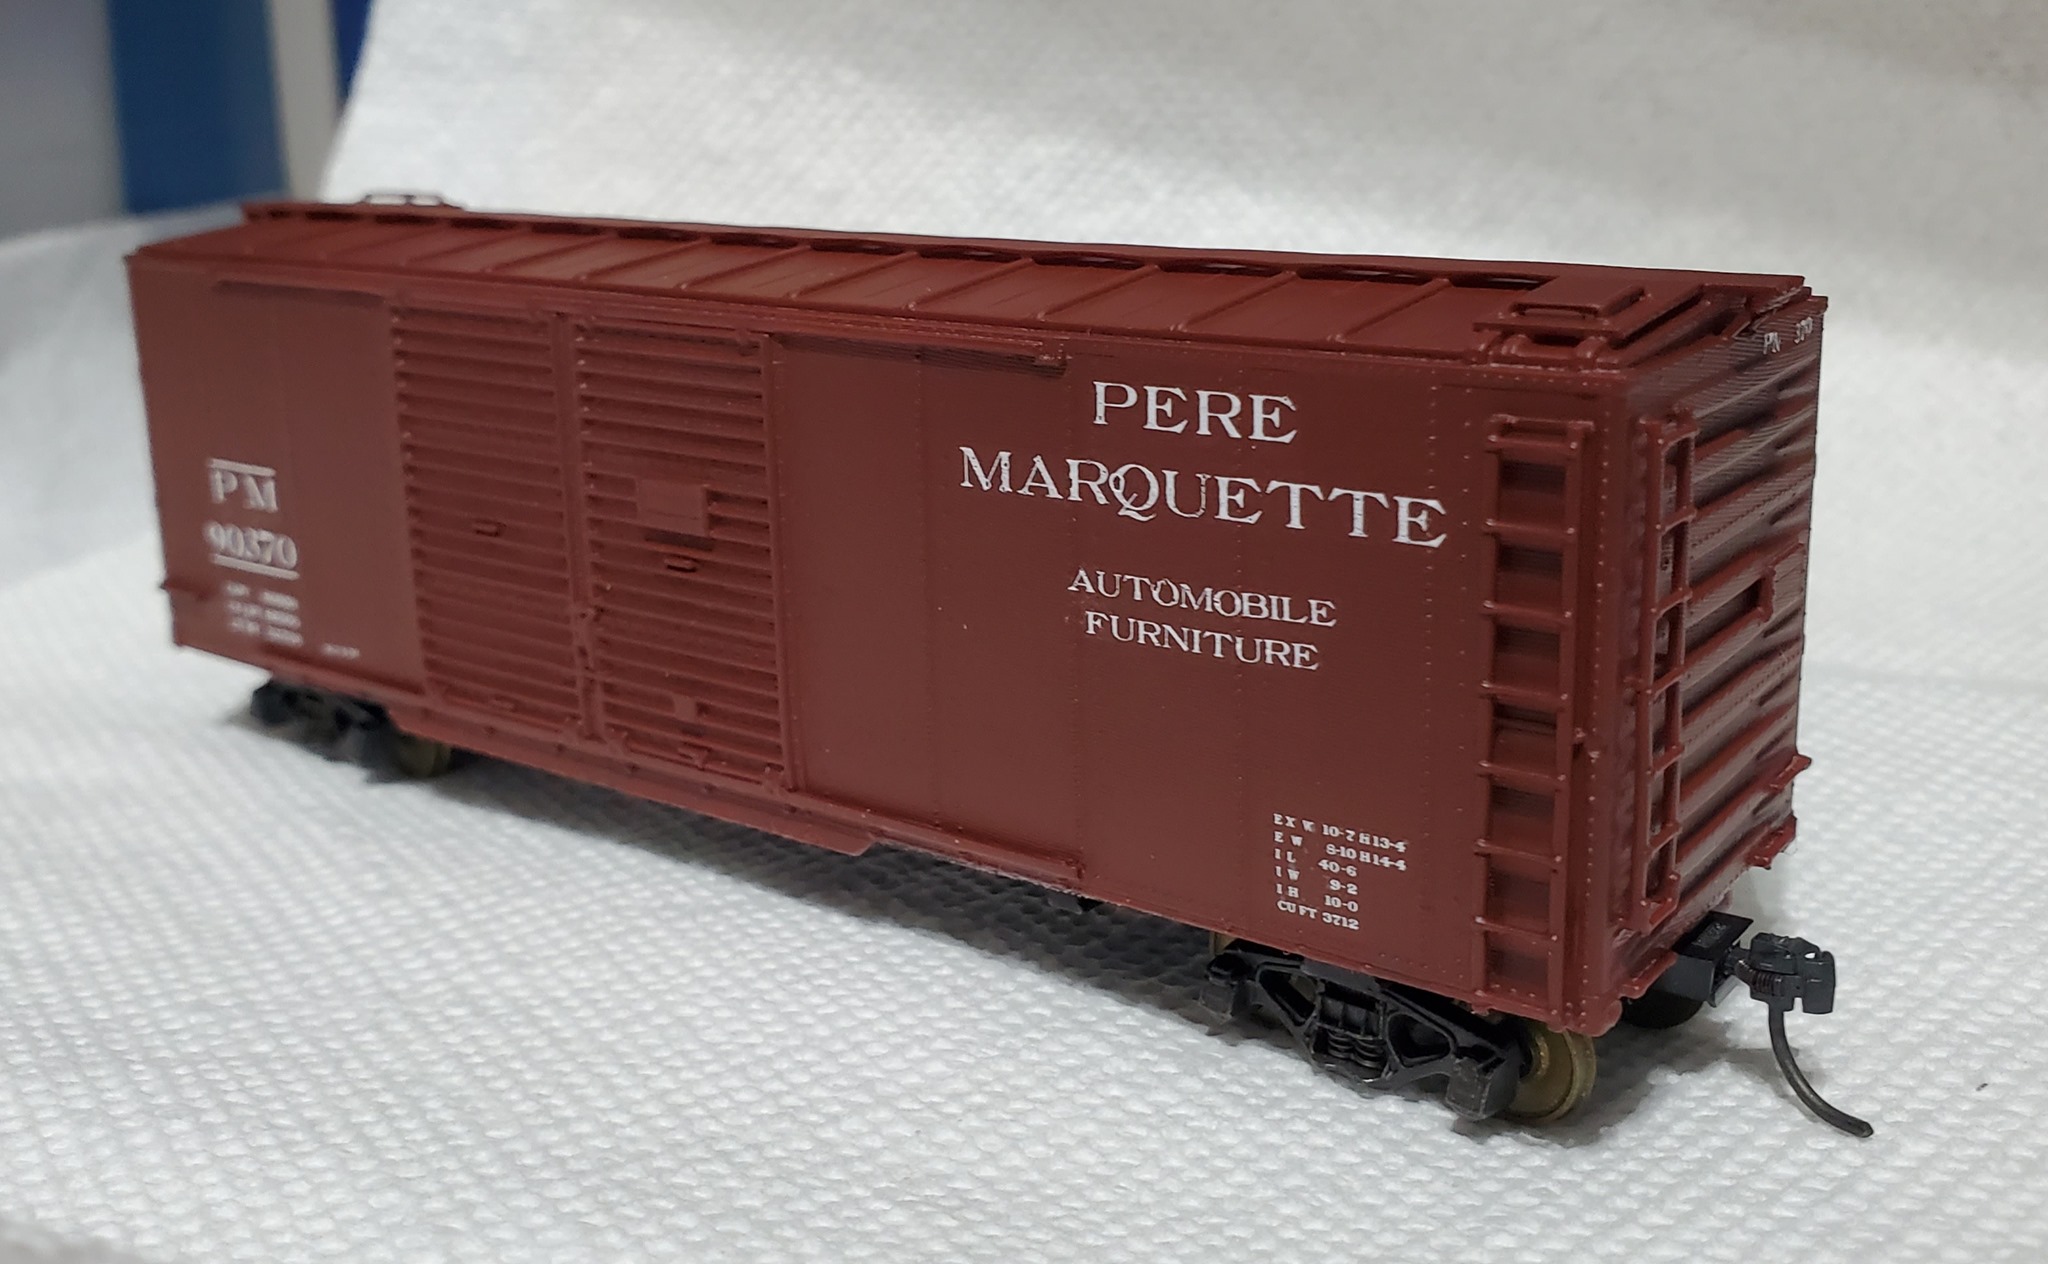
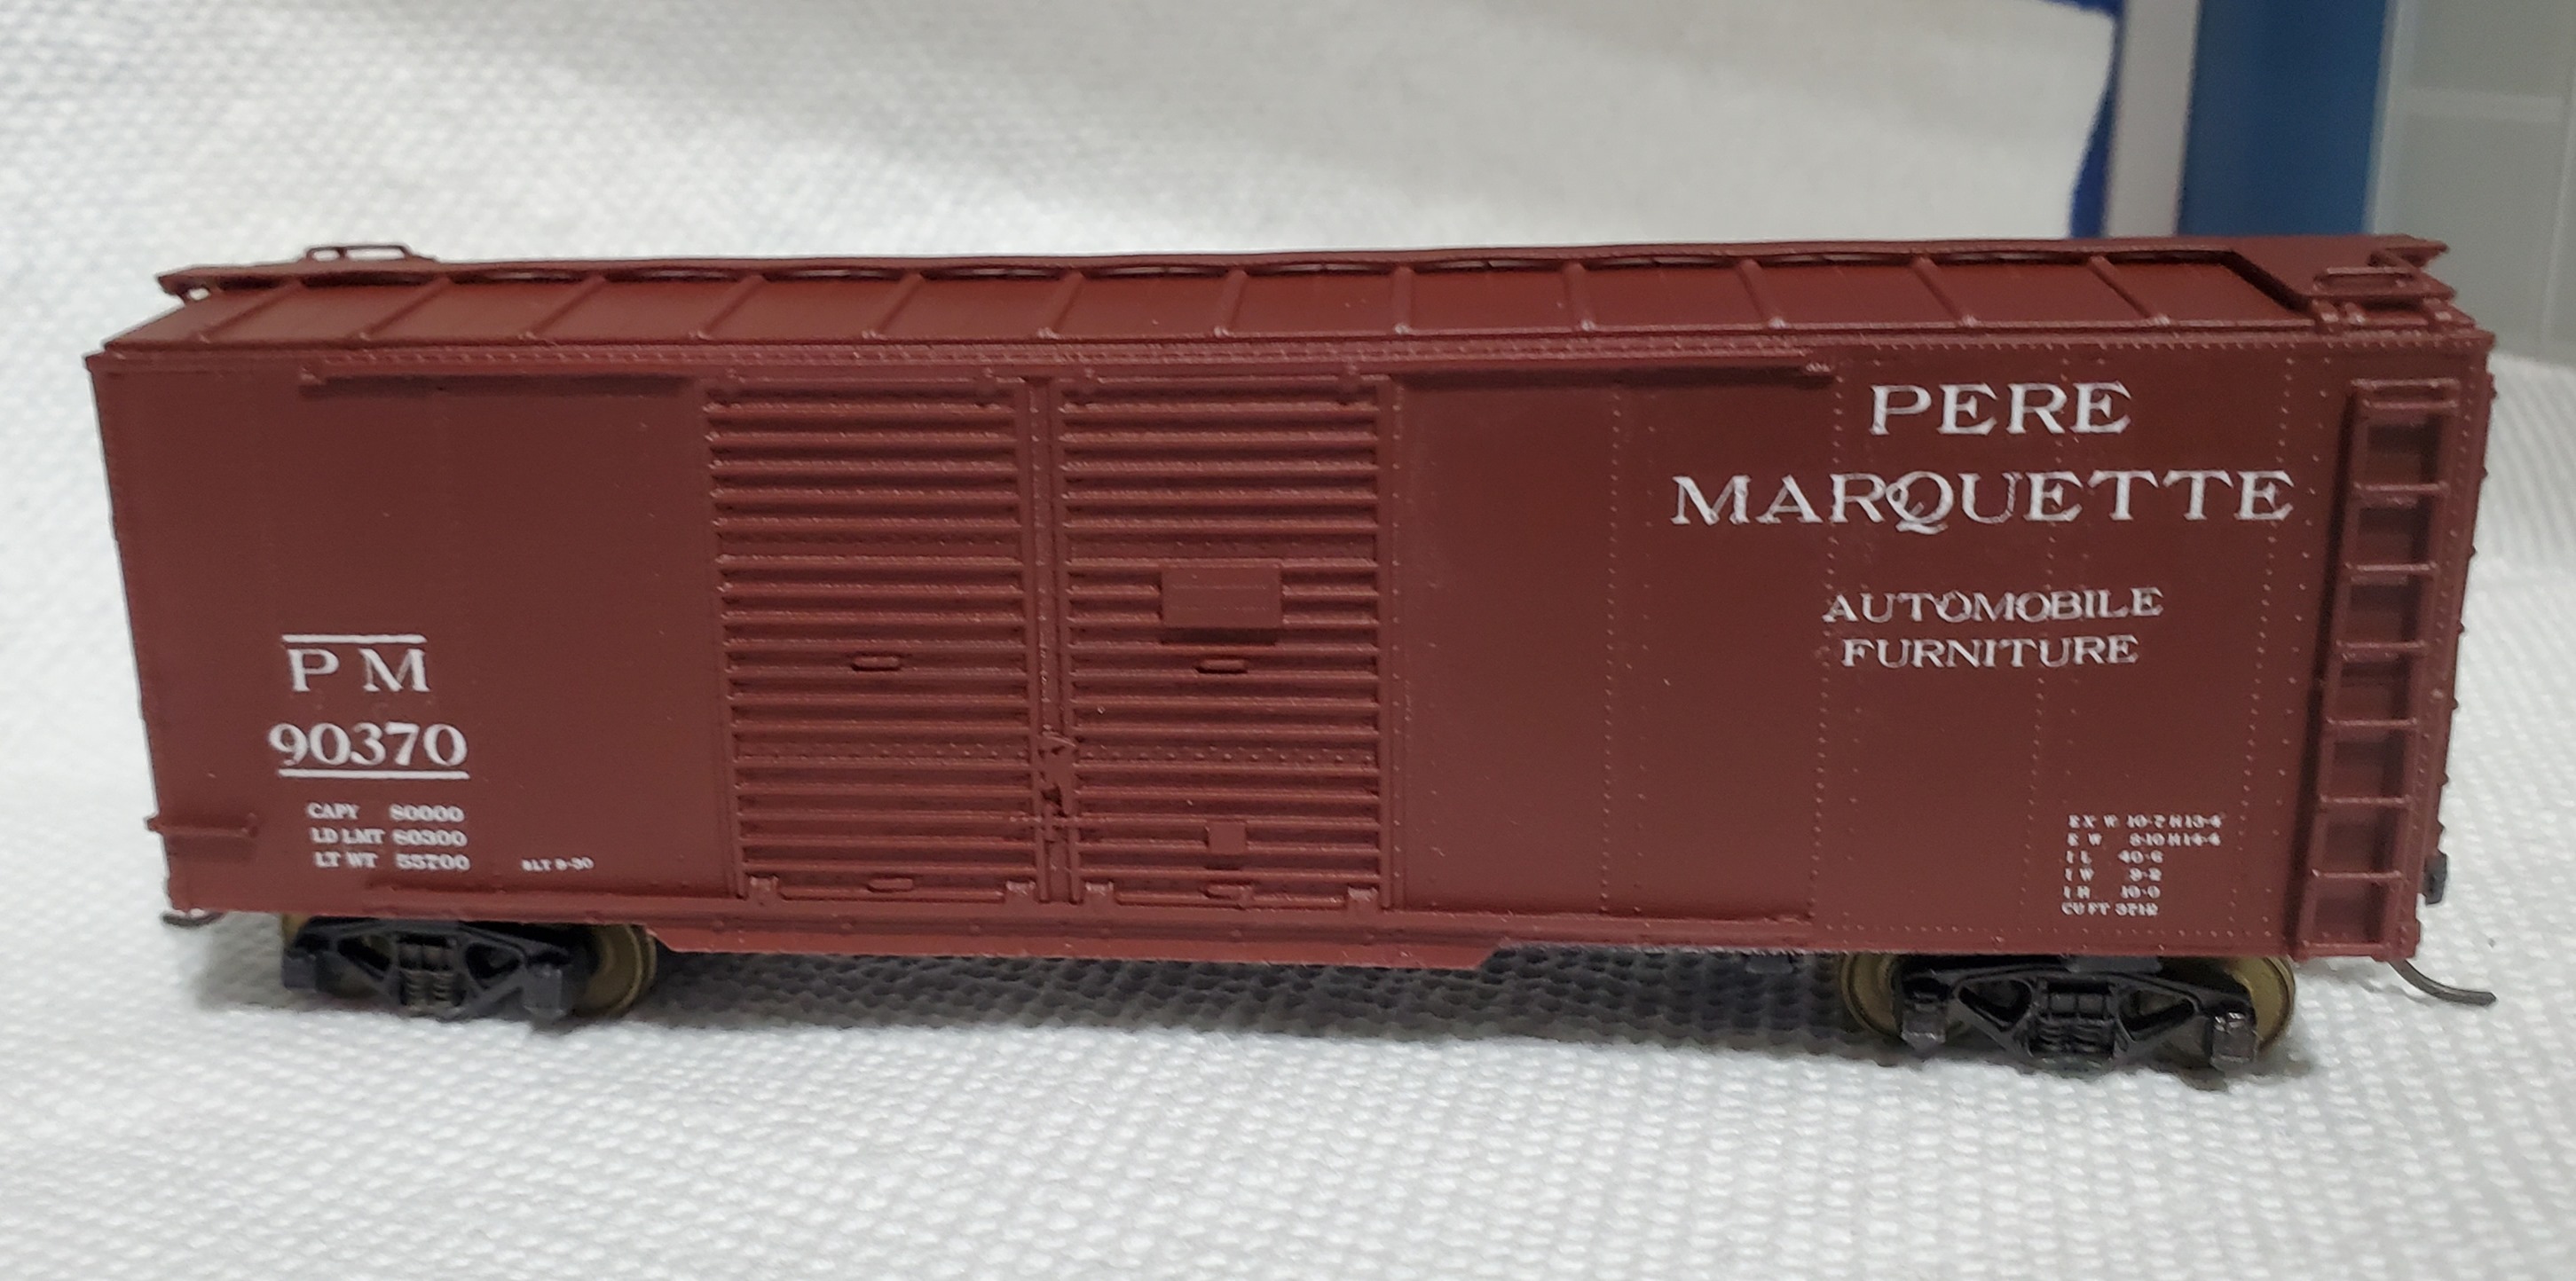
Funny to run across this as I was on a YouTube rabit hole and got looking for PM Railfan’s videos formerly on YouTube and found this. I am the one who printed a PM 90350 series boxcar with a resin printer. Here is one that, although not yet the final version, I painted to see how it was coming. (I put the clear coat on too soon and smudged the decals a little, but again, this was only a trial.)
I have a PM A800 series caboose partially drawn, but haven’t had time to finish it. I just need to draw the ladders, brakes, and interior.
Eric) Your PM boxcar looks outstanding! You need to share more of your PM stuff.
Id be curious to see how your 800 class hack turns out. I was giving some thought to an 800 myself after i finish the 400-600 series. No one has done one (or any PM caboose for that matter [accurately] except Atlas’s Trainman version of the 900s.). So i guess its up to ourselves.
Heres a test photo of my latest PM projects. Like yours… in the test phase.
As for the U-Tube videos, I took them down when U-Tube got blacklisted. If you (or any other PM Railfan) want them - contact me privately and I will try to send them to you.
The advances in 3D printing always amaze me. While I doubt it can replace injection molding for mass produced items, 3D printing seems increasingly like the ace-in-the-hole for scratchbuilders and people who need custom pieces for their railroad.