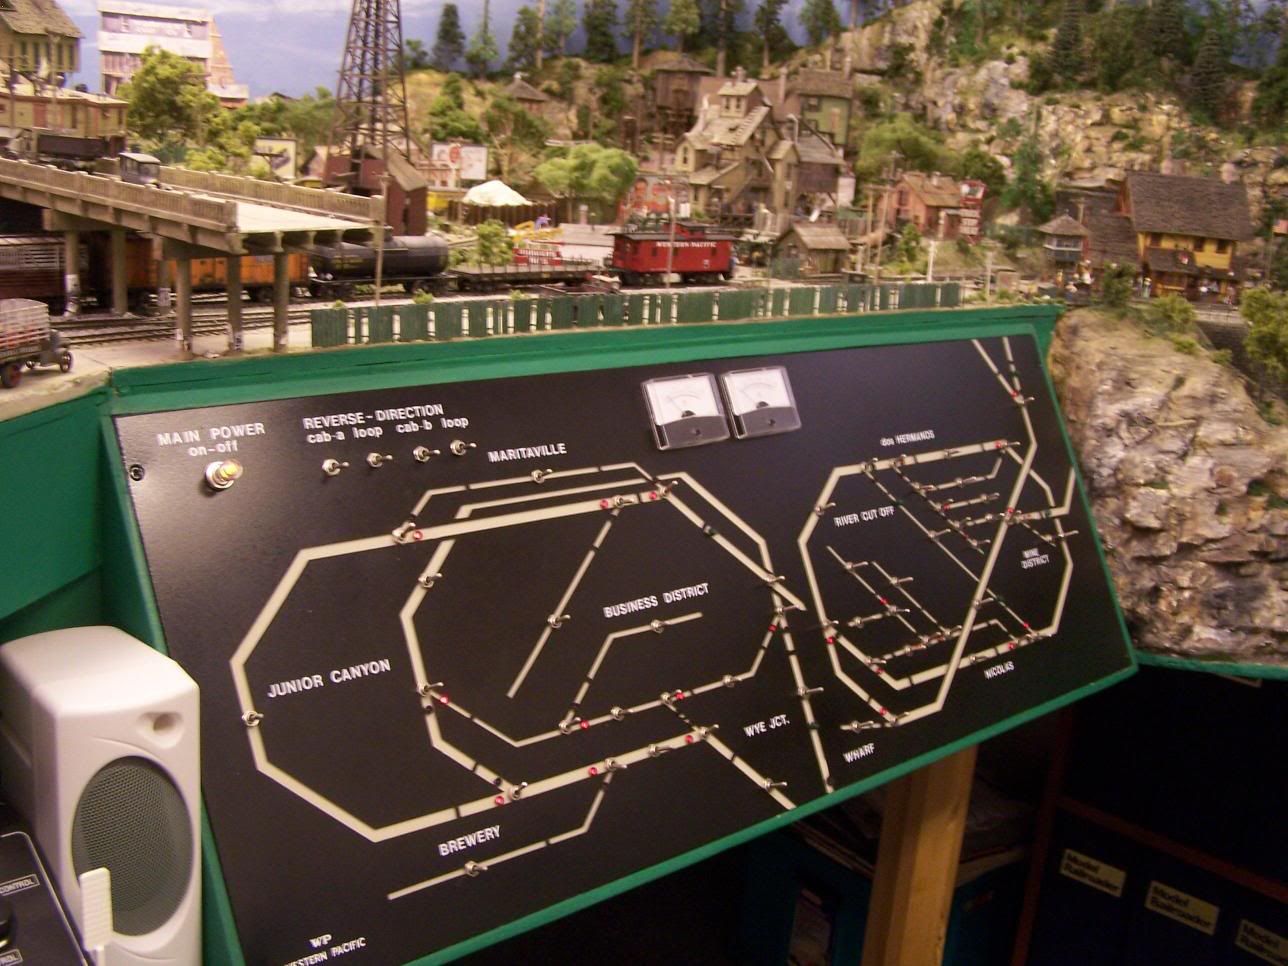
Like most Model Railroads, Alot of the action often goes unseen. To make my railroad function, over 1,100 feet of wire was needed. This includes wiring for the Control Panels, Direction Lights, Polarity Lights, Turnout Controls, Structure Lighting, and Sound. Here is a look of my layout from a different perspective. One which I like to call: Bob’s layout un-plugged!
The first shot shows an exterior view of my main control panel:
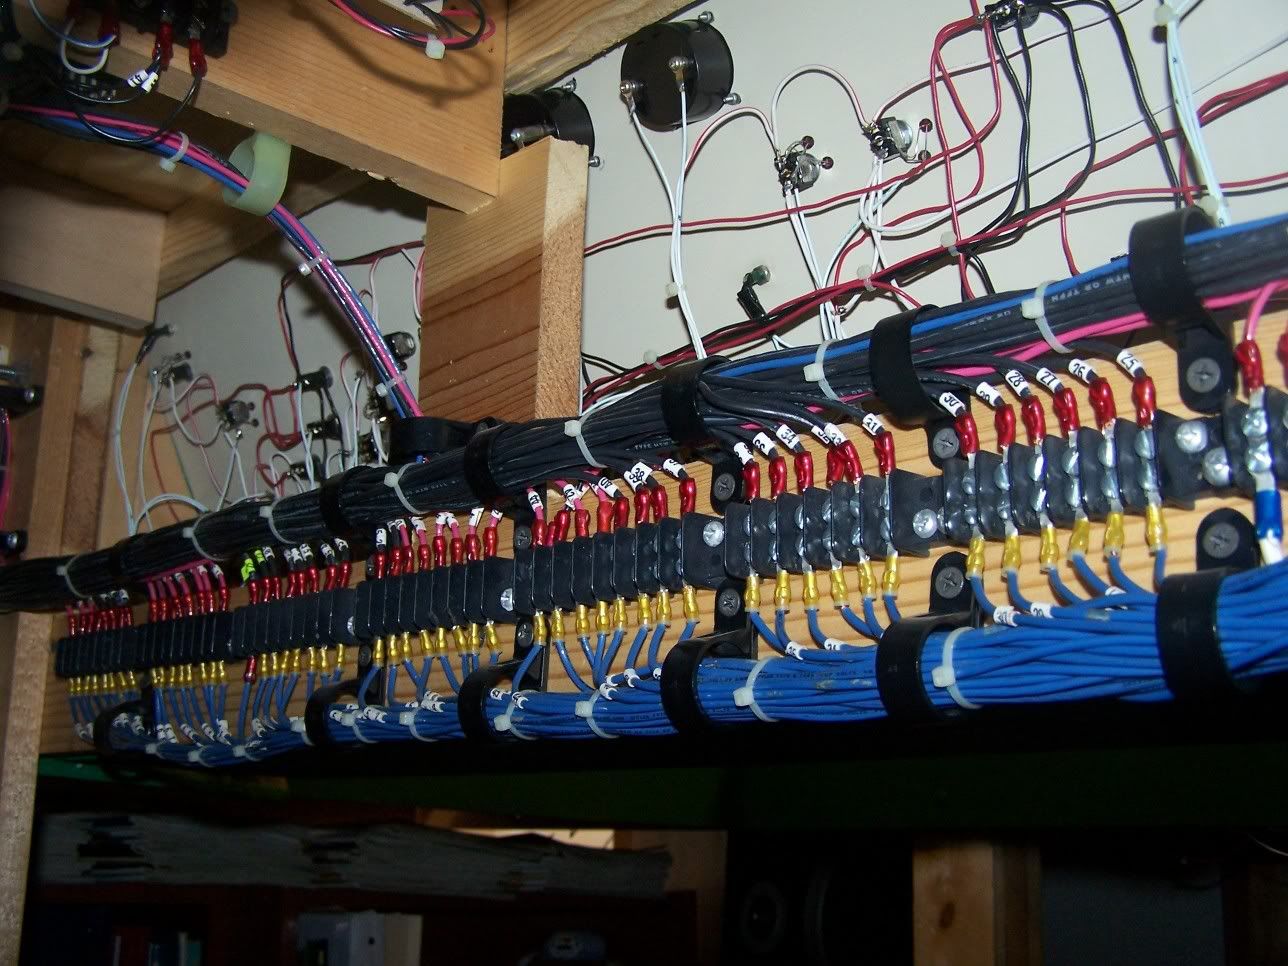
Now here is where the fun begins! This next pic shows the main bus leading from behind the main control panel. In order to facilatate trouble shooting, all terminals were numbered then recorded in a master log book.
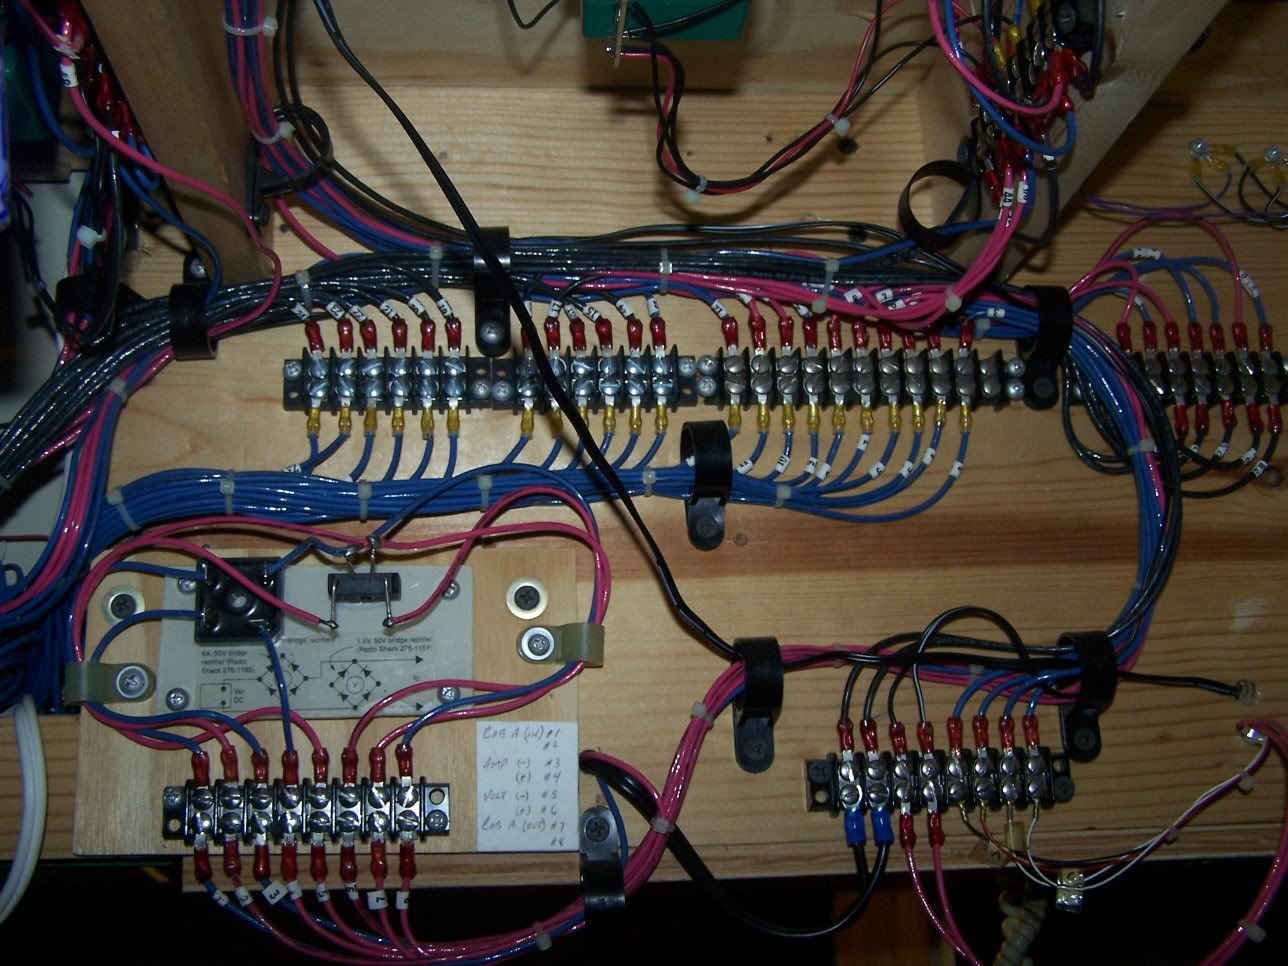
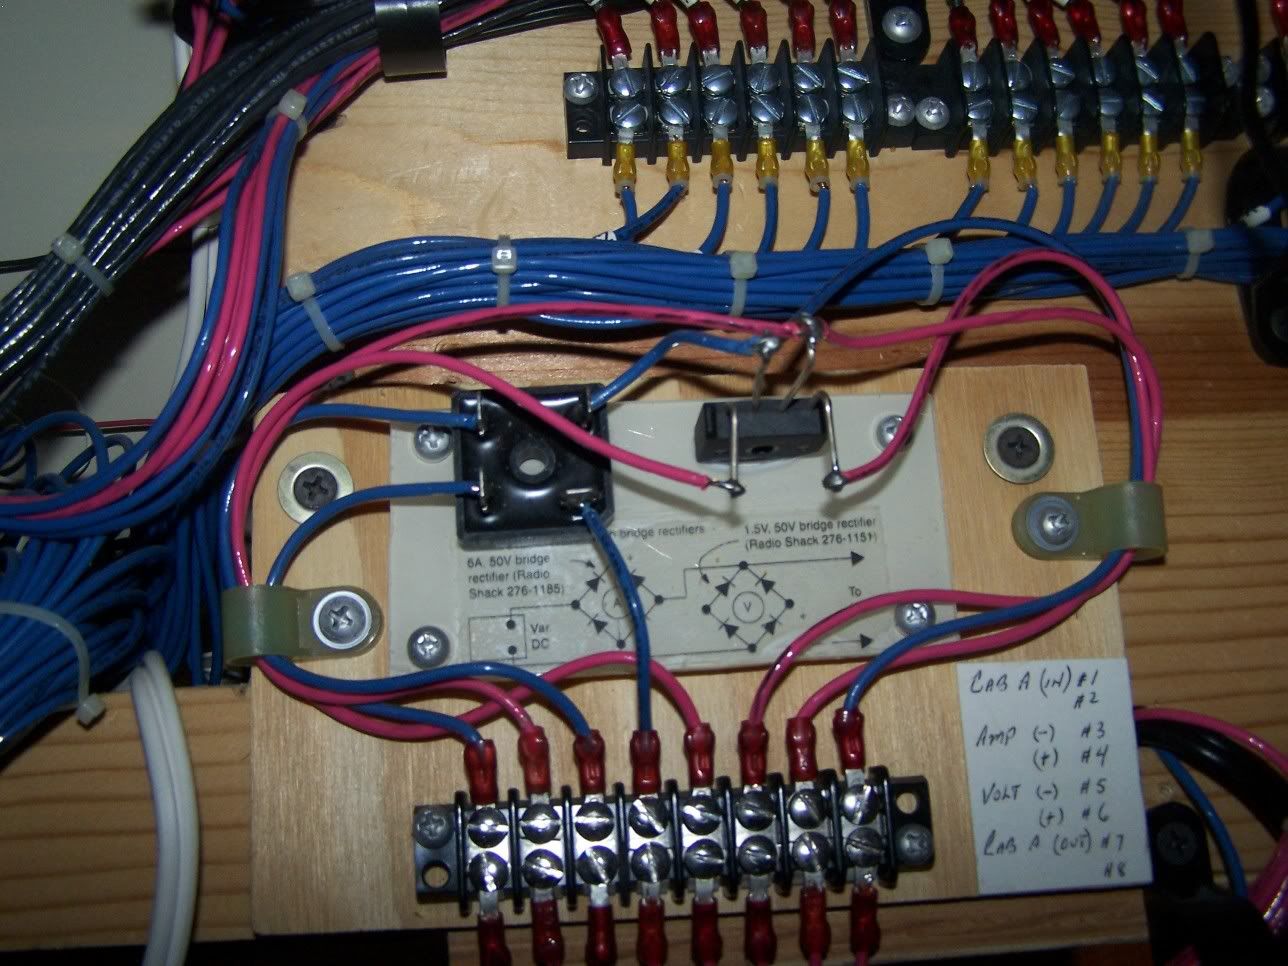
This next shot shows a bridge rectifier, also know as a wheatstone bridge. Its purpose is to allow a single gage Volt and Amp meters to function regardless of the polarity the throttles are set at (Fwd or Reverse)
This is my “walk around” throttle I built following Kirk Wishowski’s article featured in the January 1986 issue of Model Railroader.
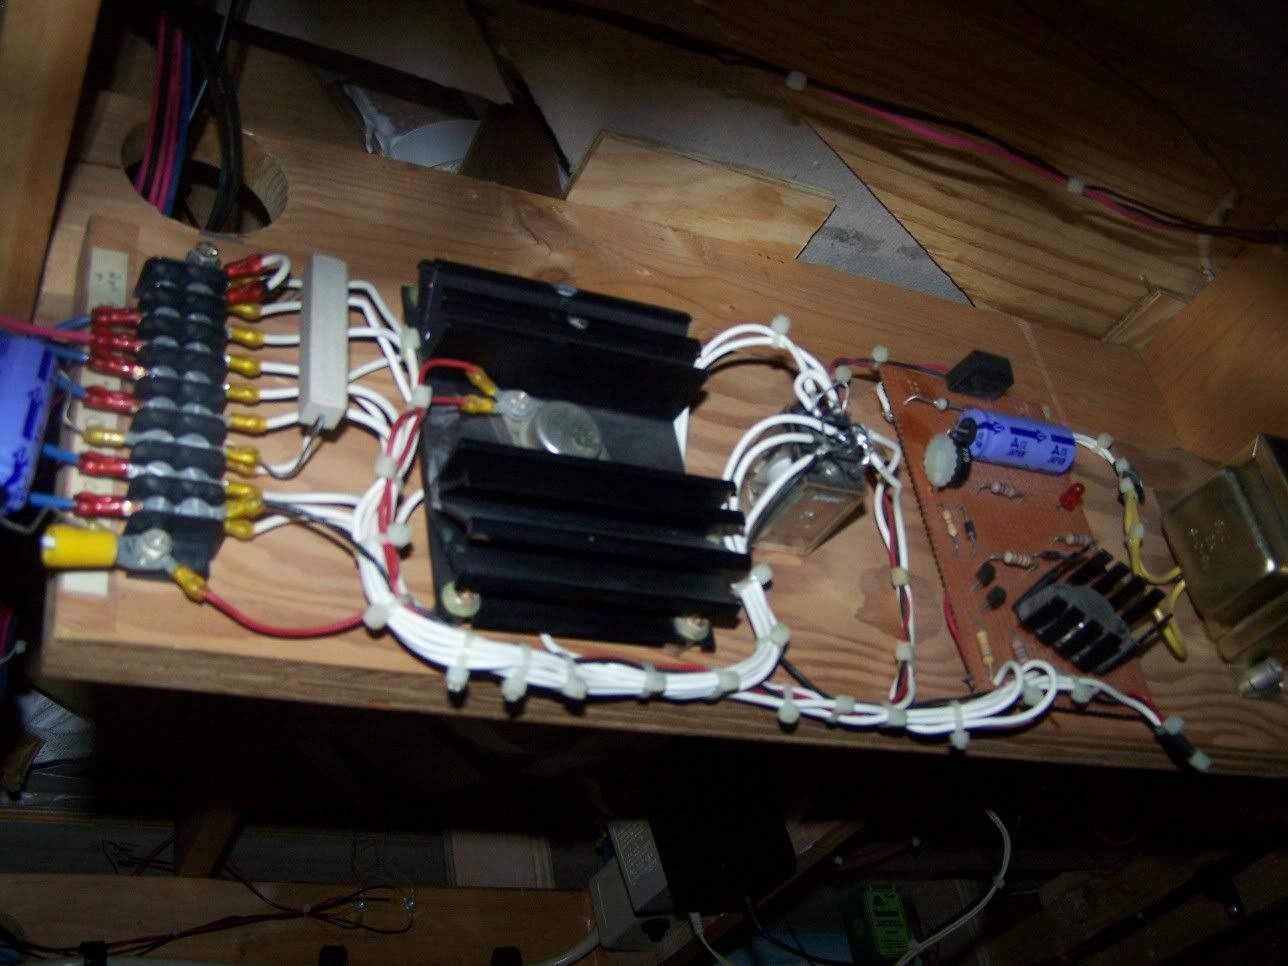
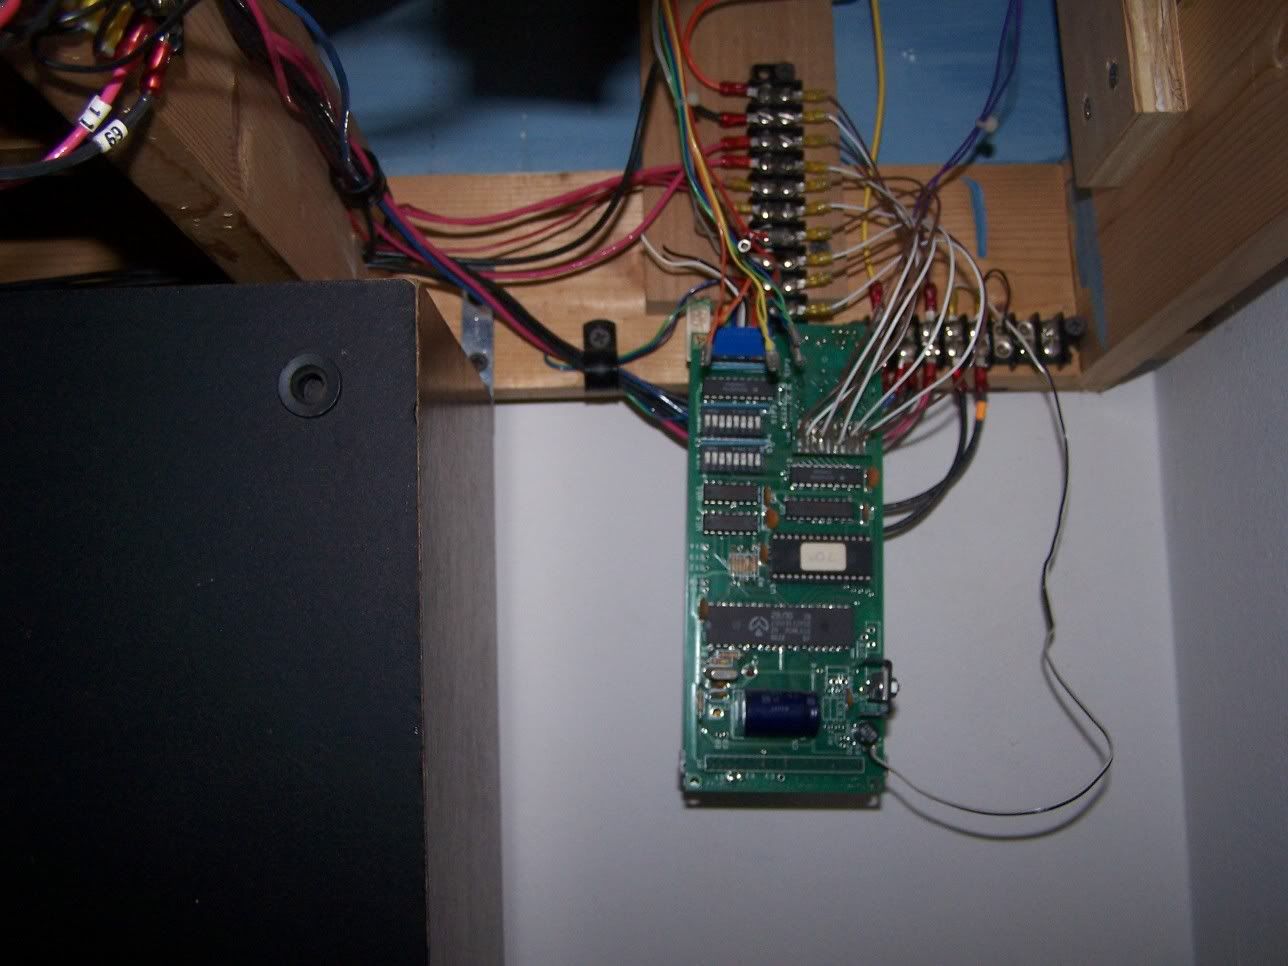
Here is the CPU unit that controls sounds and lights on my mine
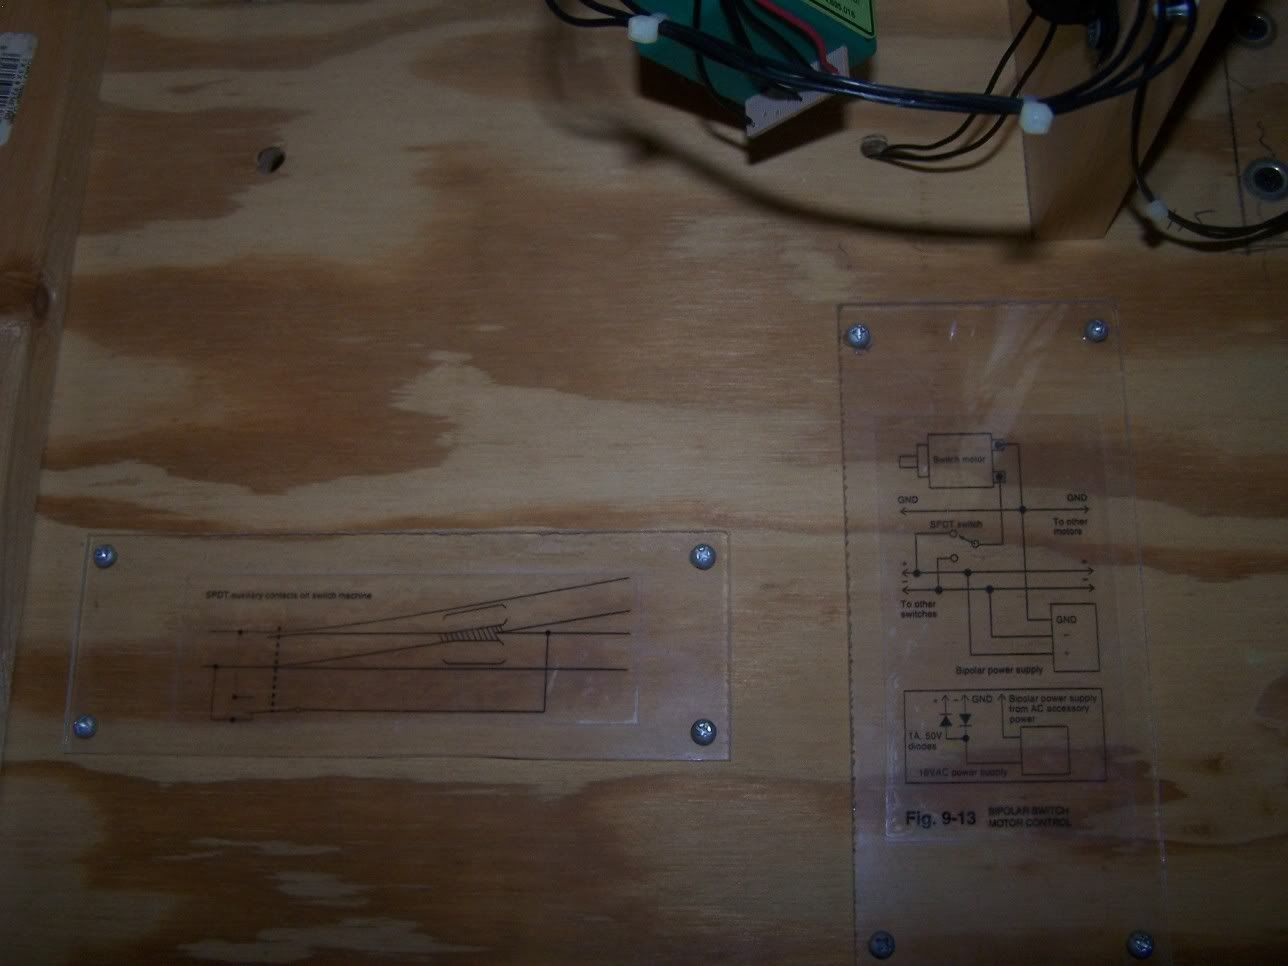
I made these wiring diagrams in order to remember how my turnout aux switches were wired. Believe me, this helps me remember what went where!
Here’s a close up view of the bridge rectifier unit.
Bob, there is a lot to be learned about attention to detail both above and below the layout. All too often, MRR articles don’t provide any perspecitve of behind the scenes, which is a shame.
That is so cool. I loved wiring those things, but I am changing to DCC and it will be a while before I get to all the bells and whistles you have. I do love operations with my DCC radio throttle. I must admit I never acheived the orderliness your layout has, The wiring itself is a work of art.
Bob - Nice neat job of wiring. One peek under my benchwork and you would run out of the house screaming. But it is temporary. I will endevor to do a neater job on my permanent layout. Thanks for the motivation.
Terry[8D]
Its the powerpack and a Crest Train Engineer reciever nailed to a piece of plywood to use as a carrying platform, all I do is hook up the power wires, turn on the pack, and the TE does the rest… PS all switches are manual ground throws, just like the real thing[:D]
PS Bob that IS very impressive even to a chimp like me[;)]
Very impressive. Did you ever work for phone company, or anything like that. I haven’t seen wires bundled that good since my early radio repair days in the air force. Want to come wire my layout when I get to that step??
Bob, the way you dress out your wiring, you could come work for us at the phone company! We’re very picky about that, and you pass the test with flying colors! Nice work!
Bob, nice hand forming. I work for a company that builds Switch Gear and Automatic Transfer Switches where everything is hand formed. A average control cubicle will have around 35K feet of wire and this doesn’t consider the bundles for remaining several dozen cubes.
Needless to say you did a excellent job.[:D]
Thanks for the Kudos. Having always admired the work of Bruce Chubb, I followed much of his advise when it came time to wire my layout. BTW, He had a great video titled “Model Railroad Wiring” put out by MR Mag. I don’t know if its still available, but it was filled with everything you wanted to know about MR wiring. From a simple power pack to DCC, and even computer interface.
When I saw the first picture, I expected to see a mass of unorganized wires under that beautiful control panel. However, as I’ve learned to expect from your layout pics, everything is well organized and high quality [bow]. Nice job!!
BTW. It sure helps if you purchase one of those TIE-Wrap tools, It sure beats pulling by hand then cutting with a pair of wire cutters. I found a great one at a local Electronics store for around 5 bucks. IMO, a must have if you plan to do alot of tie-wraps.
Your photos and comments totally vindicate my thinking on the subject. Having everything neatly organized, cabled and labeled reduces the language requirement for dealing with electrical glitches to a single word - GOTCHA!
Thanks, Bob. I looked at your pics before going to bed last night. Result? I woke up in a cold sweat thinking I was back in the Air Force in our telephone central office working on the mainframe. Tying off all those bundles with that waxy string. Sit back and admire your work, only to have something go wrong. It never seems to look as good once you’ve had to cut into a bundle to troubleshoot a circuit. But, your work is outstanding!!
Why do so many ex-Air Force guys like trains? So on this thread the number who mention “when I was in the air force”. I was only a phlyer not a phixer. A GIB on the F-4E then Wizzo on F-111C. Before that bomb aimer on Canberras in the Nam. And a few thousand hours on things a bit slower like the C-47.
Bob is an aircraft engineer I see in his bio details. Also likes aviation. Off the track/off topic, sorry. A red herring.
Great job of wiring! I wish some of the electricians I work with were so neat. It’s always great to see the behind the scenes pictures. It’s always great to see photos of you layout! Do you have any “In Construction” photos you could share?