Hi guys. Newbie here. I have been thrilled to pick up my project, where I had left off years ago. I just finished the terrific mountain on my layout, and putting on one layer of plaster cloth over the newspaper wads. What’s your thoughts on doubling up? Build quality wise, I think I want to double up on a second layer of plaster cloth, (using a sprayer bottle to wet down my first, dried layer). What is your thoughts? Overkill, or just do it?
I double up on plaster cloth as when the first layer is still wet. The areas I miss I cover with a layer of hydracal to fill in. Plaster cloth has a side that lets tiny holes show through. A coating of thick hydracal brushed on cures the problem.
Thanks. Do you buy Plaster Cloth bulk online, or the individual 10 SF rolls from the popular best selling manufacture? Cheaper online, but then I am not supporting my local train store.
Rather than using multiple layers of plaster cloth, strength and smoothness can be added with supplemental plaster coats atop the shell. I like to add two or three coats of thin plaster (mixed 1:1 with water) applied with a brush, then a thicker coat (mixed 2:1 or so) applied by hand. The final plaster shell still isn’t necessarily thick, but is quite strong. Even with doubling the plaster cloth, you still have a surface that likely needs smoothing from additional plaster.
Forgive me of my lack of knowledge, but what and where do I pick up Plaster? At the big box home improvement stores? 5 lb bags? I think they have a couple of types of plaster. Are you talking Plaster of Paris? Any help and direction on specific product information is appreciated.
Forgive me for my lack of knowledge. Are you referring to “Plaster of Paris”? Specifically, plaster found in the big box home improvement stores? Powder form, in like 5 lb. bags? If you can be more specific, as to what exactly I need to buy, that would be great. Also, are you adding additional coats for cost savings, or just the strength alone? Also, second coat by hand is to create a real authentic look?
You can buy surgical plaster cloth ‘seconds’ on-line in bulk pretty cheap. eBay is one source that comes to mind - You need to buy a lot as the shipping cost is the biggest factor.
When Hobby Lobby has their sales, I look for the plaster/craft sales. They have both 6" and 3" wide rolls of plaster cloth for 50% off - that is like 1.99-2.99/roll.
Also, if you look around your local home improvement store, you can buy 22 lb bags of dry sheet rock mud with anywhere from 20 min to 120 minute working time before it sets up. I buy the Sheetrock brand at Menards, and mix it with water - Then ‘paint’ it on over the plaster cloth. The long working time, and the ability to ‘sand’ it makes a good surface for scenery.
So, it appears that it would be two coats of Lightweight Hydrocal? What is better? One layer of Plaster Cloth and two coats of Hydrocal, or two coats of Plaster Cloth?
For all the people that paint a layer of plaster or Hydrocal over the plaster cloth, how do you clean your paintbrush afterwards? Or do you dispose of them?
Hobby Lobby has a 40% off online coupon to take to the store. I use those for my supplies. Most of the time I just pour the hydracal on and spread with my fingers. Works ok for me. I also have started using flat latex paint from Home Depot and that gives another layer of smoothness. Here is how it looks.
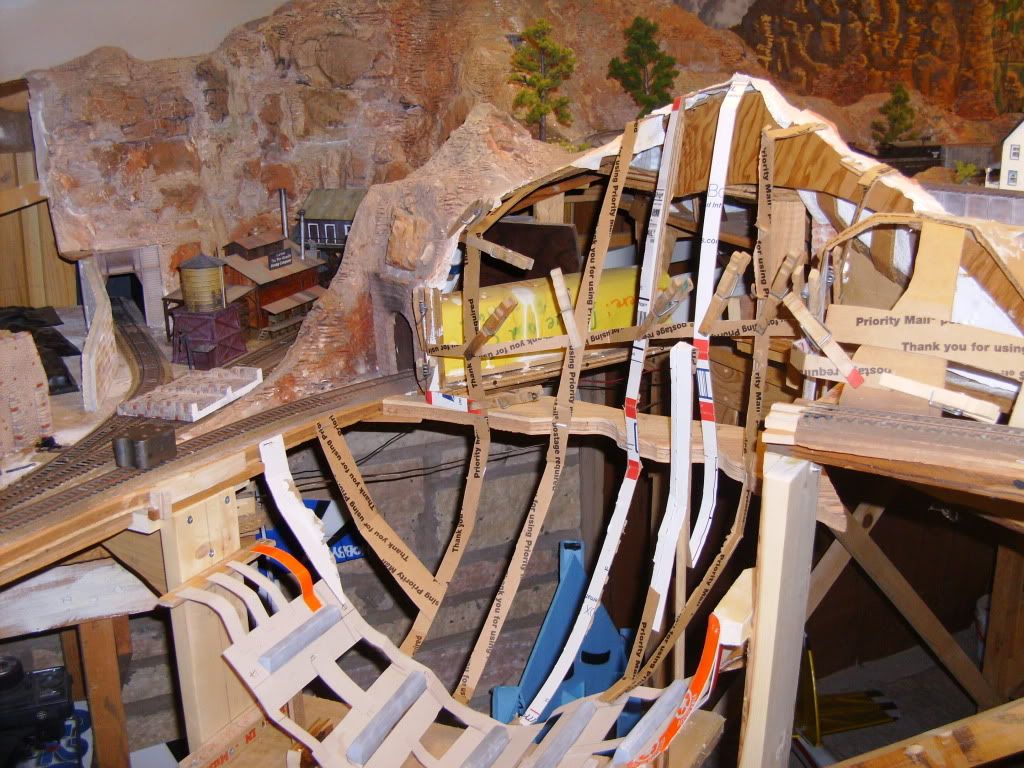
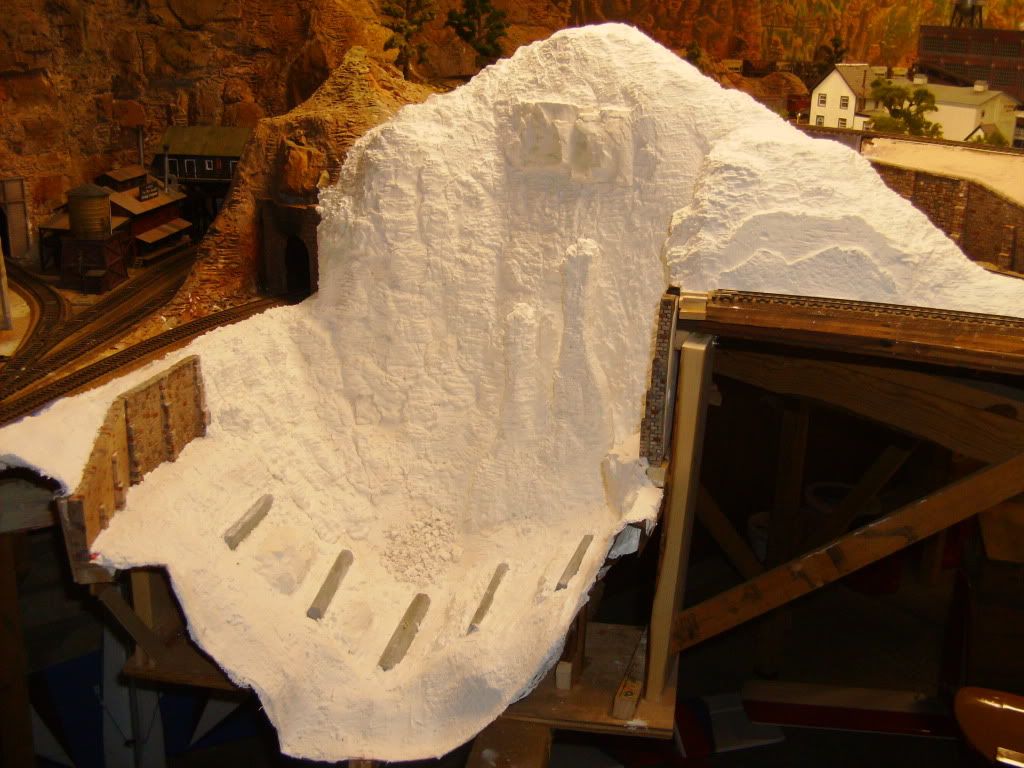
My method of building up my ground surface is to use cardboard strips cut to about one inch wide and interwoven in cris-cross fashion, stapled and/or glued to wood supports. This gives me the basic shape of the terrain and allows me to see what things will eventually look like and allow easy changes if needed. I then cover this cardboard lattus work with two layers of plaster cloth. This in turn is covered with sculpt-a-mold as the surface layer over the plaster cloth. I love Sculpt-a-mold as it takes a while to set, is very workable and easy to carve into what ever shape is desired.
A method I have not tried; but, is used by Eric Brooman, one of the best scenery modelers I know of today, is to mix Clay with Hydrocal Plaster and use this as the final shaped and carved layer.
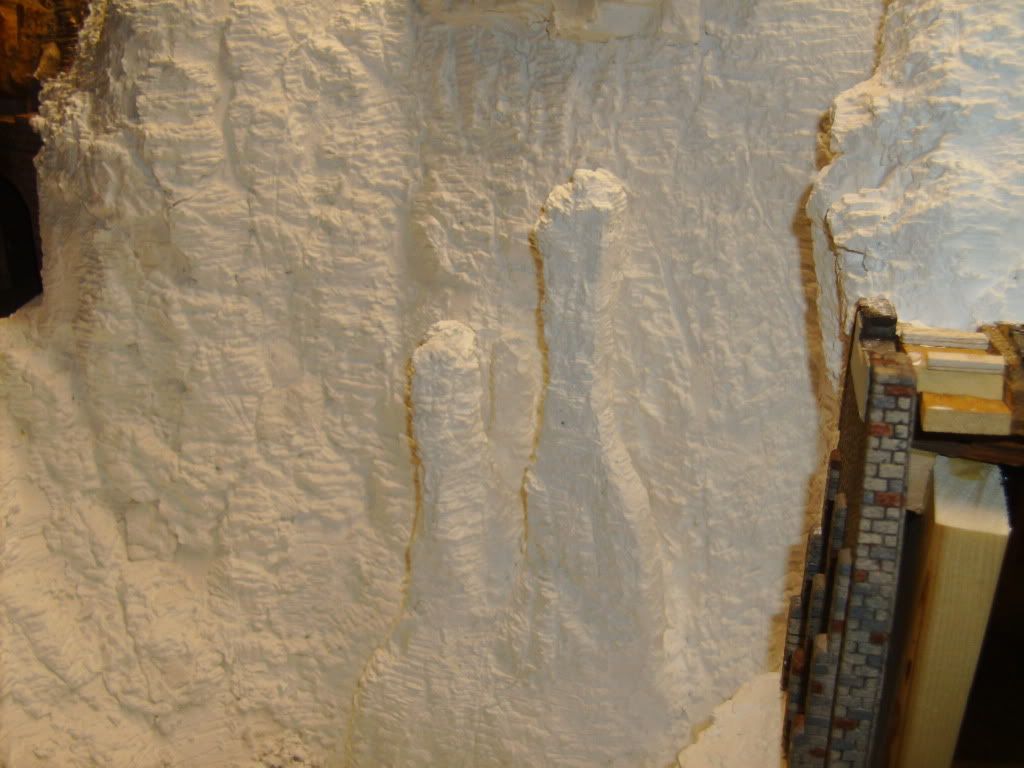
The top photo shows the beginnings of the basic cardboard strip terrain supports. The middle photo shows the area covered with plaster cloth and then Sculpt-a-mold and textured to the finished surface and the bottom photo shows what the carved and textured surface looks like up close.
I use several methods, but where I use plaster cloth, I overlap the strips by about 25%, and cover the whole thing with a layer of hydrocal, which I buy at Michaels using the 50% off coupon. I deliberately add a little too much water to the hydrocal, so that when the plaster cloth sucks some up, it comes out about right.
I cover everything with a coat or two of Glidden interior latex in “Nutmeg Brown”. This gives me a nice base layer for my terrain and so forth. In my opinion, one layer of each is sufficient.
I use cheap disposable brushes, but it’s possible to keep using the same one for years. Rinse immediately after every plaster batch and the plaster almost completely washes out. If it dries too much, pound it out with a hammer.
I just use a single layer of plaster cloth on my layout. I do brush a thinned layer of plaster of Paris over that. I add a little vinegar to the plaster mixture to add working time. This layer gives more strength for the rock castings I’ll add later, plus it seals the little holes left afterwards. As was mentioned earlier, wash out the brushes immediately after using. And I HAVE pounded out any dried plaster with a hammer, too (“Oh, rats! I forgot to clean out the brush”).
I’ve also found an interesting way to give the base layer of plaster cloth some texture by:
First, spray the dried plaster cloth with wet water.
Then, sift plaster powder onto it.
I also save the set up plaster that’s left over from projects. It makes good rock cover (talus, field rocks, etc.) when broken into small chips with a hammer.
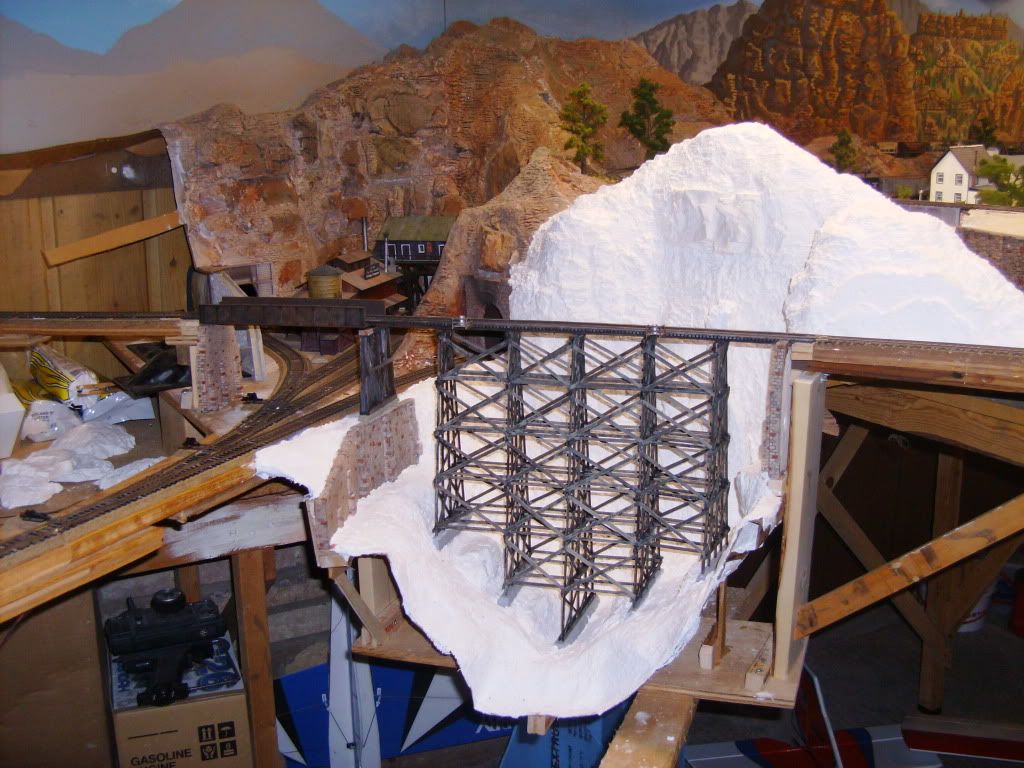
As to the question of one or two layers of Plaster Cloth, I guess this is a personal choice. Certainly if your going to brush on a coat or two of Plaster of Paris/Hydrcal one will probably suffice. The extra strength provided by two layers and the fact that all seams are overlapped with the second layer, I feel makes this process the strongest it can be. I used three rolls of the Woodland Scenics Plaster Cloth to build the “Deep Gulch” scene in my previous post. I live in Rural Minnesota, lots of lakes in the area, but a complete lack of hobby shops (nearest is 85 miles) so, all my model supplies are mail order. About $21.00 for the cost of the plaster cloth in “Deep Gulch”.
Neither, actually. I put on a pair of non-sterile latex gloves and just smooth it out with my fingers. Then I throw the gloves away.
The mixing bowl is made of silicone, so when the plaster is dry, I just flex the bowl and the residue falls out. A quick scrub with a fingernail brush cleans up the rest.
Where abouts do you live in MN. I’m in Cloquet and was wondering where you were from me. I know it’s somewhat frustrating to be that distance from a LHS. I don’t have it too bad, only about 30 miles. I thought that if you were close to me we could get together and exchange ideas and such. I get up on “da range” at times and could even pick up some stuff for you if you would like.
How is your road coming? New, in progress, or almost done? Hope to hear back from you.
Remember those red rubber balls we used to get pounded with in P.E. during dodgeball games? Cut one in half, now you have two mixing bowls. After the plaster sets up, flex the ball to remove the leftover plaster.