OK, I hesitate to call any of my adventures a “primer” for anyone to follow. But as I am always interested to see how others have tackled problems, I offer my efforts below. Of course some details of wiring etc. are not included.
Problem: Used #4 Atlas snap switch to town coming off a curve from mainline. Some long body passenger cars and others did not like this turnout. They just wanted to continue the curve when coming upon the #4, and often derailed. Some trains had to be run at lower speed limit here.
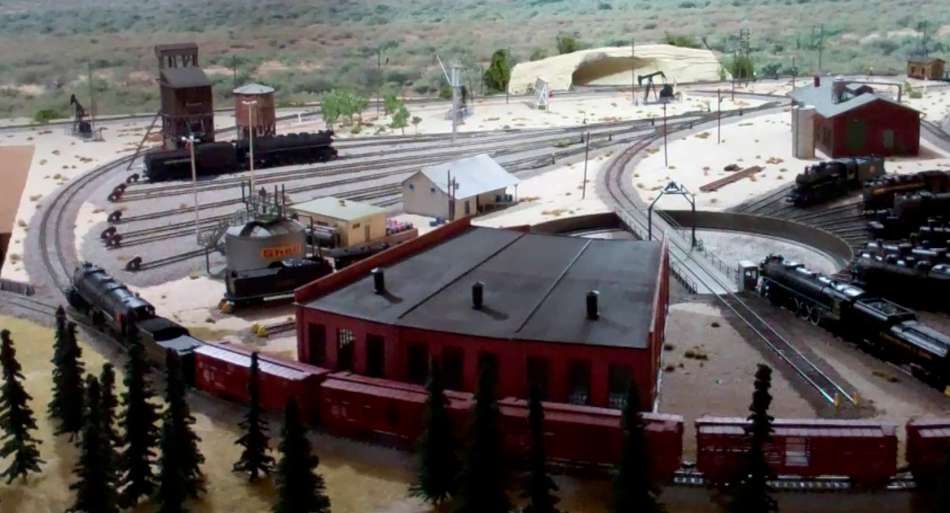
Original switch under locomotive
Step 1. Rip out original. Required removing soldered rail connectors and/or cutting track with snips.
Nothing of track can be saved when set down with ballast in dried Mod Podge.
Step 2. Chop out all ballast from original cork roadbed. Best tool…broad sharp chisel. Use a Dremel with burr to undercut ties from remaining track ends back far enough to slide on new track connectors
But it does beg the question … why did you use a number 8 curved turnout ? A number 6-1/2 or 7 curved turnout installed closer to your bridge would have made a much smoother route and avoid the two tracks coming so unnaturally close just off the bridge.
Thanks. Good question. Retrofitting is always a very tricky business in trying to estimate curvatures to fit existing situations. I used the #8 because the outer radius matched the existing route to the left exactly.
The real problem is with the s curve heading to the bridge. I found that moving any switch closer to the bridge created a problematic very tight s-curve. Therefore I had to back the replacement switch waaaay back and use a #8 there so that the broad radius of the turnout track also missed the corner of the roundhouse. I had hoped for more clearance between the tracks, but I can live with the result.
Thanks. That was a consideration. But I have several leftover number 3 wyes from my yard construction, which I laid out on the original #4 switching left off the mainline. The situation viz long straight bodied cars on the mainline suddenly required to conform to a very short closure rail to stay on the mainline remained with the use of wyes. The wyes would not have made a difference I determined.
It is odd, but interesting, the kind of thing someone would say, “It actually exists at [name the place].”
I hate to add yet another after-action second-guess, but would a shallow crossing and a scissors arrangement have worked do you think? Sort of like what I did to get a turning wye that doubles as access to my below-surface parking/staging.
Not at all. Thanks for the comments. Yours is a very nice looking bit of trackwork, Selector. I appreciate the input from all. Shows people are thinking.
I think I should have mentioned in the original post, this bit that I have learned from doing this insertion work a couple of times: The key to making a nice fit is to maintain the curvatures of the existing track. One cannot ever with complete success swap in trackwork which alters the curvatures between two existing end points. Try it with track planning software. The result will be either of two situations…the mating of the track ends will not be butted correctly…a tiny angled approach ( or a greater one if trying to alter too much curvature) will show a kinked connnection. Or, if brought together correctly in the butted joint, there will have had to be some area along the line where the track was taken right off course and then brought back again in some fashion of an s-curve…almost always with extremely tight bends. And with existing structures and scenery, looping off and back again is not in the cards.
The very nice scissors work, (and I really like the space-saving spiral) were put in, I believe, as the track was being laid end- to end. That is the best solution to creating trackwork, and I should have foreseen the issue of the #4 leaving the mainline at the end of a curve (I had hoped I had made a broad-enough curve at 36+ degrees) but I had a problem with some cars. Had I done it in intial stages I could have made a prettier job.
But this kind of retrofit is dicey, and often impossible. Luckily I could use a #8 with the same curvatures, back it up far enough along the track and still clear the roundhouse and most importantly, bring all ends to completely correct butted joints.
When ballasting I found it best to paint with full strength white glue and ballast around the critical moving switch areas, let dry and then ballast as usual, if done right the ballast setting solution does not migrate to the moving parts
I think the real answer to solve this problem would be to change the angle of your bridge. Looking at the picture, if you move the attachment point of your bridge on this side further to the left, you could really minimize that “S” curve coming off the end, attain the proper clearance to the adjacent main line, and ease the curve on the other end of the bridge which appears to curve to the right (?).
The notion of moving the bridge and the problem S curve are not issues. I would never contemplate moving the bridge as it mates with a cross over under the next bridge and is completely a non-starter. I’m afraid moving the bridge would be like shooting the horse to put on the shoes.
The S curve is exactly the same curvature as it was on the original line when it was comprised of a turn to the left off the mainline using the #4 switch. That S curve is not a problem. However, as the town is the oldest part of the layout and was built with only 18 degree, and even some 15 degree curves, only 4 axle diesels and switchers are routed in. Thankfully the S curve has never been a problem for any cars though.
As I mentioned, that is definitely not a passing track in the final photo, However, trains are never dispatched out of town on that bridge…only into town. The line out of town is in the distance. The remainder of trains bypassing town run only forward across that low clearance area, so there will be no unfortunately “meetings” even if the dispatcher messes up. With luck.
If you wonder what I am talking about regarding that part of the layout, feel free to watch my tour video at


