Well, since the switcher had sat in Fargo over the whole weekend, I was beginning to think that it wasn’t going to get here by the promised date.
Yet, UPS made a Great Effort and this morning they highballed it on over to Bismarck, and from there to Dickinson. So, I guess that it has a good chance of arriving on the Lignite Subdivision today after all!
1 Like
And the switcher has arrived!
And my video of it failed to load!
2 Likes
And I had a busy week thereafter (including a trip to Williston) and failed to get any pictures of the switcher or any of my other projects 'till now!
Anyway.
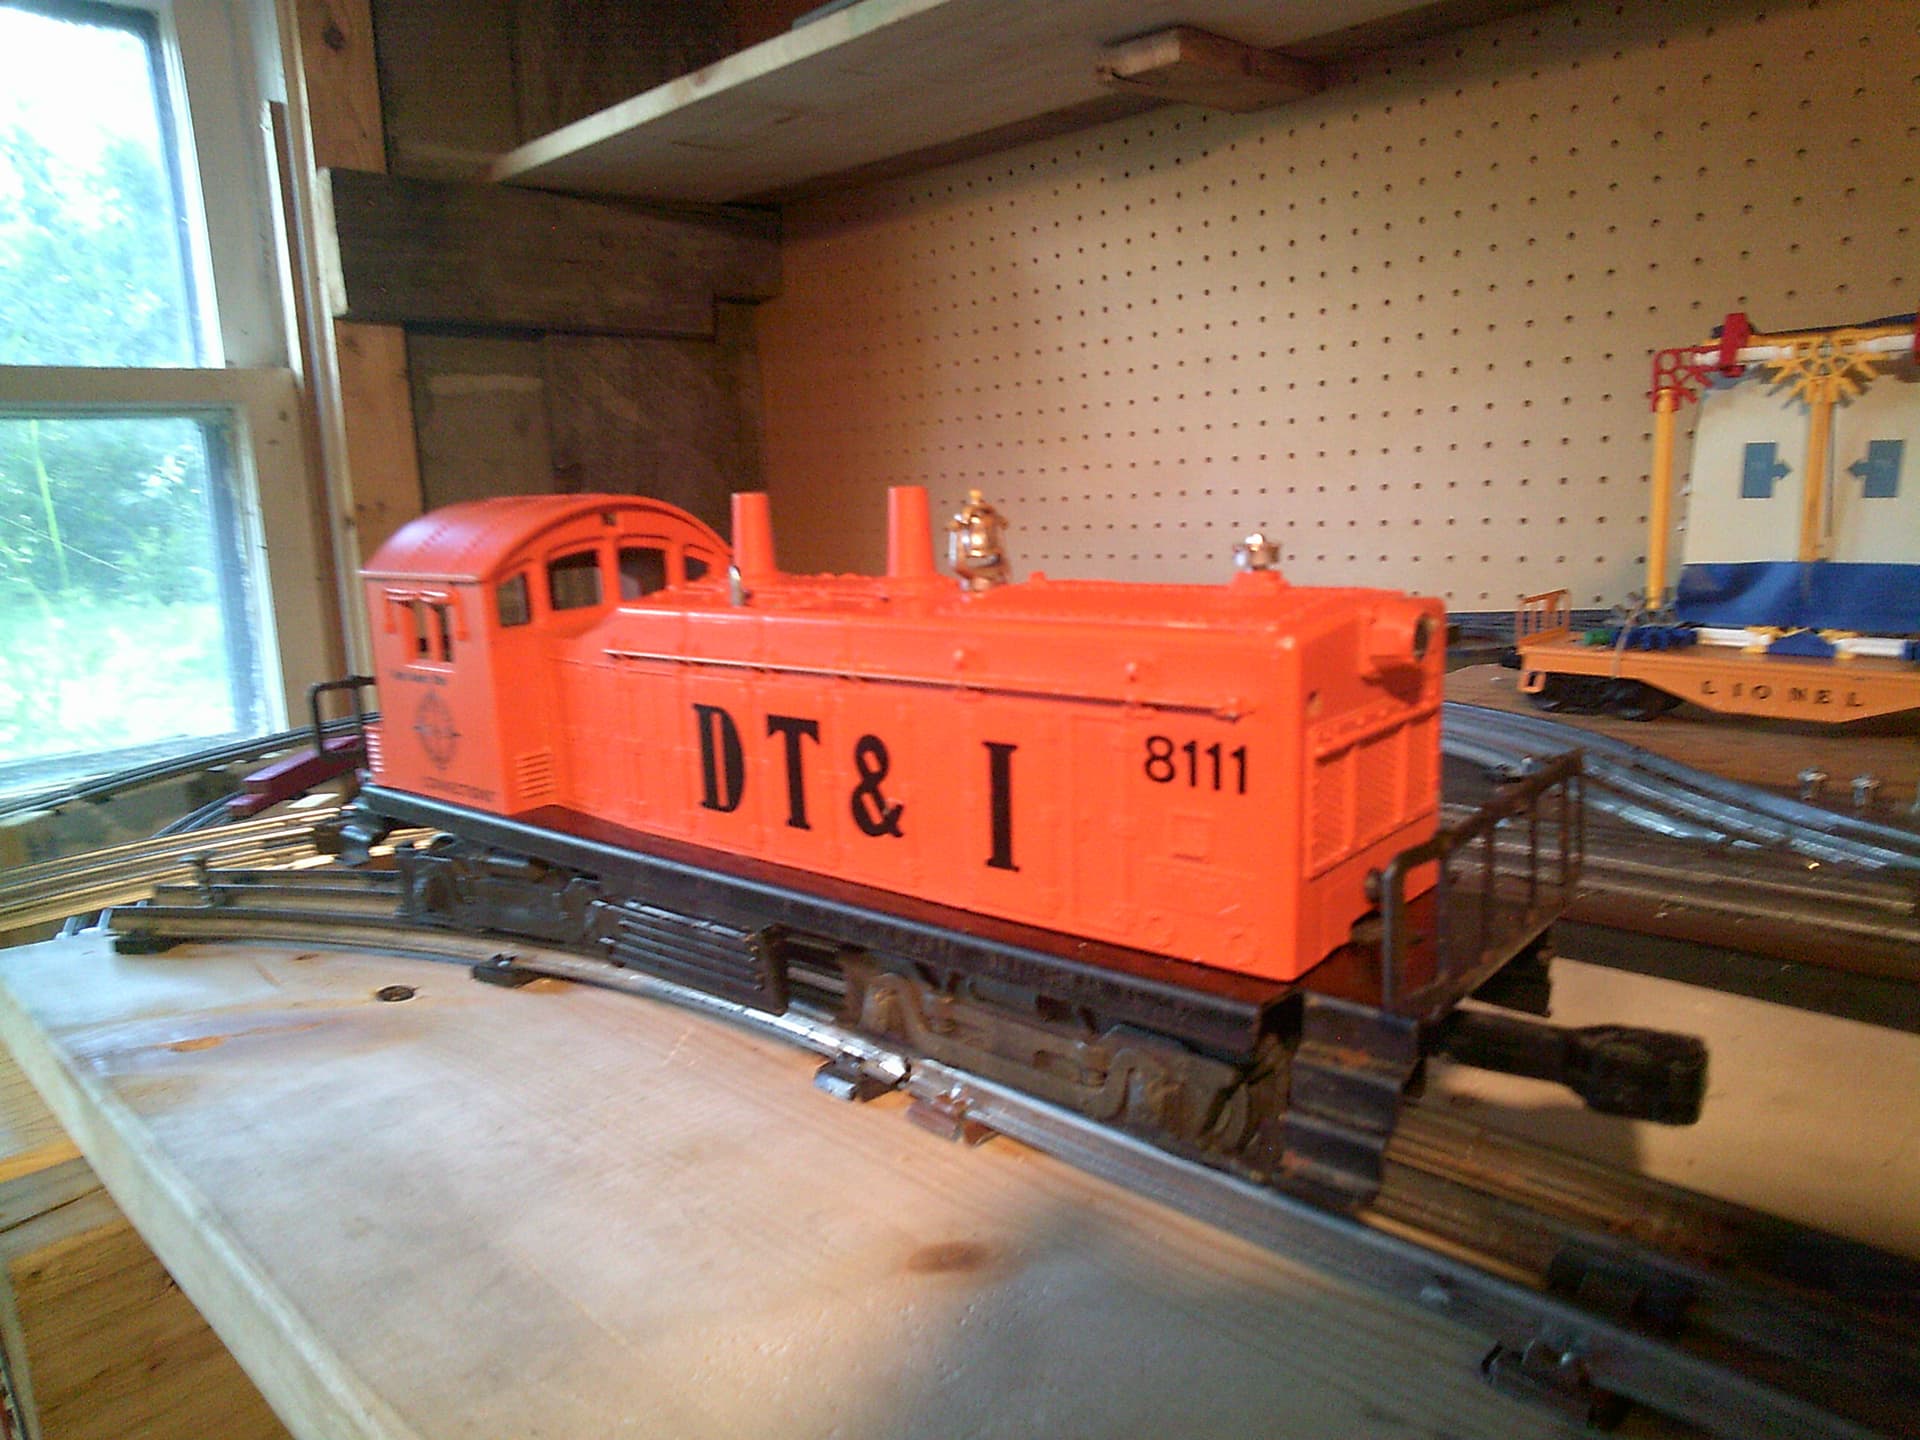
Here’s the switcher. It’s a very smooth loco (for low speed it could compete with my can-motored SD18 and Dash 8), and it’s quite reliable. However, it is missing several trim pieces. I can’t remember if the couplers were originally supposed to be self-centering, but they sure aren’t now. I’ll detail my plans for the loco later.
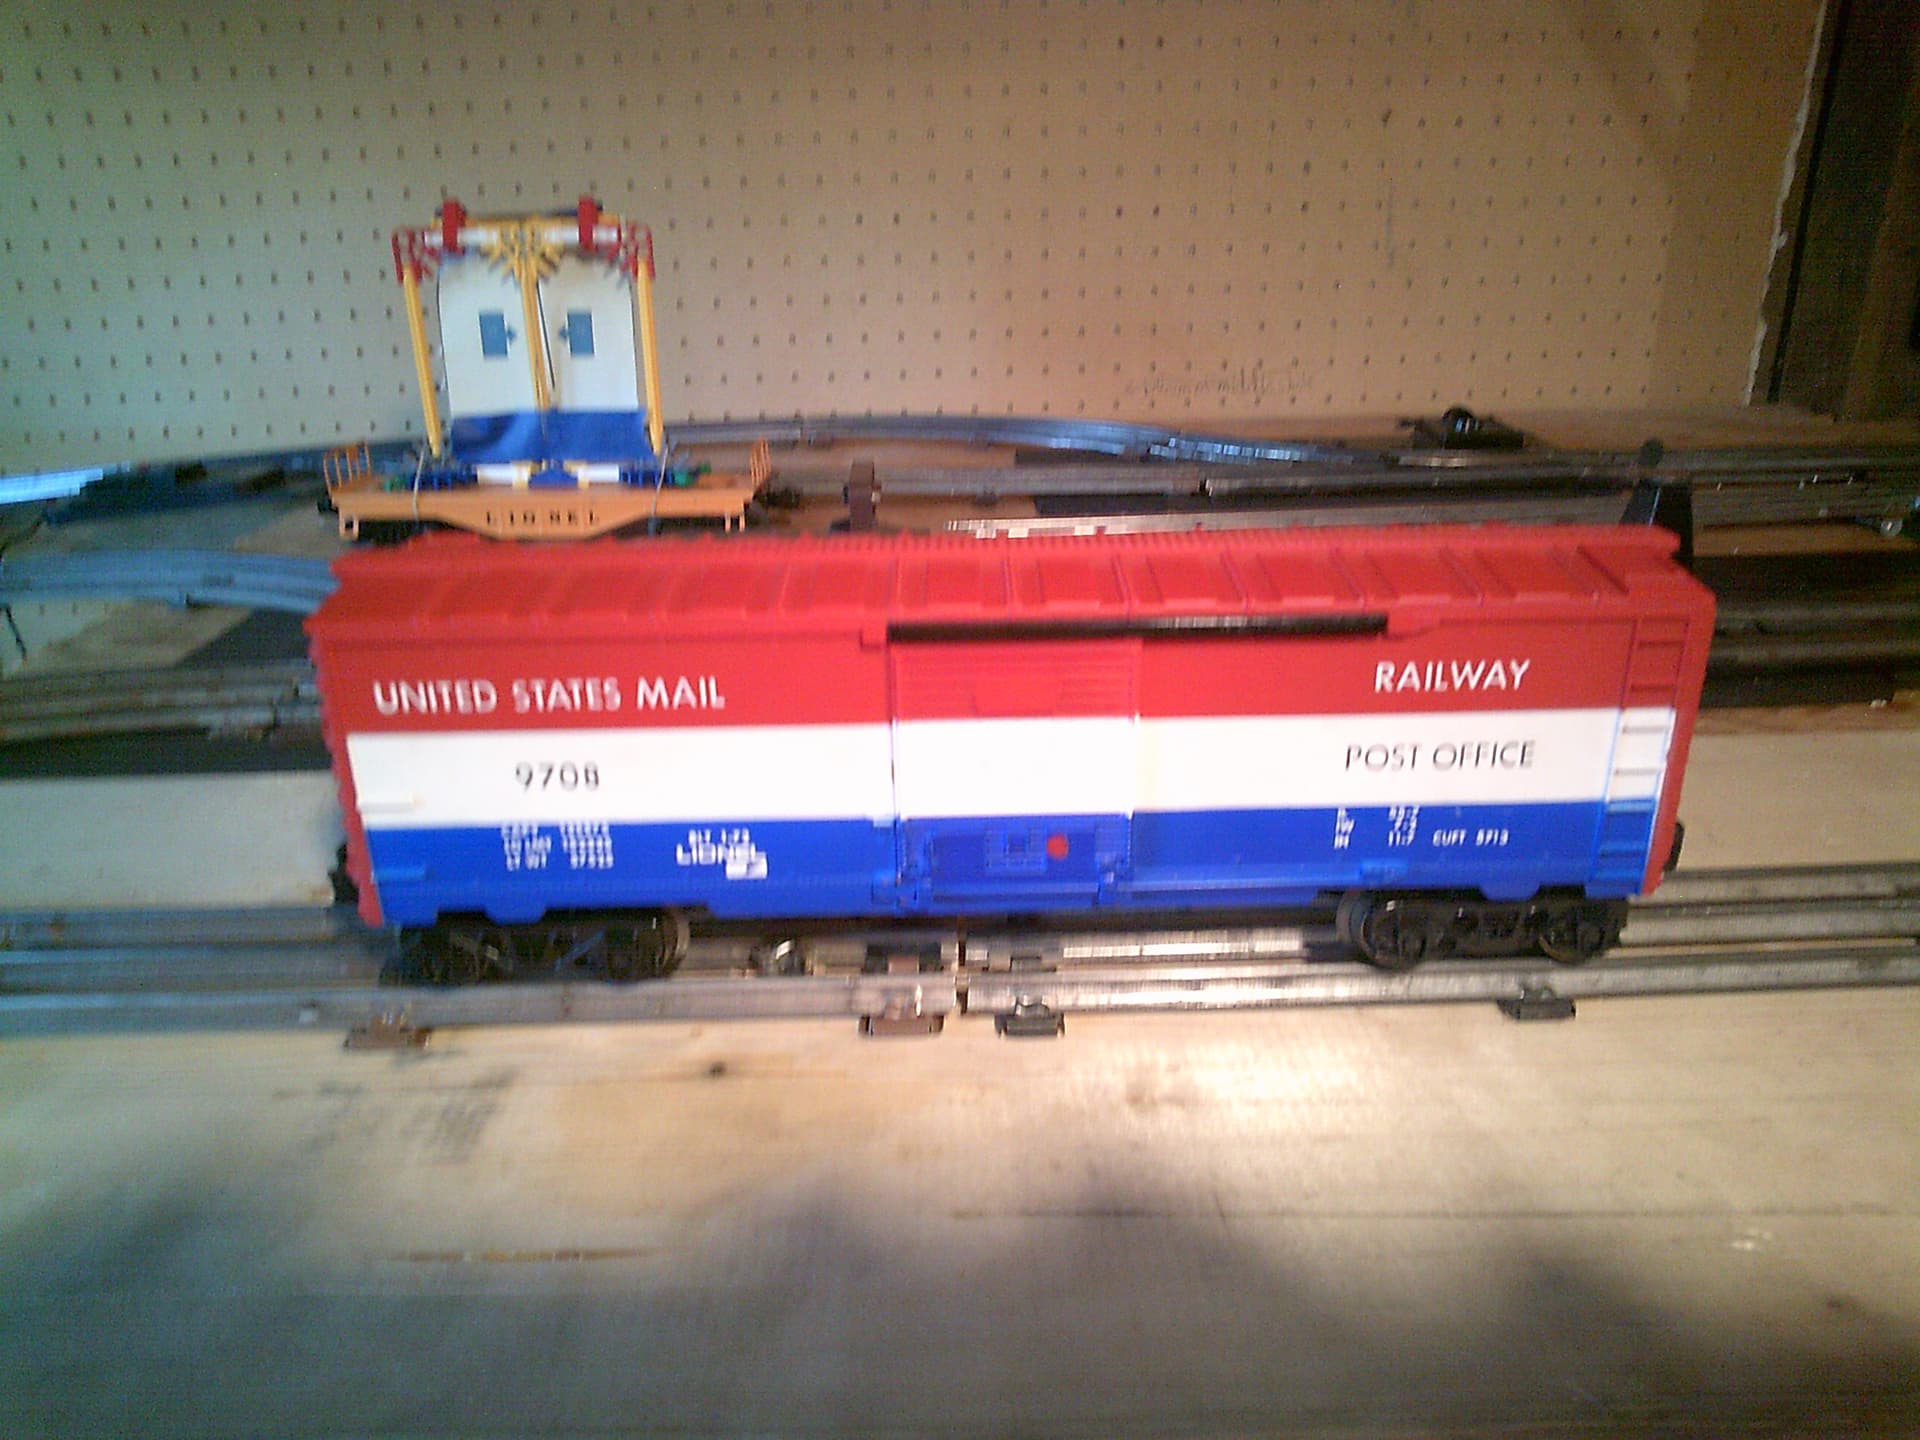
Here’s the RPO car. It’s a nice car that will figure into the switcher plans quite a bit (once again, more later).
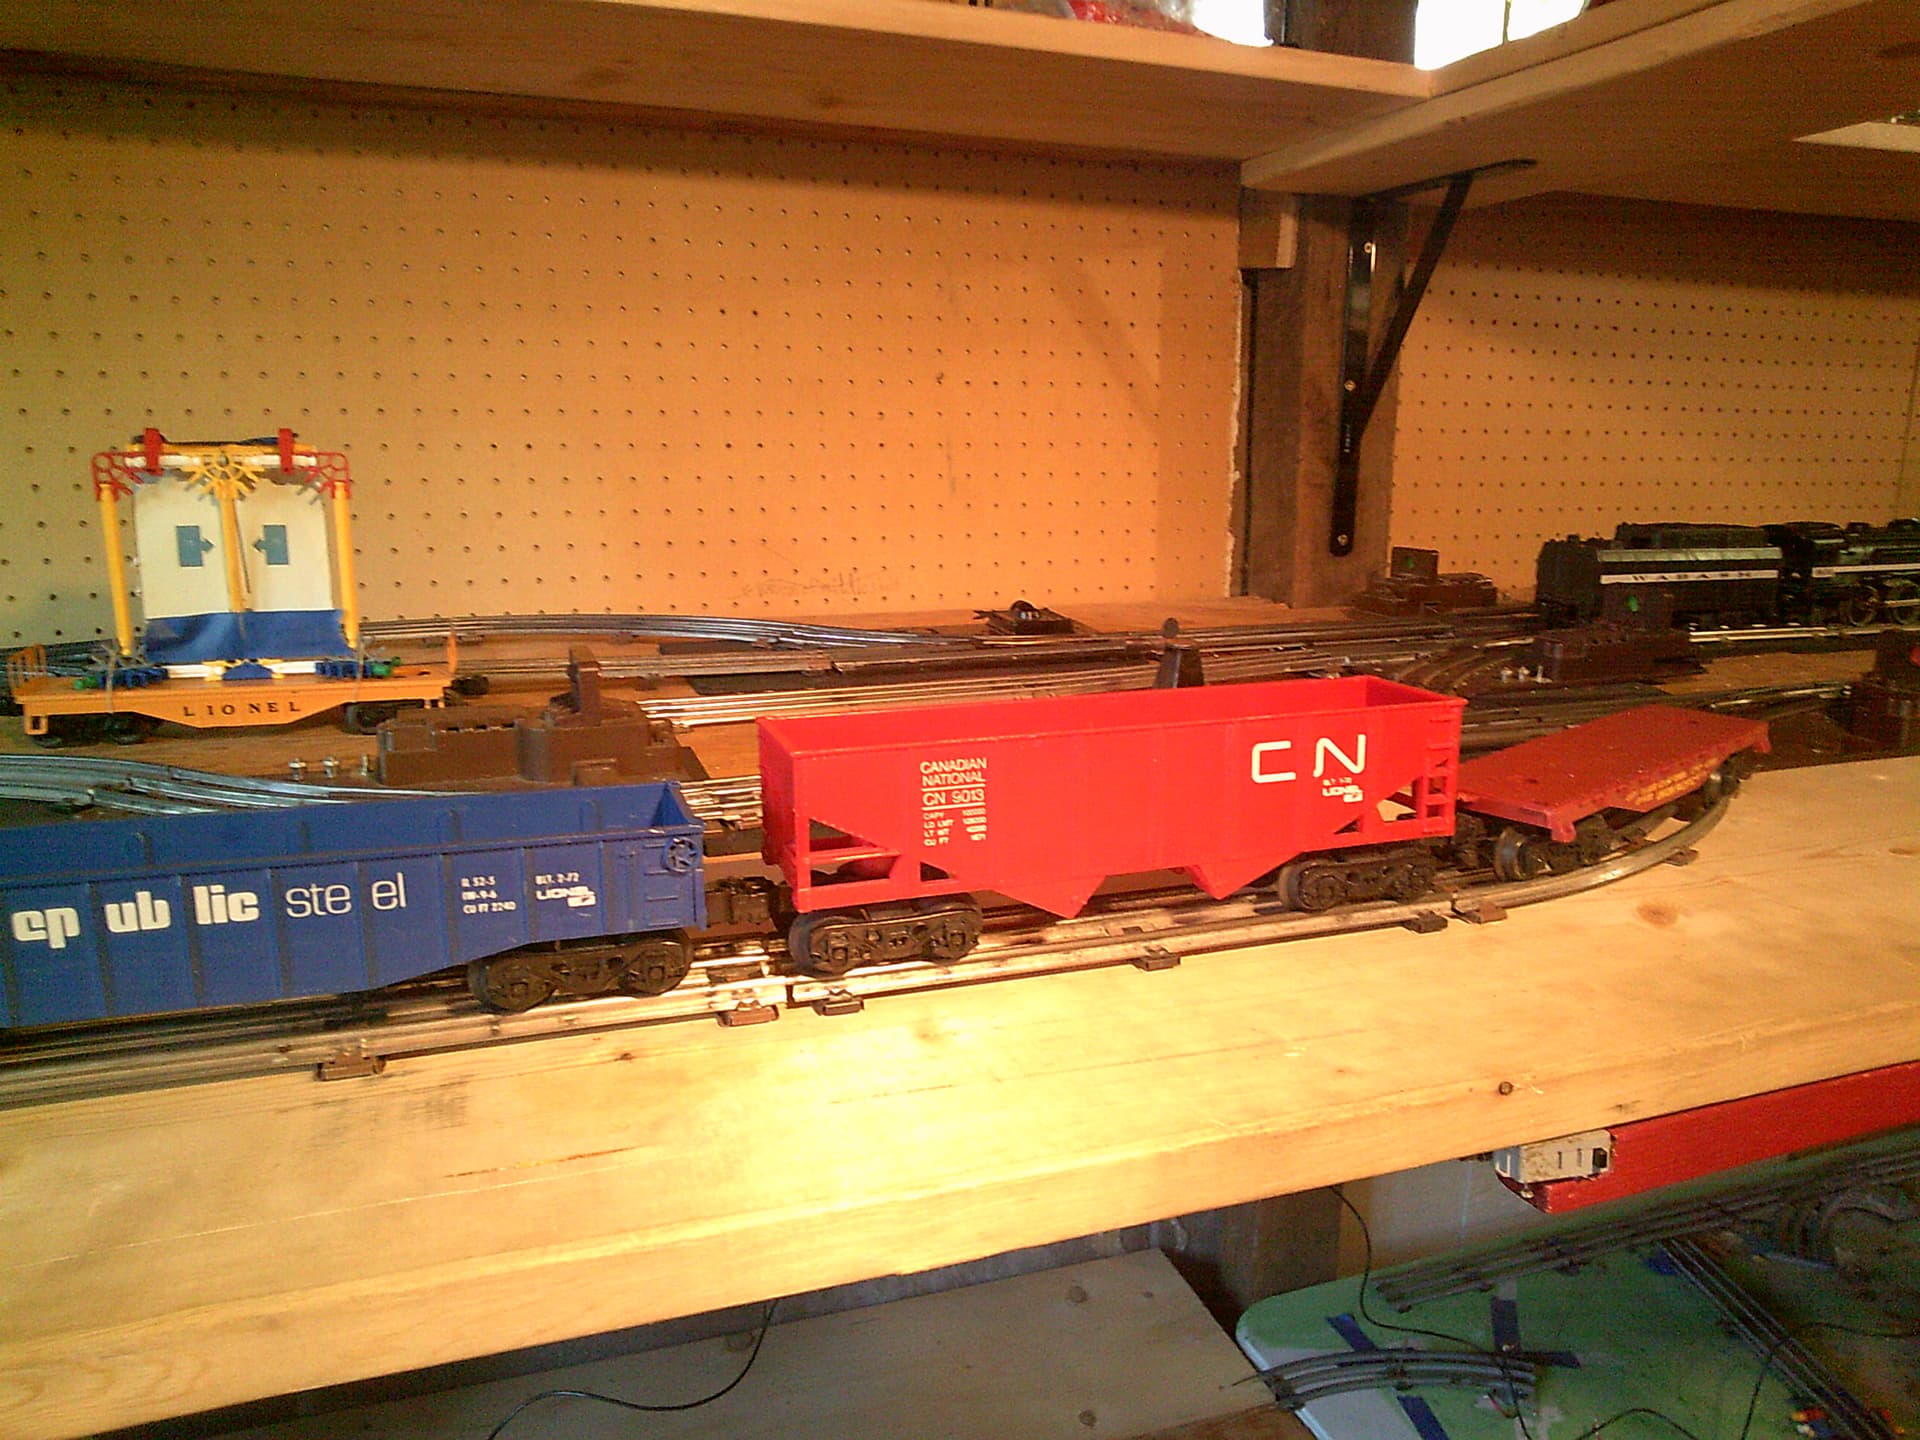
Here’s the rest of the freight cars–nothing exciting, except somebody took the metal thumbtacks off of the couplers of the hopper and the gondola. While ordinarily that would be quite a problem, it isn’t now because I can just stick them in the middle of my unit trains where uncoupling is unnecessary.
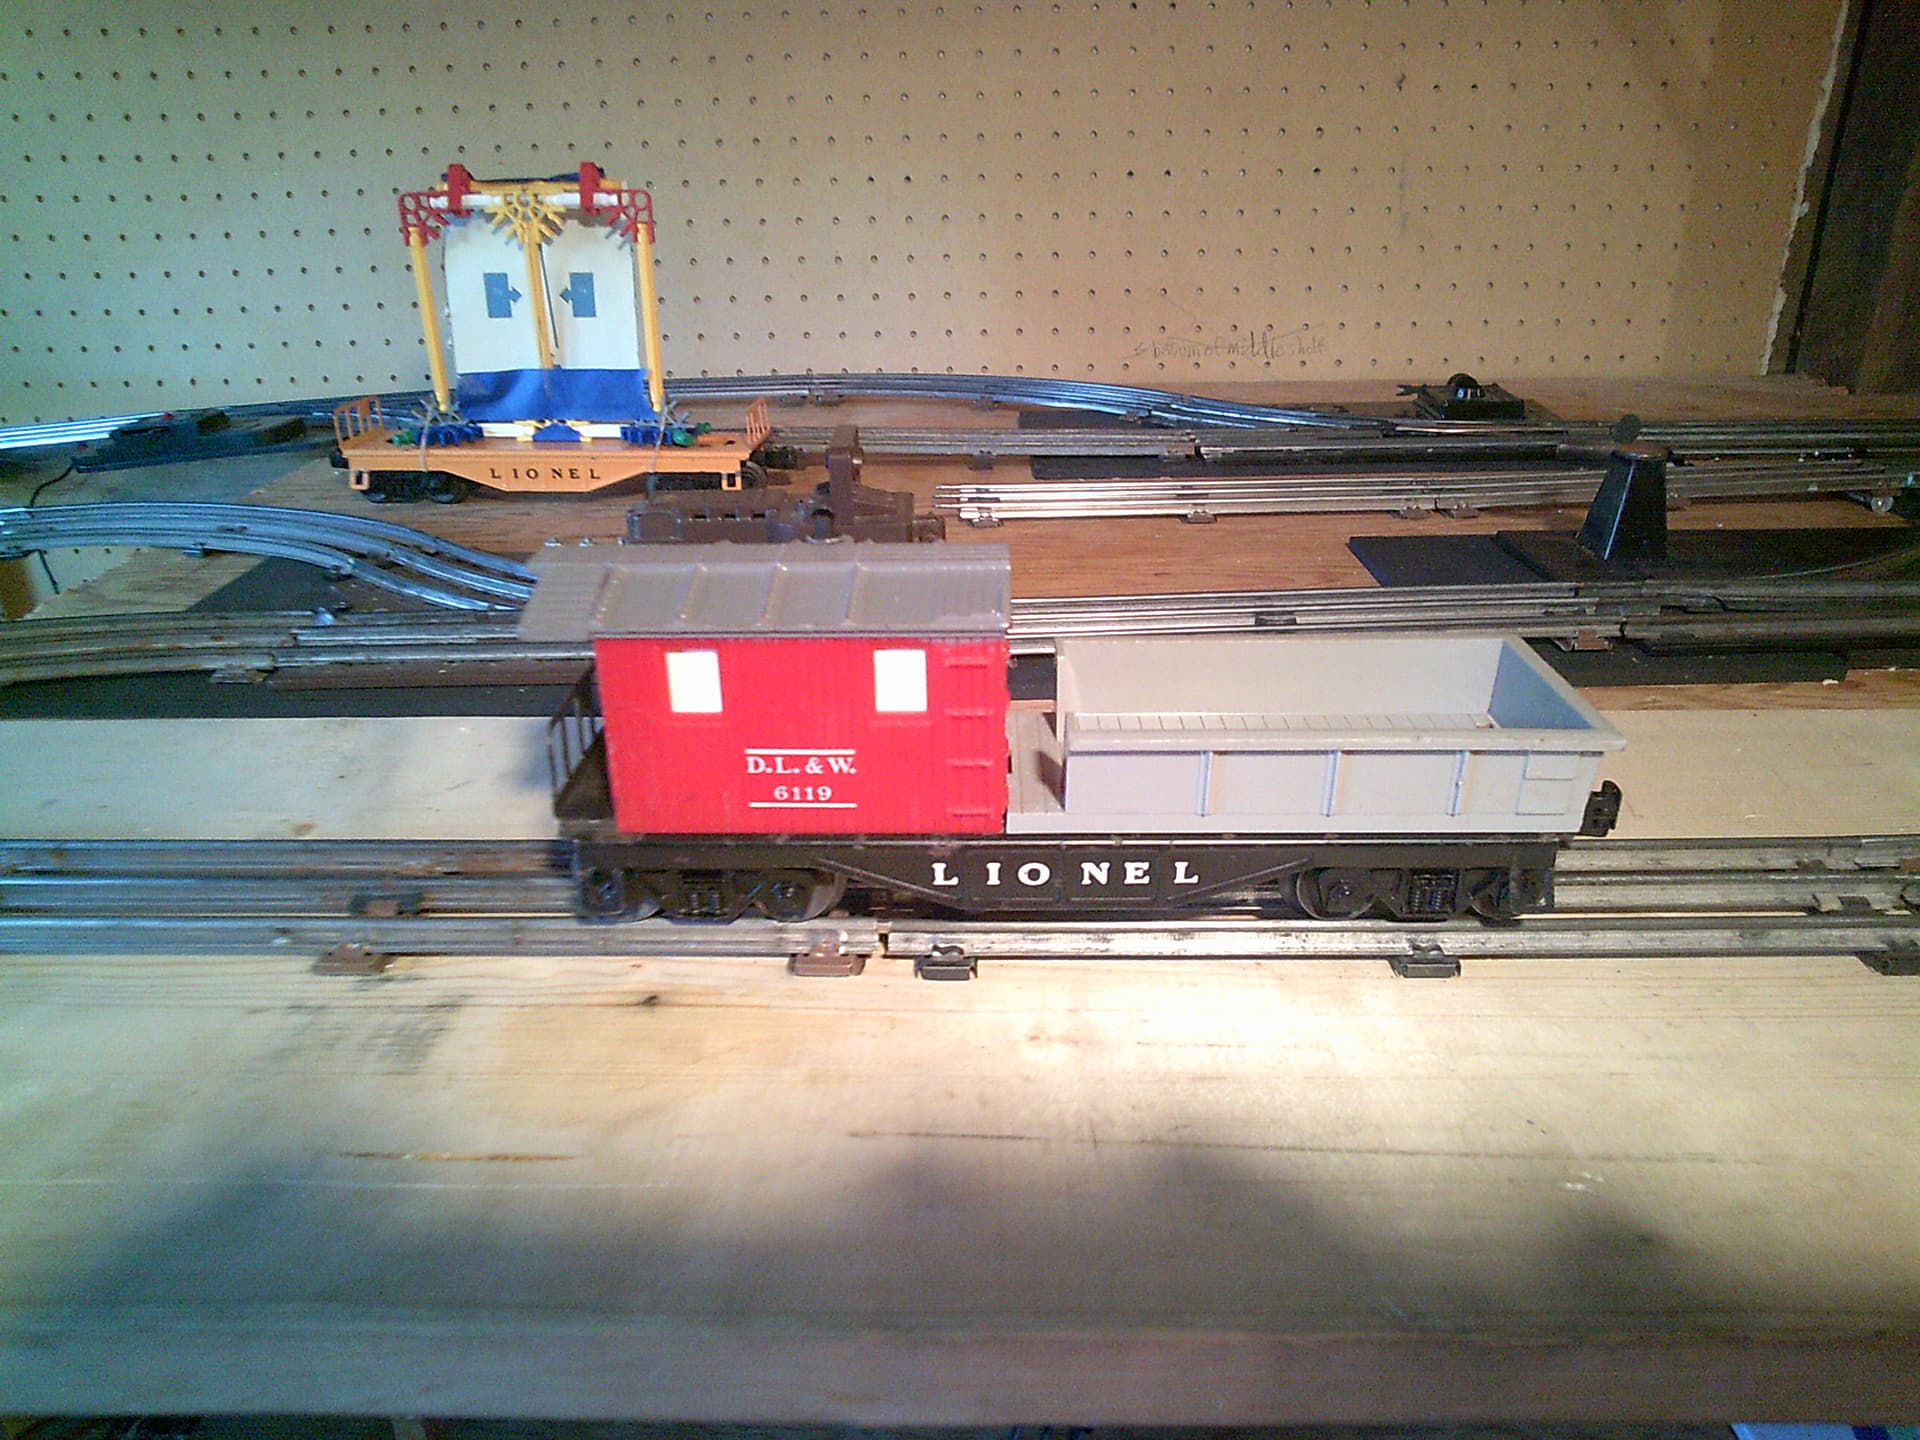
Here’s the work caboose–I’m eventually going to get a crane to go with it. It looks to be modified, but since the changes were done pretty nicely I’m leaving them for now.
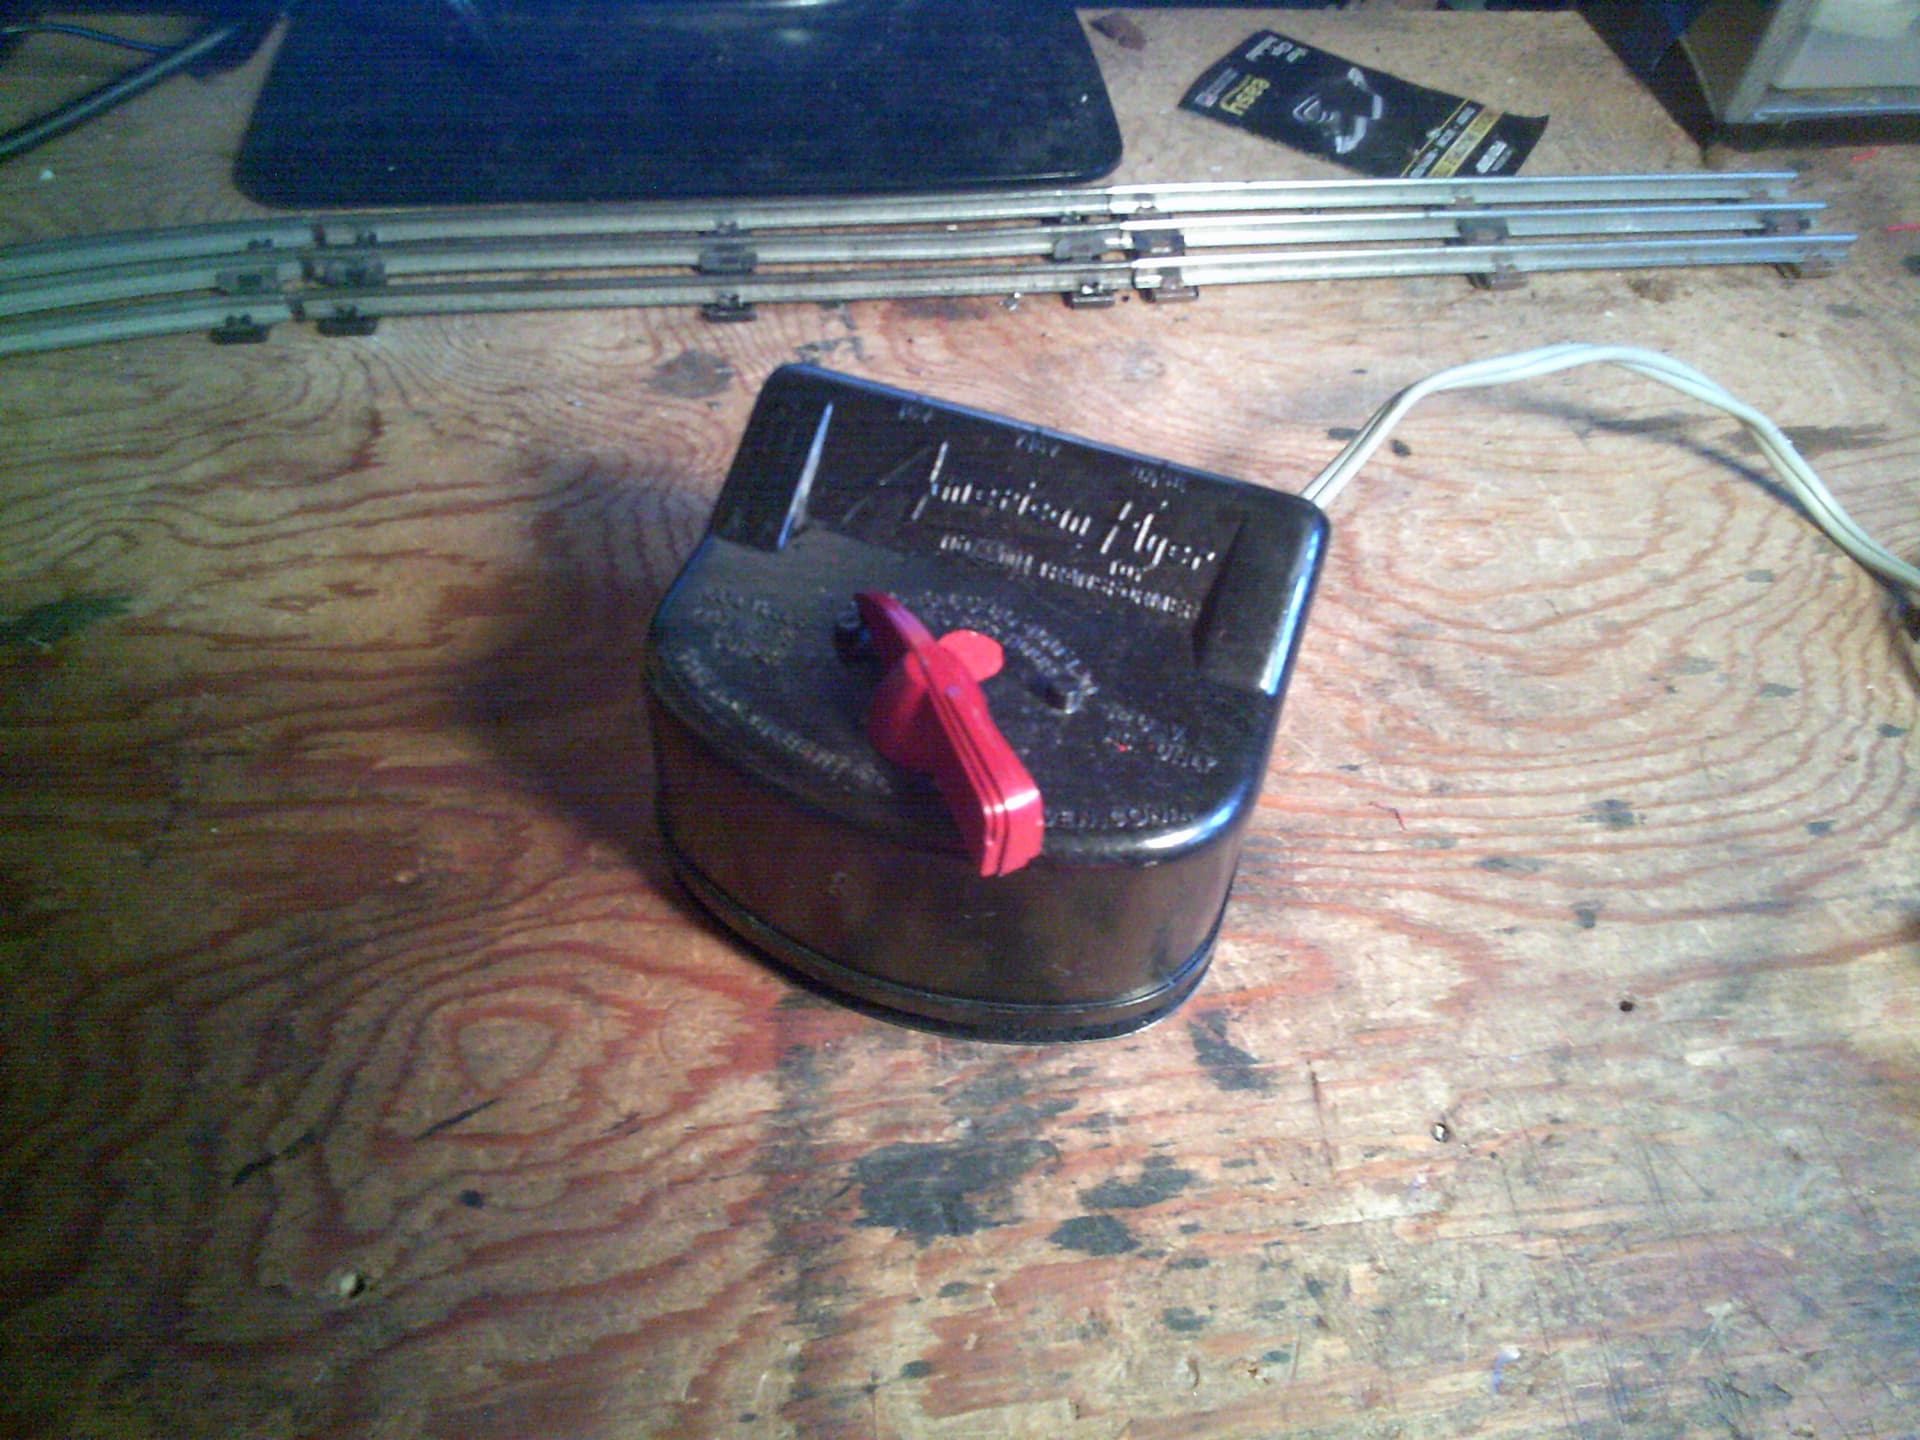
Here’s the transformer. It’s just a little one, but it works well.
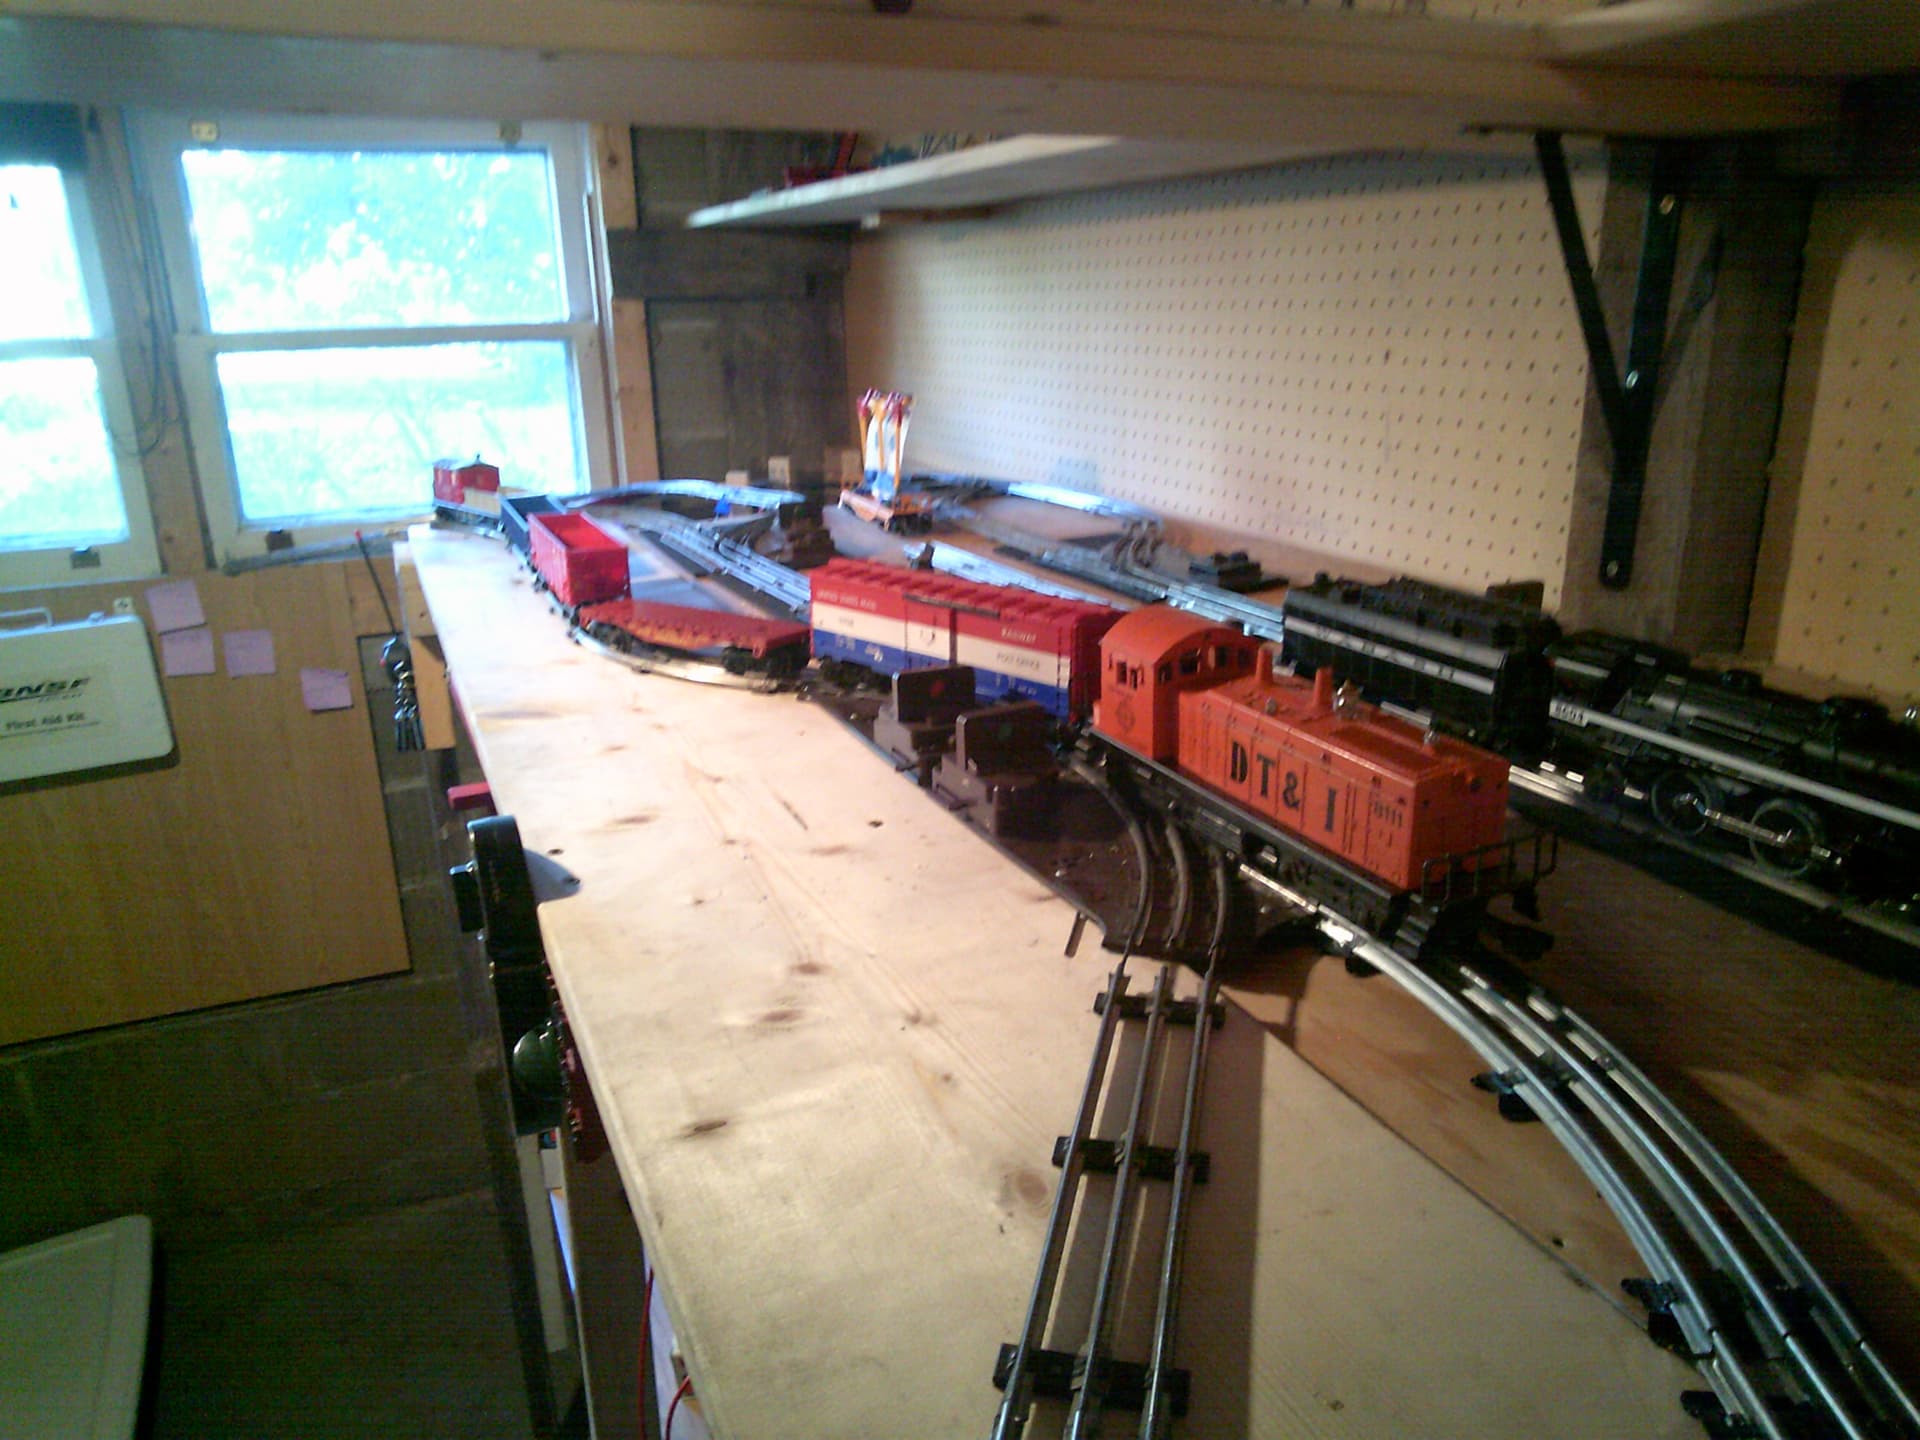
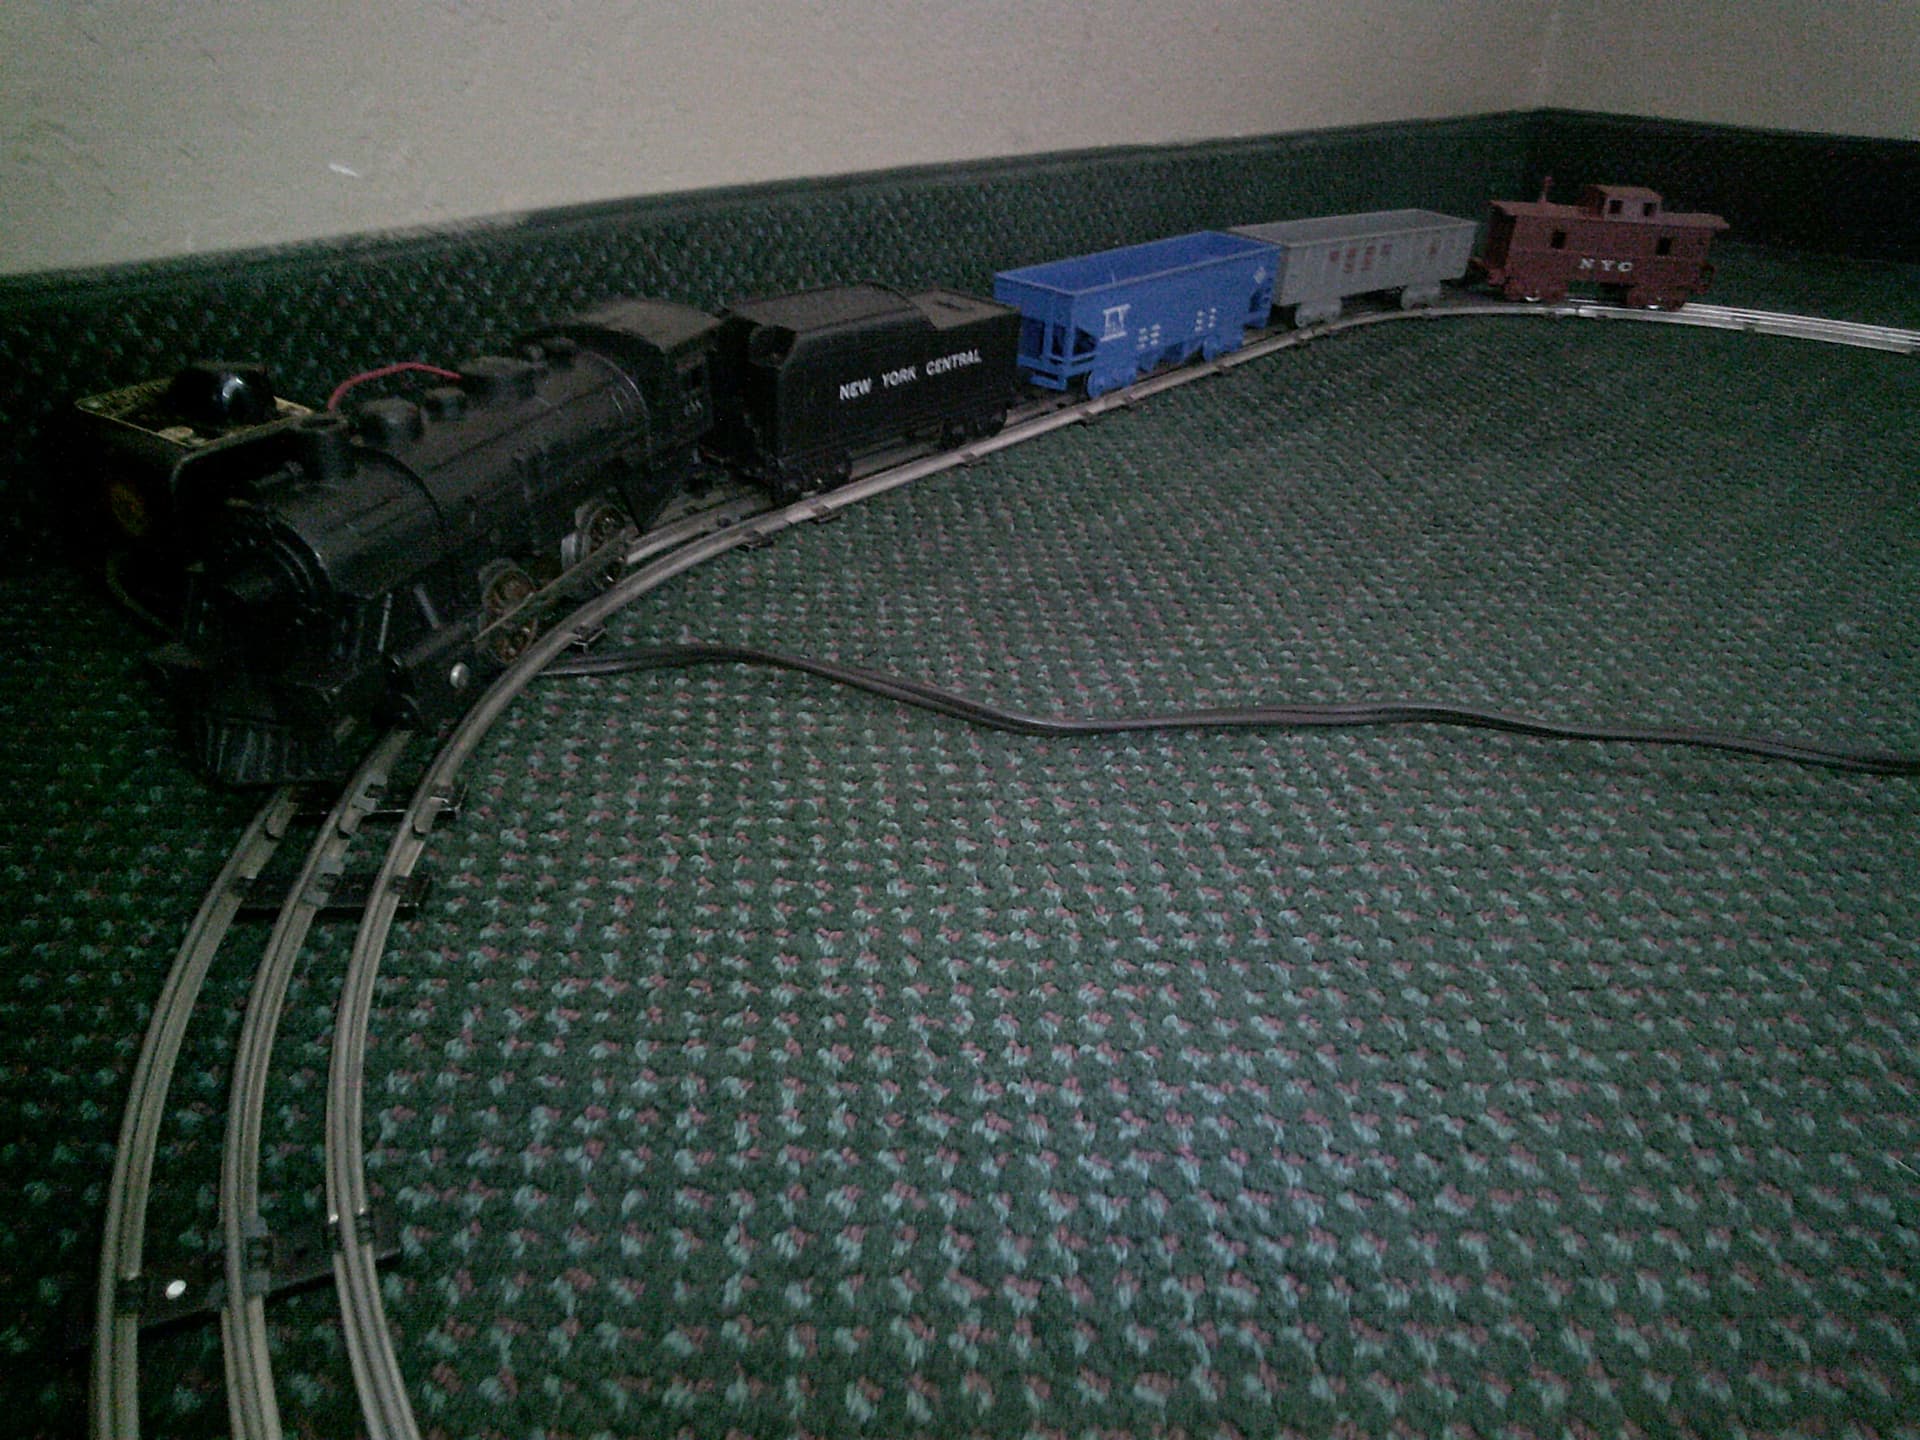
Here’s the entire train!
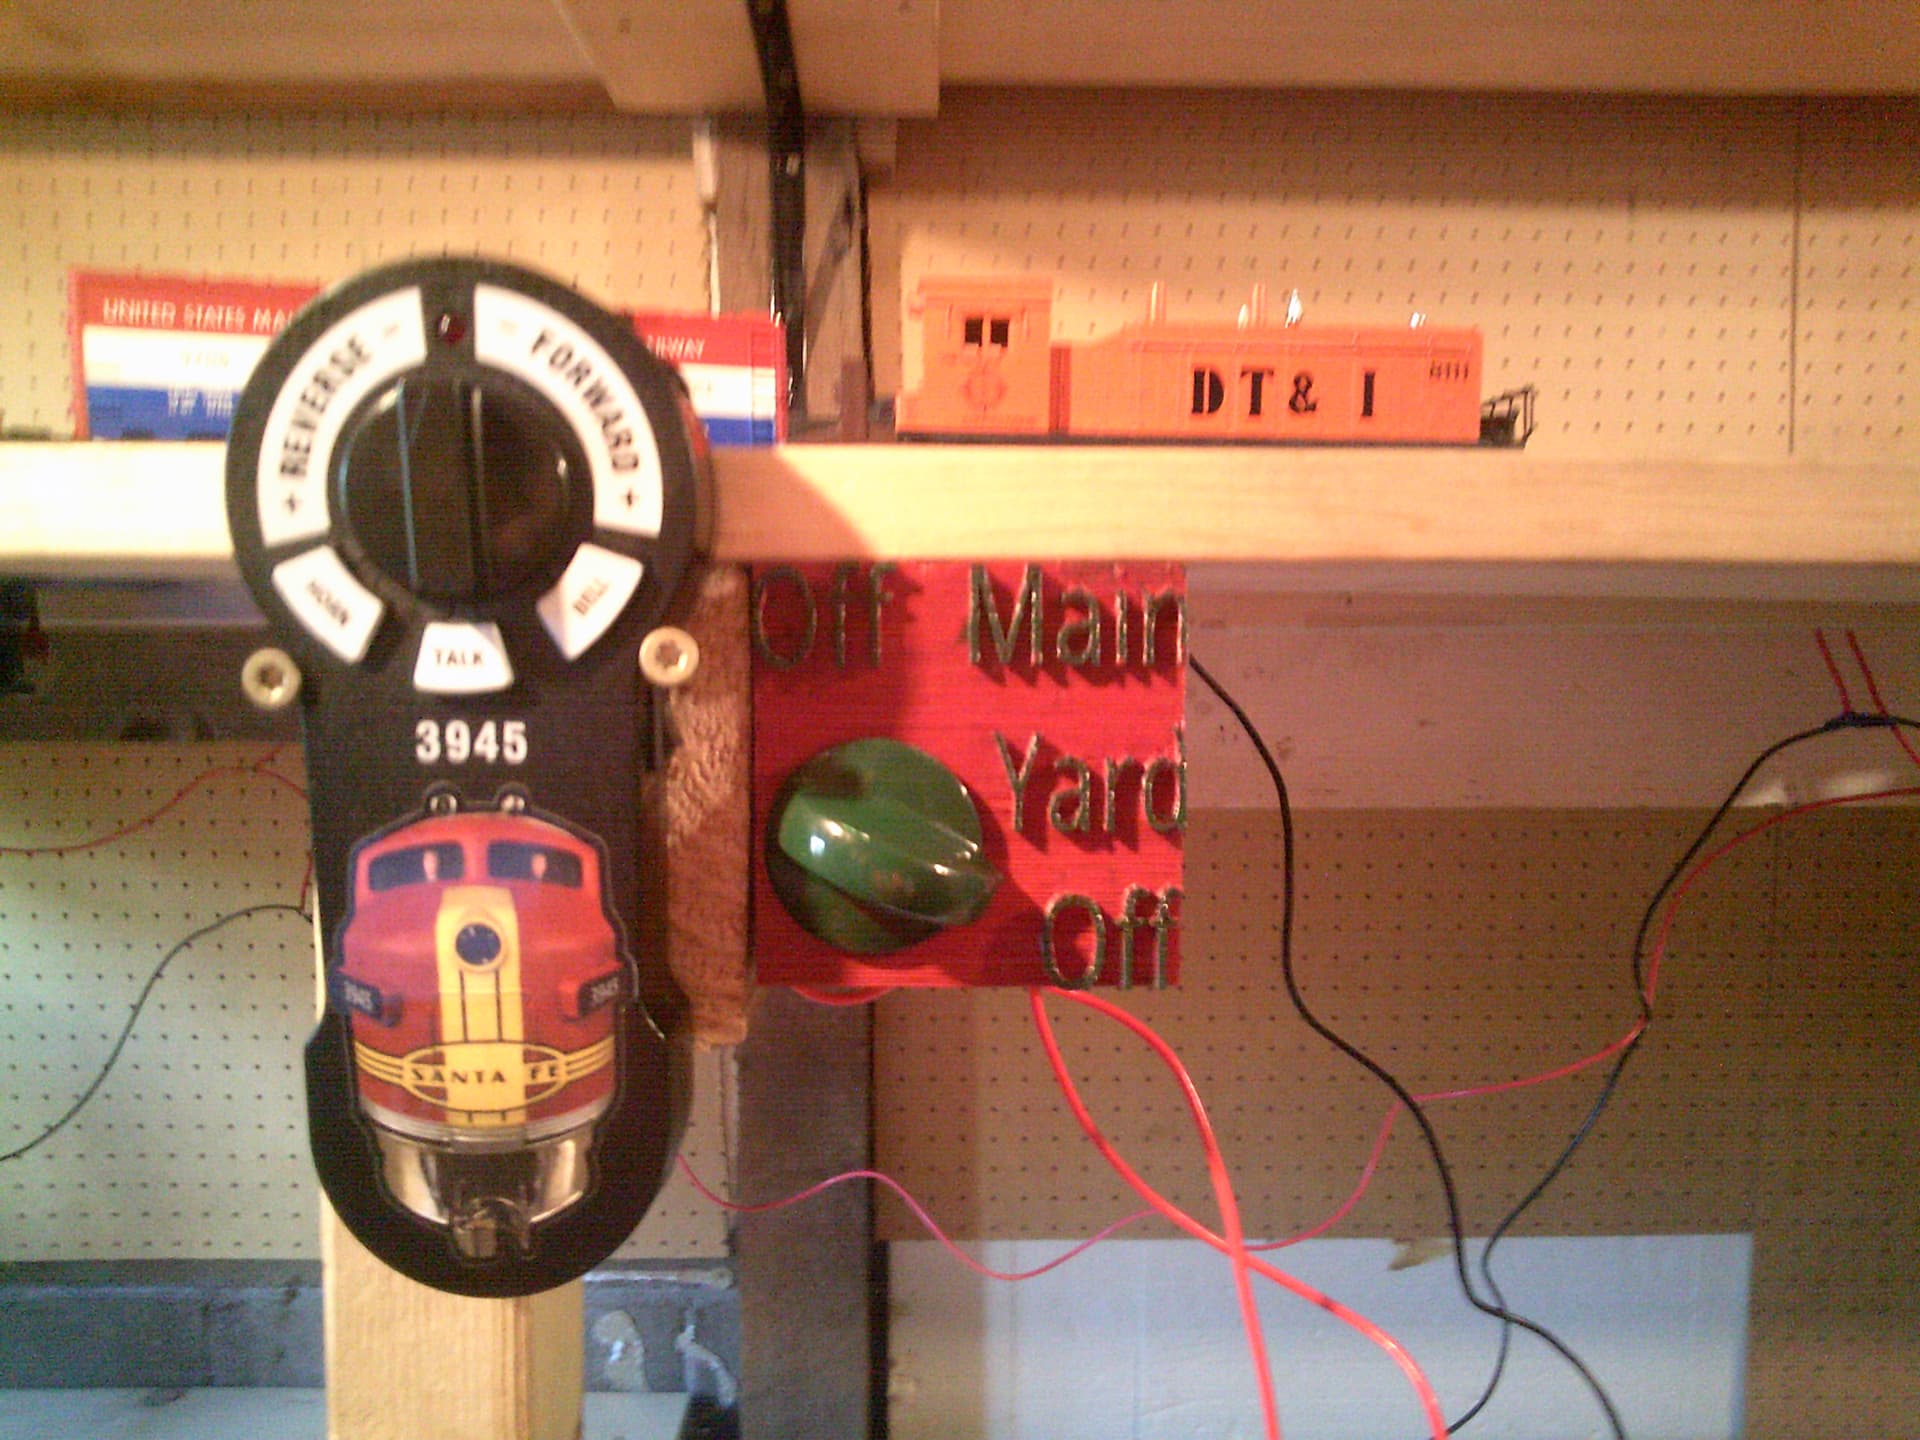
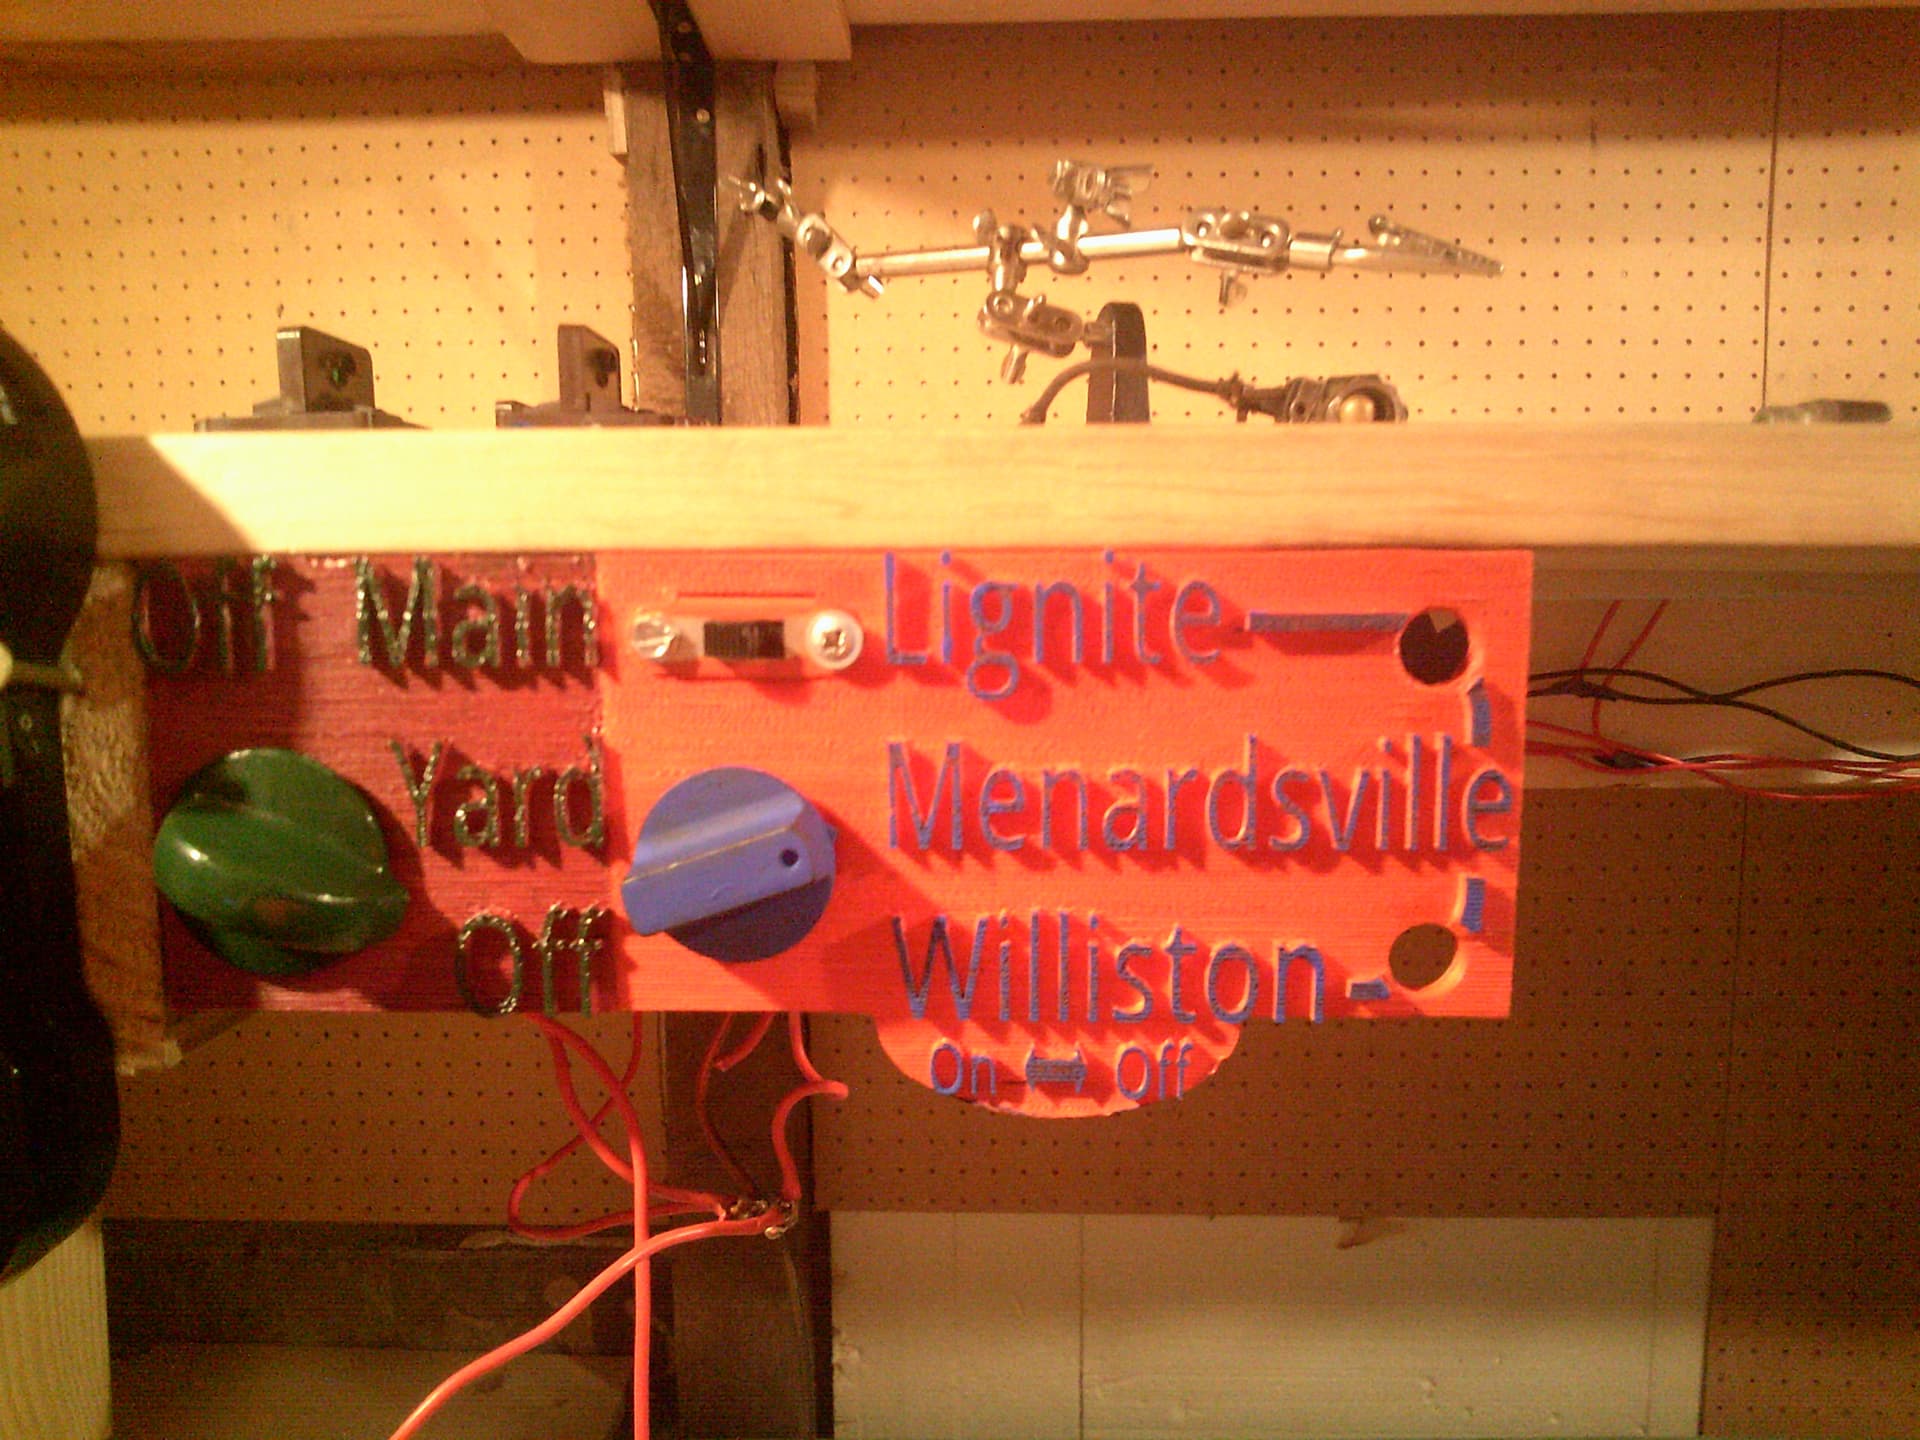
Alright, enough of my new expenditures for now. I’ve been doing a good bit of wiring, so here’s the control panel that I 3D printed! That rotary switch once was the option switch on a washing machine, but it works pretty well in this application too. The color scheme codes for the Wren Song Railroad, a tourist railroad based in Menardsville. This switch controls their museum/yard and their mainline. Please ignore the remote for my Menards FP7.
3 Likes
Alright. Here’s the Great Switcher Upgrade plans. So, to start with, I’m going to bypass the manual reverse switch using RCC (I’m really going to have to explain that properly one of these days). Manual reverse would be tolerable on a continous layout, but on point-to-point layout it’s nearly impractical! As you can see, the front coupler is held on with just an e-clip (oh, I do hate those things), but, as El_Fixes_Things mentioned, the rear one is riveted. Now, I don’t want to do any kind of permanent modifications to this loco, so that could be a problem.
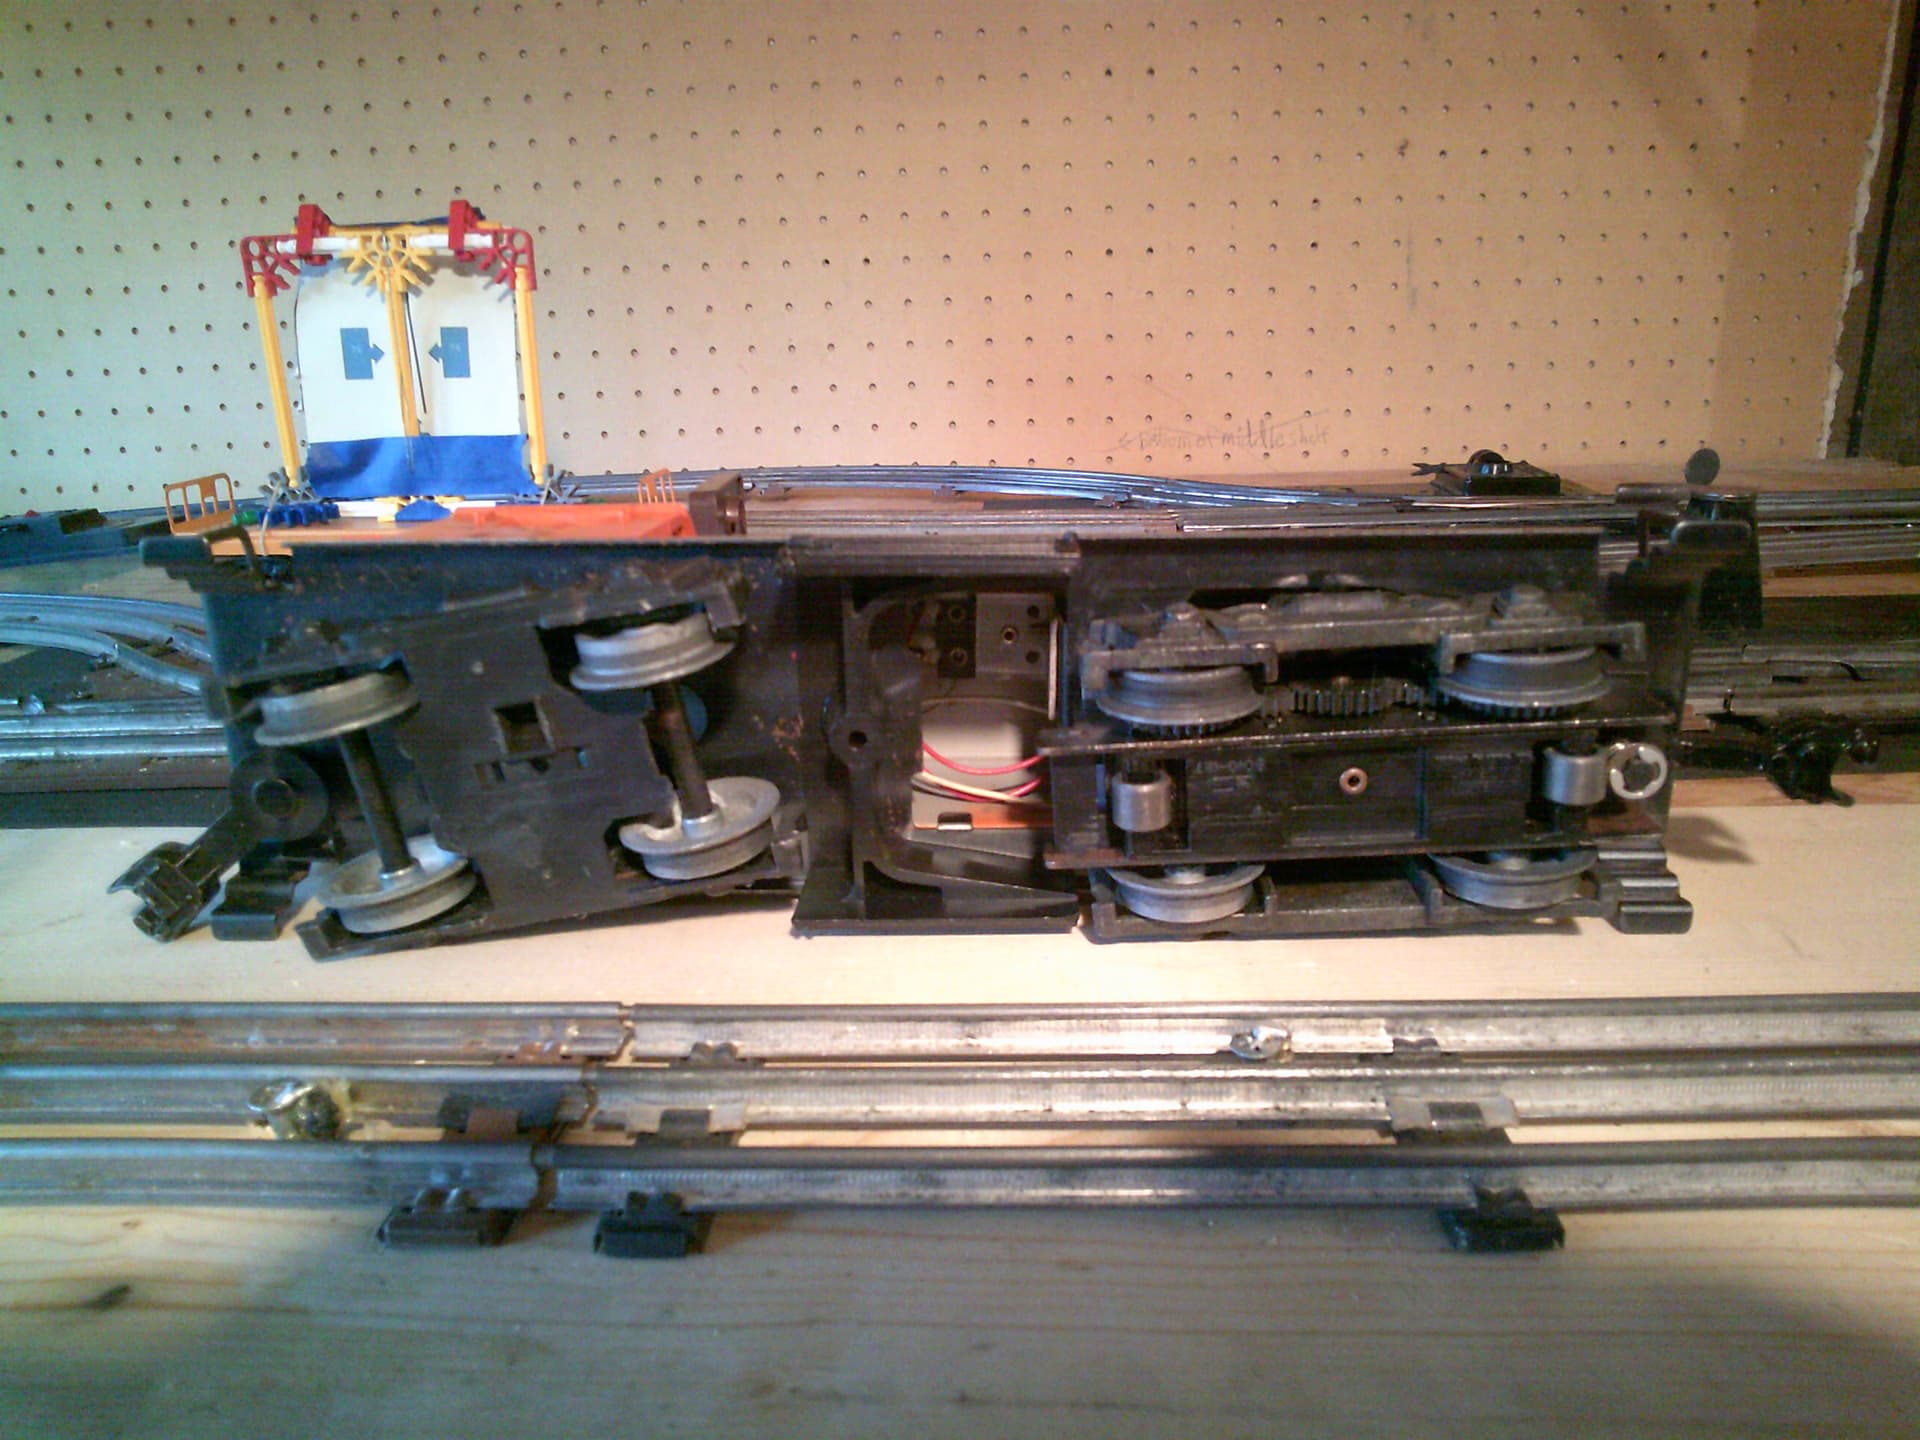
Fortunately, I have developed a solution. Another improvement I wanted was to add more pickup rollers–my SD18 has two on each truck, so it basically will roll through anything in its path and I like that. It turns out that the whole rear truck of the switcher–which the offending coupler is riveted too–is attached with an e-clip. Well, I decided to purchase a new truck that fits, complete with electrocoupler and pickup rollers. I found one that was designed to fit a Postwar Alco (my guess is that it used to be in a conversion kit), but since the Alco design seems to have been derived from the NW2 (in the model world, not the real one!) the Alco truck should fit–albeit with a screw instead of a clip.
The couplers will also be controlled with RCC, which is simple enough to do. There’s a tiny bit more work left–I want a sound system! How, exactly, do I intend to get one? I plan to add a small Bluetooth speaker, wire it up to a constant power supply, rewire the “on” button so that I can turn it on easily, and there it is!
Finally, so that I can get a new patriotic loco, I’ll 3D print a shell and paint it!
Now, did I go over all of this before? Yes. However, now the ideas are a little more set in solder (that’s one of my favorite phrases–they aren’t likely to change, but with a little work and complaining they can be made to anyway).
Now, what’s the point behind spending nearly $100 on a switcher worth less than $50? Well, what I want to do is get an NW2 that can outswitch a brand-new Lionel Legacy switcher and cost less! The new Legacy switchers are on sale for the stellar (not) deal of $440. They have sound systems, electrocouplers, full forward-reverse-stop control, lighting, and a bunch of bells and horns that I don’t feel like paying money for. How will my $150 switcher be able to outswitch them? Its couplers will work without need for a phone or a command station or some other inanely expensive thing!
4 Likes
As an aside, not all of the couplers designed for them actually came with the thumbtack. On cheaper sets, they left them off at the factory and provided a manual uncoupler. You can install one, of course.
3 Likes
Well, I guess that I learned the requisite new thing today!
1 Like
Well, it has been nearly a month and a most chaotic one, so progress on the railroad has been crawling at a switcher’s pace. Fortunately, I have made some progress on the Subdivision. First of all, here’s the new control panel!
Note the empty holes, more toggle switches will be mounted there as the tracks they control are completed. It took a bit of work; in addition to being an exceedingly long print job it also was a bit of a puzzle to complete. You see, when I made the 3D model I goofed. Several settings were not quite correct, most notably the screw holes. Therefore, it was a bit difficult to assemble. I couldn’t use my printed-on brackets due to the enlarged screw holes, so I had to find a random small bracket off of one of the many pieces of electrical refuse that I hoard. It did work, however!
On the topic of hoarding electrical (and mechanical) refuse, it seems to be a family trait to be a cheapskate and keep junk of this nature. This is certainly true of my grandpa (remember the soldering gun tip?), and he lives on a farm north of town. Therefore, he tends to accumulate lots of whatnot as well, moreso mechanical than electrical. Recently, he was in something of a pitching mood, which is most unusual, as you can see. The normal definition of a pitching mood is “throwing away or otherwise disposing of numerous objects, sometimes to an excess extent”. My grandpa’s definition of a pitching mood is “giving away a bag or two of junk to another hoarder” (in this case me). As such, I wound up with, amongst other things, several different toggle, slide, and rotary switches, a variety of miscellaneous other switches (even an automotive brake switch), a small automotive battery charger (it doesn’t work properly; maybe I can figure out why), and even a random speedometer. Now, being the way that I am, I will probably find uses for all of this whatnot on the railroad. However, I can proudly say that my new control panel is made with 100% local farm-sourced switches!
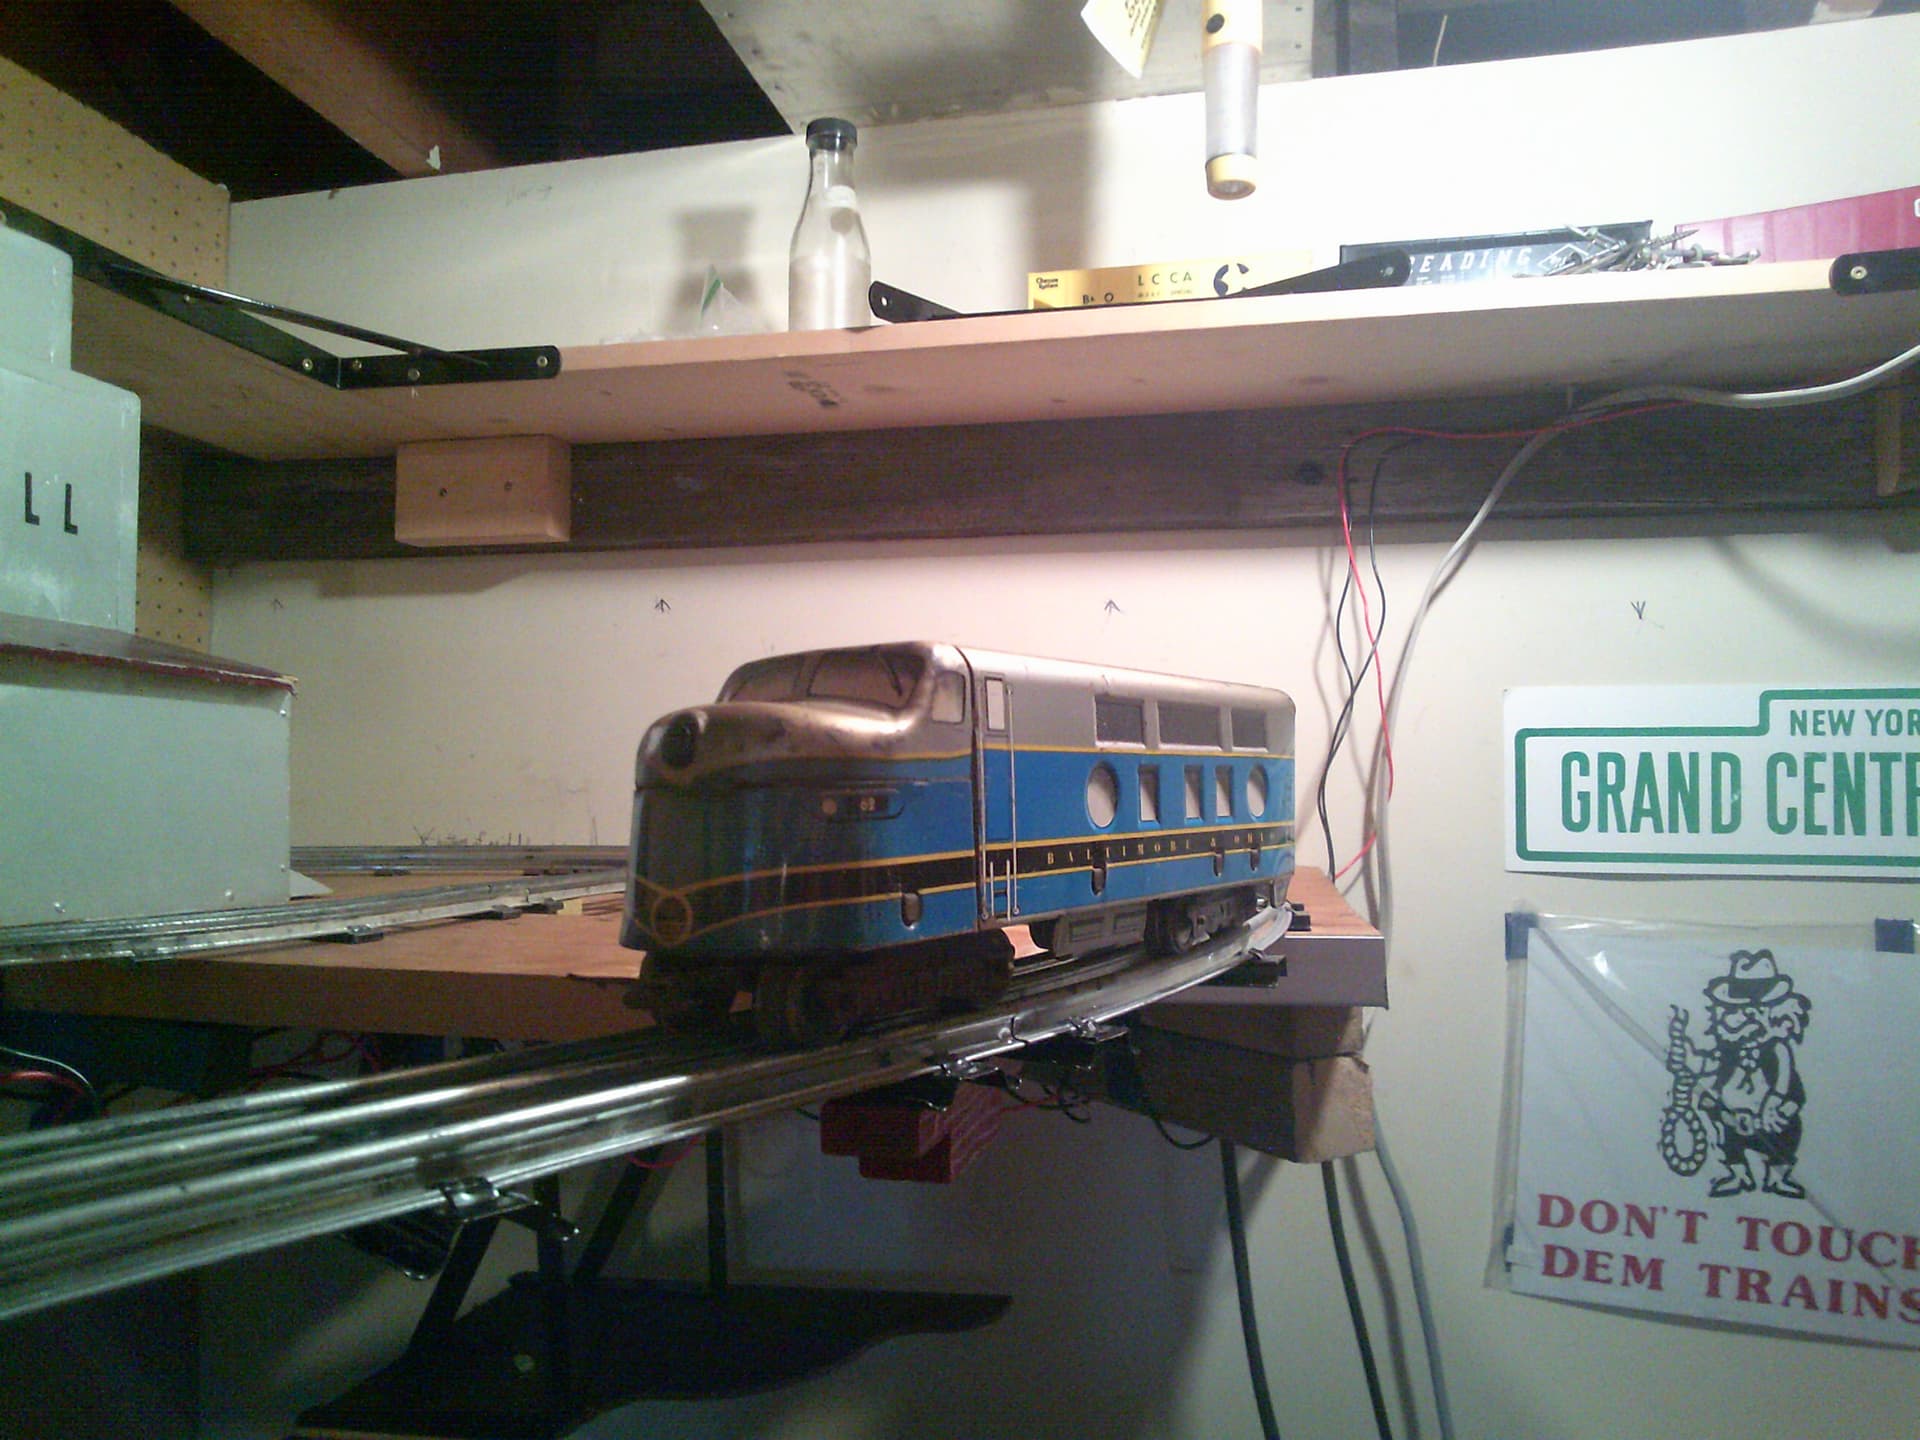
Anyway, I’ve also been doing some work on a whistle tender. It was one of the first pieces that I ever got, and it has never worked very well. However, I think that I’m nearing a solution–it works pretty reliably off of a AAA battery, though not so much with the 1033’s whistle control. Now here’s the real interesting part. The tender appears to be a 1654W. The 1654W has a whistle, staple-end trucks, the sheet-metal prewar-style “coffin” shell, and electronic coil couplers. Mine is the same, except it has magnetic couplers. Does anyone here know why? Have you seen anything similar to this before?
3 Likes
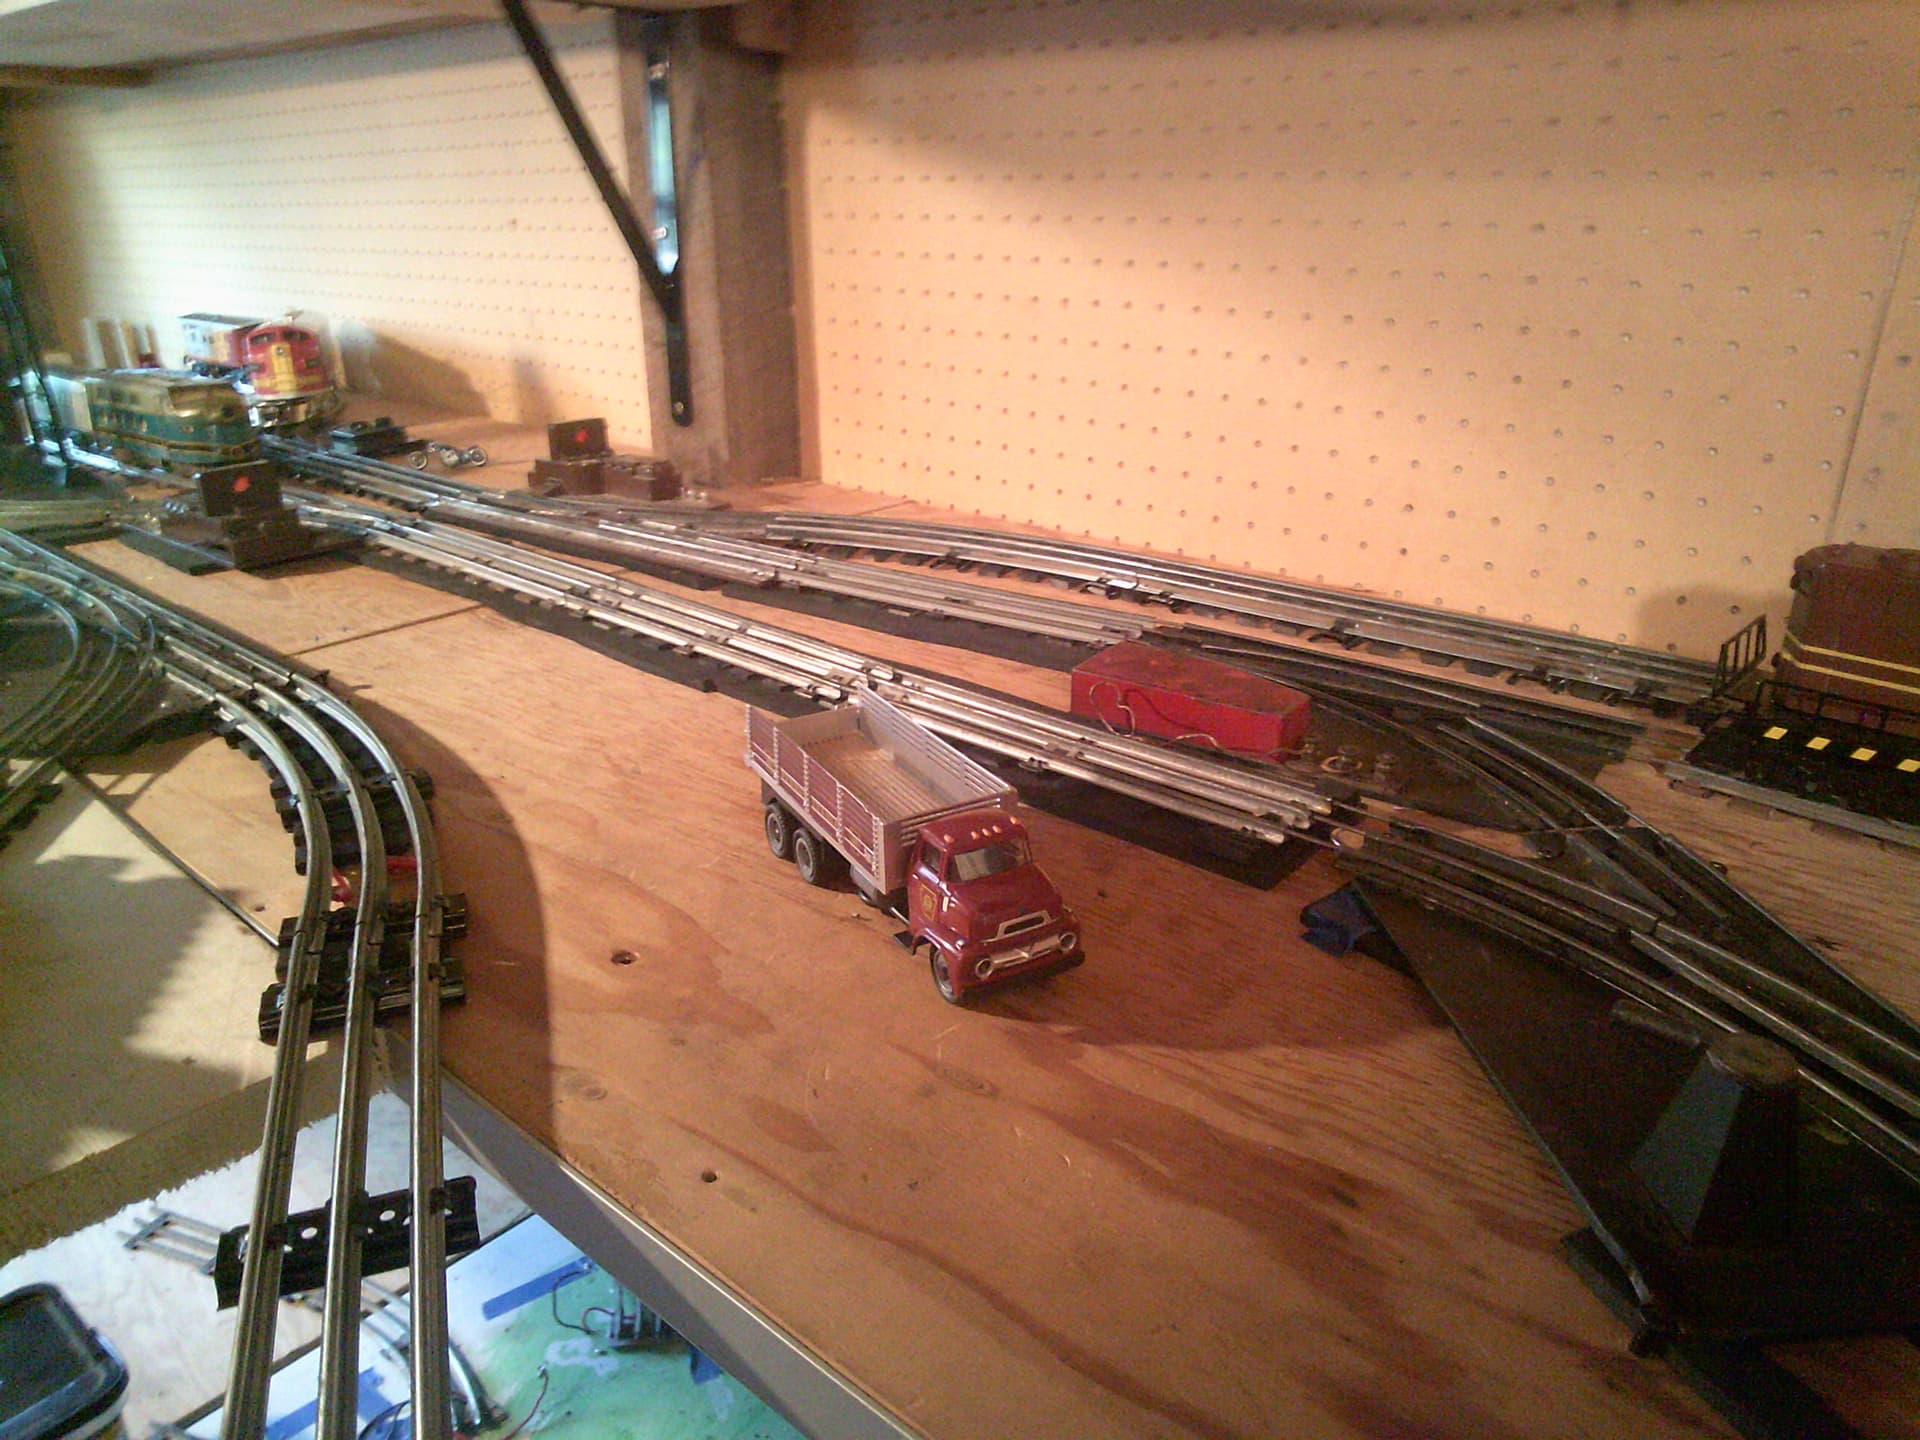
Well, progress is still slow. I have, however, managed to get some turnouts on Ebay in an auction. Nobody bid on them, so I got the whole lot for about $24! Anyway, the lot had three electric Marx turnouts, a manual turnout (also Marx), and two crossings. I didn’t need the crossings, but they’re handy to have.
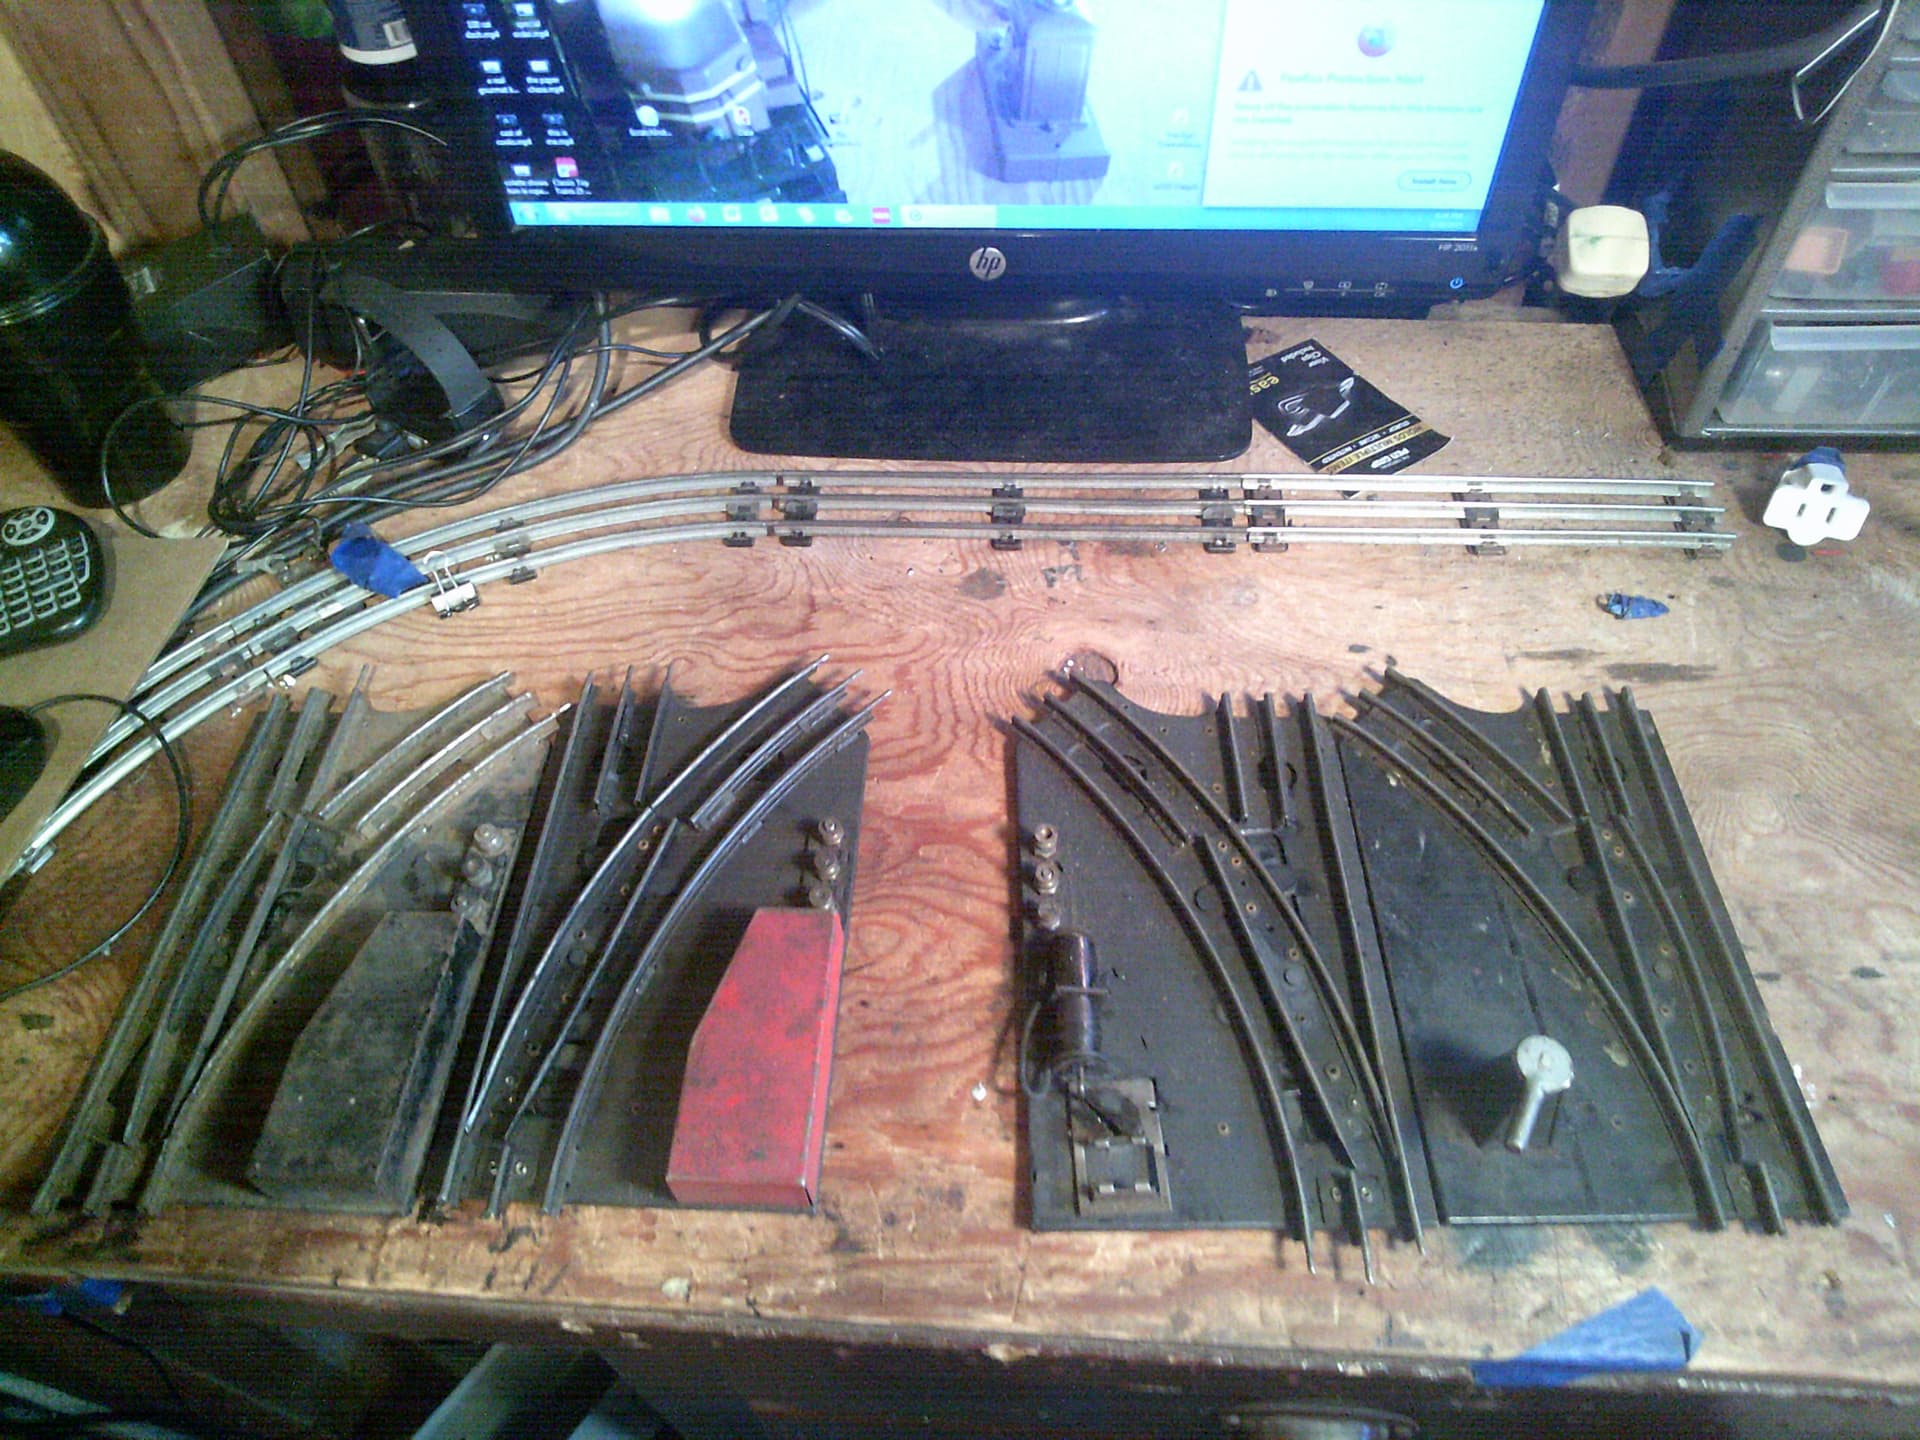
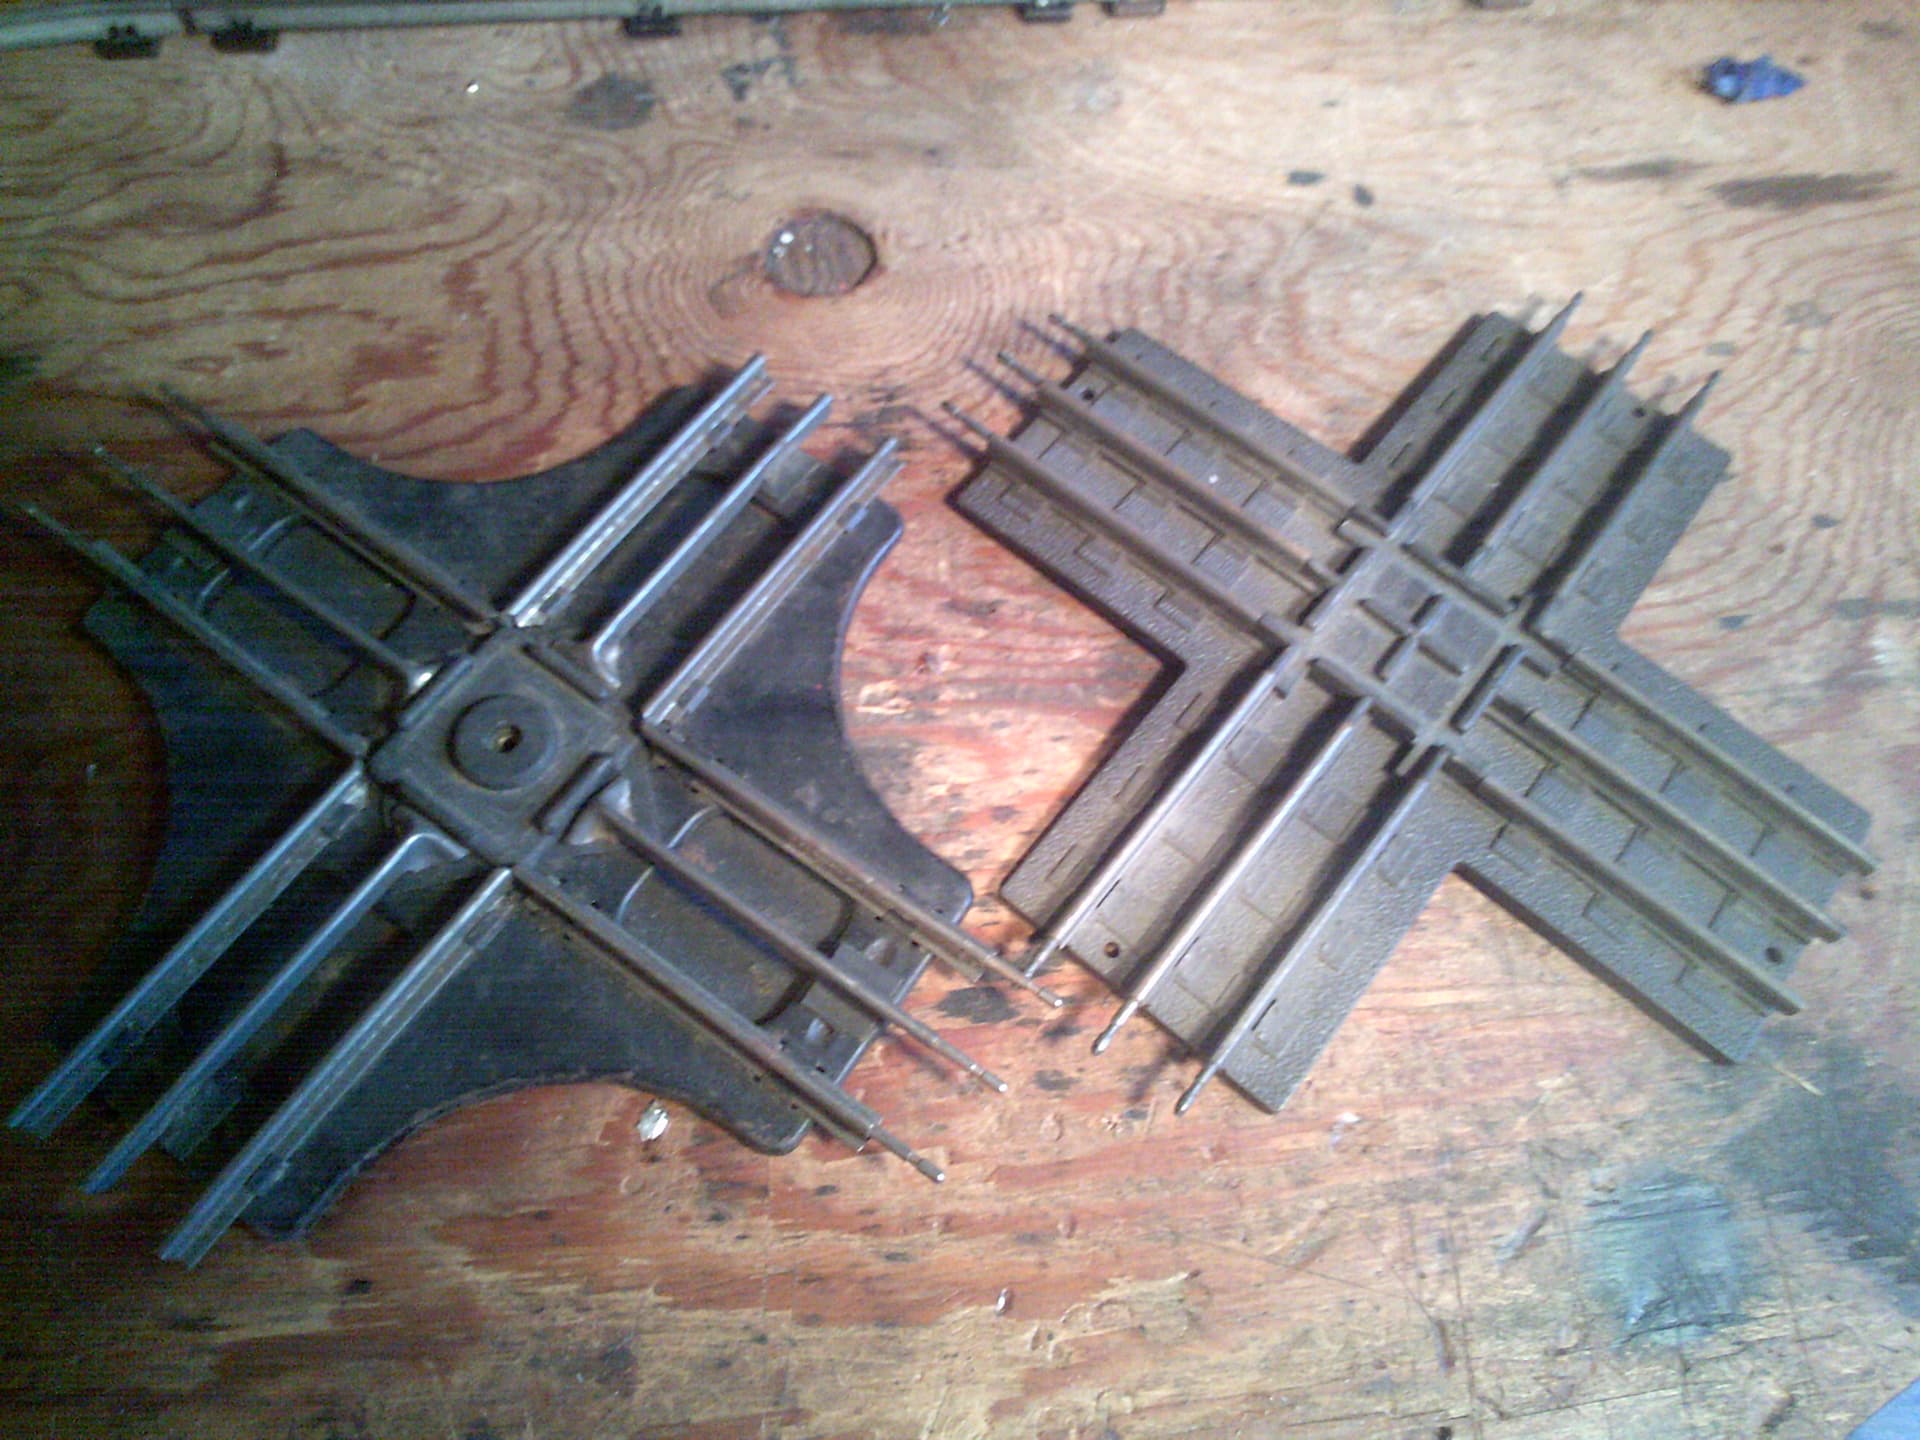
As you may have noticed, one of the electrical turnouts is missing the solenoid cover. I’m planning to 3D print a new one, because without the cover the mechanism doesn’t work quite right. Aside from the manual turnout (I’ll get to that in a minute!) and the uncovered turnout (the solenoid works, it simply needs to be secured in place), they all work. When I tested the manual turnout, I forgot to make sure that the center rail was properly insulated from the outer rails. Of course, I only found out that it was shorted after installing the dumb thing! So, after much work, I tear the stupid thing out and test it on the workbench. Guess what? NO SHORT! So, back on the layout it goes, and there it shorts out again! Finally, after much fiddling, I managed to get it to work. It was not easy to get the turnouts to fit, either.
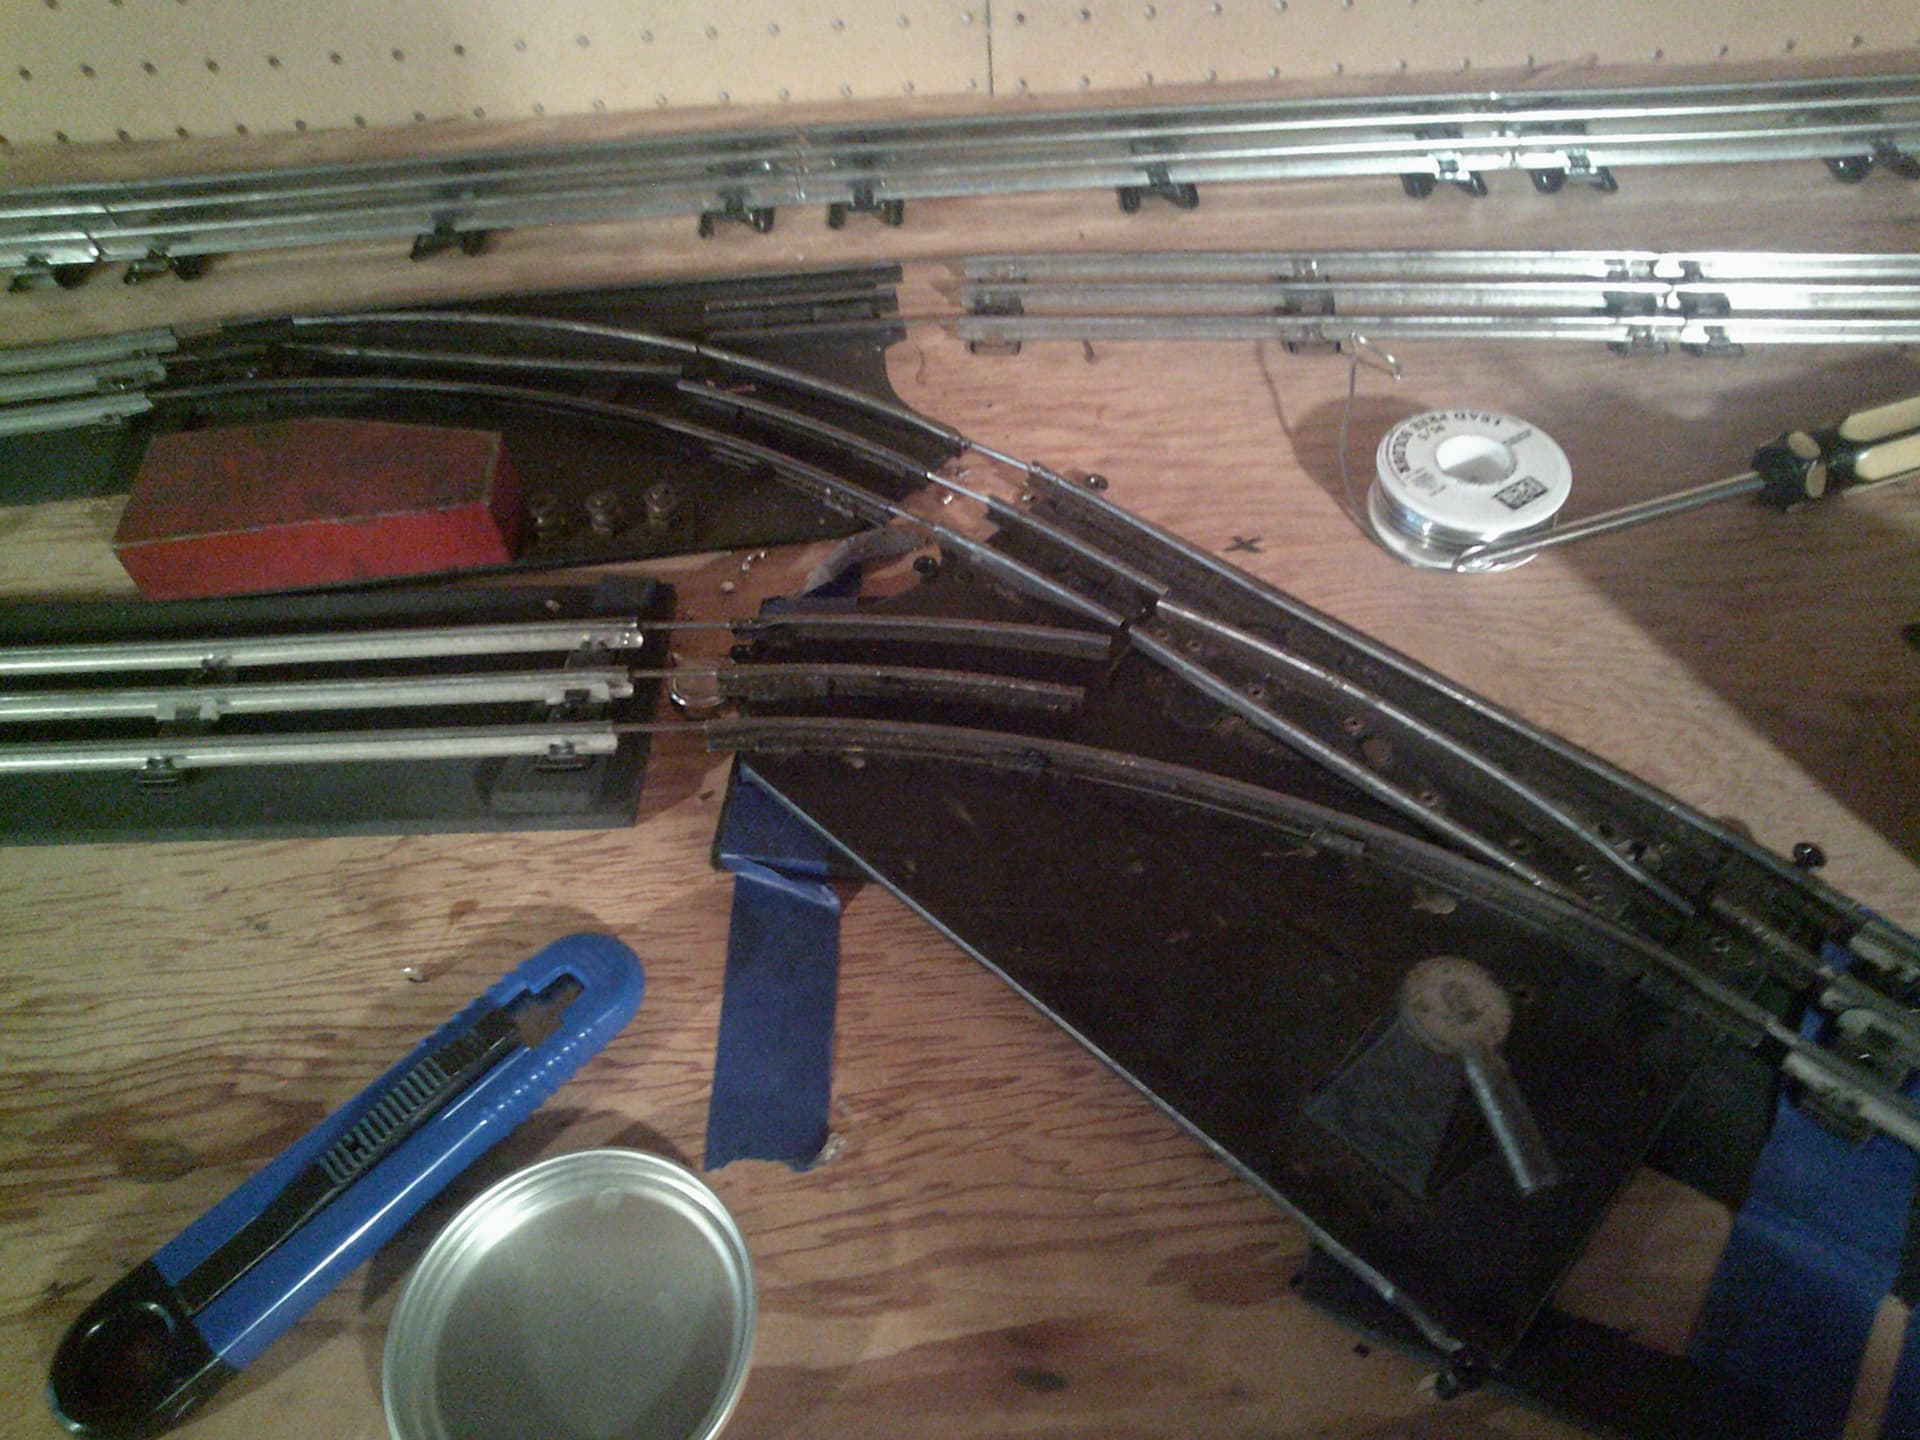
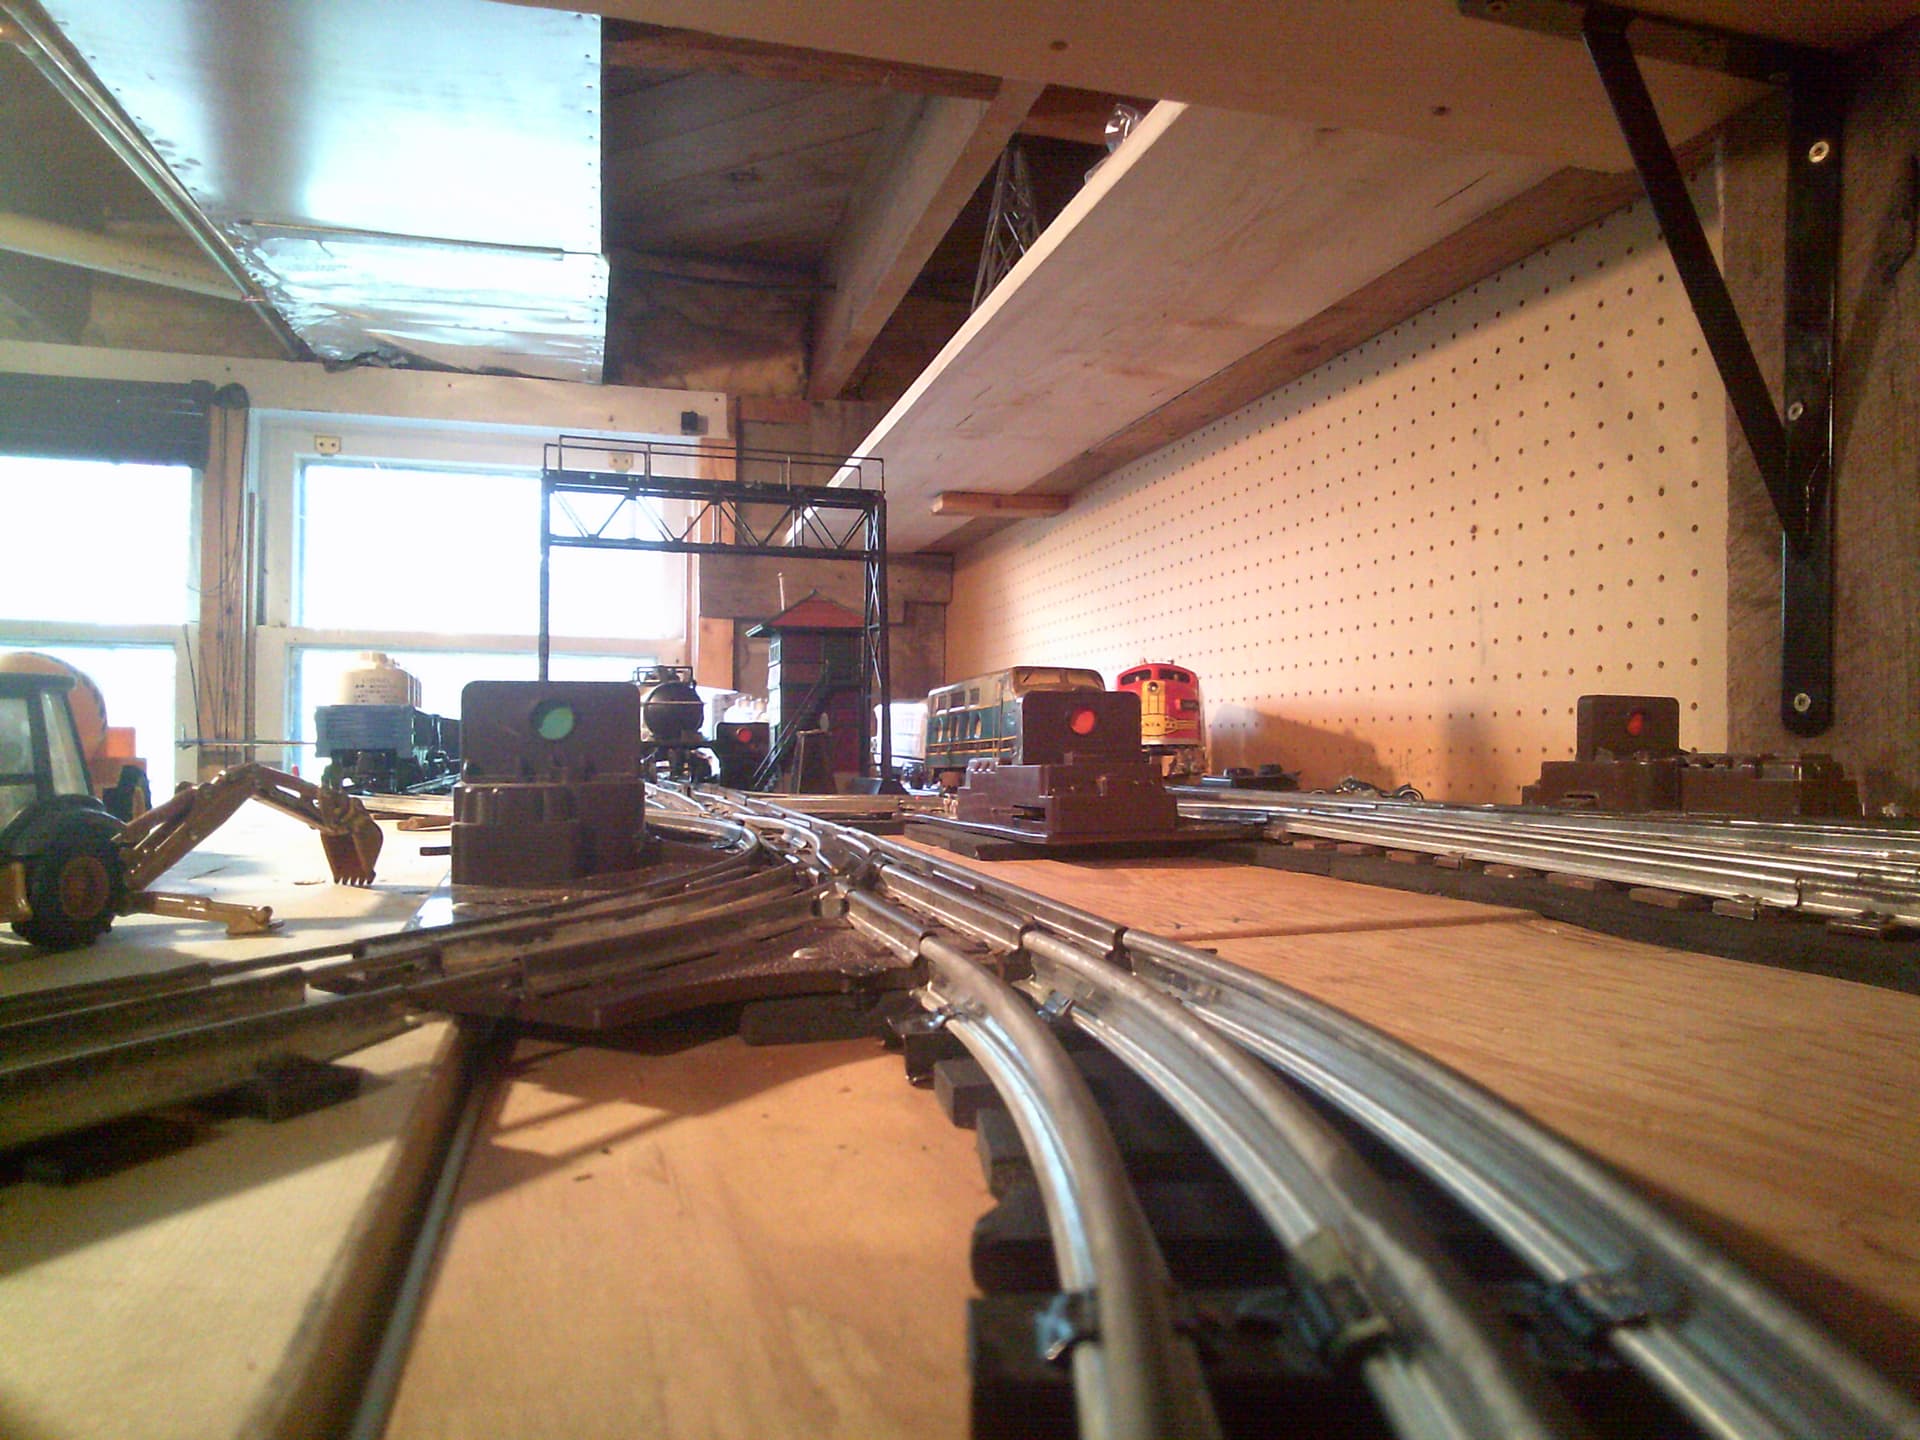
Here’s a wider view.
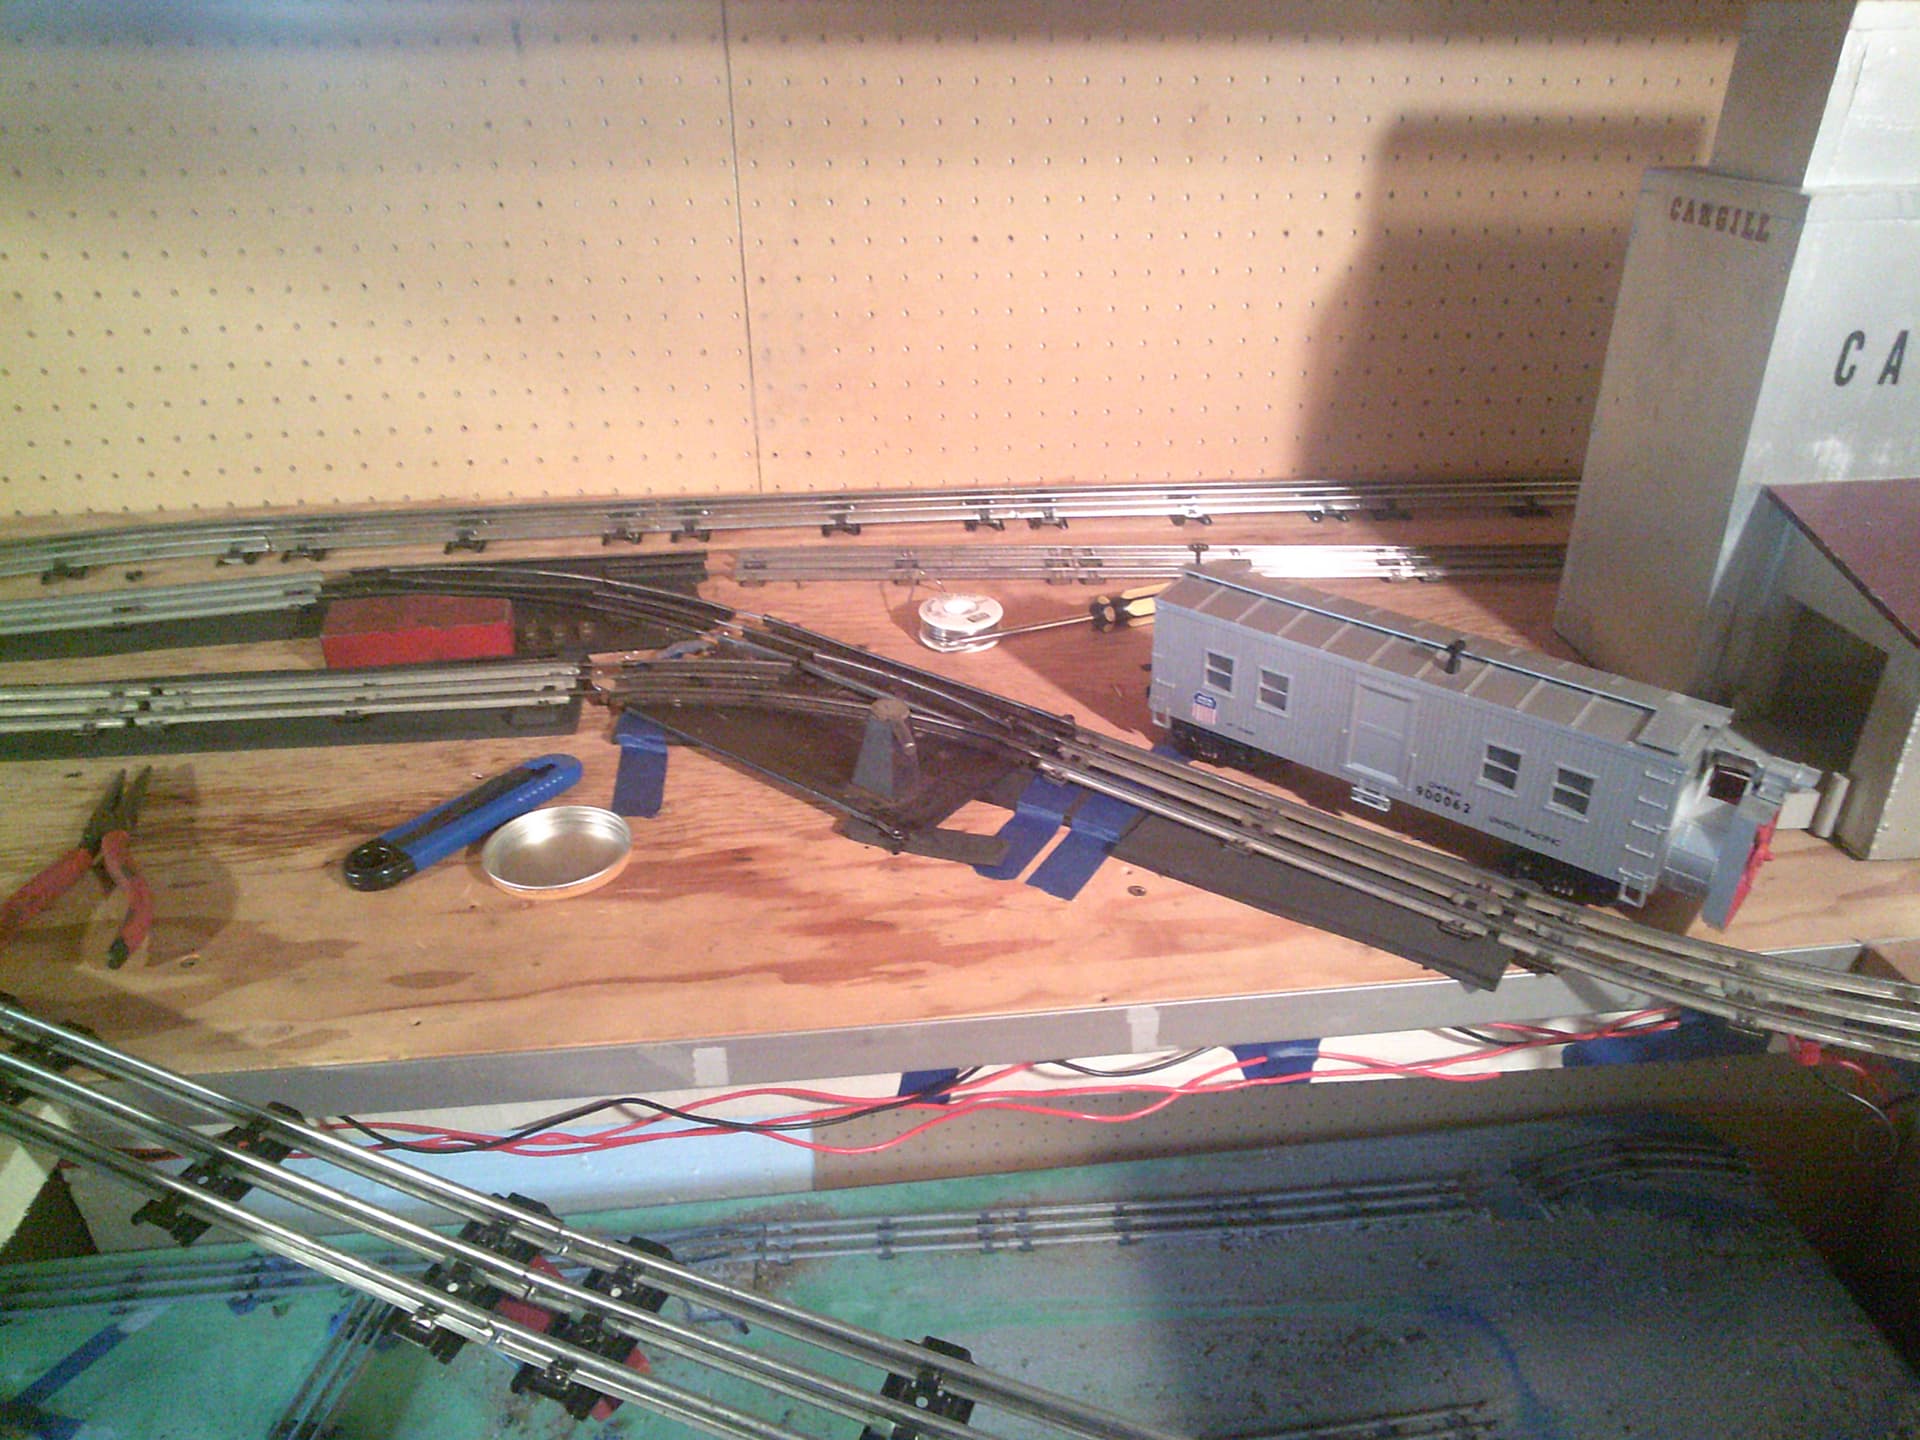
Stuff does seem to roll through smoothly, and I don’t see any continuity issues. That’s why that snowblower is there; it’s great for testing continuity because I can roll it by hand but the lights and blades give me an idea of whether there’s power or not.
In other news, I got a new loco! Sort of. It’s one of those Marx dummy diesels (I always thought that they looked like FTs, but they also resemble E-type engines to some extent). The poor thing’s pretty beat up and it took a considerable amount of work to get the coupler to function.

This is the good side of the lithography!
My plan is to make some kind of wrap using glossy photo paper with CP graphics–I eventually want to recreate a Final Spike Steam Tour train, using Marx (and similar) tinplate equipment.
3 Likes
Well, work on the railroad has reached a particularly busy state. I have to get it to a certain point by Tuesday, and I have school on Monday. Oh dear.
Anyway, I finally finished the signal tower! At long last, I have finally gotten the Plasticville signal tower completely painted.

It was quite the hassle to complete–in addition to numerous coats and recoats of paint, not to mention complicated masking, when it was finally all done and I applied a final clear matte coat, the green paint cracked, bubbled, and peeled! It turns out that that particular clear lacquer does not not play nicely with that specific paint, and so more touchup work was required. However, it did weather it nicely!
4 Likes
Too bad you had to find out the hard way. When I’m painting anything I keep all the paints specific to one manufacturer, as in Tamiya with Tamiya or Rust-Oleum with Rust-Oleum. I’ve had disasters of my own!
2 Likes
A lot of articles I’ve read have said something to the effect of “painting is the step in which a model can either be put into first place in a contest or into the garbage bin”!
2 Likes
True. OH so true!
2 Likes
Well, after being chaotically busy and then taking a trip down to the Black Hills, I have a bit of news. First off, the ties have now been installed on the railroad.

I think that the realism has definitely been improved.
In other news, I now own a new 3D printer. My Creality Ender 3, in all its belligerence, has been replaced by a Creality 6 SE.

So far I’ve completed some of my favorite test prints, that being oil drums.

For now, I’m waiting while it makes a 20-foot shipping container.
5 Likes
Nice!
1 Like
I like the Marx turnouts. For the equipment that I run they are good. They allow me to run the fat wheel locos. I’ve been able to get most of my stuff to go through them okay without incident. I have had to be a little careful making sure they were good electrically and physically. Some of the parts (rails) don’t always line up perfectly after you take things apart and put back together. I am learning, though, and getting better at knowing the pitfalls and making adjustments.
The thing I really like is that I can landscape over the tops of them, and they look pretty good.

6 Likes
That’s true enough!
1 Like
Okay, so, as you may know, I did get a new Marx train set.
However, I’ve been too busy to do much work on the railroad otherwise. I bought a few supplies that I needed, but none of them have even been installed yet!
The reason for this is that I finally got a job! So, I now have money available, but now time is even less available! AUGH!
3 Likes
The Great Trade-Off: time vs. $$$. You learn quickly the veracity of the claim: “Time is Money.”
2 Likes
Time is money, alright–and both of them are precious commodities!
1 Like
Why work? Just retire and play.
1 Like