Question: Soldering Brass Locomotives

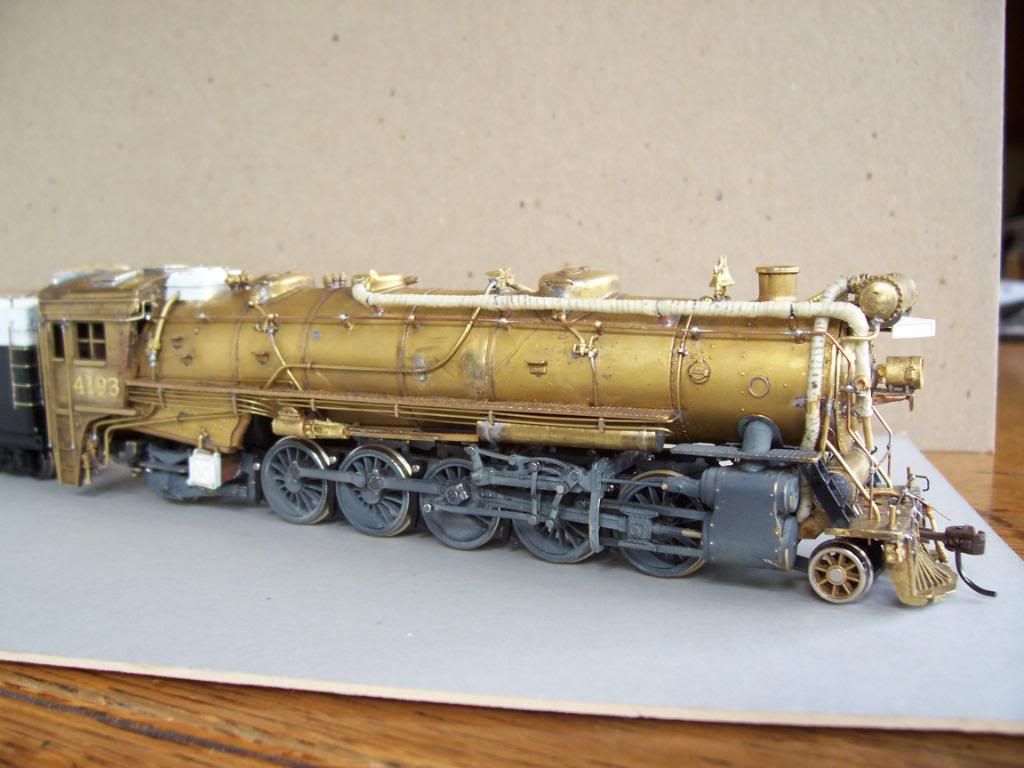
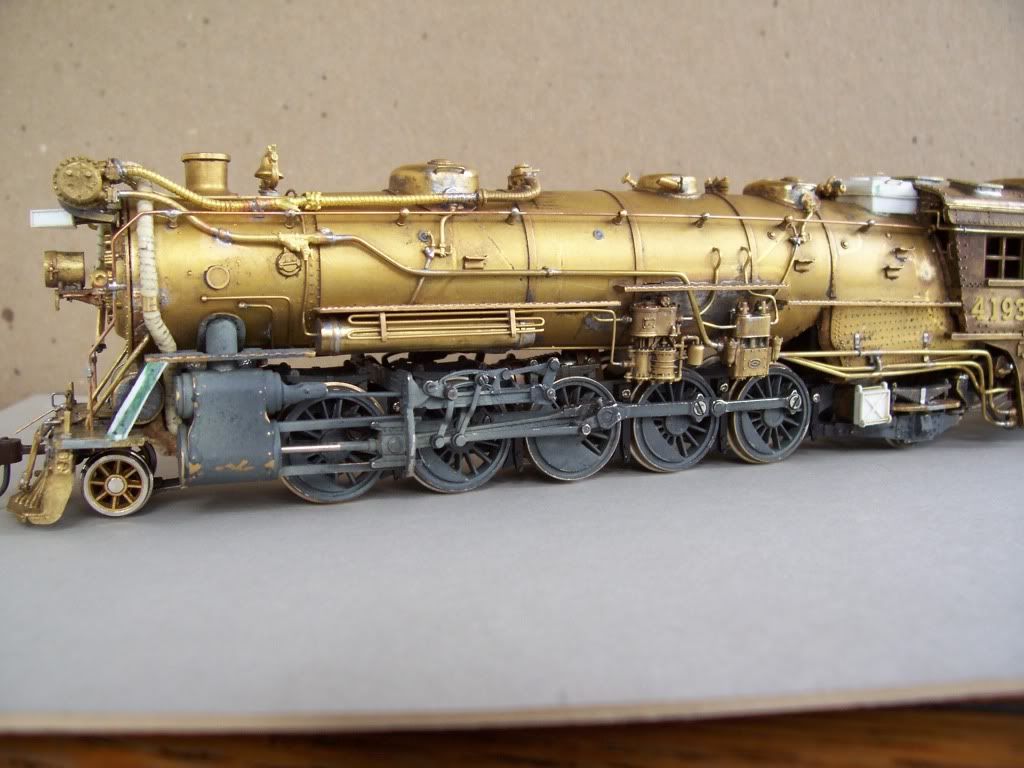
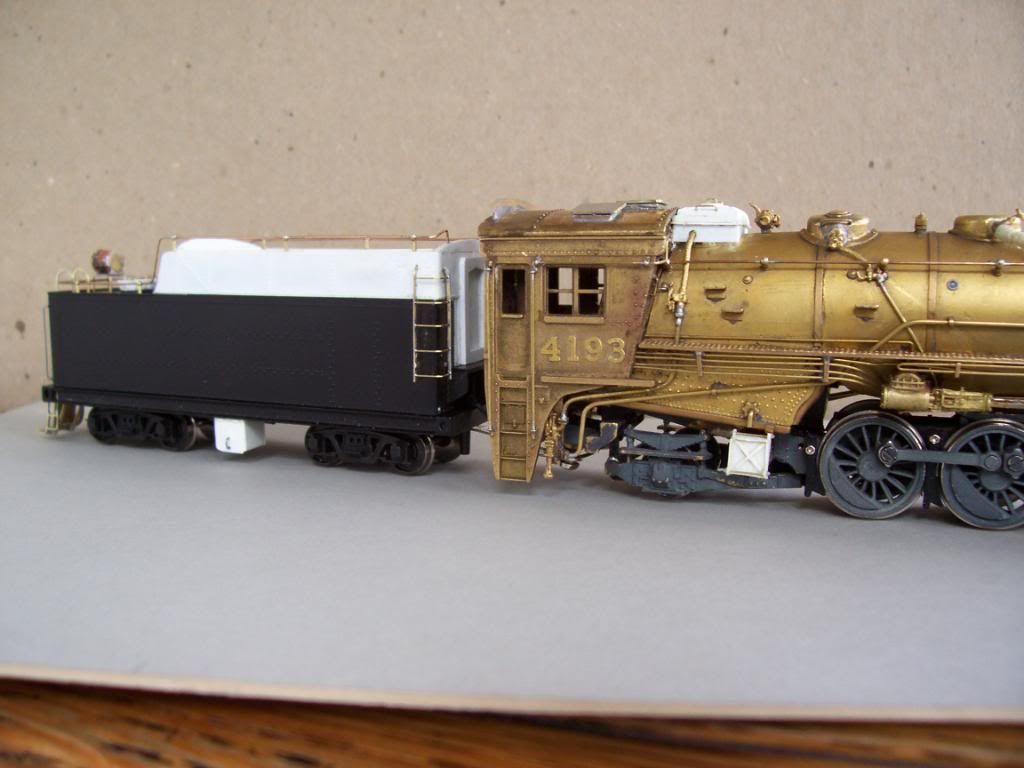
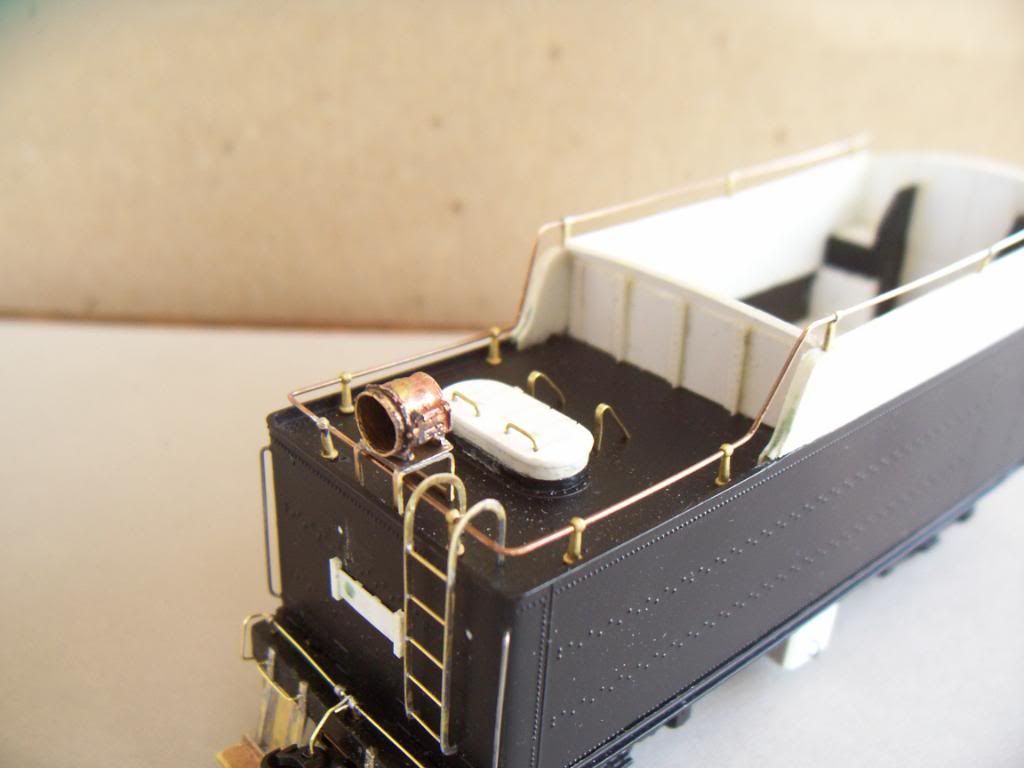
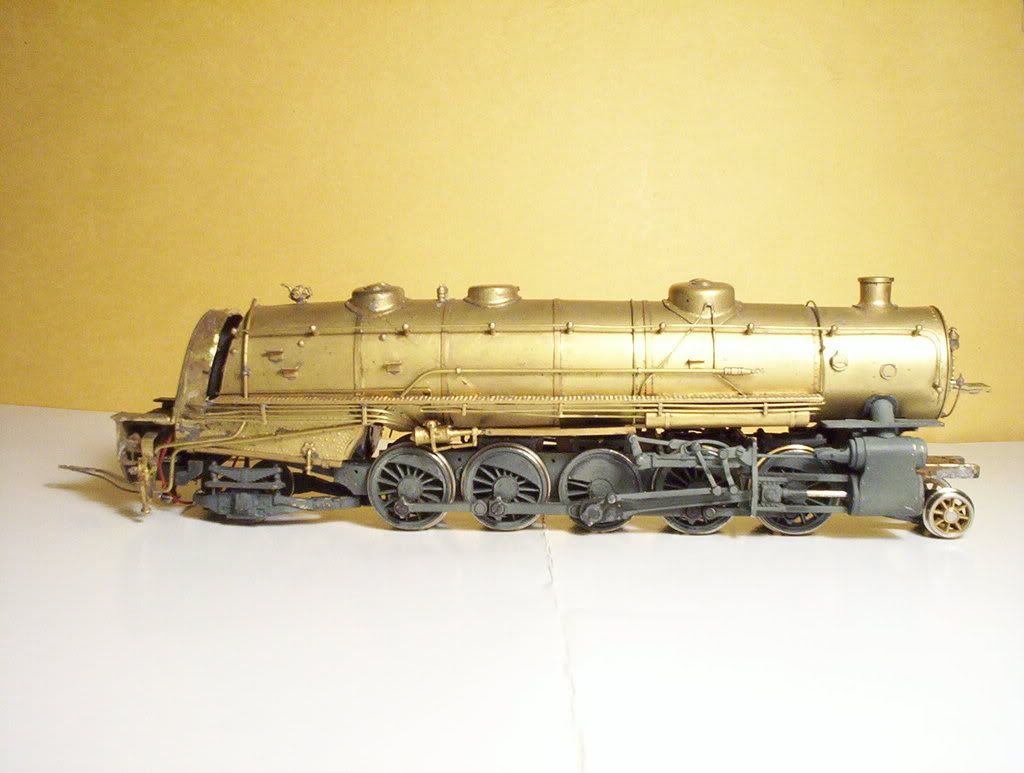
Hello. I recently inherited two incomplete O gauge brass steam locomotives my grandfather was in the process of building when he passed away. I would like to finish these models. By my estimate they are approximately 85-90% complete. I would like to know what type of solder, soft or hard, I should use to fix items to the boiler, frame, etc.

Thanks!

Marty

Check out “Micro-Mark” tools online, they have a solder and flux called “Tix Flux” and the solder to use with it, it is a very high silver content but is also just the perfect solder to use for intricate work on brass steam locos.

It’s not cheap but this is what it’s designed for, they also have several types of butane soldering torches including “pencil” torches.

Avoid solder from the Lowes or the hardware store as it is not designed for this type of usage regardless of what may be said. Pretend you are working on some extremely expensive electronics, would you use a mallet and a chisel? Probably not…

Mark

Well…I’ve used a mallet and chisel on some expensive electronics.

Mind you, I was no longer interested in fixing it…[*-)]

I’ve used a torch for my GE 25-ton. It was a scratch build project from brass to get some weight.

Wolfgang

Ordinary tin lead (soft) solder is the way to go for a brass model. Get 60-40 tin lead solder and rosin flux. It forms a bond nearly as strong as the brass itself. Avoid the 50-50 tin lead solders, those are only for plumbing. Avoid the “lead free” solders that the anti lead activists have burdened us with, they cost like crazy and don’t stick well. Avoid “silver solder”, it requires much more heat to form a joint than ordinary solder. In heating a joint enough to melt the silver solder you will melt the existing ordinary solder joints.

Soldering art is a frequent discussion topic here. Do a “search this community” for “solder” and you should find lots of discussion of technique, tools, guns, irons, flux , and more.

If starting from scratch, it is possible, and useful, to ‘graduate’ solder types, starting with high temperature solder and working down to 63-37, which is the lowest melting point solder available.

In working on a model which is already partially assembled with solder of unknown characteristics, technique is more important than solder composition. Providing heat dams (wet paper tissue is good) and keeping the heat at the spot where it’s needed is critical. Resistance soldering rigs are pricey, but may be worth the cost for this purpose.

Unless you have a hand like Rembrandt, avoid using a torch. It heats the target fast, but the heat can spread quickly to unwanted places. (My arthritic fingers may influence my thinking on this!)

Good luck on your project.

Chuck (Modeling Central Japan in September, 1964 - with brass locos built from kits)

Ya know, I’d pay a few bucks (say 20, or so) for a good video showing the guys and gals assembling brass steam engines. Just sayin’…

I’ll also mention that you might want to go the epoxy/superglue route. I kitbashed a couple of Mantua locos that way, and the only soldering I did was the coiled air pipes under the running boards. Of course, you can’t really solder onto the Mantua boilers anyway. Or their plastic cabs. Or…

But, getting back to soldering brass:

Silver solder (real, not Tix, etc.) comes in several different melt temperatures. You need a torch. I used two grades of it once when I was soldering the feed pipes to a low-mount Elesco feedwater heater. I used the higher temp for soldering the larger pipes on, and the low for the smaller. Properly done, the joints are incredibly strong and are stable at lead solder temperatures. Once I was through soldering, I essentially had a one piece item. Very comforting.

Tix and similar other high-strength–low temp solders have their uses. But, so far, I haven’t needed/used them. I would certainly keep them in mind.

For tin/lead solder, the easiest-best all-around tool is the resistance soldering rig. WITH PROPER PLANNING, the heat goes EXACTLY where you want it. So far, I’ve used mine to solder wires to the bottom of track with plastic ties. Sweet! The American Beauty costs about $500, though. NOT sweet!

When I made the above mentioned coiled air pipes, I used an electric soldering gun. Almost surprisingly, it worked. Now, I’d probably use a small soldering iron just for the decrease in clumsiness. Though, actually, this might be a job for a torch because you kind of want to set up the whole assembly in some sort of jig and just gently touch it with heat. The resistance tool would probably do well, too.

I’ll remind you that one mistake and your grandfather’s work can b
I bought my first “soldering machine” in the mid 60’s, got it from a jewelry supply house through a jeweler friend, cost about $200 back then but it was worth every penny and I still have it and use it. Starting in the late 70’s though I bought a “pencil tip” torch and after some practice gained a reasonable level of expertise with it so that I don’t use my machine that often anymore but it still has times when it’s a life saver.

I use nothing but the TIX silver solder with their TIX flux for the strength and ease of use. If I’m going to solder a part on a brass engine I “tin” a small area of the part, then apply the flux to the part and the area were the part is going. Give it a quick pass with the torch and it’s done.

I have yet to have pieces fall off and have had great success with these materials and procedures. One big factor is high heat “qucikly”. If you use a gun or an iron you run the risk of not getting enough heat to the area you want to solder, then you just end up heating the surrounding area, and then parts start falling off.

Everyone seems to have their own technique but the main thing is high heat and then quickly remove the heat source before it spreads. This is easy to achive with a “pencil torch” and high grade solder.

Use the other solder for the wiring and plumbing and think like a jeweler, after all, in some cases you’re working on something with the value of jewelry if you’re soldering on brass engines.

And yes, there is a certain “art” to it if you want to do it “correctly”.

Mark

Oh yes, and I forgot to mention, nothing gets me more ticked off than to be restoring a brass item and hit a piece or part to remove it and find out that some “genius” has used epoxy or super glue to attach the part.

Steaming hot super glue or epoxy fumes up my nose do not put a smile on my face. At that point I usually make a few unprintable remarks and follow it up with things such as “some people just shouldn’t be allowed to own brass locomotives”.

If you think I making this up pour some on a piece of metal and hit it with a solder iron or a flame and get a whiff of it up your nose. You’ll find yourself using words you didn’t even know you knew!!!

Mark

I think the OP should spend more time confirming he can finish assembling the model rather than considering the opinion of someone who might be disassembling it later. I also think solder would be a better choice. If he feels he has a choice.

Ed

Regular resin-core solder like that used for electronics will work well for your job. Make sure that the parts to be joined are cleaned thoroughly and apply a little resin paste flux to the surfaces to be joined. If possible, tin the mating surfaces prior to assemble.

I used a plumber’s propane torch to assemble a cast brass cab and to attach it to the locomotive shown below, then a 200 watt soldering iron was used to affix most of the larger detail parts. Piping and smaller details were done with a 25 watt pencil-tip iron, including the details for the plastic tender - the front ladder on the engineer’s side was soldered together while in-place on the plastic shell.

The secret is to use lots of heat and lots of heat sinks. For heat sinks, I prefer wet tissues or paper towels, as they can be placed anywhere simply by wadding them around the details to be protected.

Wayne