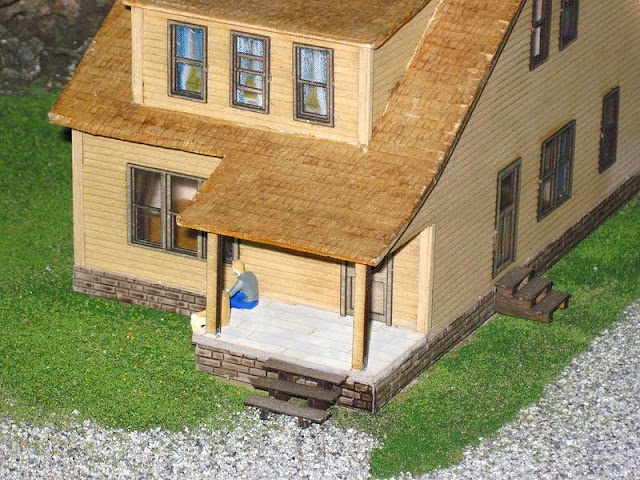
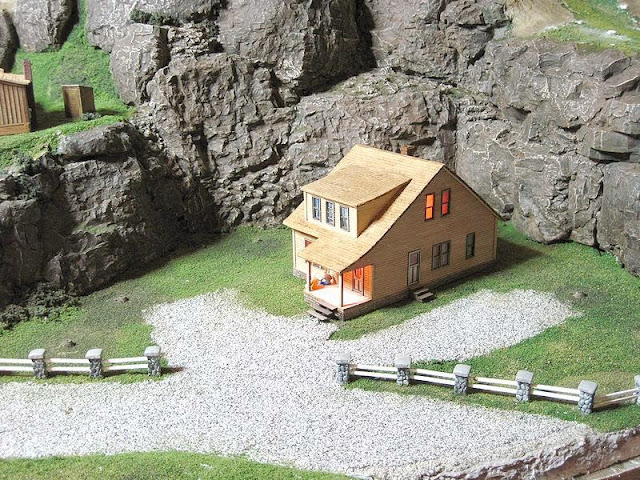
I picked up a laser cut kit at Walthers around Thanksgiving. I had built a few some years ago and was not totally delighted with my results, but I know so many guys who get great results from them plus I knew deep down that I had not done my best work on those kits. So it was back in the saddle again …
Laser kits really are amazing. The fineness and delicacy of the detail that the laser cutting process can do with micro-plywood, card, and paper is astounding. The parts all fit correctly, at least on this kit from the LaserKit brand.
I know it is a cliche and hardly a secret but really reading the kit instructions and really familiarizing yourself with each piece before starting assembly pays big dividends with any kit, and more particularly with a brand or type of kit you are not super familiar with from experience. I made the instruction sheet my bedside reading rather than a book or magazine for a few nights. Eventually I could visualize the entire sequence of assembly and which parts should be painted while still attached to the sheet, and which painted afterwards. I wrote thorough notes on the instructions themselves and while I had my doubts about some of the instructions and thought I could improve them (perhaps a bad habit I carry over from plastic kits which I am much more familiar with) I resolved to really follow the instructions to the letter. I would say the instructions to this kit were really clear and well written. Not all kits can boast of good instruction sheets. Some are bewildering. Writing a technical manual (and kit instructions are really just that) is something not all technical wizards can do. Sometimes the more they are wizards the less they can put themselves in the shoes of the customer.
I used a fresh new single edged razor blade to separate parts from the sheets of w
I pretty much followed your path into the laser-cut jungle. I started with a few smaller kits from AMB, Bar Mills and a few others. I agree about the instructions on some of them, though. Another time consuming chore is the fact that you have to “hunt” for the right part using the map they provide and sometimes the parts look nearly identical, such as window mullions and trims, and they have to be assembled in a specific sequence.
Still it is a rewarding experience. Rather than ACC to secure the thin-section peel-n-stick parts I like to use the thin Faller “Laser Expert” PVA which seems to wick into the fibers of the substrate.
One of the more “involved” kits I built was this DL&W signal tower:
It is made of some kind of “laser-board” which is not very dense. Kind of like a MDF board. I used plain caulk to fill the edge gaps then painted everything to simulate concrete.
I am currently building my first laser kit since I left N scale.
.
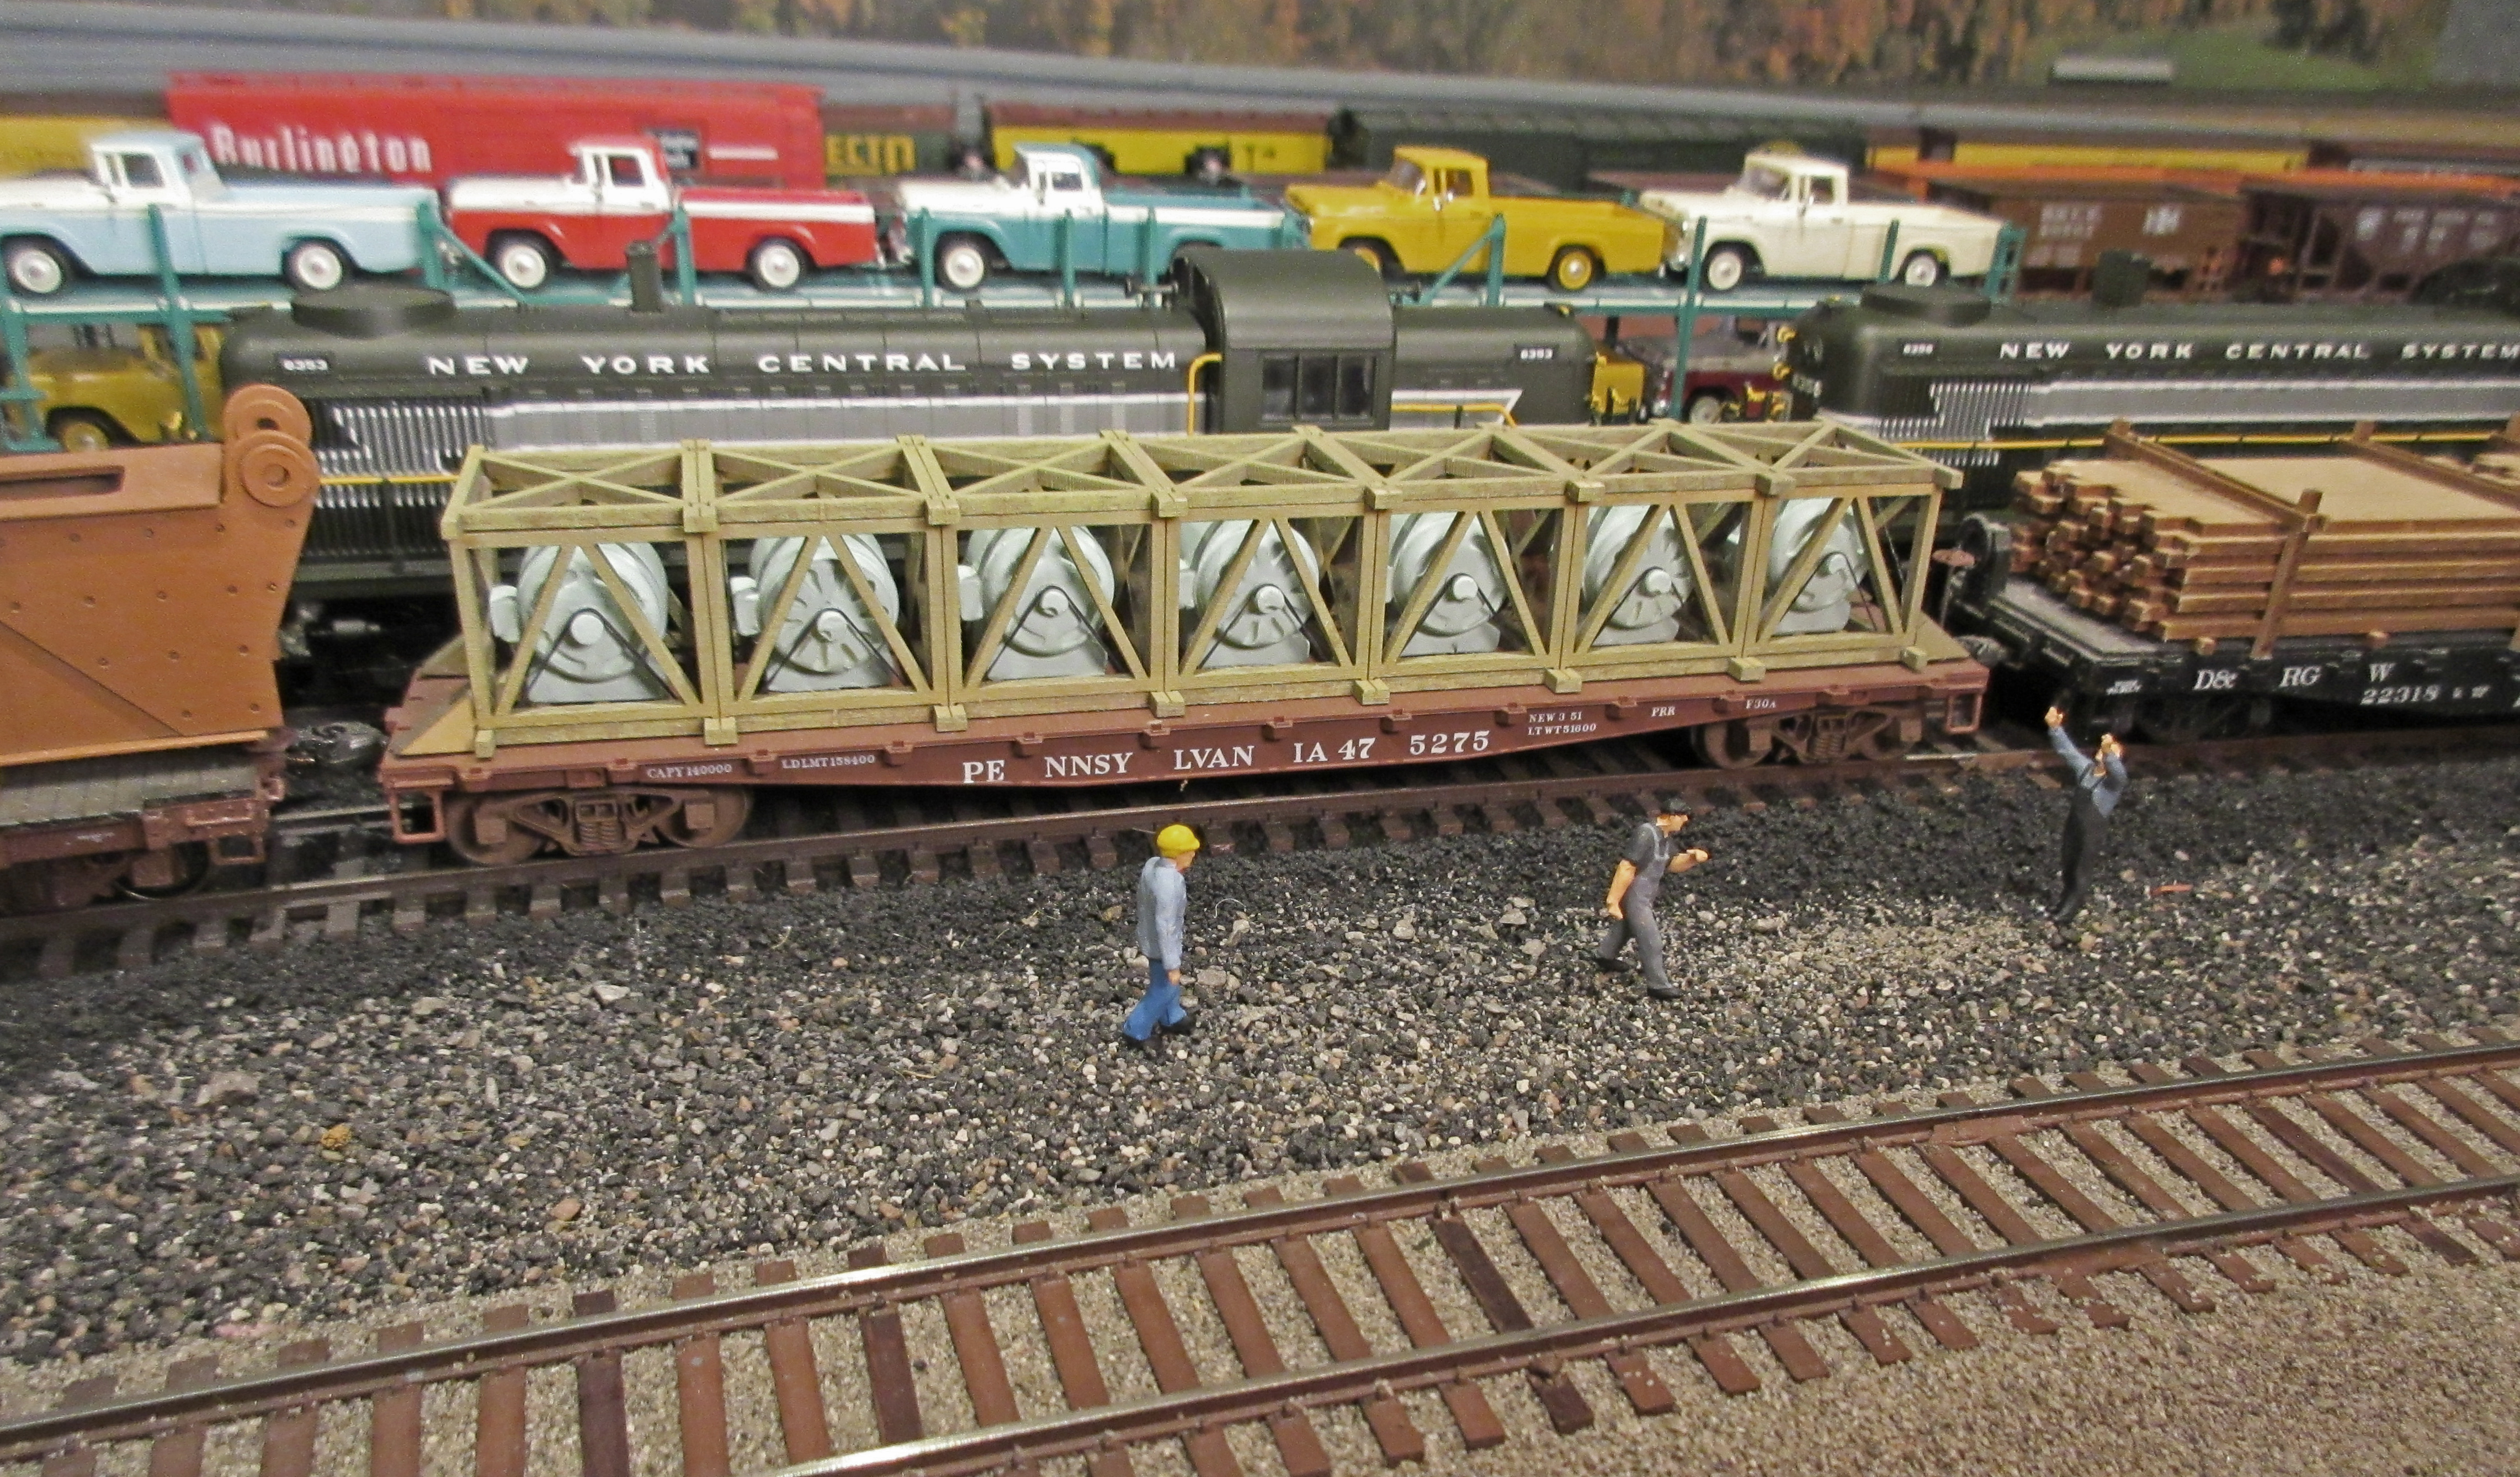
I believe this is Ed’s fault. I think it was him that posted the picture of the AMB generator load (7 large alternators) on a 50 foot flat car. I had to have one.
.
This kit is very delicate and hard to assemble. The parts break if you breathe on them. The kit orginally had only four major parts, but it turned into twenty parts very quickly.
.
The end result will be amazing, but some laser kits can be a real pain.
.
In N scale I built only structures as laser kits, and they were easy. Walls are much more sturdy than lattice crate bracing.
I don’t recall any particular assembly problems. I learned from the beginning to give all the wood parts a light coat of primer to help them stay in one piece. Maybe your kit was dropped or mishandled at some time?
Mishandled by me. When I tried to install the first side piece it was not lined up properly, so I gave it a little nudge, and it broke into four pieces.
.
Nothing is beyond repair, and it should look similar to yours when it is done.
.
If it were more durable, it would not be near as nice a kit.
Nice, neat work on those structures Ed, and I particularly admire the DL&W tower. I do like and use Faller’s super expert cement for plastics so I will give their laser expert product a try.
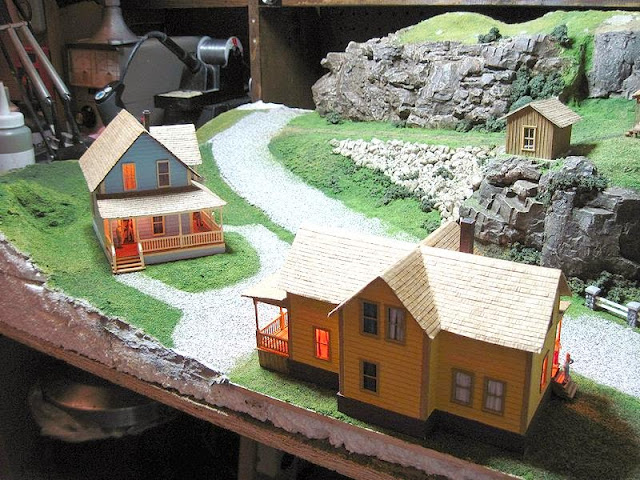
I’ve done a couple of Laser kits, Weimer’s Mill and a Depot kit I turned into a Railway Express building. I had a lot of fear and insecurities about building one of these, but I worked carefully and took my time and the buildings came out very well. For anyone else thinking of these, they are really not that hard. Reserve a good block of time and maintain a clear workspace and you will be rewarded.
I remembered the first time I soloed in an airplane, it really was a none event. I think we just get a little uneasy sometimes doing things we have not done before. I built my first laser kit and like flying a plane there is a process you go through to get from start to finish. I got a great deal of enjoyment out of my first laser kit but like that first time in an airplane by myself, there were no surprises and when it was done I just added another notch in my belt.
I built some pretty big R/C airplanes that had a lot of parts to them, the room for error was much less than a MRR structure as they had to fly without falling to pieces mid-flight. No one should be intimidated by a laser structure or anything else in life. Just follow the steps and use the checklist and you will end up with a smile on your face.[C):-)]
You will need to keep the thin wire handy for cleaning out the applicator tube with the Faller cement. A minor chore and after a while you learn tricks such as squeezing the bottle while upright every now-and-then to keep the tube clear between applications.
The cap comes off, left hand thread, and you can rinse it out in warm water. It is not the only glue I use for a laser kit but it is what I use for the smaller stick-on parts to keep them from “delaminating”.
My other favorite, heavier, PVA is Weldbond. I use that for the thicker pieces of structural members. Excellent tackiness and adhesion.
While reading this thread, I realized that most of my Transition Era structures are brick. I have a few small plastic kits and scratchbuilds of clapboard. My only laser kits are signature pieces. Like going with Tortoises and Code 83 track, I really think that laser kits are the way I will go for the future, but right now I have more structures than I can use on the next incarnation of my layout.