I dunno, Kevin…the instructions which came with mine recommended a 1 1/8" spade bit. The screws and nails which mine encountered would have destroyed a hole saw pretty quickly.
Had there been no such obstacles, the hole saw might have produced less detritus (or at least not have spread it around so much) but I usually use only my shop vac for layout cleaning anyway.
Using a spade bit and hitting a nail does not sound like it would be a good day. I cannot say, as far as I know I have never drilled through a nail with a spade bit, forstner bit, or hole saw.
I would be extremely concerned about hitting a nail or screw on any project in an assembled layout section.
I certainly can agree with you on that, Kevin. A lot of the area where the hole-making was done was not on a plywood-topped area. The track was on cut-out 3/4" plywood sub-roadbed on short risers, but I had also added plywood platforms for some structures,and also risers for supporting the Durabond patching-plaster-on-screen-ground-contours, most of it screwed in-place, then covered with scenic material. I had to do all of the drilling from the top, as it was the only way to accurately place the holes for the turnout motors.
I’d be embarrassed to show what the underside of the layout looks like in that area.
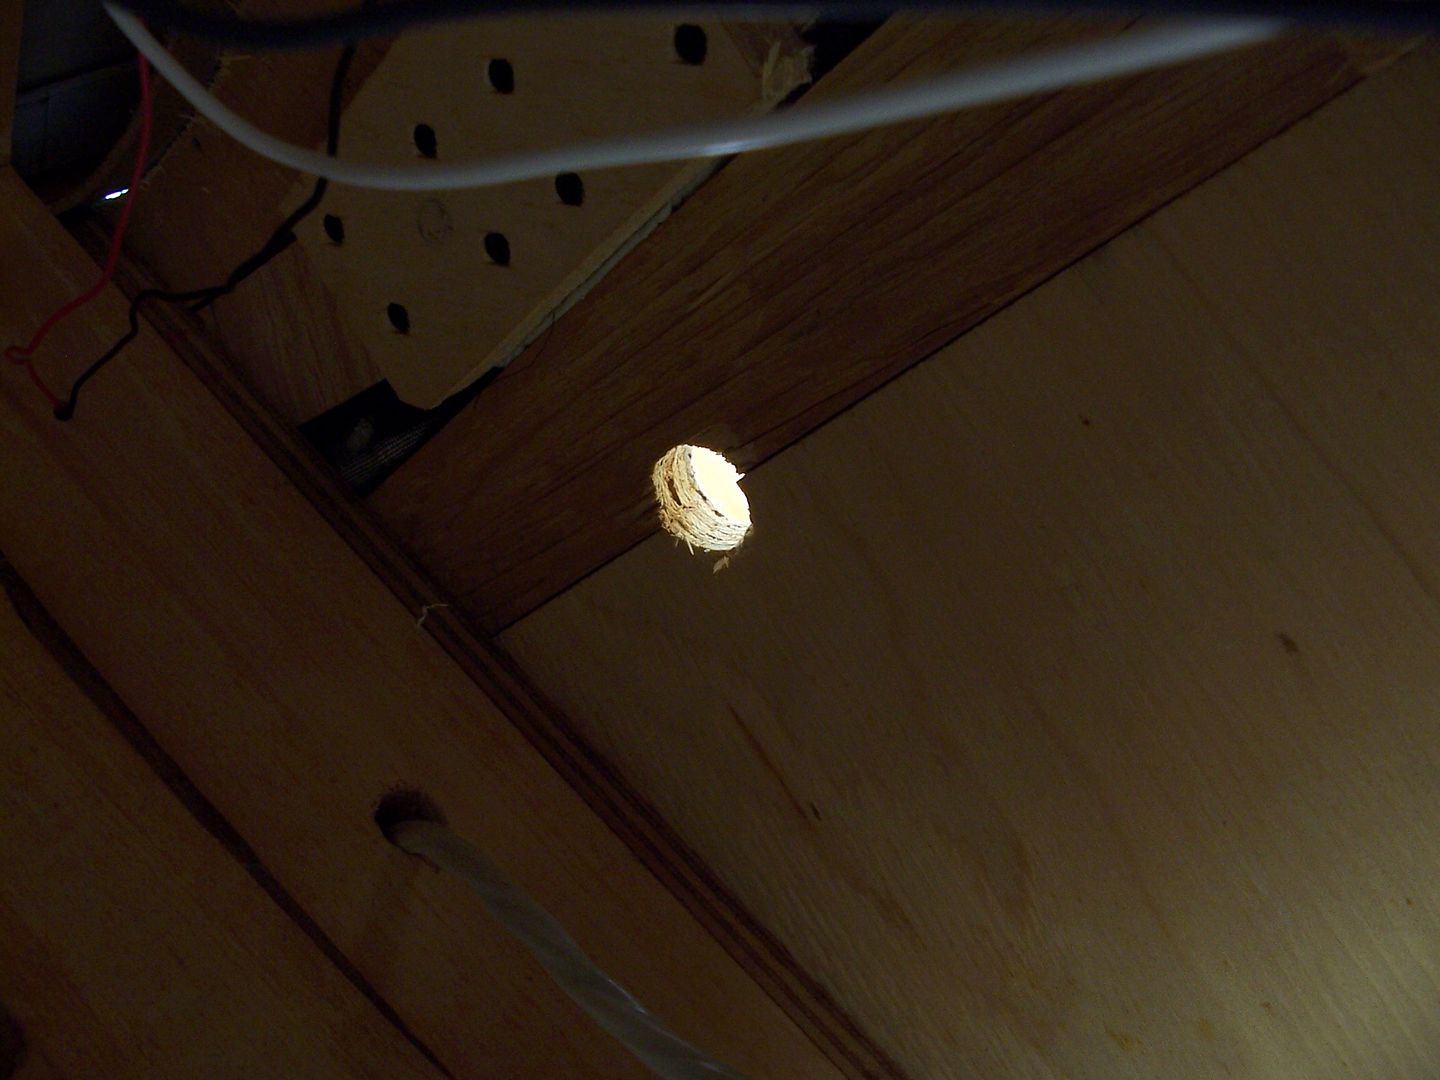
I’m not sure where this one is located, but it was one of the easy ones to do…
A good quality stud finder will also show you where the nails, screws, and wire will be. Like the ad says check before you dig, or in this case, before you drill.
When the kids bugged out of University because of covid, they were writing exams online. I decided to hardwire the house to make it smart so they could plug right in for exams as a wireless glitch could be disastrous. No drywall was damaged in the process.[(-D] I used spade bits on very long flex shafts to drill holes via cold air returns, heat registers, and removed molding. I always ran the stud finder looking for metal and wire along the wall before the drilling started. The only thing I don’t like about the stud finding part is, it goes off every time I walk in the room.[(-D]
When hole sawing through Foam Board, turn the hole saw by hand backwards so the teeth will not tear out tiny pieces of foam. This backwards turning makes a nicer/smoother hole in the foam.
I know that a lot of the holes I cut in wood and metal will depend on the tooth count, the material I need to go through, what could be inbedded in it, how fast or slow the hole needs to be cut and what the hole needs to look like (smooth or rough) when done.
THIS MAY BE OLD NEWS AND POSTED ELSE WERE BUT. I just looked at the numbers.
You guys may want to measure the RAPIDO SWITCH MACHINE before you use/buy hole saws or any saw/drill.
For the installation in foam board the instruction show to drill a 7/8’’ (38mm) hole. Now my hole saw is marked 7/8’’ and 22mm. I’d like to see you push the SWITCH MACHINE down in to a 7/8’’ hole made in foam board.
Again the instructions call for a 1-1/8’’ (45mm) hole drilled in wooden benchwork, my hole saw is marked 1-1/8’’ and 29mm.
Something is not right.
Looks to me like a 1’’ (25mm) hole in foam board would be a better push-fit choice for the SWITCH MACHINE.
Please strighten me out if I’m wrong. Or better yet, go drill some holes.
While we are at it, lets drill the recomended hole size of 1-1/2’’ (38mm) in foam board and see how it goes to push-fit in the ON -OFF REMOTE UNCOUPLER.
The only tool a girl needs. In order to avoid marrying one. A tool that is to say.
I use twist drills of appropriate size to make neatish holes in foam board and I just operate them in my hand. For alignment of the hole I use an awl first followed by the twist drill bit. Power tools and foam just make a mess literally and figuratively.
For securing something directly in foam that can also be removed for replacement or repair WS makes foam tack glue very similar to PVA white glue but it does not harden 100%. Stays pliable and sticky. Somewhat similar to a silicone product or a latex caulk but easier to use and adheres to foam better than either.