I am thinking of getting one of these to try before taking the plunge buying in bulk. In some places, I will be mounting them in wood and others foam. For those of you that have tried them what adhesive did you use to hold them in place. I am thinking a dab caulk will do the job making it easily salvageable.
For those of you that have them, how do you like them?
Hard to find hole saw, I do not think so. I use a LENOX 1-3/4’'.
I am adding them to already laid track, now that is a job. Drilling up through 3/4’’ plywood and 1/2’’ blue board and cork roadbed without ripping up the ties.
The radiator clamps act as a stop (MAKE SURE THE CLAMPS ARE ON THE CORRECT WAY SO THE EXCESS STRAP WILL NOT CATCH THE WOOD). You should hand turn the saw backwards to go through foam board.
The clamp’s screw housings (located with the yellow arrows) will cut in and ream a groove in the work piece (wood or foam) if you push the saw to hard with force when the clamps touch the work piece.
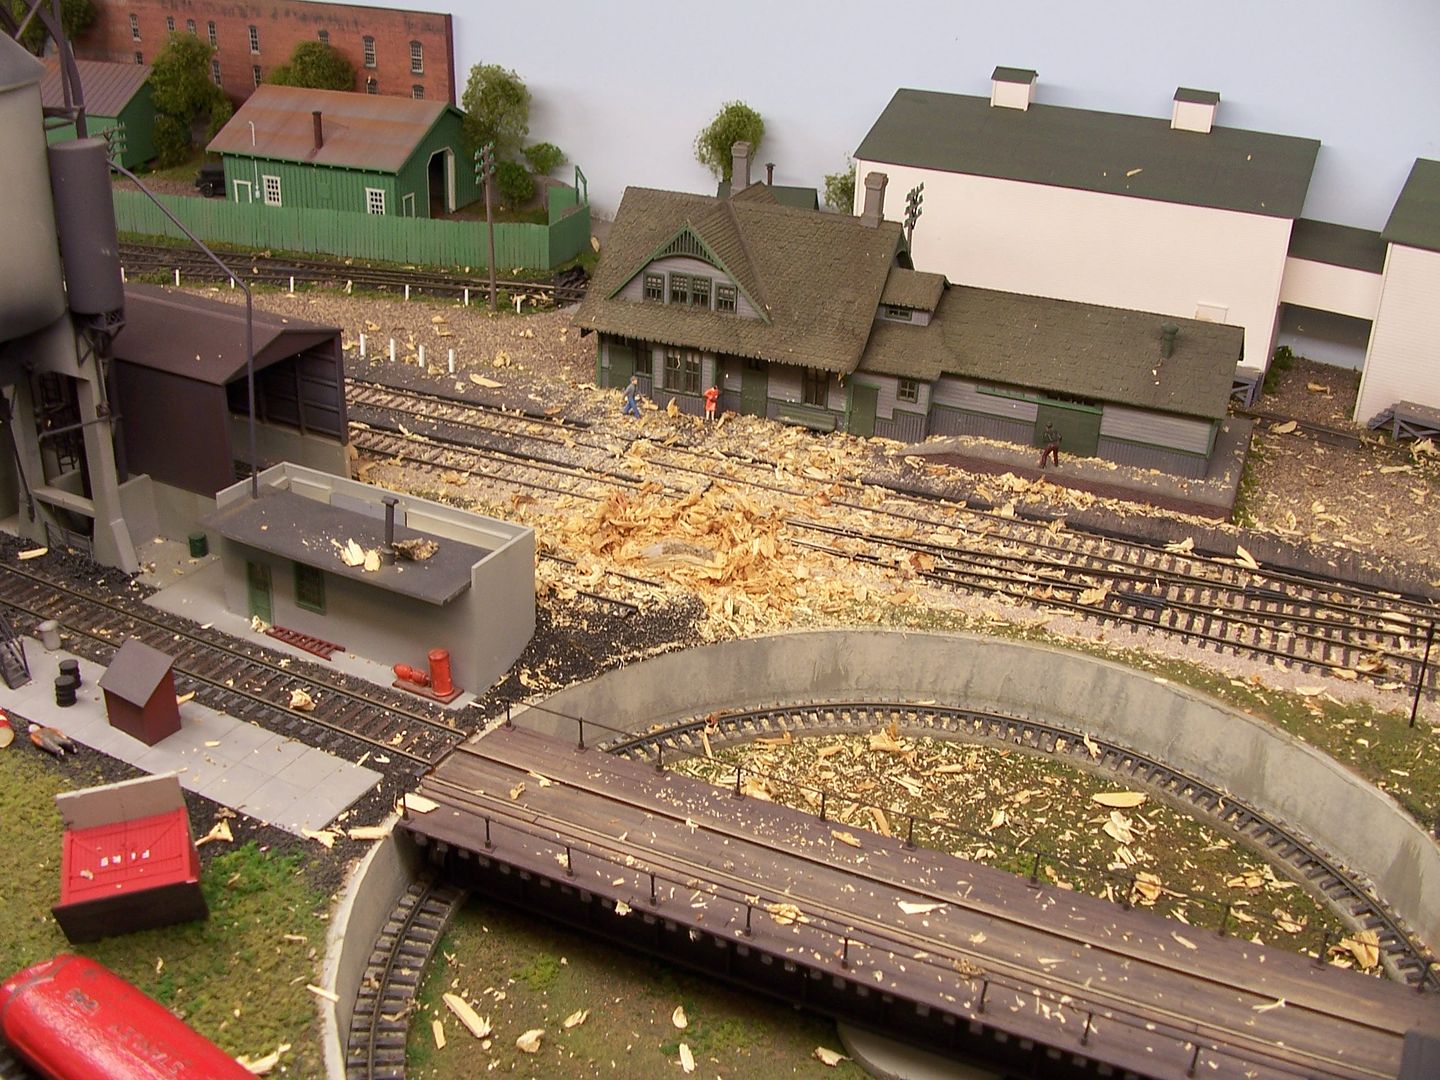
Woops again, yes I read “switch machine”, but was thinking and showed a uncoupling machine, sorry, long weekend at a Train show[dinner].
Anyway back to the Switch machine, Rapido wants a 1-1/8’’ hole drilled in wooden benchwork and a 7/8’’ hole drilled in foam board.
Now for the Uncoupling machine, Rapido wants a 1-3/4’’ drilled in wooden benchwork and a 1-1/2’’ hole drilled in foam board.
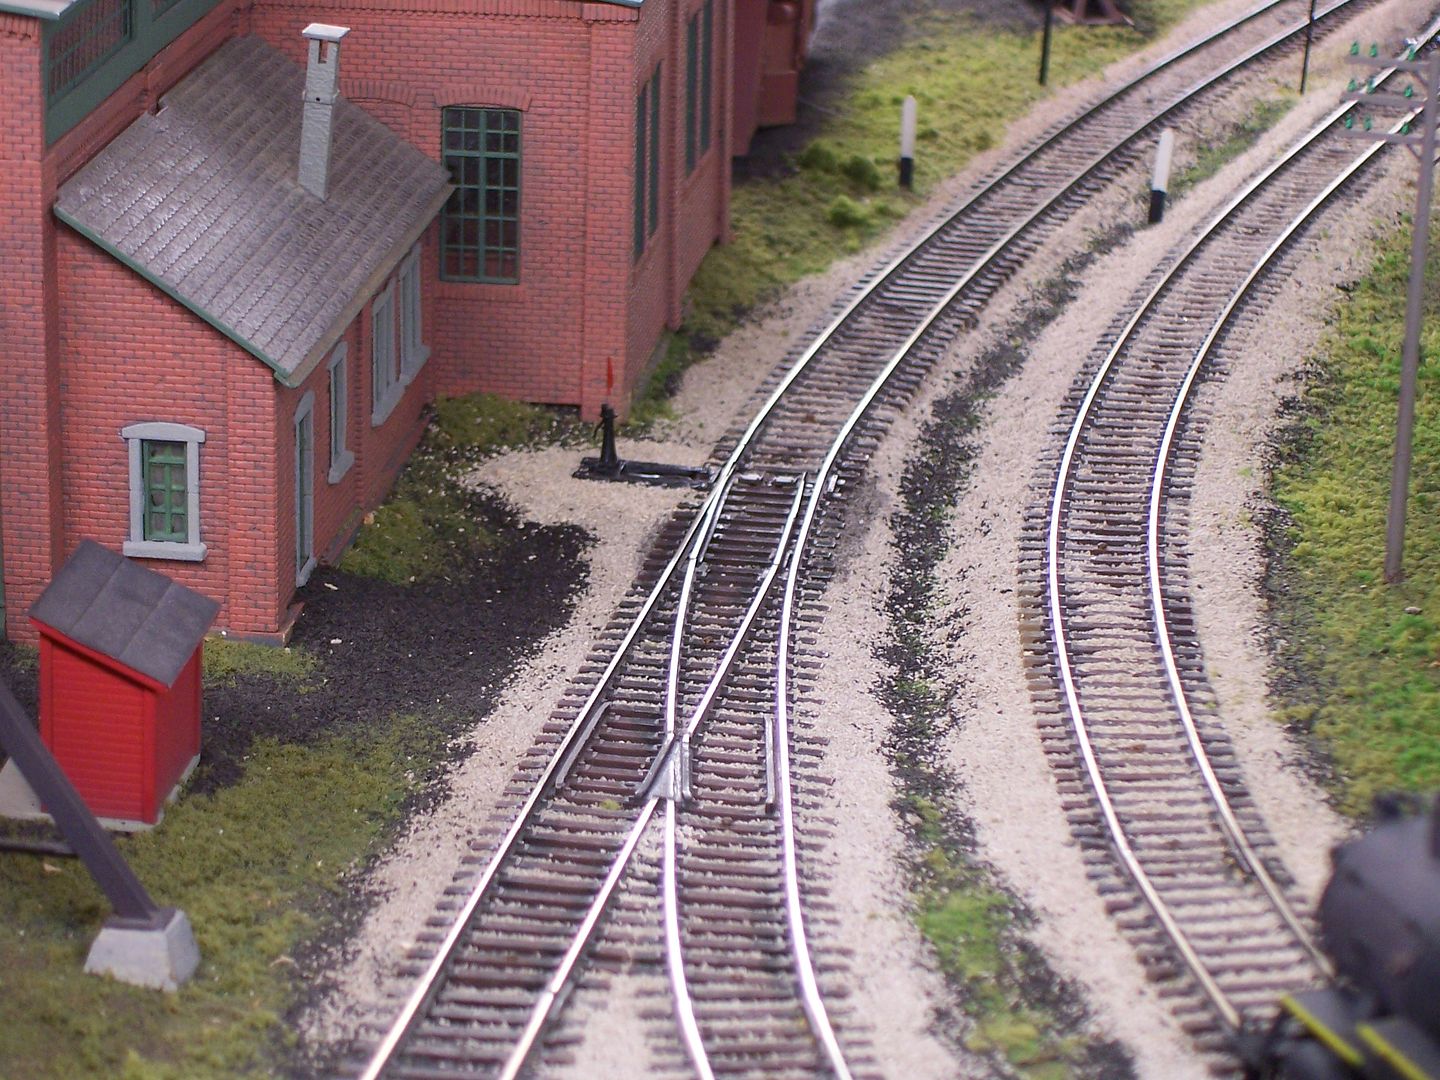
My above picture of the Uncoupling machine in blue foam board is drilled with a 1-3/4’’ hole saw. That way I drill through the 3/4’’ plywood with what Rapido wants for the correct sized drill for wooden bench work and then after adjusting the “custom stop” for a 1/2’’ plus what ever my cork roadbed is for a deeper hole, I hand turn it the rest of the way through the foam board.
I have more faith in Rapido than you do! I bought 24! I haven’t installed any yet.
Rapido supplies shim screws to hold the uncouplers in place while they are being tested. Beyond that, they don’t say anything about how to secure them in place. I suspect that caulking would be fine. They won’t be under any great load.
Note that the use of a 1 3/4" hole saw is specified for installation into plywood. If you are installing them in foam, they suggest a 1 1/2" saw. Also, Rapido supplies a 1/8" pilot to be used with the hole saw so the saw must have an adjustable chuck. I’m not sure if an adjustable chuck is common or not. Certainly the saw size is not an issue.
I got four of them at a now-gone hobbyshop for a very good price, due to the closure.
Mine were a bit of a job, as I was adding them to four hard-to-reach locations on the lower level of my layout…both a long-ish reach and not much overhead clearance, although whacking my head a few times did keep me from dozing off.
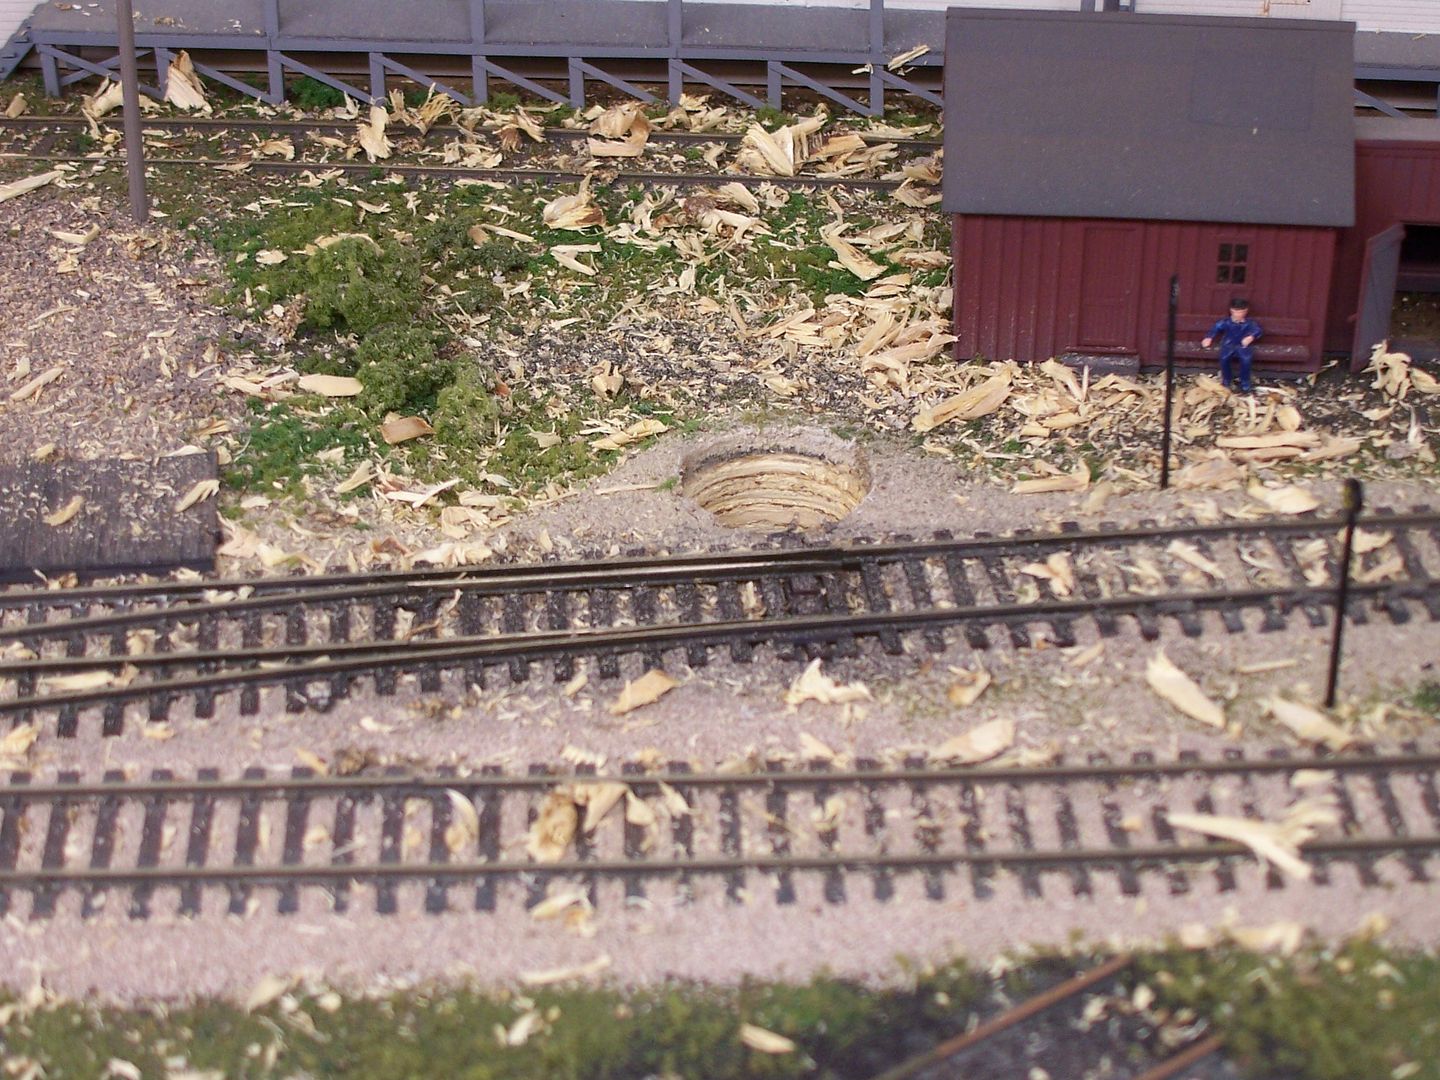
I used a 11/8" spade bit to drill the holes, as recommended by Rapido, and it created a fair bit of sawdust…
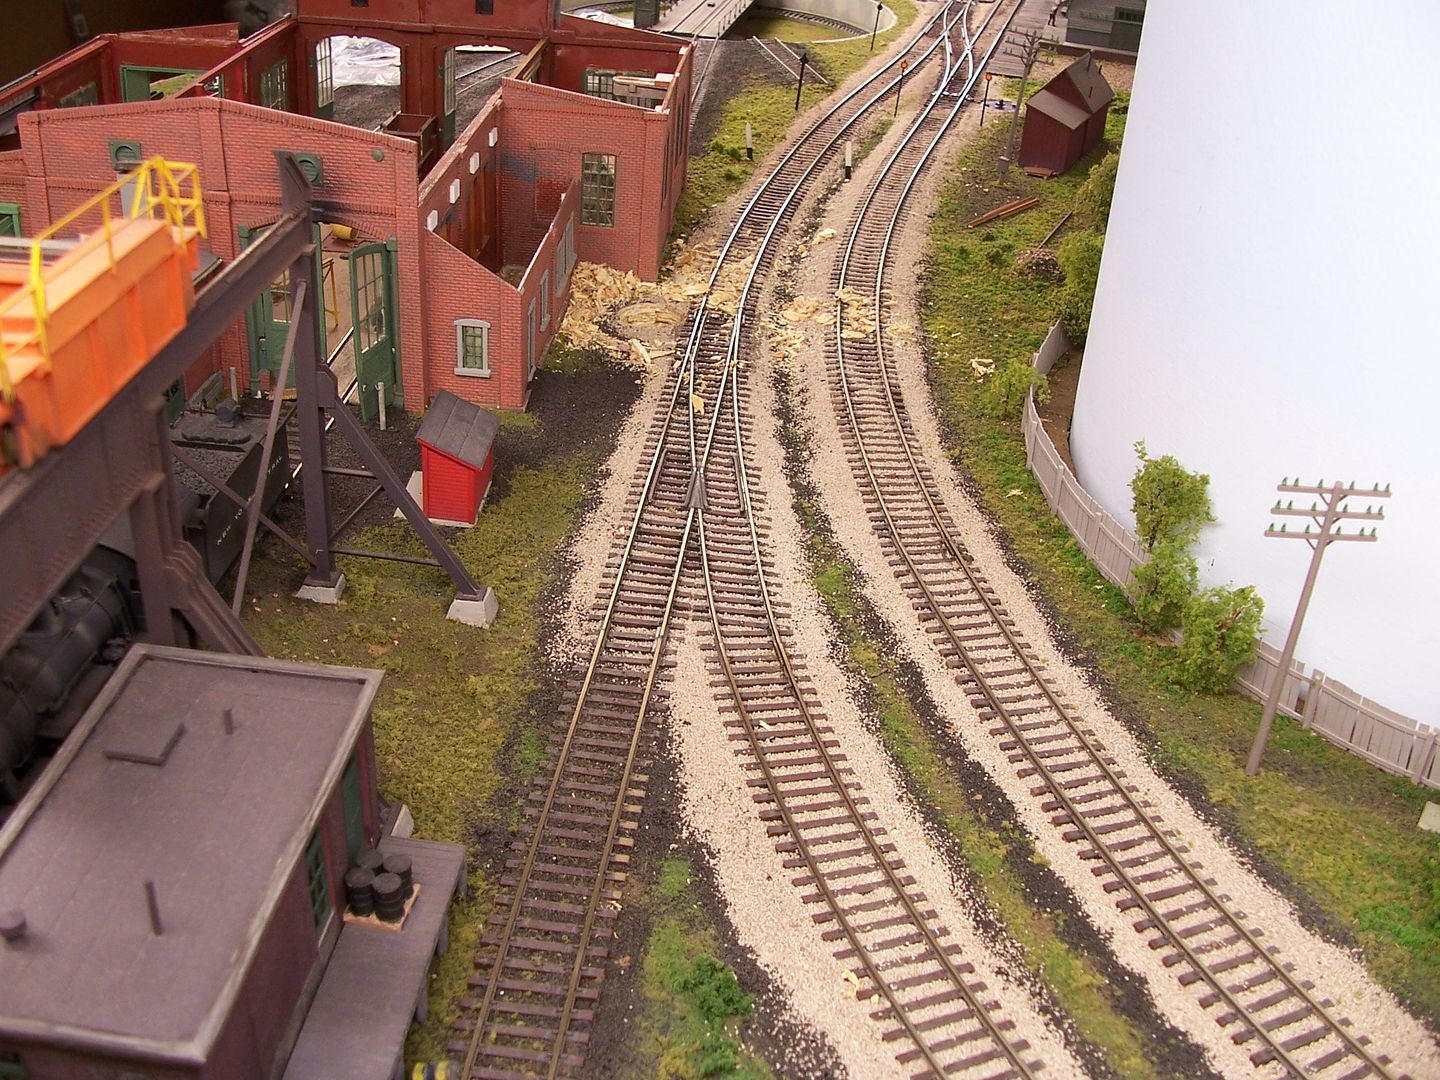
This one, shown during installation…
…and in place, was the most difficult, not only due to the reach, but it’s also hidden by a structure that can’t be removed. I worked on this one, which is near a corner of the layout, from two aisles, and managed to damage some of the runway of the crane that’s behind the loco shop (mostly repaired now).
My problem was that this area is not on a plywood tabletop, but with the track mostly on 3/4" plywood roadbed, and many of the nearby structures also sit on platforms of scrap plywood…lots of places with no wood, only plaster on aluminum screen, and lots of wood held in place with screws, which don’t get along all that well with drill bits of any type.
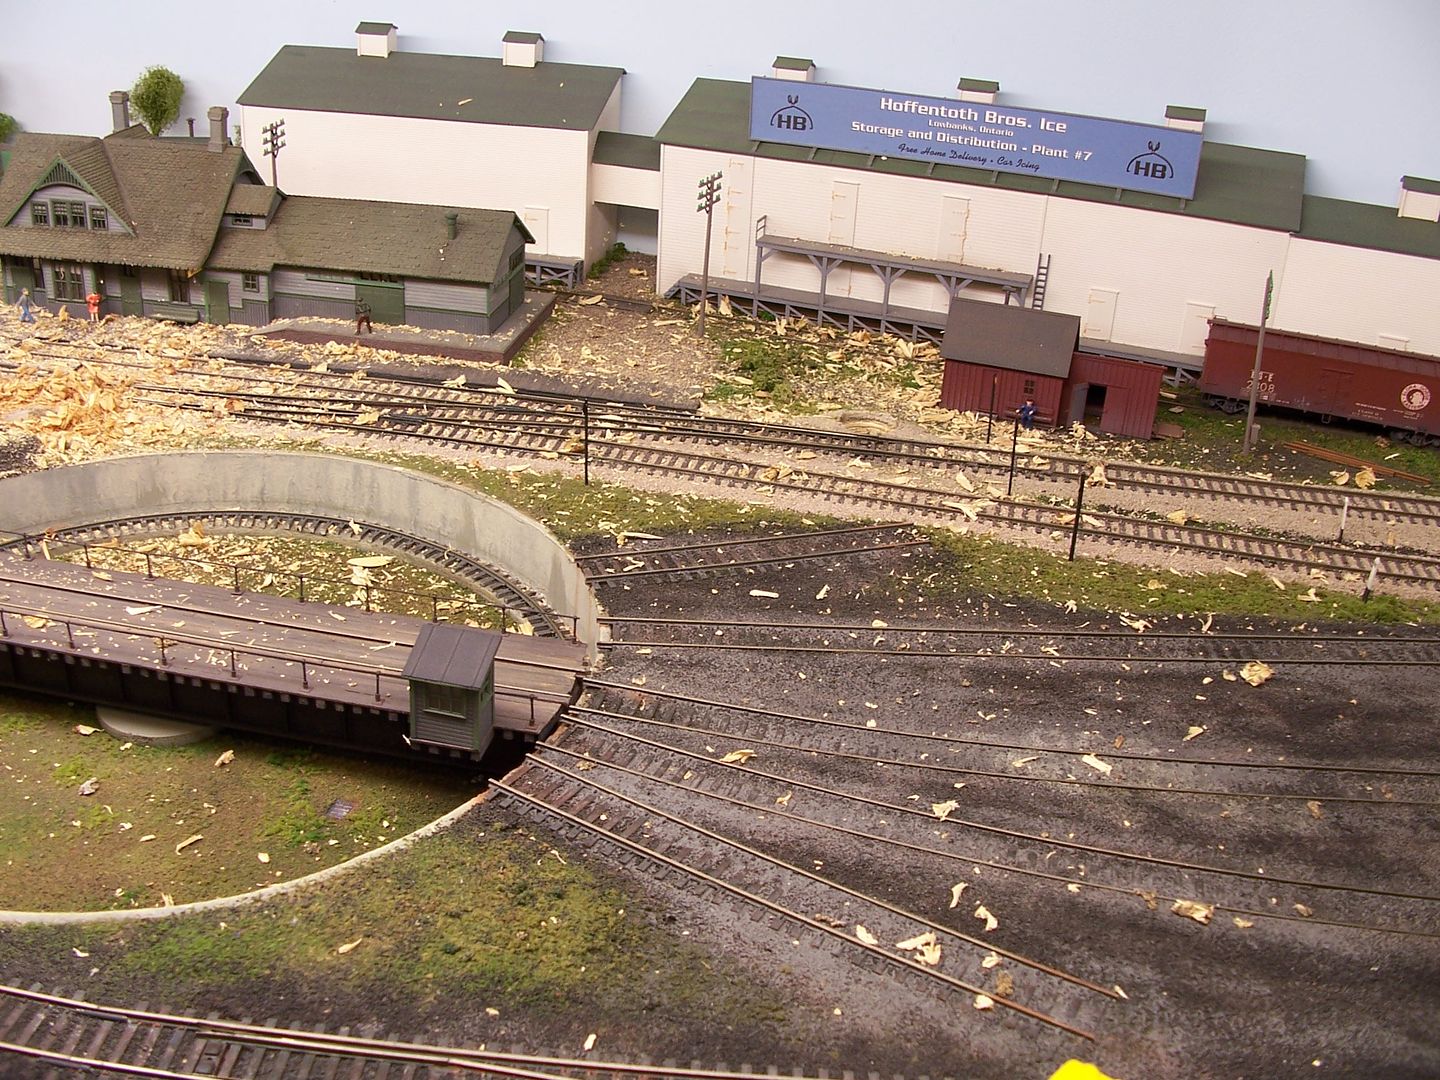
This one is the turnout which accesses most of the industries in the town of Lowbanks during the drilling…
Without wishing to take anything away from your excellent presentation, Brent was asking about the Rapido Rail Crew uncouplers, not the switch machines. I just wanted to avoid any confusion, particularly with the size of the hole saws which differ from one mechanism to the other, and the location of the holes.
You don’t need to apologise for getting the two confused. When I ordered my uncouplers Rapido sent me switch machines by mistake, so you are in good company! Apparently their supplier packaged the two different products in identical shipping boxes.
I looked at these. Installation seems easy enough but the instructions were unclear about how to secure the motor into the hole.
If I recall, Rapido was clear about the mounting hole being exactly 1 1/8" for a snug fit. It seems to me the height had to be exact also. Then the 12v dc power supply became an issue for us using standard dc power packs.
In the end it seemed more trouble than it was worth just to throw a turnout.
Oh, and at the time a separate 1 1/8" hole saw “bit” could not be found in our local market, only in kits of several sizes. A spade bit is quite tricky to use if a precisely sized hole is required.
Be it a hole saw or a spade saw I would bet I have more than one copy of any size I would ever need. I have a very well-equipped workshop. I am the guy people come to if they need something cut, drilled, ground… My daughter’s whole class came to our house for a day, split into six groups of four, and built six 1m high trebuchets.
My neighbours show up with their tractors because my compressor can push 200PSI and can give that extra little bit that theirs can’t.
There is nothing tricky about using a spade bit or any other kind of a bit, I prefer a spade bit over a hole saw whenever a choice is presented.
I even have a couple of large boxes of tools that belonged to my Grandfather, he brought trunks full of tools to Canada when he came over from England to be the chief carpenter for the building of the Chateau Lake Louise. I wrote the hotel once and asked if they would like to display some of them and never heard back. They will likely end up in the garbage at some point as antique tools are plentiful on the various marketplaces.
I prefer brad point, auger or Forstner bits for holes bigger than 1/2". I built a set of Euro style cabinet doors from ash veneered plywood requiring Blum sized hinge holes, with a Forstner bit hand held (I used a vertical drill guide) in an ordinary B&D electric drill, variable speed of course. The Forstner bit would be the best tool to use but I don’t think they come in inch sizes.
For plywood a spade bit is very difficult to use for a precisely sized hole. Even in door jamb drilling they can easily make a messy hole. 1 1/8" is a pretty big spade bit.
For drilling close to finished work an old fashioned brace and bit gives very good control over the process.
With practice any old tool will work but my impression from Rapido is they want you to drill an exactly 1 1/8" hole.
I also like using a brace and bit for making very clean cuts. I’m not real skilled in using tools. I have trouble using a spade bit in a power drill when I need a very clean cut. Especially on plywood, I have trouble ripping and chipping the top layer of wood. The brace and bit seems to allow very good control if using a spade bit.
I like Forstner bits, but I’m reluctant to spend the money when I know I will use it only a couple of times. If I was planning a doing on bunch of work, I would buy them.
Good to know, thanks. If installing a rail crew turnout motor that’s what you should use to cut the hole. I should add: in wood especially plywood.
For foam using a hole saw would be a very easy and you could probably twist it in by hand so as to avoid melting the foam.
It appears that the unit installs flush at the height of the sub roadbed and is about 1" high so would presumably just glue into any foam benchwork 1" thick or thicker without much trouble.
Sometimes, well most of the times the hole saw will get very tight on the threaded arbor and takes some doing to get it loose.
Here’s what I do, find an O-ring that fits snug over the threads, now when you screw the hole saw down on the arbor the O-ring will be between the hole saw and the arbor’s base. You should find the hole saw will be easy to unscrew when it comes time to change hole saws.
The O-ring I use is 1/2’‘OD x 3/8’’ ID x 1/16’’ thick.
My layout has 3/4’’ plywood under 1/2’’ and maybe up to 2’’ blue foam board and maybe or maybe not cork on top of the blue foam board.
So with Rapido’s recommended way, a certain size hole saw for going through wood benchwork and another certain size hole saw for going through foam board. Now with using the SWITCH or UNCOUPLING machine I would need four hole saws and two arbors by using Rapido’s recommendation.
Here is what I do, I use the wood benchwork recommended size hole saw that is larger then the foam board hole saw, to go clean up through wood and foam and maybe cork and up to the ties for the UNCOUPLING machine and down through it all for the SWITCH machine. The size of the hole saw for wood bench work that is recommended by RAPIDO for each type of RAPIDO machine.
Now take a piece of thin string and wrap it three times around which ever machine you are installing. Now measure that string and cut a piece of electrical tape as long as the string and wrap the tape around the machine. There now, the machine will be a snug/tight fit in the foam and I did not have to buy four different hole saws. If the machine is too tight to go through the wood hole, use just one or two wraps of electrical tape.