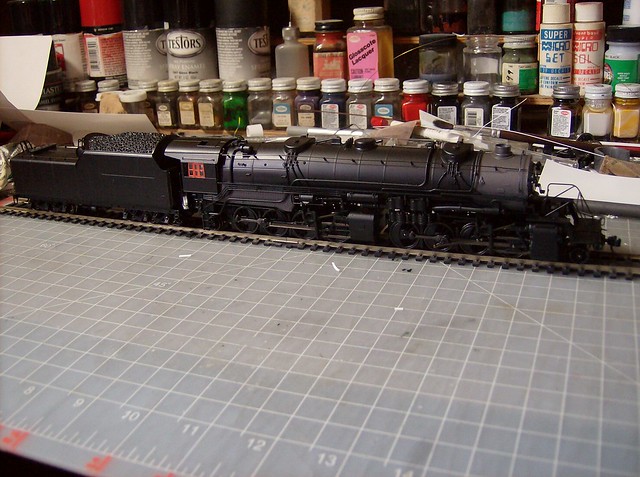
This is my current project a Reading N-1 2-8-8-0 from a proto 2000 2-8-8-2. For the unfamiliar here is the prototype.
My starting point is a N&W style 2-8-8-2, I would have rathered the more USRA style but for what I paid beggers can’t be choosers.
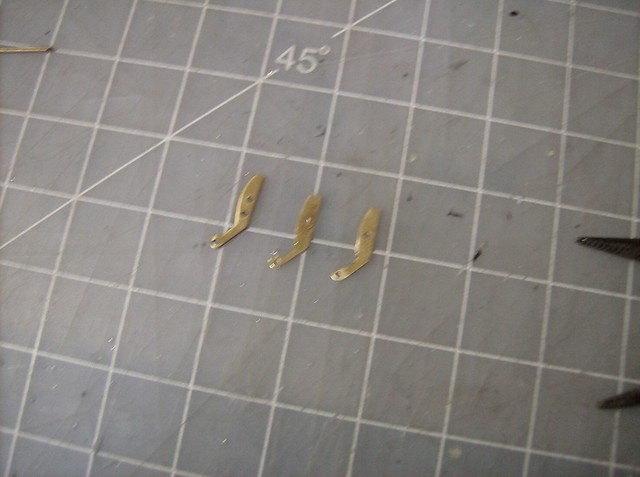
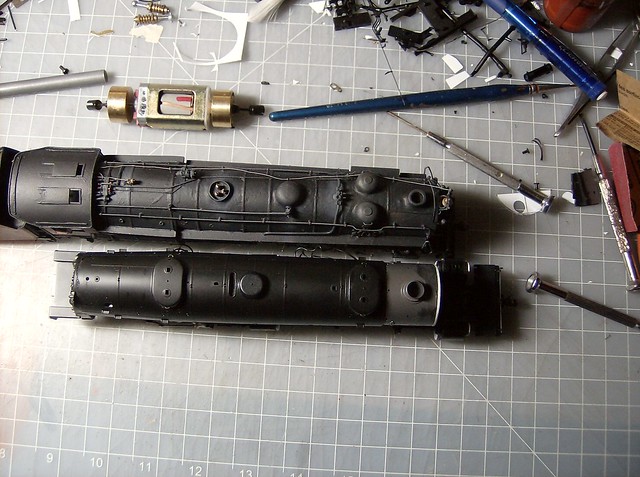
I started with changing the valvegears from baker to walsherts. Not having links to use I made some brass one s from a sheet I had using an old roundhouse one as a template.
The original one is on the left.
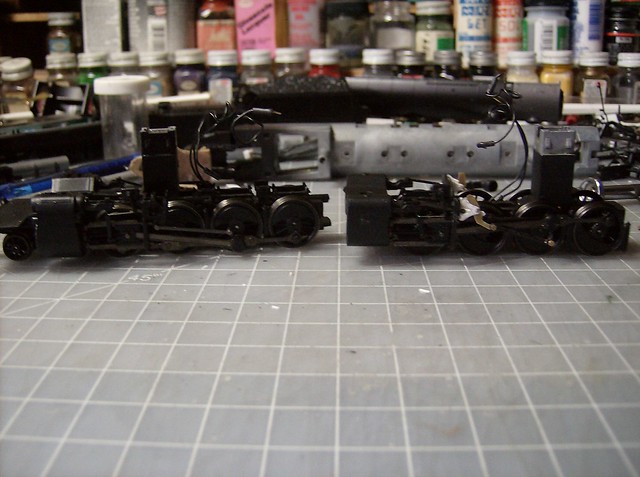
A little dark but here is the original vs. the replaced valvegear on the rear driver set.
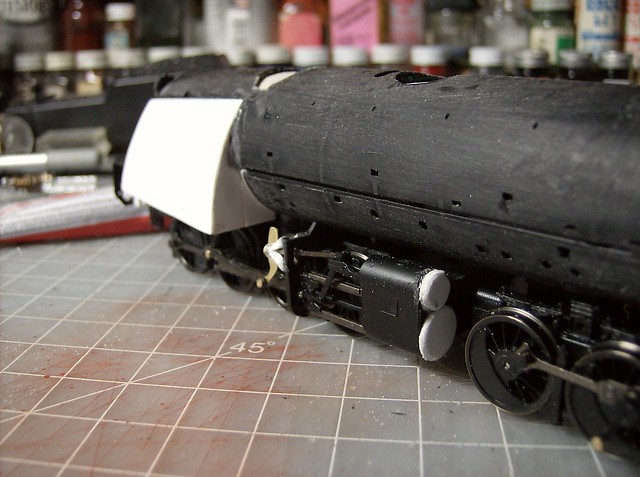
The cylinder heads were replaced to be more rounded on the sides and not be the riveted style. The front set of lower pistons were also made smaller since the later Reading 2-8-8-0 was a simple articulated engine meaning the piston sizes would be the same front to rear. The locomotives were originally compound engines and were converted, they just resized the pistons insted of refitting the rest of the running gear.
The boiler was shortened a little from the front and rear, for consistancy sake I need it to be close to the same size as the Reading 2-10-2 I built from a IHC/Mehano 2-10-2 since the original 10 Reading 2-10-2s were rebuilt 2-8-8-0s using the same boiler.
Also for the same consistancy reason I need to move the steam dome which means I can’t use the screw
With a long weekend I got a good amount done. The boiler was stripped of everything else that was unneeded and sanded smooth.
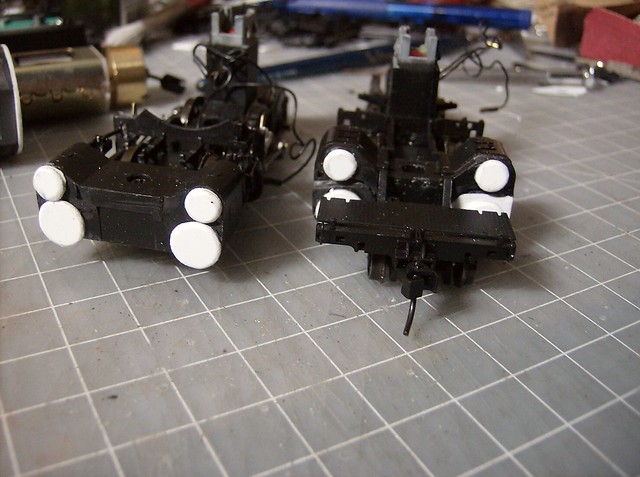
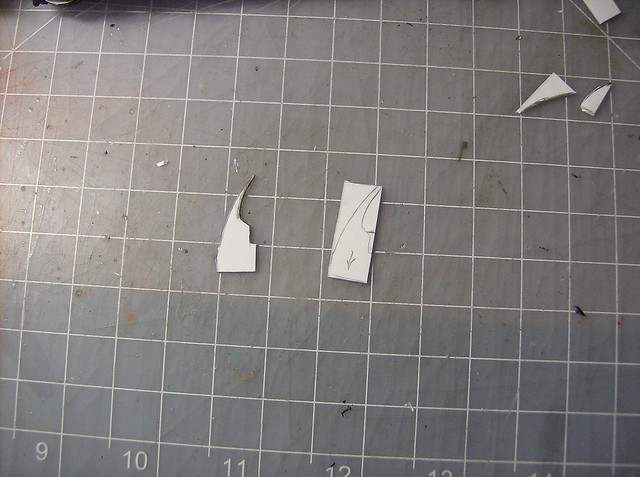
The hip joints were made for the firebox. The one was made then traced for the second. The notches toward the bottom were cut off, they were not needed and hindered the removal of the shell.
The rear was made and a bar was put in to steady the pieces.
An over sized piece of .010 was then set.
Then was trimmed and repeated on the other side.
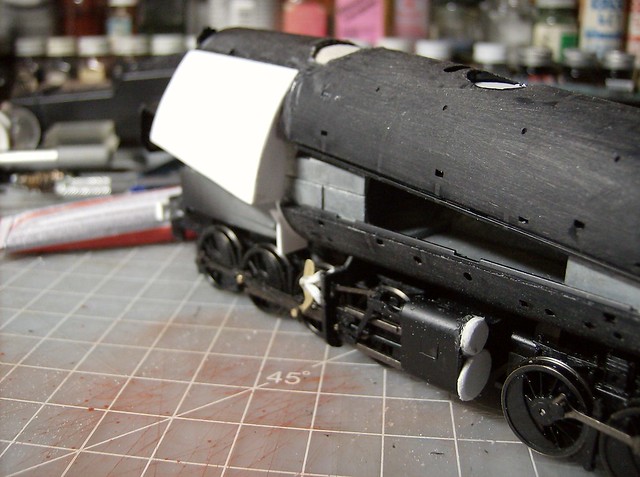
The bottom half of the boiler was then built out to match the made firebox split to allow the shell to come off.
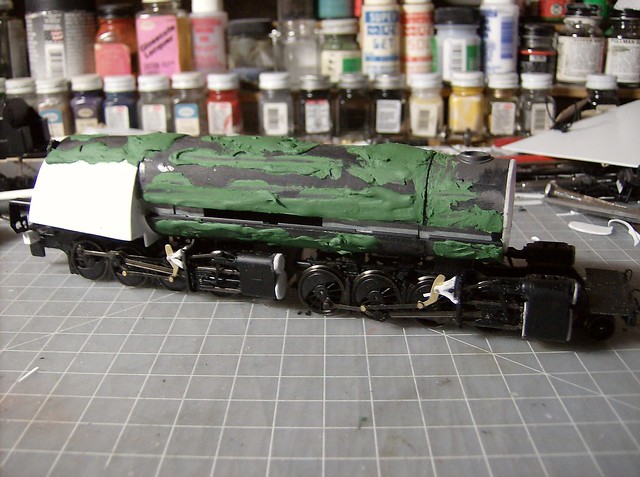
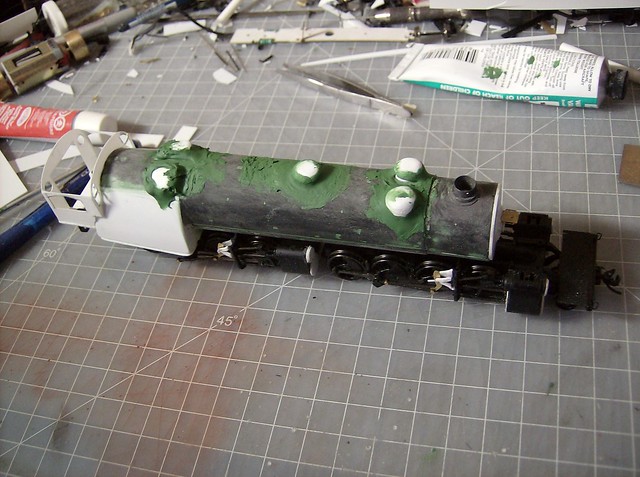
Then I puttied it all up.
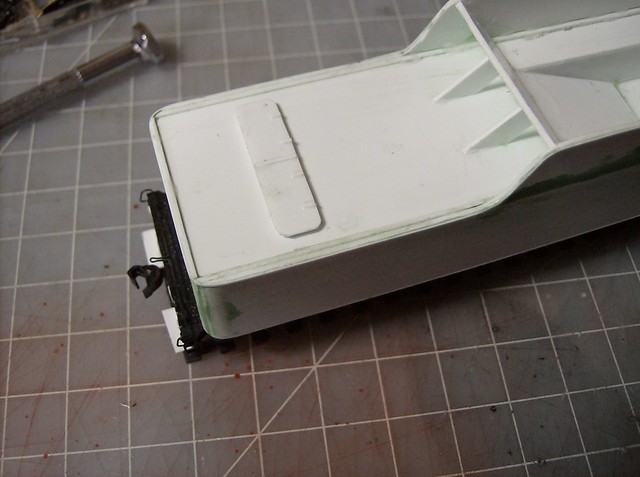
While the putty was drying I decided to work on the tender. I don’t know the origin of the tender trucks, they were a show find, but they are build like Bethlehem Car Works trucks. I had to add some spacers to allow the trucks to turn and reused the pickups that touch a wiper that comes out of the bottom of the frame. I ended up using new screws too, come Manuta leftovers I had. Screws seem to strip easily on the model.
Great stuff! I always loved the Reading Company look. Wooten fire boxes , arched cab windows, high-perched headlight and compact tenders, fancy lettering on passenger engines, all good.
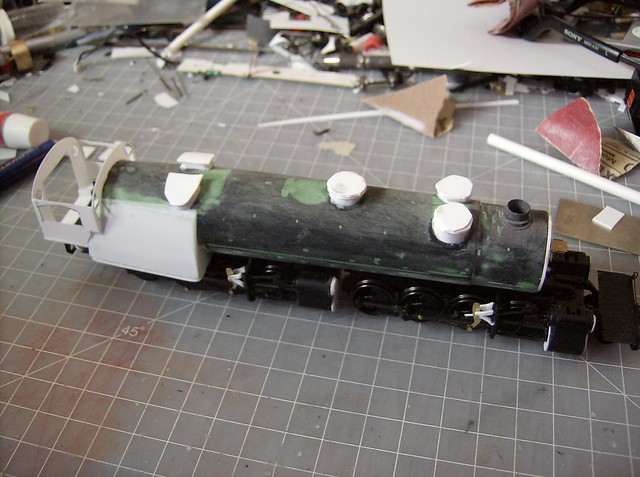
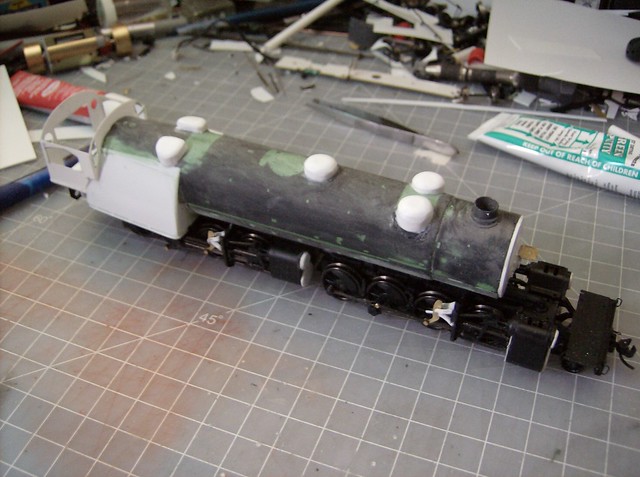
I borrowed a heat gun from work to do the steam delivery pipes this weekend, but to so I wanted to have the boiler bands set first. To set the boiler bands I wanted to have the domes in place, so I started there.
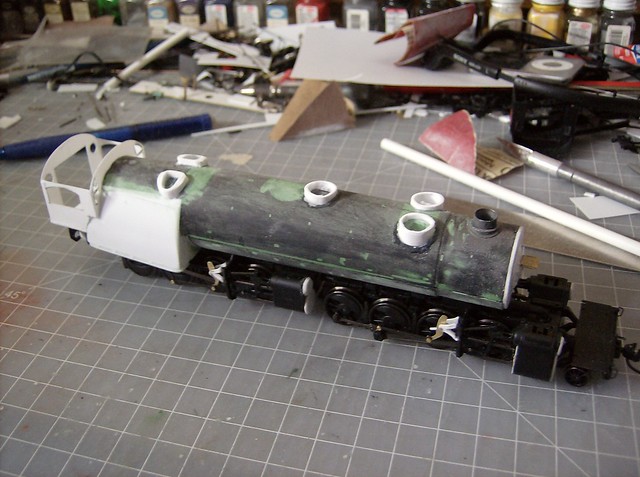
Here is the dome bases sanded down and ready to be capped. Since the rear sets is not just round I did the base work in .040, the round ones are looped .010 glued on itself and sanded smooth.
Then the open domes were capped loosely with 2 layers of .040 except the rear set which were capped with one layer bent a bit to fit the sloping shape.
The capes were then sanded to shape.
Then the dome bottoms got putty. I felt the rear domes were a little small so I added extra putty to them to fudge it in sanding.
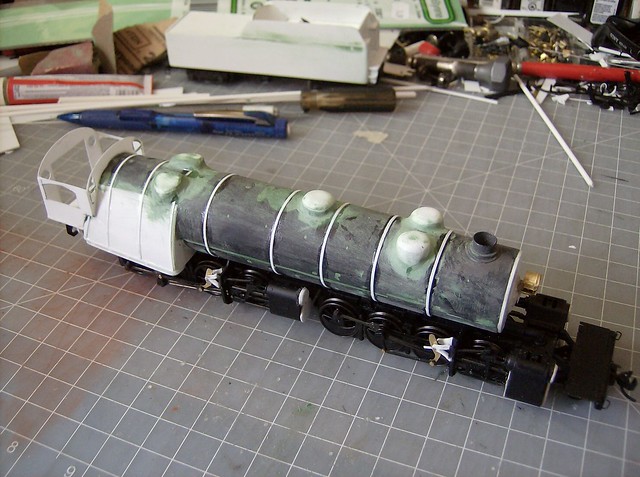
After sanding the boiler bands were placed using .010x.030 strips. I went all the way around the boiler and the strips met at the bottom. Then I cut down the shell seam so the boiler can come back apart.
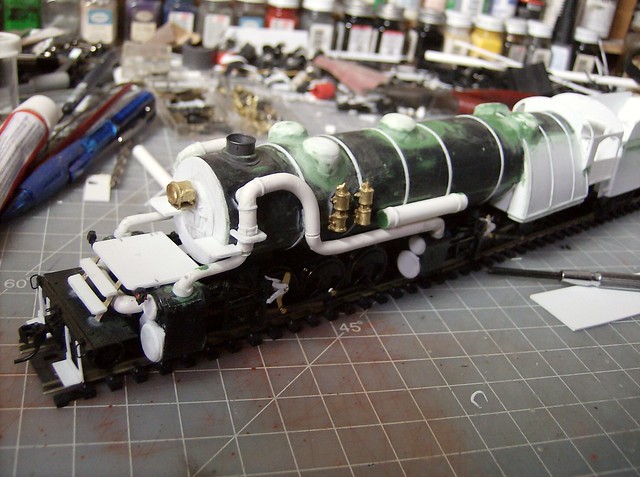
The steam delivery pipes were done from styrene rods which is why I needed the heat gun. I melted the rod a little and bent them to shape and let it cool. They are done in 3 sections, the base middle on the smoke box, the front short piece which is a smaller diameter and has 2 90 degree bends, and the rear the split being in the putty going to the cylinders. The rods were drilled in the center and I used .025 steel wire, for ridgidness, to connect the pipes and to be a pivot point. Wire ends were al
I’m just seeing this thread for the first time. I must say, this kind of work is not for the faint of heart! Impressive from the design, execution, every aspect of such a project. Dan
I taught myself how to dome domes to free myself up from looking for hard to find detail parts or make parts not available. It’s also way cheaper, all the domes were made from scrap pieces of styrene, something probably around 50 cents of plastic and putty to do them. That was the first time I was doing B&Oish domes on the rear of the engine, so I was doing the frame of it on the fly and like I mentioned tweaked it with putty when I thought it should be bigger. That is the reason I like working with plastic, it is easy to add and subtract.
I only worked on this today since last sunday but got quite a bit done. I did a test run before starting any more construction to make sure the steam delivery pipes were working the way I thought they were, rolling it on the track with no motor installed. I need to make a new draw bar to which will require another test run before finishing.
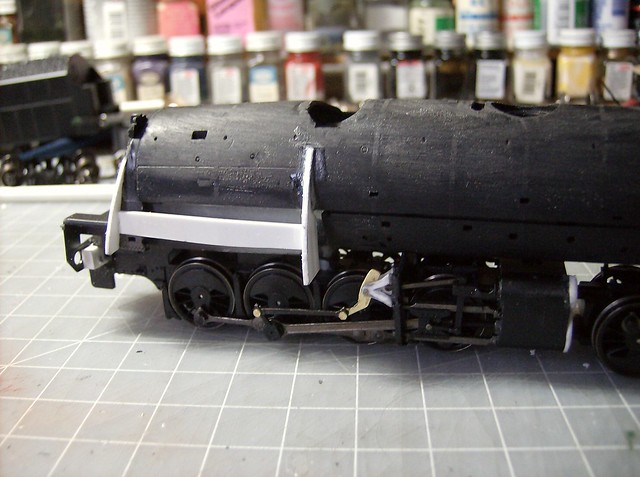
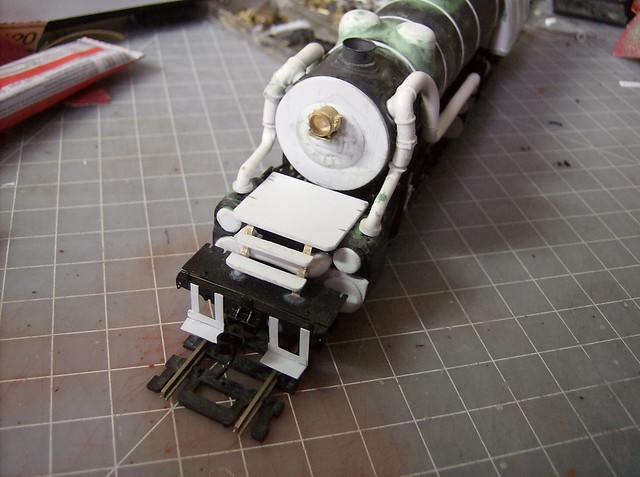
I started with the pilot steps and platform on top of the cylinders. I used brass strips for the vertical frame work to keep it thin yet strong. I added little .040 tabs to the bottom of the platform to keep it up off the cylinders a little.
Then I did the foot boards, all .010.
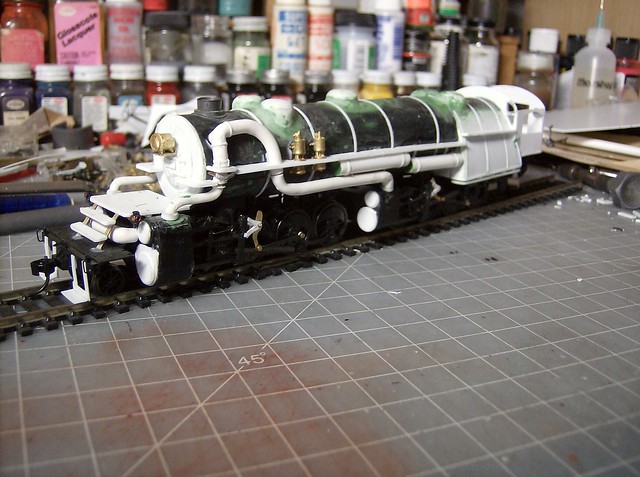
The markers appear on the front with the wrap around running board to the face installed. The little piece of running board over the pipe was fitted by drilling a hole the size of the pipe and cutting the bottom of the circle out so the piece looked like a U which fit right over. The first air tank was placed as well as the air compressors so I could mark where to repeat the drilling method for the pipe and air compressors. The air tank set the height of the running board since the pipe needs to be able to move around it the running board sits on top of the tank.
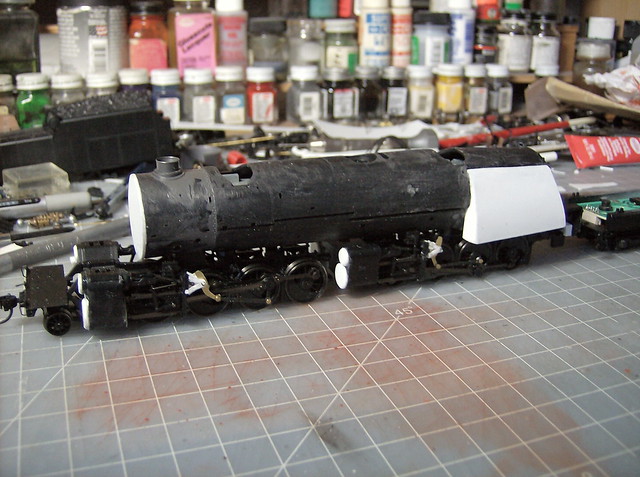
With the remainder of the running board in place the other air tank was placed. That air tank is glued with thin connecting strips to the top half of the boiler to make the shell removal less complicated after all the plumbing is installed.
The engineers side has the same basic spacing but no air compressors to work around so it went a little faster. This is where it si
Work this week started with windows in the cab made from mostly .010 scrap then the cab interior got a coat of black.
Then the roof sheet was cut out in .010 for wrapping.
After the roof was glued down the rood detail went on.
Other things were done this weekend too like the safety valve area, sand dome hatches, and some major parts were added like the check valve and the power reverse.
The tender got some work too with the footboards and water hatch made.
I set a new draw bar and did some test running. One I had the draws bar kinks worked out it ran great.
Here is a teaser video from the test run pulling a 30 car train with ease. It was quickly taken with my phone so the quality isn’t the best.
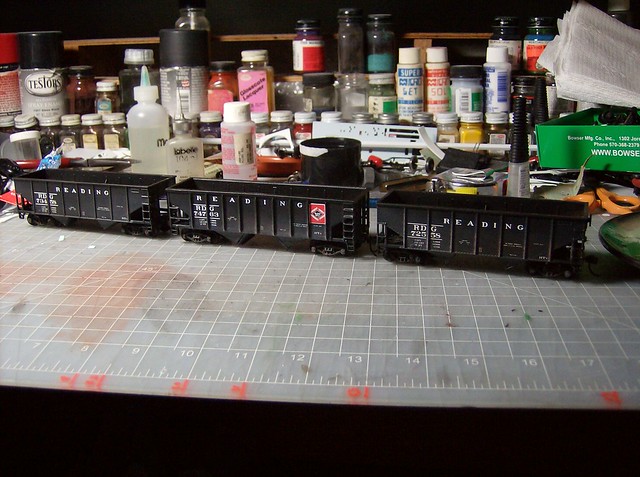
It sits as it looks in the last post. I need to order some detail parts to finish it and am waiting on the off chance I find any at a train show next weekend. The holiday travels allowed me to take a break and I got 21 hopper decal sets from family (emailing links to specific ideas is great) to repaint cars that didn’t fit. It makes a good interim project, I have 12 done taking about an hour a piece.