I need to remove the shell from an Athearn Genesis F-B unit to make repairs under the shell. I’ve removed many shells before, but am having a tough time with this one. I have tried to “lift” up both sides of the shell using two flathead screw drivers since I don’t have long nails, but no luck. I’m afraid of breaking something. Does anyone know of a good way to remove the B unit shell (and without breaking anything)? [%-)] Thanks
The ''clips ‘’, two on each side, that hold the B unit shell to the metal frame AREAPART OF THE CLEAR WINDOWS. The shell’s side needs to be ‘‘pryed’’ (FOUR small flat screwdrivers or FOUR thin wedges). Four thinned wooden pop-sickle sticks or four thin plastic shims (all at the same time) will slide between the shell and frame down over the plastic ‘‘clips’’ and release the ‘‘clips’’ from the metal frame. The frame and shell are a snug fit. Be carefull not to snap off the clear plastic ‘‘clips’’ (a part of the side windows) or pull/unglue the window insert. It can happen very easily.
First picture shows the clear plastic window insert with the ‘‘clips’’. (yellow arrows) Notice that the ‘‘clips’’ are directly in line with the foward and aft side windows, not the center one.
Second picture shows where the plastic ‘‘clips’’ hook to the metal frame. (yellow arrows)
Be sure to mark the shell and the frame with an ‘‘F’’ for forward, the shell only goes on the frame one way. The frame is also marked ‘‘FRONT’’. And of course the speaker is in the rear.
If clips are holding the shell to the chassis and not screws, use four tapered toothpicks - two on each side; one front & back - to help press out the side of the shell so that it can slide off of the chassis. Once the toothpicks are wedged in place, I flip the locomotive over on my knee and let gravity take it the rest of the way.
As luck would have it, I have the later run engines. I was able to remove all 4 screws and the shell came right off. All is repaired and ready to run. Thanks to all of you for your solutions.
Along with the exploded parts sheet that comes with most new locos “in the box”, why not include another sheet that describes how to remove the shell, remove the trucks, etc.?
And for “dcc ready” engines, perhaps a suggestion or two as to which decoders are recommended…?
The paper work/parts sheets for some people can get missing over the years even in a few months for a particular engine. If the OP had the ''Parts sheet" for that Athearn Genesis F7-B he may have seen the side bar ‘‘note’’ on how to remove the body.
It is easier to ask a question here and get the right answer first and quickly. Sometimes getting more then one answer to start because sometimes we really do not know which version you have if not detailed in the opening question.
Now your second question.
Lets say the DCC ready engine is made in the year 2015 and recommendations are made for a decoder manufactured in 2015 or prior and you just bought it now, even though it is “new” to you in the year 2021. Would you not want a current up to date DCC decoder and not one that is outdated? Again, ask a question here and get current recommendations, pros and cons.
Back to your first question…yes I like to see detailed parts sheets with each part numbered and named included in the box with each engine.
I find the “how to install a decoder” notes included with later Lifelike Proto 2000 locomotives very useful. Bulb voltage and any wiring specific information is what’s needed. The decoder makers are a better source for recommendations or feature lists for particular decoders. In that regard TCS probably leads that industry with its detailed how to and decoder recommendation pages. Those pages certainly steer me toward using TCS decoders.
Easy with 8 Pin, 21 Pin, etc… but really tricky when you get into “Brand A” vrs “Brand B” vrs “Brand C” debates… And I left out Brands D-Z…
And, let’s say they reccomended a “Brand A Decoder part 1234” but Brand A decoder has moved onto part 5678 as a replacement to 4567 which replaced 3456… Etc…
Basic info like the 8, 21, etc… wil remain correct, but part number and brand may not. Plus, Brand A might quit making 8 Pin decoders, so now you are forced with Brand B or C, etc…
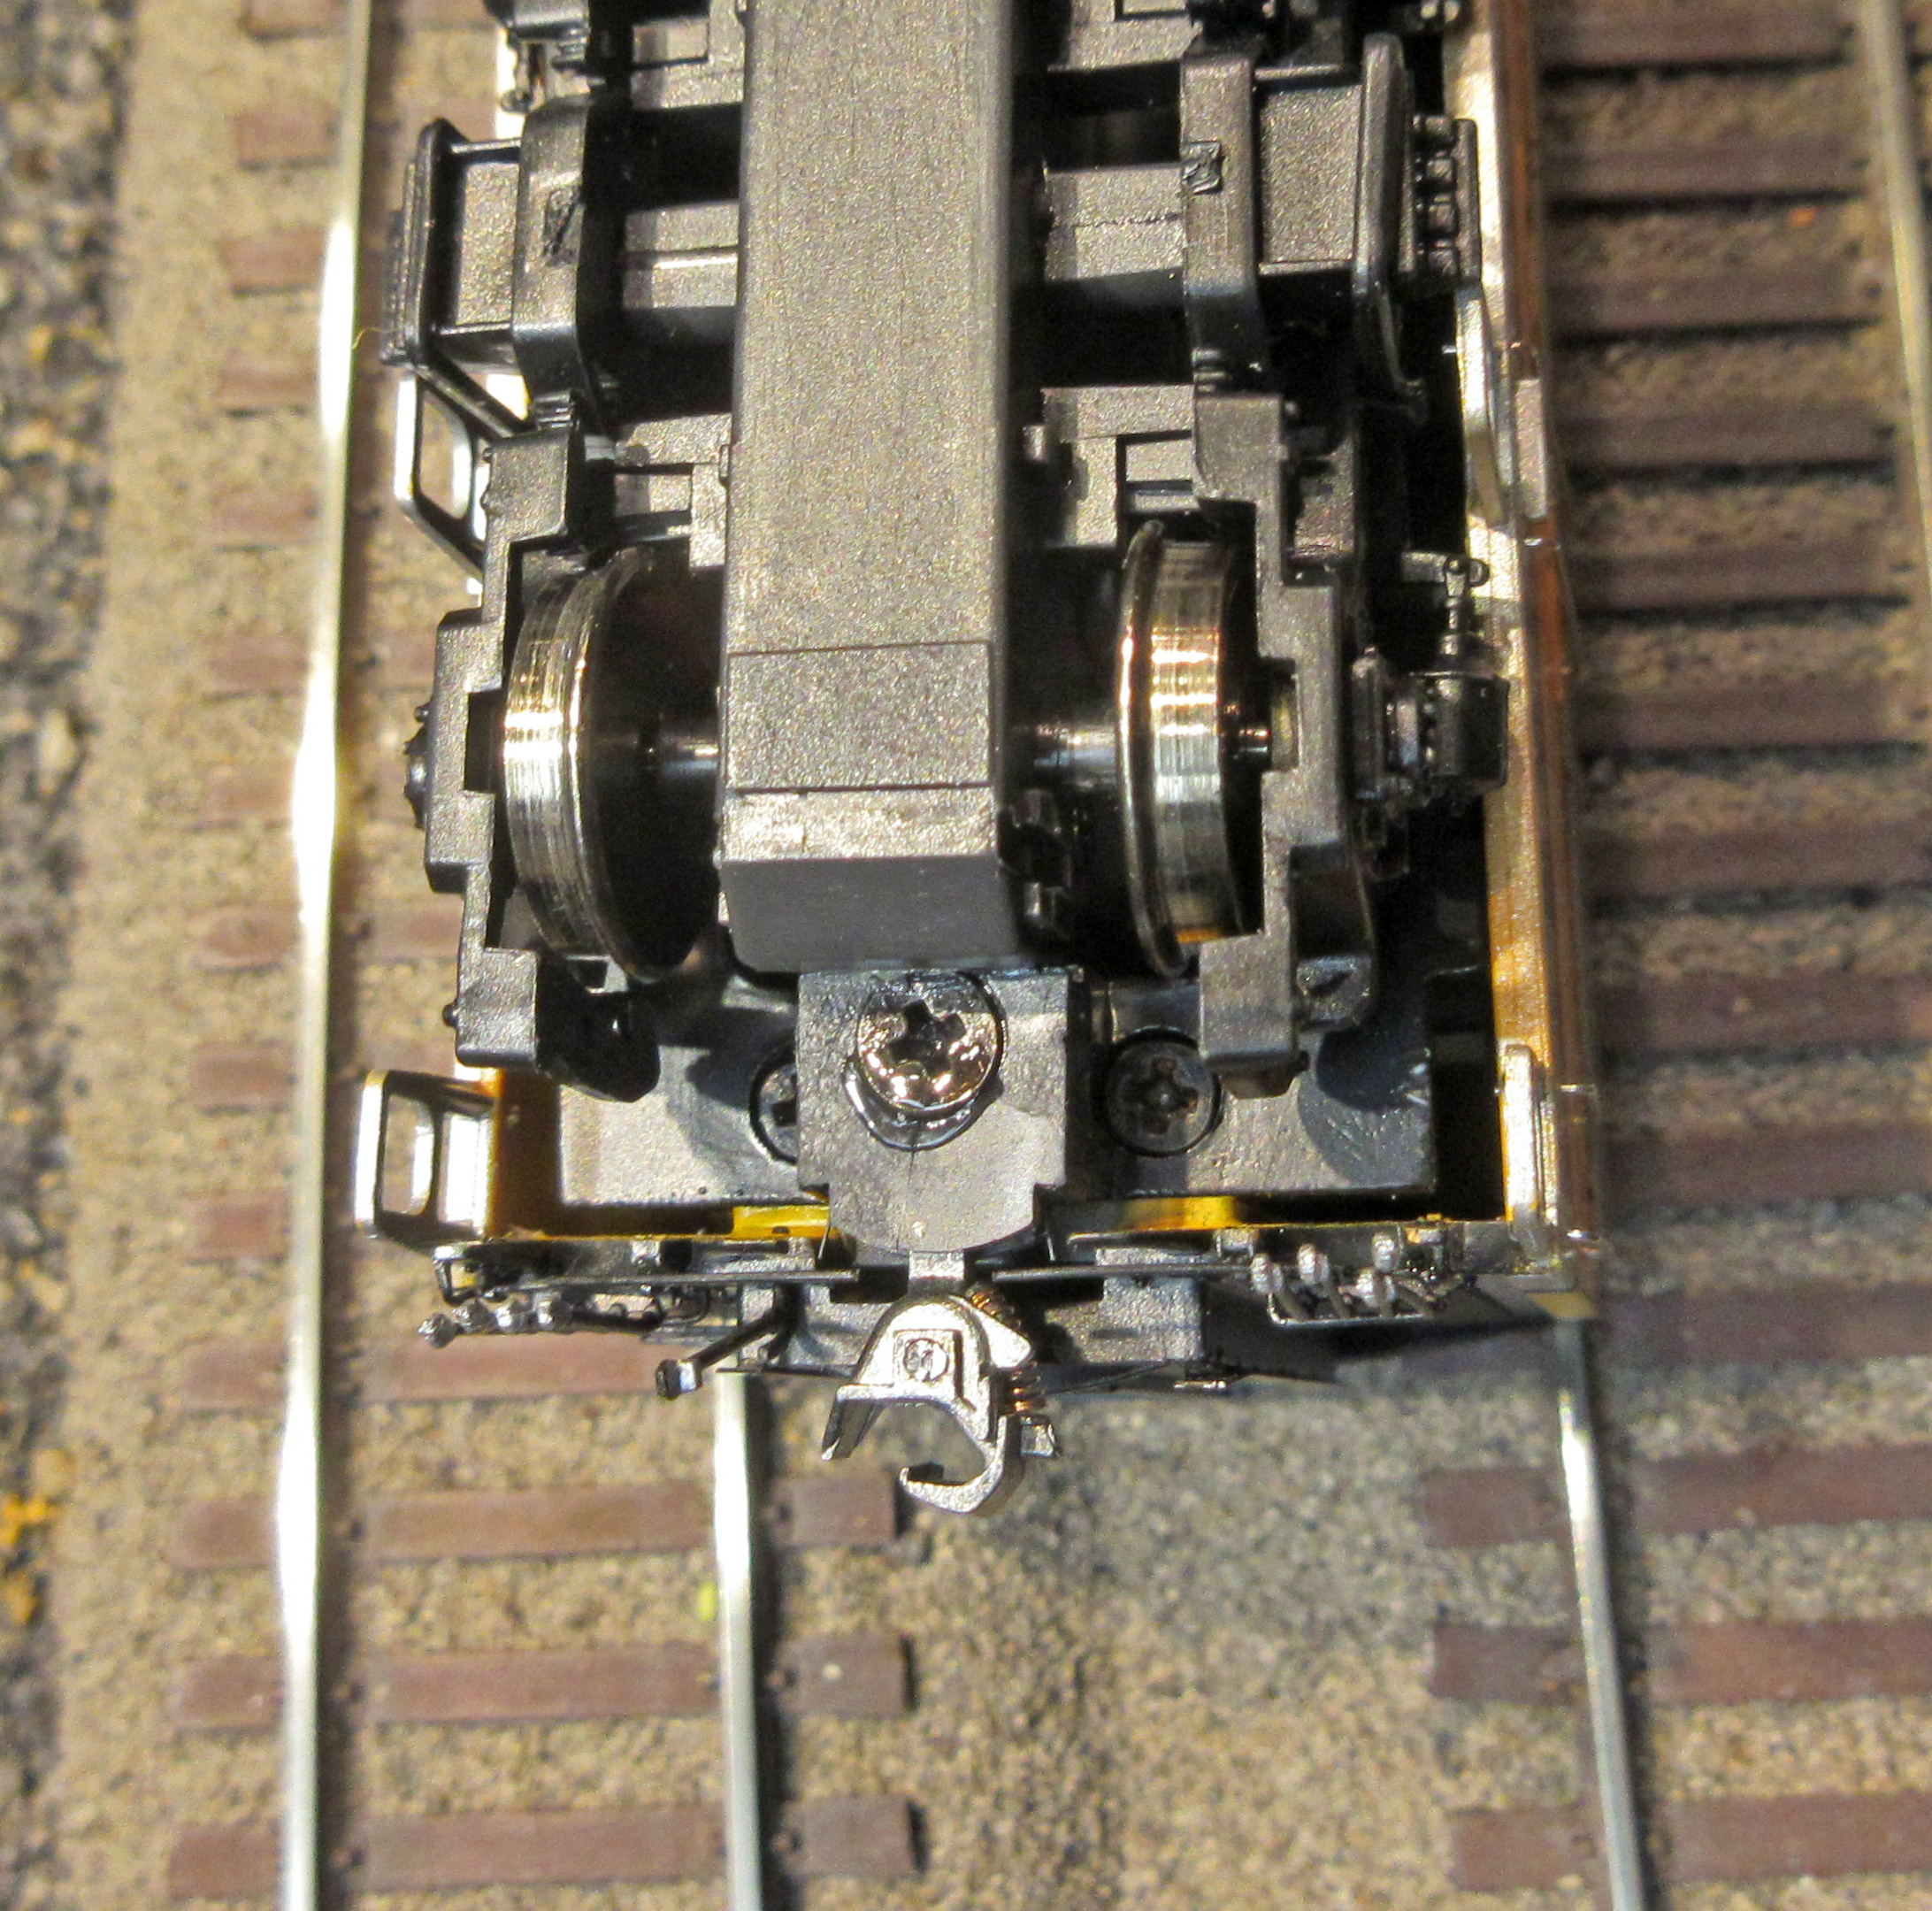
I’m back with another F B unit shell that I cannot remove. Not sure if it is an Athearn though (the shell is a Highliner, that I know). I want to replace the MRC decoder that came with it with a Soundtraxx. I bought this on line, but don’t remember if it was an Athearn Genesis or not. It does not have screws to remove on either end like the newer Genesis has, and removing the couplers did nothing. I tried to wedge flat screwdrivers on the side panels, but it will just not drop out. I took a photo of the bottom so you guys can maybe tell me if this is in fact, an Athearn Genesis or some other model.
I’ll start with this, ‘‘Early’’ Athearn Genesis had the HighLiner body. See my first post after your original post above.
Maybe this will help. In my picture here, Top loco’s bottom view of the ‘‘newer’’ Genisis, bottom loco’s bottom view of the ‘‘older’’ Genisis with Highliner body. Look at the fuel tank and you can see the different details.
Maybe you can send another picture.
Edit; I kind of remember that I had loco with a Highliner body and the Highliner writing inside the shell was ground away.
This is not specific to your question, but just general advice for shell removal.
A few years ago a member on this forum suggested I buy a set of “spudger” tools for disassembling cell phones. I obtained a set from Amazon for less than $20.00, and they have been very helpful in all kinds of these situations.
Whether you use flat screwdrivers, or toothpicks as Tom Stage previously suggested, here is my suggestion. Turn the locomotive upside down in a foam cradle and then use the screwdrivers or toothpicks to separate the shell from the frame. That will permit you to look down at the shell to see of there are notches or pins or whatever that have to be cleared to get that shell off the frame. On my Athearn Genesis locos, I use toothpicks for this purpose.
When I fit an Intermountain F7B shell to a newer Athearn RTR chassis I had to shave off two wedge shaped clips on each of the the fuel tank shrouds and open up the slots in those parts slightly to match the four powder coated tabs on the Chassis. Look in those slots to see if the chassis is somehow jammed into the shell.
I had thought Intermountain shells were pretty much the same as the Highliner. The Intermountain shell just “slips” on and off by slightly springing the shell in the areas of the fuel tank releasing the tabs from those slots. Factory assembled Intermountain F7 fit the opposite way, the tabs are moulded into the shell and fit into slots in the chassis.