I posted this on the construction thread for my Free-moN Effett Staging Yard, but thought it might be found easier in it’s own thread, as well as provide a better place for people to share their own methods for plank-by-plank scratchbuilding.
I finally finished some videos showing how I scratchbuild simple wooden structures like this:
Hopefully the videos will help take some of the mystery out of scratchbuilding plank by plank and inspire people to build their own structures instead of building the same kits as every other layout.
I built this shed very quickly (about two hours total, including drying times) to get it on the Silicon Valley Free-moN Effett Yard module before the GTE show a couple weeks ago, so it’s not the most complicated structure nor the most detailed (the yard is called “Effett” for a reason!)
But if I can do this in a couple of hours in N scale, imagine what you can do over a day or two!
Looking forward to seeing other methods & techniques for plank-by-plank construction!
The same techniques I used in the video for the simple shed I used to create more complex structures like the coaling tower on the Effett Yard Free-moN module:
As well as all the structures on my Mt. Coffin & Columbia River layout:
[Including the boxcab shell]
I’d love to see other’s plank-by-plank efforts!
Thanks for looking.
My wife always wondered why I spend $50.00 on a laser kit that contains $5.00 worth of wood.[(-D] I agreed with her and had already decided to start scratch building. Your excellent tutorial just reaffirmed my thoughts on doing it from scratch. Thanks.
Using Google earth with its measuring tool helps us get dimensions for many structures, however determining dimensions on the horizontal from photo’s can prove tricky at times. Do you have any thoughts or ideas on that?
I don’t have much “plank-by-plank” construction on my layout yet, but there is some.
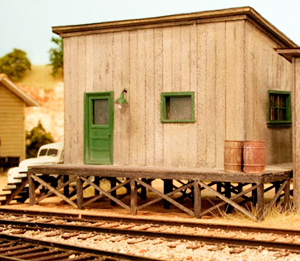
The dump shed on this converted coal dealer’s bin was done as individual styrene planks. I used a razor saw, dragged lengthwise over a long strip of 1"x12" styrene, to distress the “wood” somewhat, then used various size drill bits in a pin vise to add the knotholes.
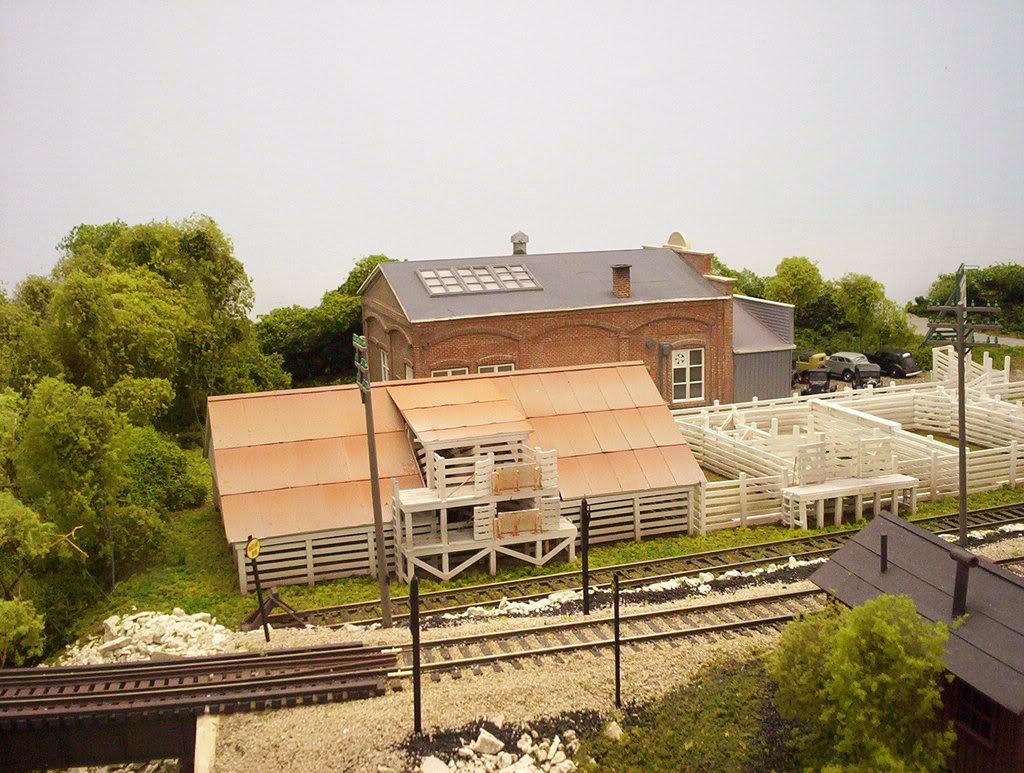
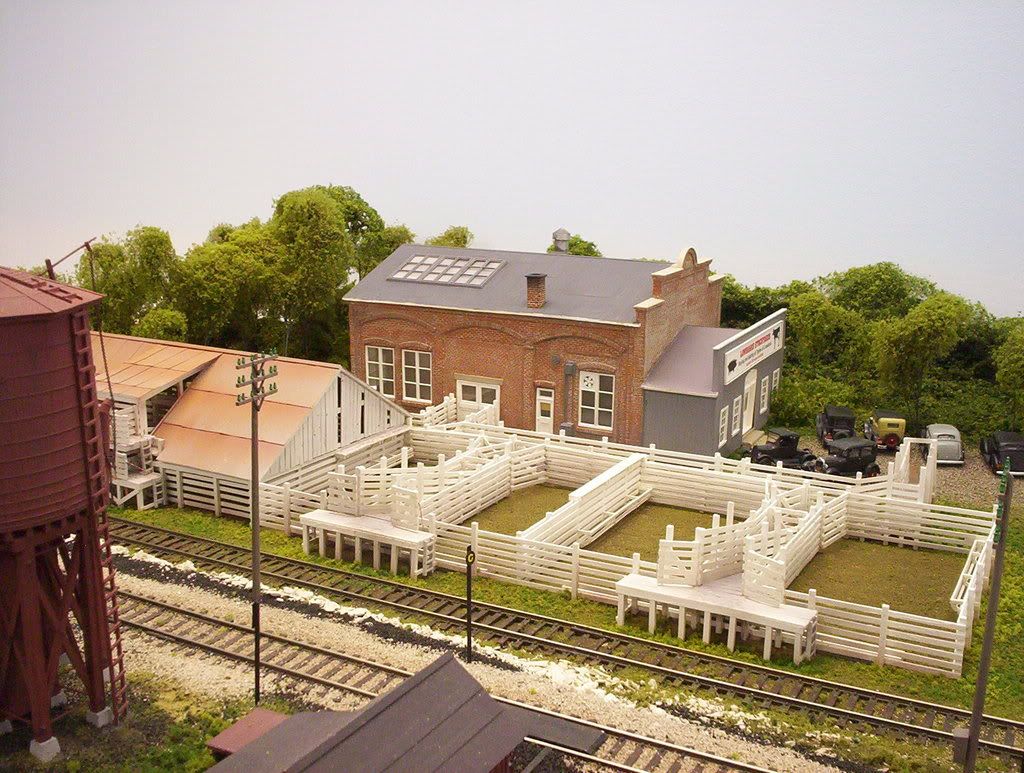
This stockyard (and a couple of smaller ones elsewhere) were built in the same manner, mostly as sub-assemblies, then put together at their final location.
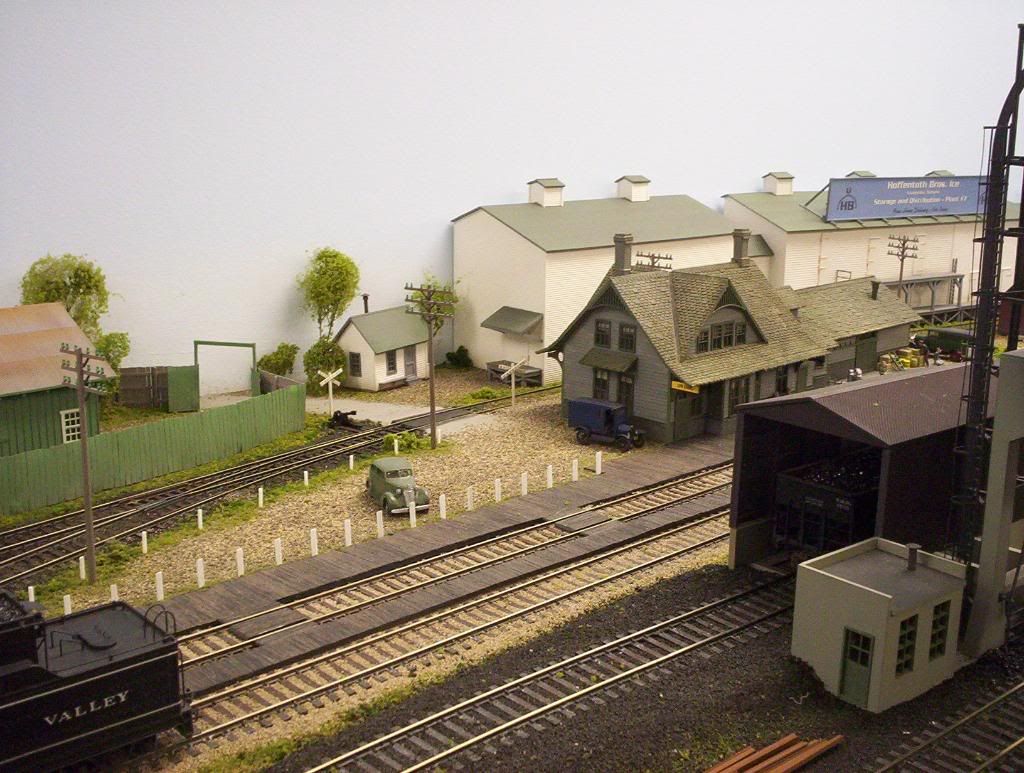
All three of the structures seen below have board-by-board decks on the loading docks and platforms, again, all using styrene.
The green fence and the “wooden” platforms, both longer than visible here, are also built-up from individual styrene planks:
There are a number of these small platforms at team tracks around
Scratch building is the ultimate solution to hold costs down, and if you are good at the effort, make something far better than any kit out there at any price! It turns into a matter of time over dollars. Which do you have the most of? Probably 50% of the expensive laser cut kits are further customized or kit bashed during assembly anyway.
Unless someone has five thumbs on each hand and is virtually blind, scratch building makes a whole lot of sense and makes your road something even more of your own creation.
I tend to do more construction that fakes being board-by-board construction, but I’m both lazy and like to build huge structures.
I do turn to the planks for getting that special look, to duplicate prototypes that wouldn’t look right if done differently, or sometimes just because it’s the easiest things to do. That sounds counter intuitive, but some projects are just easier to do this way by freehanding them. In my case, it’s snowsheds, which are made from stained coffe stirrer sticks with the round ends cut off.
This one is the snowshed that disguises a converted to HOn3 Atlas turntable at Animas Forks. It does have a plastic lid concealed inside to help act as a former for the roof, but other than that I just roughed it up as I went so that it would conform to the terrain.
These are the snowsheds on the line up to Animas Forks from Eureka. I am assuming I built mine better than Otto Mears did, because his didn’t last through the first winter after being built – and mine have[:D] This series of pics shows how I built it to fit.
Mike, your snowsheds probably would’ve lasted outdoors through a real winter. They look well-framed and sturdily built. [tup] I should’ve mailed my left-over stripwood to you. [swg]
Plank by Plank construction?? One of my favorites!! I use alcohol and shoe dye stained timbers for lots of scratch building projects. For structures, I generally prefer to build a shell of foam core board or styrene and cover it with planks.
Here are a few examples:
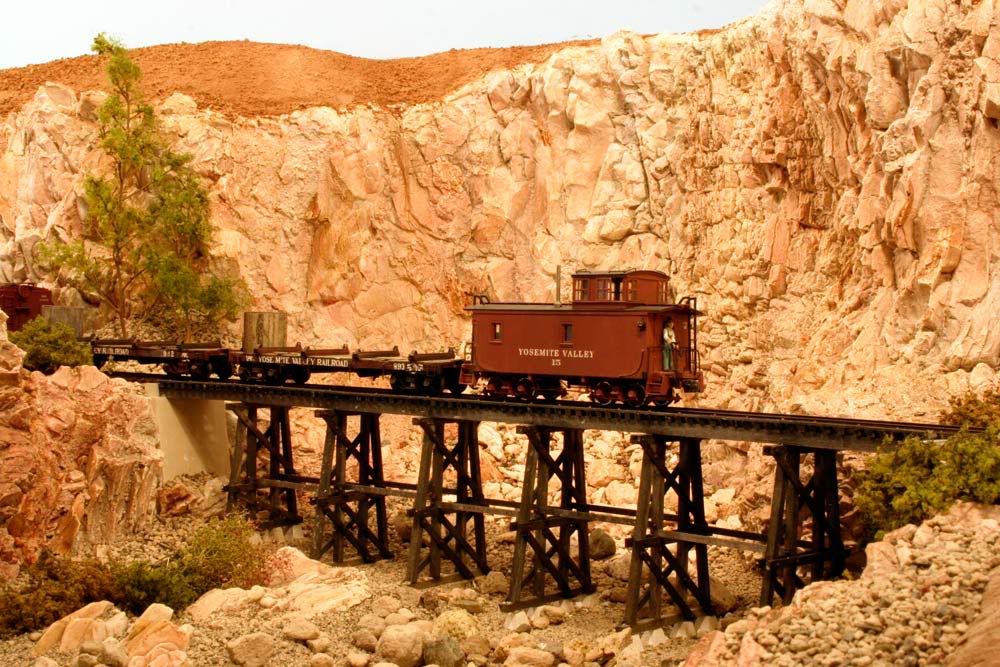
Here is a trestle built from strip wood from Yosemite Valley plans:
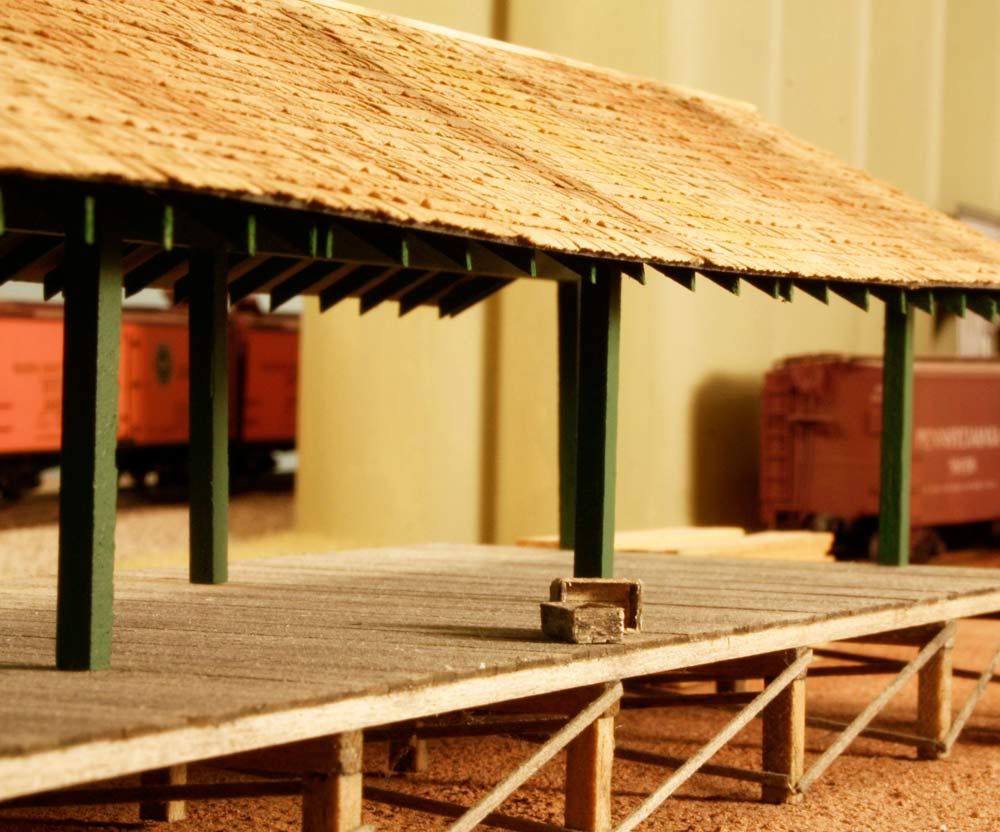
Here is a strip wood deck on a Campbell Produce shed (I have lots of strip wood decks on the layout):
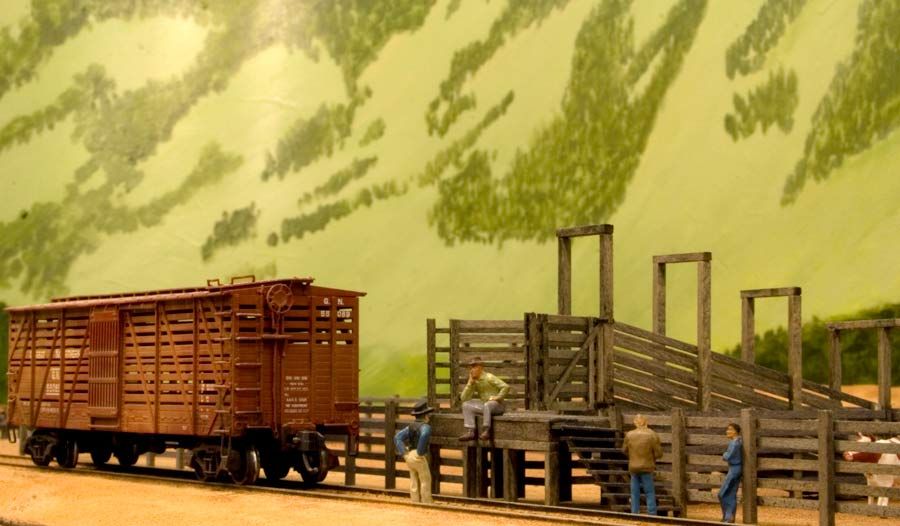
Here is a scratch built cattle pen from SP plans:
Here is a Station from the Hetch-Hetchy line that is planks over foam core:
Thanks for your comments. I suspect Mears got his engineering help pretty cheap, as the pics I’ve seen of the SNRR snowshed weren’t very impressive. The spot it’s in is a tough one. Thank goodness my model engineers don’t have to worry about that.[;)]
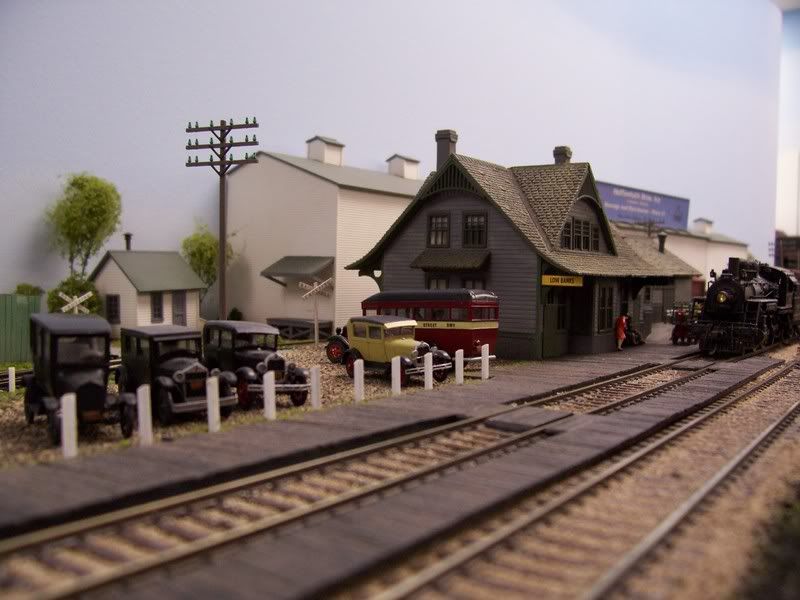
OK , I will give you Guys and Gals a laugh. Here is my first try at scratch building a storage shed at a farm and home supply store. Acually I think I have too much light on the subject, it looks a little better in real life.
I was trying to represent a small town in the early 50s and yes I could not find the correct motorized equipment. [:-^]


