I have an area on my layout that is in dire need of near vertical rock walls. This area is part of the logging railroad in the mountains. I’ve seen photos of this done using some type plaster or hydrocal, carved when it is still wet, at least I think that is how it is achieved. I know that rock castings may have been interpersed here and there, but it looks as though most of it is done as described. This area is made of foam and can be taken off the layout and laid on its side to make it easier to work on. What I’m after is the naturally occurring rock cliffs found in mountainous areas, without using rock castings.
My questions
1- what material is mostly used to do this ‘rock’ work ?
2- how is it mixed, thick, thicker etc.?
3- how long is the ‘working’ time before it dries?
4- any special treatment for the foam, prewetting maybe, beforehand?
5- problems to avoid?
I can’t think of anything else to ask so if you have anything to add I’d appreciate it. Photos would be great also!
Here’s a pic of one I have in progress. I just started painting it last night. There are molds availabe with different patterns from rock to brick etc. Just get some molding plaster or lightweight hydrocal and mix it to the consistency of toothpaste or a little wetter and put it on the mold. Then press the mold against the wall you are doing. After about an hour the mold will pull off easily. Complete dry time is a day or 2 depending on humidity.
Another option are products like these from scenic express. If mine don’t turn out as planned I still might switch to one of these. The ones on page 14 of this pdf are flexible and look pretty good.
These are made of rubber, and a little pricey…but are excellent IMO. Hot glue into place, cut to fit, they come already colored, but you can add more to change the tint if desired.
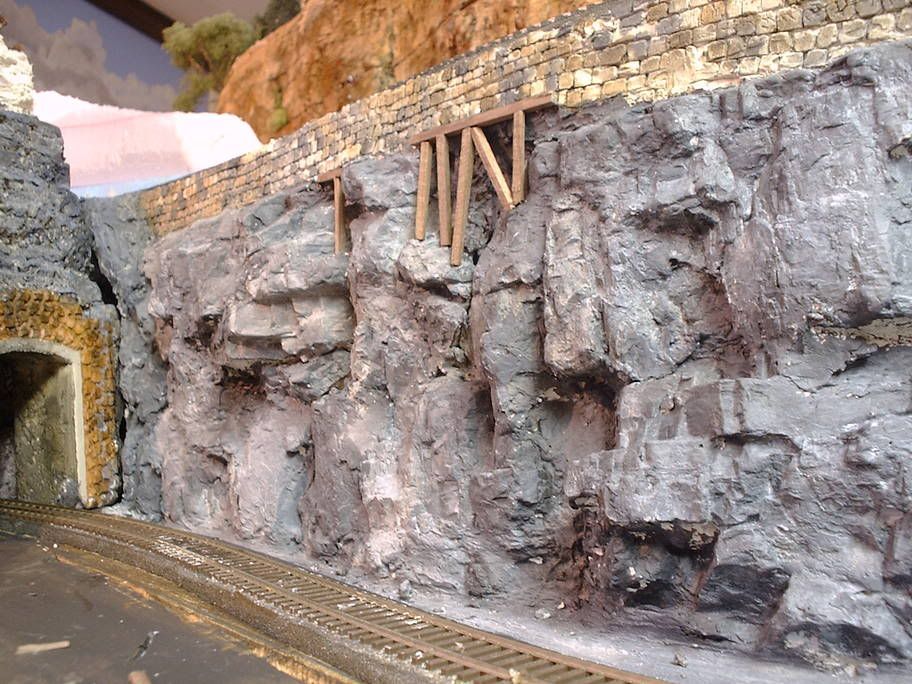
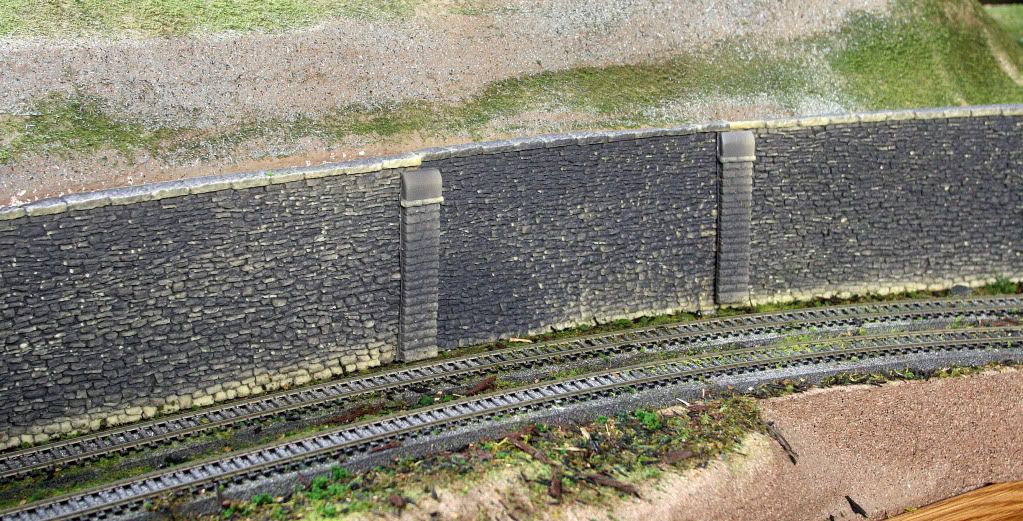
I like carved foam. Here are some walls I did when I first started out three years ago. I use a knife to cut in and flick out the piece. I think it gives a chipped finish.
Just one of many ways to do a wall. I use the rock molds to make a wall that is eroded with the rocks emerging from sod or dirt bank.
Just a suggestion.
P.S. To quote an unnamed sculptor, you just cut away everything that doesn’t look like a rock face.[:-^]
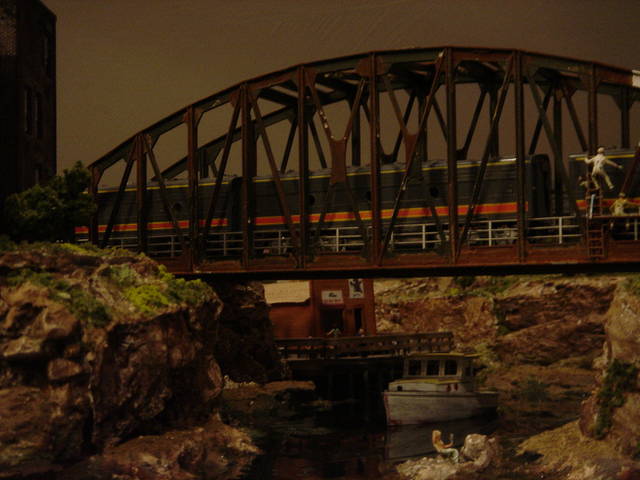
Here’s one under construction. The colours are very bright because of the flash. They are much toned down in person. It’s made out of Pink Salmon coloured foam. So far so good.
I am going to be making a deep canyon wall where I will use the face of the foam instead of stacking it. I will glue caulk chunks on it for contour. We’ll see how that turns out. It will be about 30" deep. The thing about foam is, if you make a mistake or are just not happy with the result you can easily caulk chunks back on, or just carve a little more, or just start over.[C):-)]
Hi Jarrell: This rock wall was made using a combination of Sculptamold/ Gypsolite, worked with a small artist’s trowel. I also used broken, layered ceiling tile for some of the wall for variety. DJ.
Sheer rock walls would necessarily be granite or basalt, as natural erosion and weathering in nature would create slopes of boulders and pebbles at the base. You might want to consider leaving space for warning fences (wire fences that falling rock, boulders, etc would break and set red signals). In any even, unless you are a sculptor of advanced ability, you could not carve rock to match the real thing. Therefore, I suggest you get some liquid latex and go looking for real rocks that provide scale rock faces. Apply a couple of coats of latex at the site, (unless the rock is small enough to bring home: I have a garden full now), and peal off. Place cheesecloth on the back side, and apply several more coats of latex. This will help pervent the mold from cracking later.
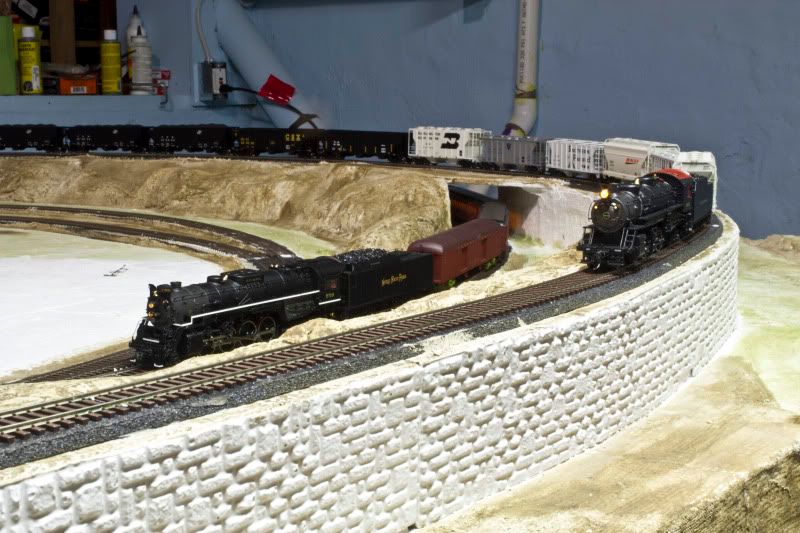
I recommend Hydrocal B-11, based of 30 years experience with it. It should be mixed to a thick soup consistency, and applied to the mold, then pressed into place. I use screen wire for the base instead of foam, as it allows more room behind for other tracks. To this, I apply 2-ply kitchen towleing cut into 4" squares, and dipped in thin-soup Hydrocal. When dry, it should be misted with water to assure the hydrocal in the mold will adhere when pressed against it.
Coloring may be done with Acrylic paints, thinned to “washes”. Raw Umber, Burnt Umber, Yellow, Black, and other browns, plus Red should provide enough different shades. (Be very sparing with the red, a toothpick-end worth will cause an amazing change in the color of your mix). If you have strata in your mold, consider brushing it with a slightly different color from adjacent areas, I recommend coloring with brushes instead of spraying, as it allows better control of color placement
One consideration: If your track goes through “cuts”, they would probably be better done as sloping dirt, as cutting through granite rocks would be expensive for a logging road. Some of my home-r
These are made using Bragdon Foam, from www.bragdonent.com. I used one of the Bragdon molds, too.
The foam is a 2-part mixture. It sets up pretty quickly, but can be softened and re-shaped with a hair dryer. It’s easy to cut with a knife. There is a bit of a learning curve, but once you’ve actually used it, you may decide it’s the way to go for those “signature” spots on your layout where only the best will do. The basic starter kit comes with instructions, and they will help you through it via e-mail if you have questions.
Wow, thanks for all the suggestions and pictures everybody. I’m just going to have to make up my mind which method I want to use and go for it. If it don’t come out good, I’ll rip it out and start over again.
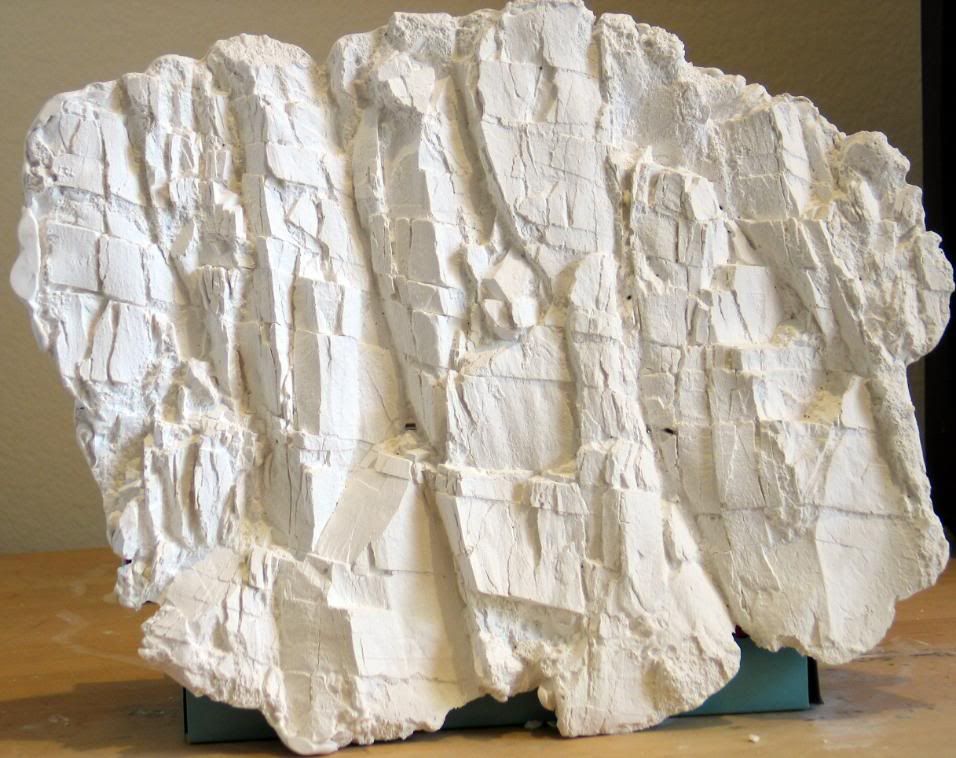
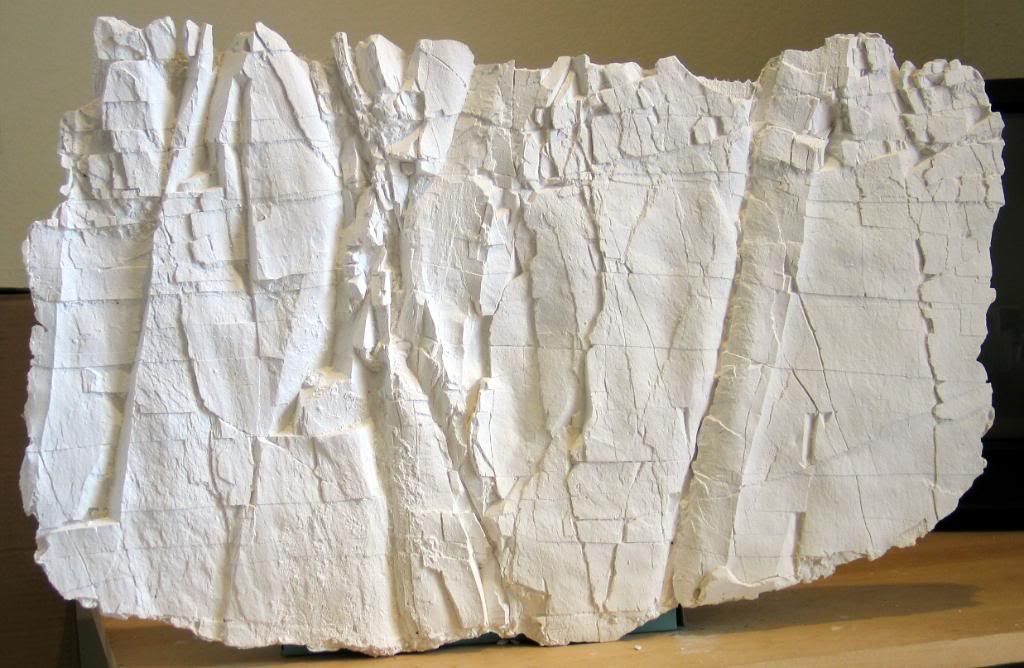
I’ll second the motion for Bragdon molds. The level of detail in the molds is wonderful…these photos are raw castings I made using 2 different Bragdon molds.
I used white art plaster to cast them, letting the mix set up to the consistency of pancake batter before pouring into the mold. The mold can be applied to the scenery while still wet if desired, allowing the mold to follow the contours of the scenery base. I let the mix set in the mold for about 2-3 minutes before applying to the terrain I was working on.
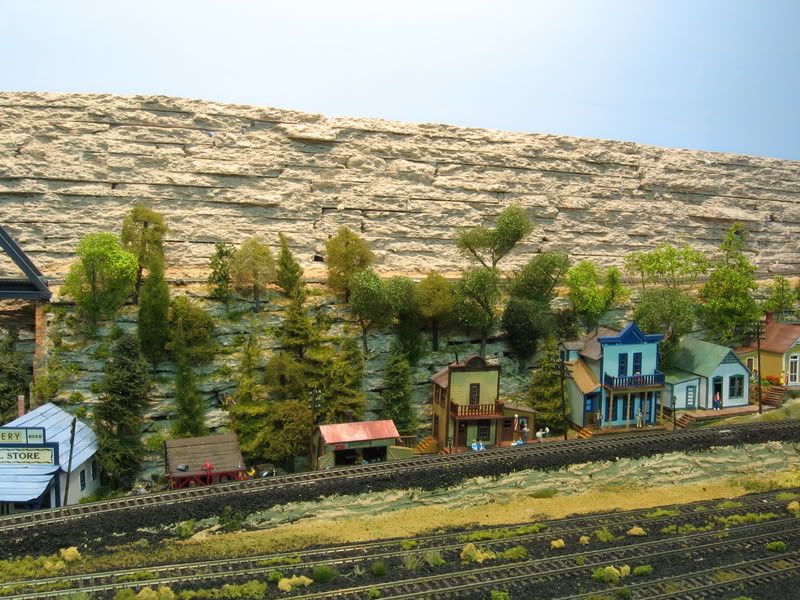
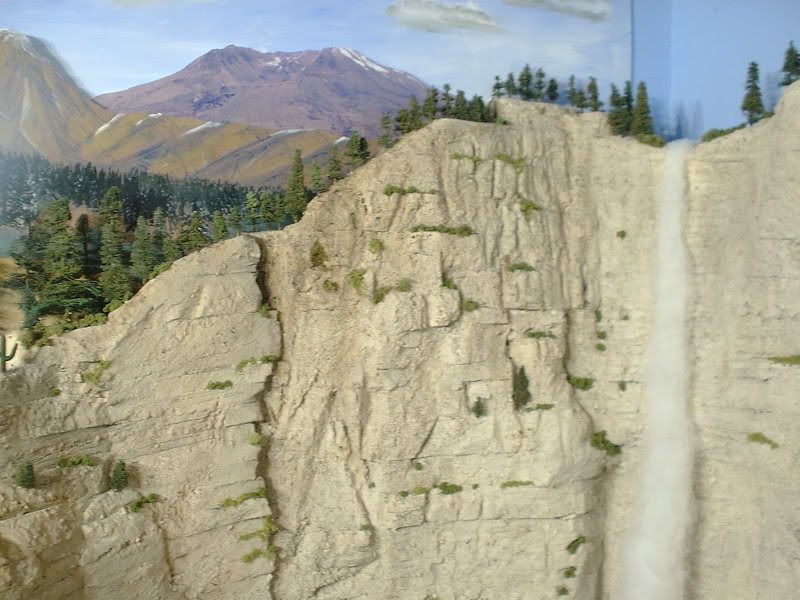
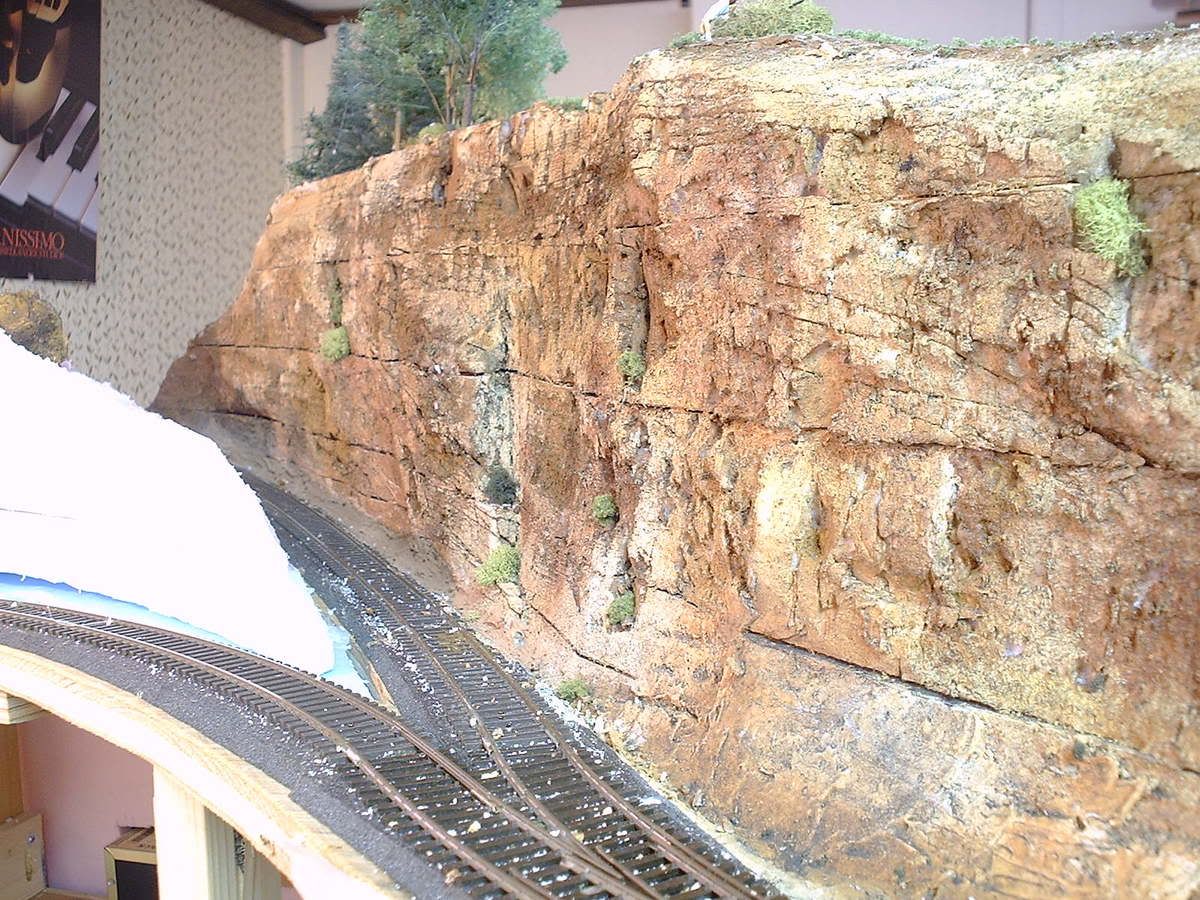
I don’t know whether this will help or not, because you’re modeling Eastern rockwork and this is Western Sierra Nevada, which means the geology might be somewhat different, but here’s a shot of the sheer Sierra Buttes that I’m working on (still!) and they’re made out of a combination of Cripplebush rubber rocks and Sculptamold using Bragdon castings. I mix the Sculptamold 50/50 with water and let it set up in the casting for about 20 minutes before I apply it. However, the resulting casting has a nice ‘rough’ rock texture to it and allows about 30-60 minutes to ‘work’ before it really sets up.


 [IMG]
[IMG]