Hello all,
Has anyone ever built a shelf layout in modules? I live in an apartment so modifying the room is not an option. However, The layout will eventually be in a 20x 30 room and I would like to make the layout into a large one comprised of all of these modules. I am planning on building a section at a time then moving it 500 miles to attach it to the rest of the layout after they are completed. . I am going to be running dcc( hopefully) but not the switch machines as they will be controlled on the front panel. of each section. I was going to make the base of each module from foam with a wood frame. Is there any suggestions that you guys would make before I gat too far into this?
Question 2.
Has anyone ever made a dual gauge turnout that changes over to single gauge? I have the templates to make my own dual gauge turnouts but would like to be able to switch the narrow gauge off of the mainline with out the mainline standard guage swutching. Is it possible? a dual gauge turnout would look not very prototypical…
I have two thoughts on your quesstion about a shelf layout:
-
Buy a copy of the Kalmbach publication, written by Iain Rice, “Shelf Layouts.” The author offers not only suggested track plans but also suggestions as to how to build a modular shelf layout.
-
Check out back issues of Railroad Model Craftsman for several articles written by Don Spiro about his experience building a shelf layout in a smallish room. He used modular wall brackets for a 2-foot wide layout. His approach struck me as being eminently inexpensive and easy to build, with the advantage of offering easily configured below-the-layout shelf storage. The gal at RMC who handles back issues is very helpful in locating what you need.
My German layout has had a station on a shelf in modules, my station Naumburg. You can see it in the videos.
Wolfgang
Thanks.
I will deffinatly check it out!
wolfgang,
do you have a diagram that I can follow for a cross over on the HOn3? That would be great.
Thanks
Glen
Hi Lost,
I’m in the process of doing the same thing. I am in the process of building rooms in my basement and when my room is done(man cave) is done I’m going to build my new layout. But in the mean time I’m starting to build the layout in sections for something to do. Here is a link to my current post about my section. I built 2’x5’ section with 1x4 pine boards for the frame with 1/4" or was it 1/2" OSB ( I suffer from CRS) . And that’s topped off with 1&1/2" blue foam board.
http://cs.trains.com/trccs/forums/t/163075.aspx
Good luck, so far I’ve enjoyed my small section work and I’m hoping it will help me from becoming too overwhelmed like I was when I had my bigger layout. Sorry, I have no idea’s about the dual gauge turnout.
RE Question 2.
Is this what you are looking to do?
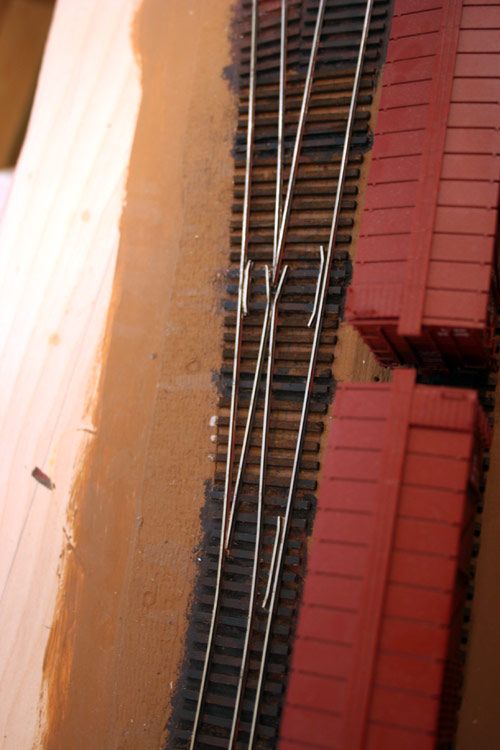
It is scratchbuilt. Wasn’t too difficult. Used PC ties and ME rail. Currently the narrow gauge leg is unpowered. Cars run through fine, to run locos to the narrow gauge siding would require power routing the frog or isolating it and leaving it dead.
Guy
Guy,
That’s exactly what I was looking for! could you post a picture with the point showing. That is what is confusing the he-- out of me!
Guy,
Nevermind…LOL a major Duh moment… LOL I would still like to see the whole thing from dual gauge to narrow.
Thanks
Glen
I could also use a diagram for one of these…
Thank you
Glen
Glen,
this is the best shot I have at my fingertips right now.
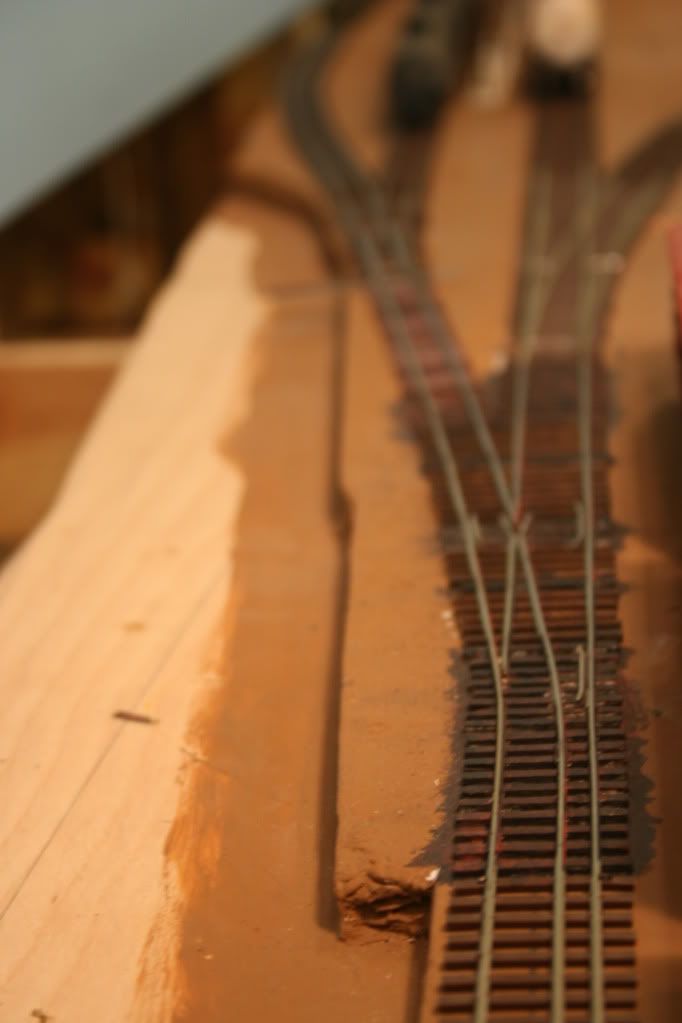
Here is a switch modification to an ME turnout to add a narrow gauge through track. Thought you might like to see…
Guy
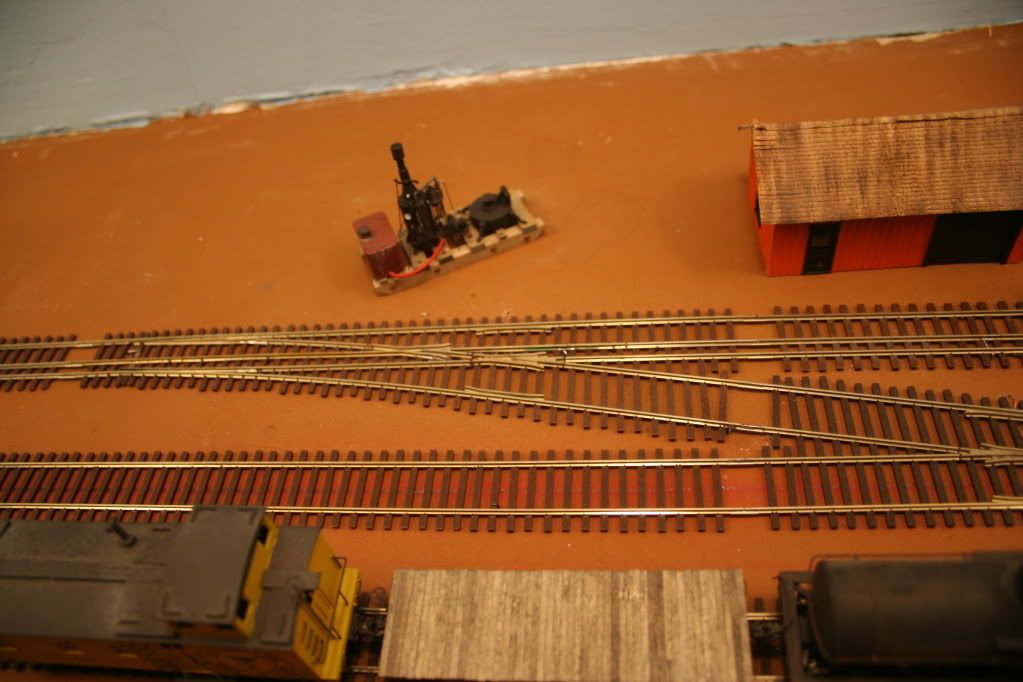
Here are examples of “simple” dual gauge.
Narrow gauge coming off of dual gauge requiring only a n.g. turnout and extra guard rail.

Standard gauge coming off of dual gauge requiring only a s.g. turnout and extra frog and guard rails. Dual-gauge crossings are simpler yet.

My apologies for the solder blobs. The feeders need to be redone.
Thanks guys! that’s exactly what I am looking for! What do you guys use for road base? My original base used a ruberzed road base that Caboose hobbies used to sell (discontinued) and now I am pondering about homosote… Do you have any Ideas? I am going to be using alot of risers since most of my modeling is going to be mountainous (kind of modeling the best of Colorado railroads) with cliffs. I know that some of my sections are going to have places where the section in the middle has a drop for a ravine. Not much on my layout is going to be flat. Descisions decisions…I think that I must have designed this 7 or 8 times now each with a differnt configuration for my houses that I lived in or owned. Hence, part of the reason for me building in sections. Now I have decided to just build it to fit down at my mom’s as a final resting place for it.
All ideas are appreciated!
Glen
I used Homabed on top of half-inch plywood. Homabed is manufactured from homasote and is pre-shaped and is more uniform than 4-by-8 sheets of homasote. It is great stuff. I purchased mine from the original manufacturer who has since sold the business to a northern California firm.
Mark
Mark is using the premium stuff, I am using 4X8 sheets of homasote and sanding, etc to get a smooth flat surface. I am gluing to 3/4 plywood on the lower deck, 1/2 on the upper deck. In certain cases the homasote was overkill as I have a relatively small amount of special track work. Its mostly flex track and ME no.6’ turnouts along with Turnouts from Shinohara, Railway engineering, Peco etc thrown in.
I generally like to avoid hand laying because I want to get the layout up and running and I enjoy other parts of the hobby more than track work. However, I do love the look of well done hand laid track.
Guy