Since I am getting ready to lay track, I will be using atlas code 100 flex track. I was thinking of soldering 2-3 sections together before laying them, especially on curves. Is this a good idea or will I encounter problems I didn’t think of if I do it this was. I thought it would be easier to do the curves if I had sections soldered together before hand.
You can solder two pieces before bending them, but no more. When you bend flex track, one rail slides through the ties. If you have only one joint, the rail can move at the distal (far) ends. If either of those ends is soldered, it will not be able to move.
I did it one time and did not like it. Maybe if I had only did 2 sections and not 3 it could have worked better.
What I do now is lay half the section, then solder the next piece to what is spiked down and keep going.
Cuda Ken
Soldering more than two pieces together before bending into the desired curve requires the removal of too many crossties.
What I have done is solder two pieces together, curve the first two pieces, and then solder the third piece if you need more than two.
Solder the joint while the pieces are straight to avoid kinks.
It should be a hard and fast rule - always solder joints on curves. Two pieces, lay and trim end. Attach next section, solder before bending, then bend, spike and trim. Unsoldered joints on a curve are a kink waiting to happen.
I solder 2 sections together for curves. 6 feet of weaving track is hard enough to handle, 9 feet would be downright impossible. 2 sections is enough for a 90 degree curve up to over 40" radius, so there is little need to make up a longer section. I generally only solder the curves, but for some long straights I soldered 2 pieces together as well, the additional track at either end of the 2 soldered pieces is left unsoldered. I do not solder track to turnouts, if any track is ever goign to have to come out for repair or repalcement it’s most likely a turnout, so I can just slide all the joiners back and lift one out if need be.
–Randy
On my first two layouts, I did not solder any flex track, not even on the curves. The resulting kinks led to innumerable derailments.
Now, when laying flex track, I solder two lengths of flex track together for each portion of flex track. No more kinks, no more derailments.
For the inexperienced track layers, only solder the outside of the connecting rails, not the inside of the connecting rails. There is a good reason for that. LOL
Rich
Forgive my rookie questions. I will soon be laying track also (Atlas Code 83).
If you solder both sides of the flex track won’t that prevent the loose rail from sliding?
What is the recommended wattage of a soldiering iron and is there any special soldier that should be used?
Should I drill the guide hole for the tortoise switch machine before turnouts are fixed in place? I am talking about the wire that attches to the turnout throw bar.
Thanks for any help anyone can give me.
Hello “Woodman,”
I solder every joint in flextrack curves, but I do it as I go rather than joining straight pieces before curving them. Here’s the procedure:
-
Bend and secure the first piece entering the curve, but leave the last couple inches straight.
-
Trim the rail ends square, join the next piece of flextrack with rail joiners, and solder while the second piece of track is still straight.
-
Bend and secure the second piece of flextrack, repeating these steps when you approach the end of the second piece.
This method is illustrated in our August 2009 special issue, “How To Build Realistic Reliable Track,” which is available on this website and from customerservice@kalmbach.com. See my article, “Make kink-less curved rail joints,” on page 78.
So long,
Andy
There are lots of opinions on the recommended wattage for soldering track. I advise using a 35-45 watt pencil iron with a small conical tip.
Get yourself a bottle of liquid or paste RESIN flux, do not use acid flux, regardless of what some “experts” will tell you it has no place in the modelers toolbox.
Use RESIN core solder only. Get the smallest diameter of electronic solder you can find. I use .032 inch diameter solder or smaller. Electronic solder is an alloy containing tin and lead. The best electronic solder is 63/37. This solder has the lowest melting point. If 63/37 is hard to find, use 60/40.
Clean the area to be soldered with a scratch brush, etc. Even new track can be oxidized or have contaminants on it.
Apply a small amount of flux to the joint area with a micro brush. Lay the tip of your iron against the base of the rail and a second later apply the solder to the junction of the iron and the rail. Allow the solder to flow into the joiner and joint but do not glob it on. Try not to heat the rail more than about 5 seconds to avoid melting ties. Using a heat sink, (alligator clip etc) either side of the joint can help draw excess heat out of the rail and away from plastic ties.
A good joint will appear smooth and shiny. Rough dull joints are indicative of cold solders, which will have poor mechanical strength and less than ideal electrical continuity.
Soldering only on the outside of the rail will avoid any solder interfering with wheel flanges on your rolling stock. Use the scratch brush to ligh
Actually, it’s ROSIN core solder, not RESIN core. Same with separate flux. Also, if you have access to an electronics outlet, such as Mouser or Digi-Key, you might try a no-clean electronic solder. It’s mostly isopropyl alcohol, and doesn’t leave a sticky mess to be cleaned up if too much is used. It’s action can be boosted with 90% isopropyl, as well. In fact, regardless of which type of flux, it’s always good to clean a solder joint with the alcohol. A bit of paper towel can serve as a sponge to pick up the residue.
I’d use a roughly 40 Watt iron with a screwdriver tip. They seem to heat that type of joint faster than a round or cone tip. In fact, I don’t remember using a round tip for anything in over 25 years.
I use pretty much the same procedure as outlined by Andy, but I solder all of the track together, then cut electrical gaps, as required, with a cut-off disc in my Dremel. I prefer a soldering iron with a chisel tip and have used ones from 40-200 watts.
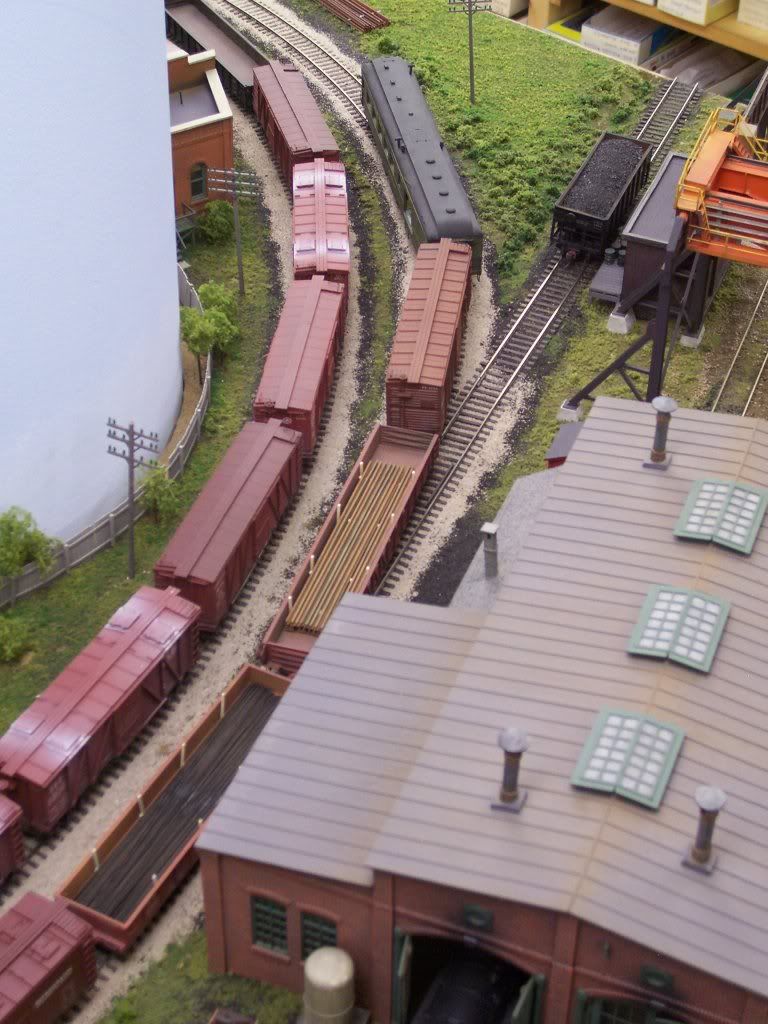
Randy, even turnouts soldered in place are easy to remove - simply re-heat the joint, then push the joiner out of the way. I removed a curved turnout from one of these tracks (near where the combine is sitting) and a regular turnout from the other track (beyond the top of the photo) that formed a crossover - it was too close to other ones nearby and not operationally practical. I’d have to look for the joints to tell exactly where they were. [swg]
Wayne
+10000 …on what Andy and Wayne said. Every joint on my layout (including switches) has been soldered, and removing switches is easy also. The only thing is some solder might need to be filed a bit in the inside rail.
Actually it’s either these days, according to the dictionary.
Like I said, opinions will vary… I find the finest Weller conical tip lays nicely, right up against the rail web for the maximum surface contact with the rail, thus transferring heat more quickly. In the 35+ years I have been soldering I have used screwdriver tips, chisel tips, conical tips, and the “blob” tip often found on Weller soldering guns over 100 watts. I find the ST7 1/32" conical tip to be the best for soldering track, feeders, and hand laid turnouts. It’s the only tip I will use for soldering on printed circuit boards, but I am picky. As it happens, it’s also the tip recommended by Fast Tracks.
Using alcohol to clean up the flux is a good tip that I left out, particularly if you intend to weather your track. I use a non-flammable contact cleaner because I have it on hand for cleaning circuit boards, but alcohol will work just as well.
One more tip. Don’t buy a cheap iron. Think Weller.
Thanks everyone for the great info. Thiswas a big help for a rookie modeler.
You might want to consider resistance soldering. It maybe a little bit on the pricey side but it has many advantages. One is no hot tip to accidentally burn something. The heat is only in the immediate area and is brief enough that it doesn’t travel very far. I got mine from P-B-L but there are other sources.
Cheers, Ken
Stick to soldering two pieces together at a time and you’ll be okay. On one of my first layout efforts I got the bright idea of pre-soldering a number of “three segment” sections together with the rails offset (staggered) so the joints wouldn’t be right across from each other. That was a huge disaster. Probably I’ll be able to salvage the rails and/or use them in one of my staging yards, but I learned really quick not to do that again! LOL!
John
I definitely agree with what has been said re. NOT soldering more than two sections of track together before bending and NOT soldering turnouts OR crossings in place. Tried the first and ruined two of the three sections Flex [banghead] and made a