I have a few structures to build that are plastic. I’d like to paint the pieces before assembly with same or simular colors as the original color but using flat colors. I don’t think there is enough need to go with air-brushing since I don’t have enough to justify that kind of purchase. (I’d don’t know. Maybe?).
What type of paint do it need and who has the best varity of colors to choose from?
I go to the hardware store and get Rust-Oleum or Krylon for structures. Several of the primers are good tones for brick. I use several different rusty red or brown shades so the buildings don’t all look the same.
Krylon makes clear flat spray if you want to simply get rid of the glossy plastic look.
Be more selective when painting rolling stock and motive power. At least take a look at hobby shop spray painted first.
I agree with Mr B. Don’t overlook the camo colors. I don’t think you loose detail as long as you aren’t heavy handed on the nozzle.
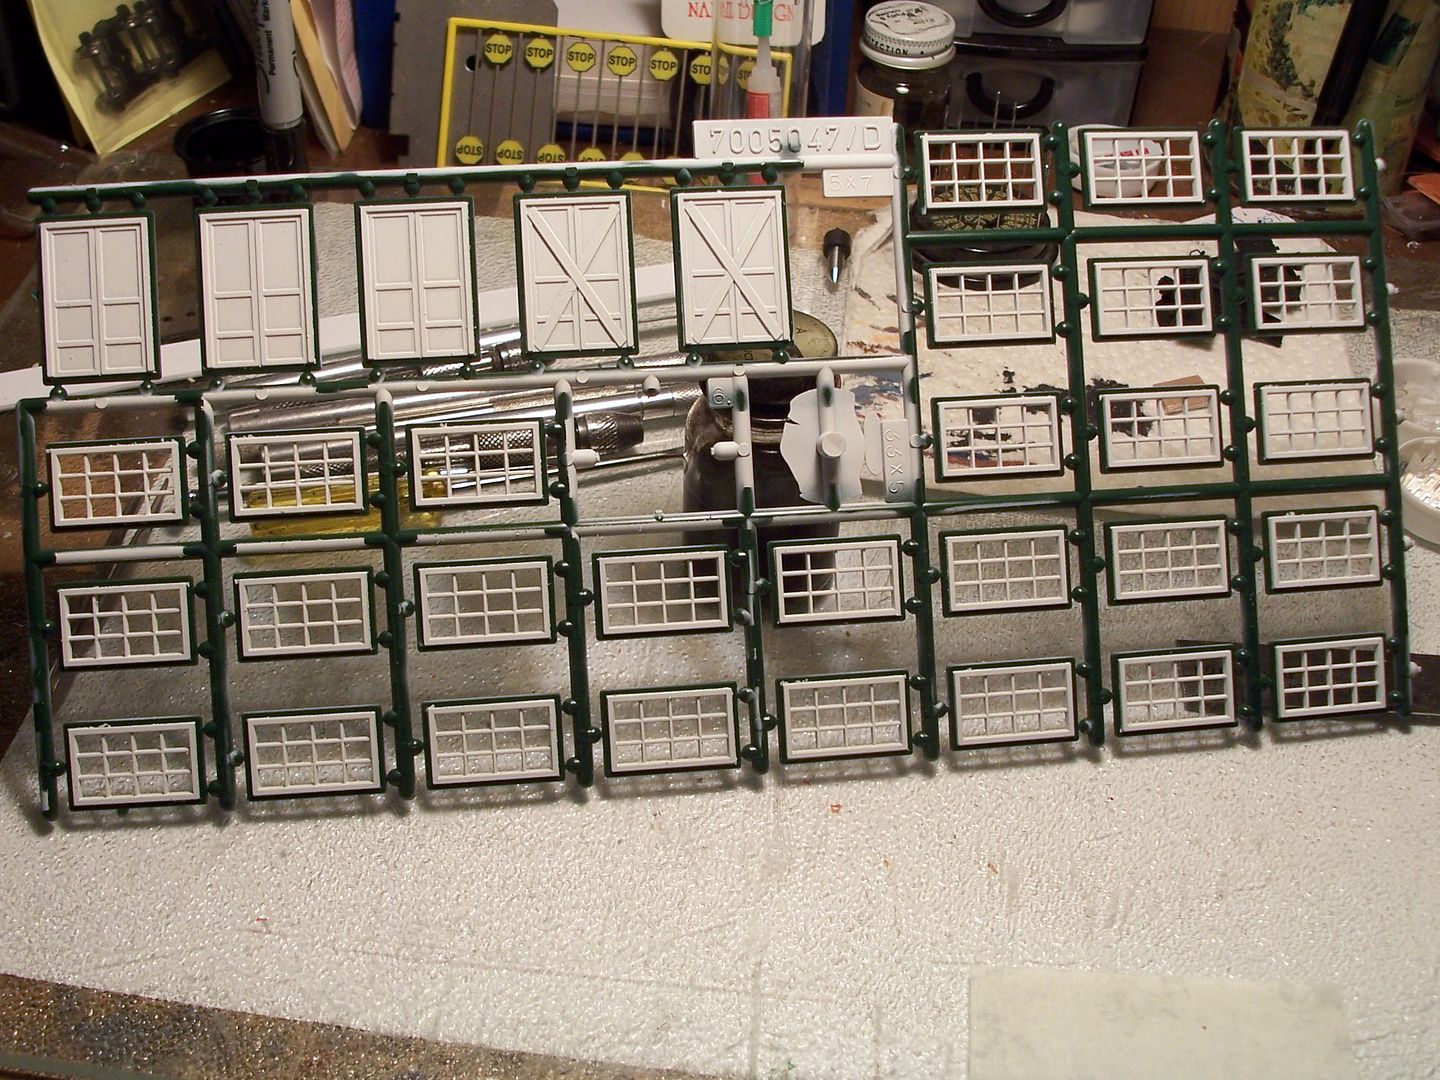
I’ve both hand and airbrush painted the …don’t know what they are called, DPM models have them, cement window sills and on top the windows. Airbrushing looks better but it is masking intensive.
I’ve airbrushed structure parts while still on their sprues (it simplifies masking)…
…but can’t see any benefit to pre-paint walls before assembly…paint on gluing surfaces is not conducive to a good adhesion, but assembling before painting allows you to correct joints which are not tight or have too much softened plastic which has oozed out of the joints.
If you’re painting only to kill the shine, rather than to individualise the structure to better-fit into your layout’s purpose and era, you’d have better results assembling the structure first, then spraying it with a clear matte finish. Easier assembly and a cost for only the clear coat.
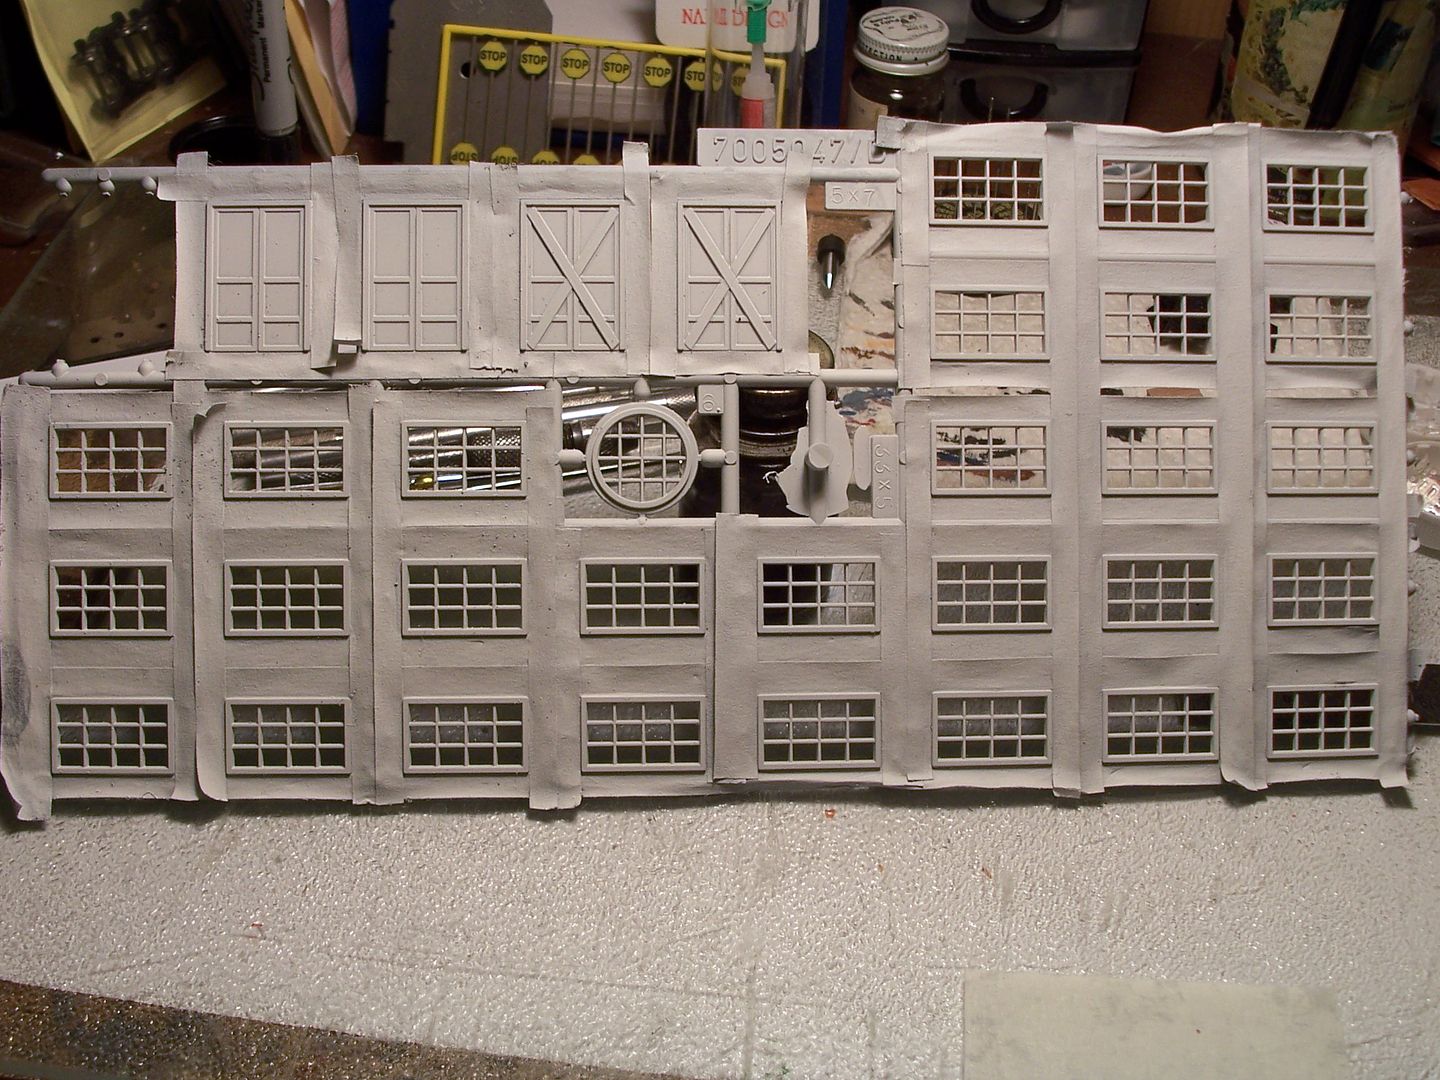
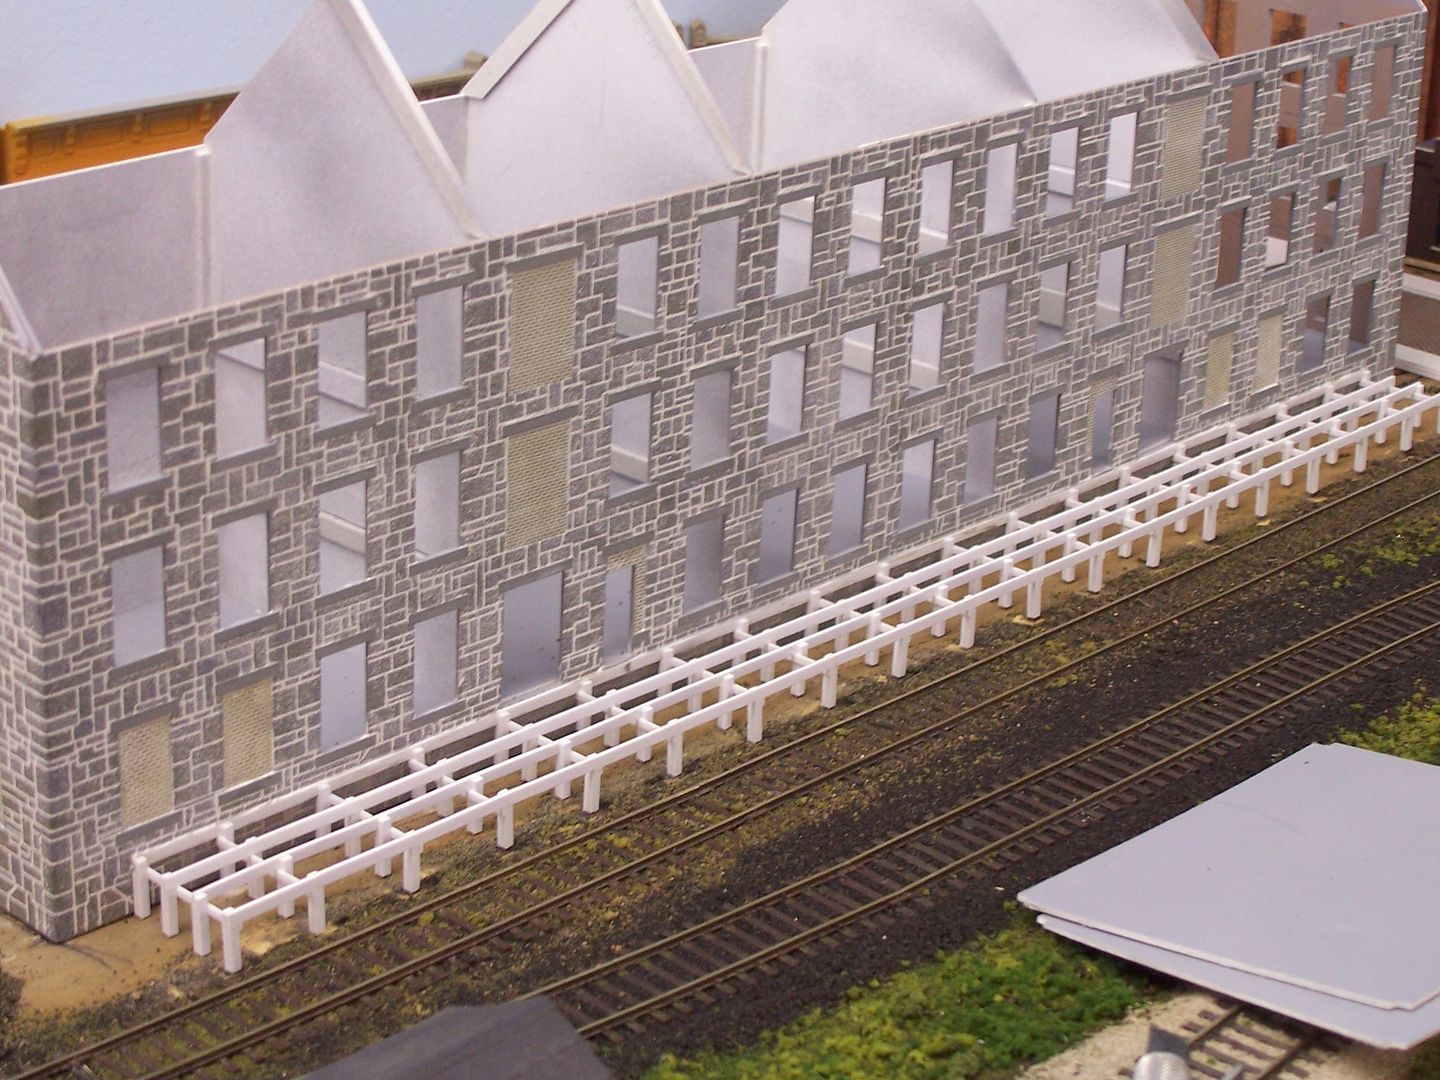
Here’s the structure for which those doors and windows were painted…
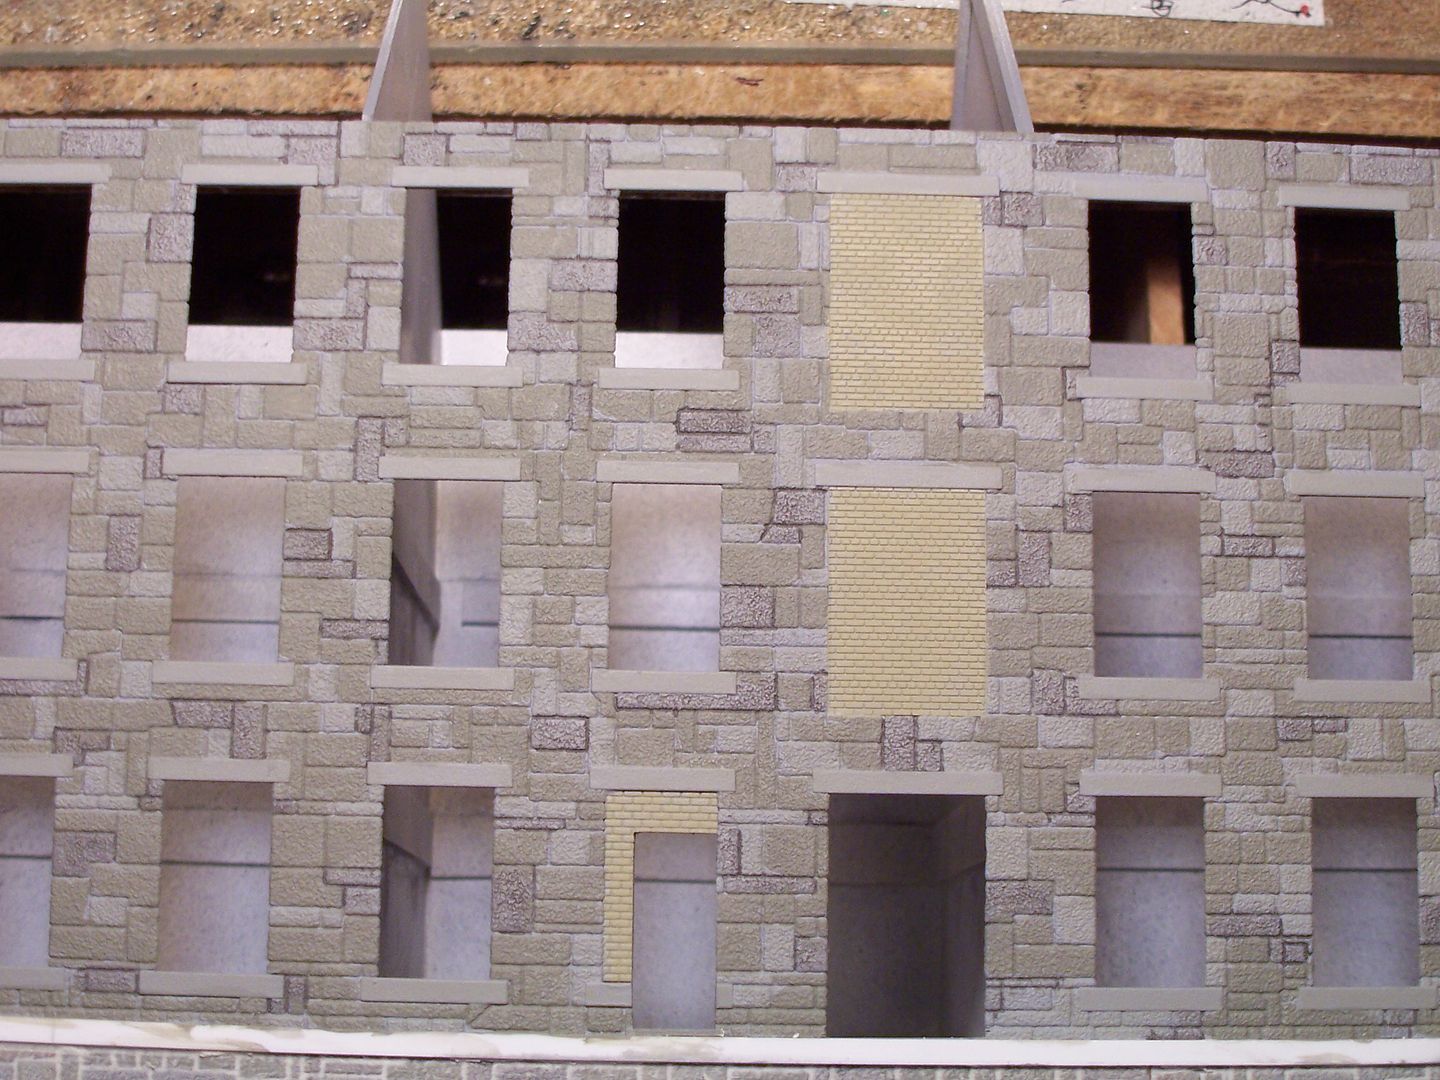
…and the stonework, after brush-painting…
…and then after the “mortar” was applied…
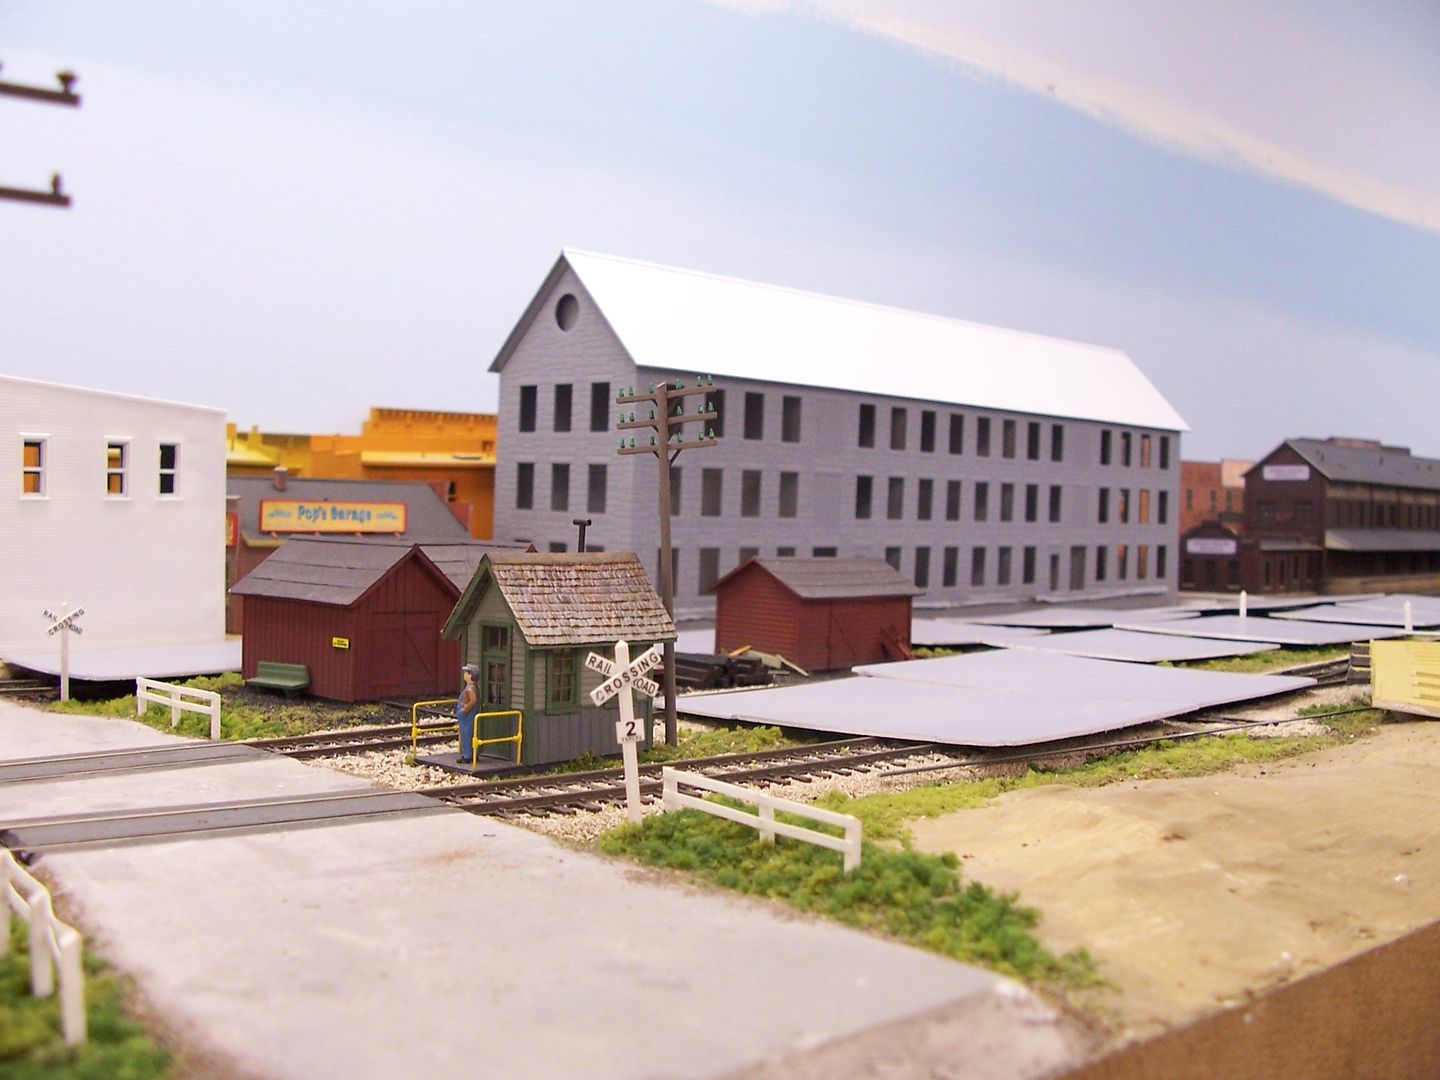
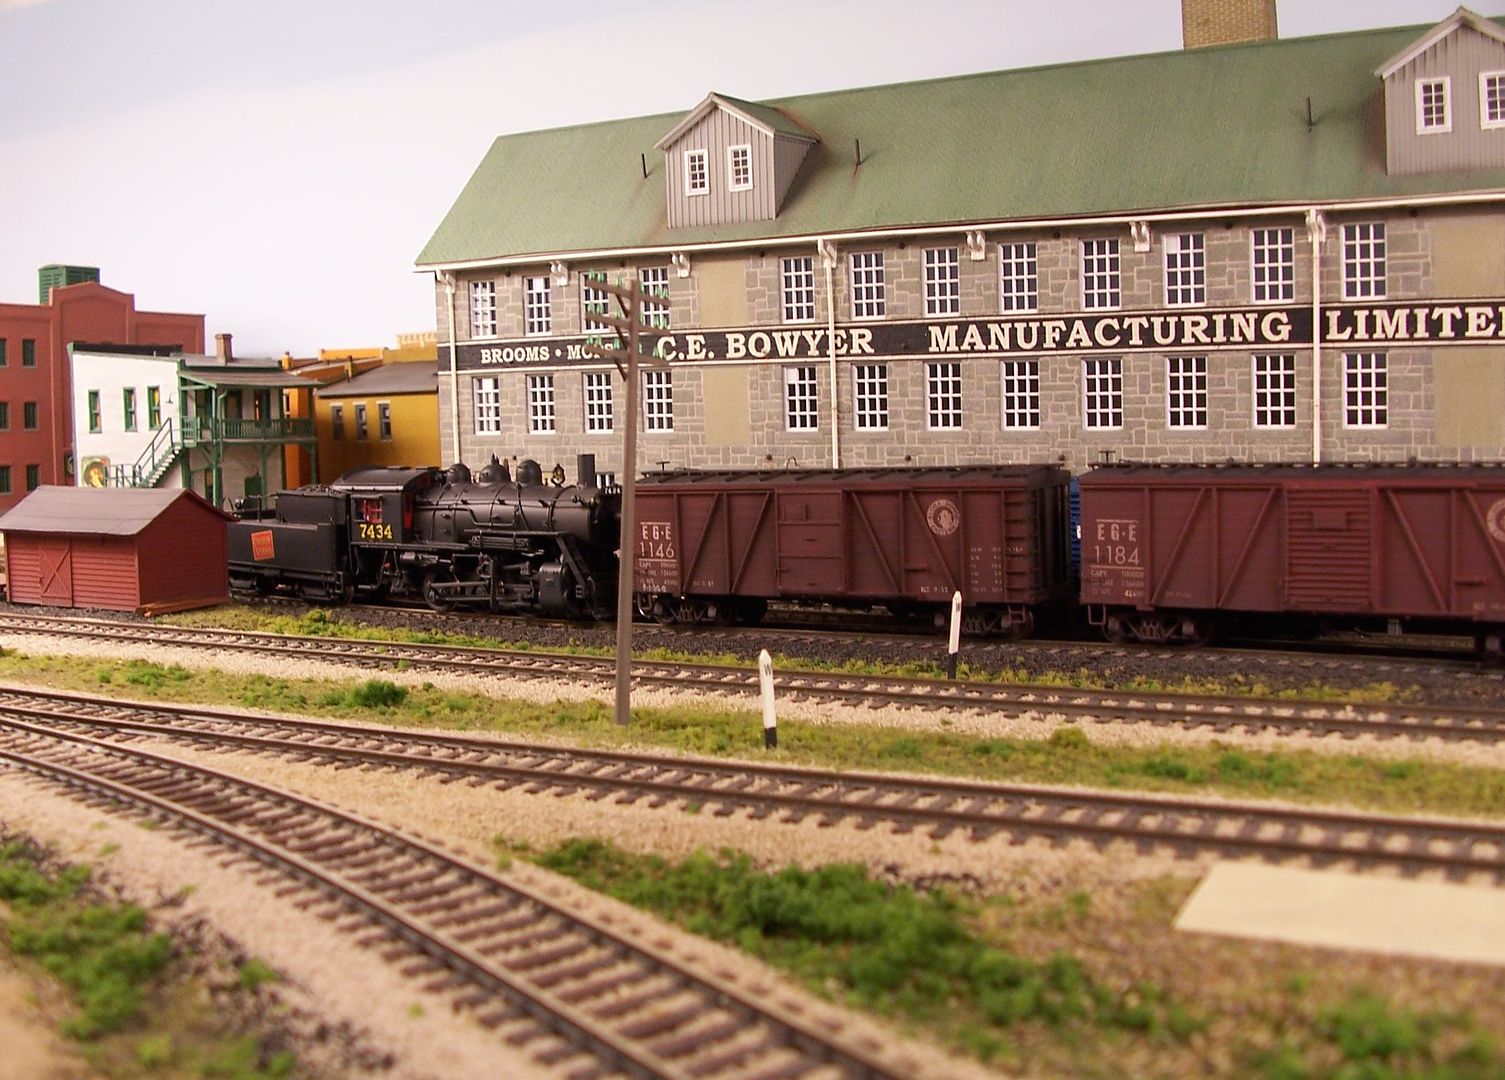
…and after it was completed…
For DPM structures with the one-piece walls, which include doors and windows as integral parts of the walls, I assemble the walls, then airbrush them a suitable colour. The doors and windows are then brush painted, and the rest of the structure completed. Her
Spary paint has come a long way. It used to be the only way to get a fine finish was to use an airbrush. But the paint and nozzles are better now. Krylon in particular is easy to use and control the flow of paint onto the model, but Rustoleum is pretty darn good except for taking longer to dry than Krylon and going on thicker if you’re not careful.
I paint virtually everything with spray can nowadays, even though I have 3 airbrushes (that are only rarely used.) Once you factor in the cleaning needed to maintain an airbrtush, it’s hard for me to do anything but grab the spray can first.
Rustoleum, Krylon (espacially Fusion), Testors, and the spray can version of any modelng paints are plastic friendly. Test anything else of scrap plastic to be sure the solvents do not attach anbd craze the plastic.
Many spray cans are designed to cover large surfaces, and put out a lot of paint. Do some practice on cardboard to get a feel of how it goes on, and try to reduce the flow rate
While I’ve used spray cans, I find them awkward to handle, and seldom get decent results.
For me, airbrushing is both easier and gives better results. It also allows me to paint with any colour I want - if it’s not commercially available, I simply mix it myself.
Besides that, I can also get more coverage out of a 1.75oz. bottle of Dullcote than from a 3oz. spray can of the same stuff…and, if I mix it with Glosscote, semi-gloss, in any version want.
Airbrush clean-up is not much longer than having to turn a spray can upside down to clear the nozzle (and waste a bunch of paint) - the spray can makers know their market.
Since I don’t (yet) airbrush I spray paint all my plastic structure kits. Krylon and Rustoleum Camo have some nice flat colors. Rustoleum ‘Chalked’ colors look really good however cans of Chalked cost significantly more than the Camo or plain Flat colors.
I like to use Tamiya paint in spray cans. It should be available at your local hobby shop. Unlike some ‘big box’ store spray cans, Tamiya’s spray cans are specifically designed for use on plastic models, with a nozzle that produces a fairly fine spray - at least as good as say an inexpensive airbrush. Although their line of paints are primarily aimed at military modelers, there’s enough of a range of colors that they will work well for model railroading too.
I used to turn spray cans upside down to clear the nozzle, but, this doesn’t work with some of the paints, i.e. Rustoleum, Krylon. After using those paints, I remove the nozzle and spray CRC contact cleaner or brake cleaner into the nozzle.
Question 2: Assuming I like the colors of the model right out of the box, all I need to do is spray with a flat clear coat of paint. What about weathering (pastel chalk)? Do I weather before I spray the flat coator after? Seems spraying after might mess up the chalk.
My basic process would be 1- wash all parts in warm soapy water and let air dry, 2- paint any parts where I want a different color, 3- build model, 4- spray clear flat coat of paint, 5- weather model. Good? Bad? A better process?
That sounds right. The flat coat will give the weathering something to “bite” too. If you seal it all with another coat, you might have to touch up some detail weathering, and give another light coat of flat, until your happy with the finish.
I don’t do that, after I weather the building, I put it in place. It’s a building, how many times will you be handling it? Probably none, after it’s placed.
Freight cars that you handle on a regulat basis, yes. Buildings, no. That’s just my way, do as you please.
One trick I learned for “rattle can” painting was to warm the can before painting.
I use a tall one-quart plastic container, put the can in the container and run hot tap water in the container.
Do not use boiling water!
My spray paints are stored on the enclosed back porch which is unheated.
To get the cans warm I might have to refresh the warm water several times. Between refreshes I shake the can for about 30-seconds.
A side benefit of using this method is that when the can is immersed in the water it will float to the level of the contents of the can. This way you can check how much paint you have left and not run out mid painting.
I still hold the can upside down for a few seconds to attempt to clear the nozzle. As has been posted, with modern cans this might not work but I believe it helps keep the nozzle clean.
It will basically dissolve the chalk so you will see little to no effect of the chalk on the model. What I like to do is cover the model with a light overall coat of powdered charcoal (available at an art supply store) and then spray everything with flat finish. Unlike chalk, the powdered charcoal doesn’t disolve. Then I use chalks or powders to add weathering here and there as I feel is needed.
This is a boxcar I did a while back. I brushed a patina of powdered charcoal over the roof, ends and sides, and then used a finger with a soft paper towel wrapped around to remove some of the charcoal on the smooth flat sides of the car. Dirt seems to accumulate more around seams and rivets on cars…