Hi all. I want to add a theatre to my HO layout. The one I purchased is the smallest I have found, but it is still too deep for the area I have to work with. I have some abilities but I have only been modeling for a year, so please keep that in mind. What would be the best method of cutting the side walls so it wont be as deep? Thank you all in advance for your advice.
Hi –
I’ve done that to a couple of different structure models. Here, I took the Walthers “YMCA” kit and removed an inch or so from the rear edge of each of the side walls:
It was pretty easy to decide where to make the cuts, as there is a lot of ornamental trim and ledge work on the front side. I also cut the roof to size.
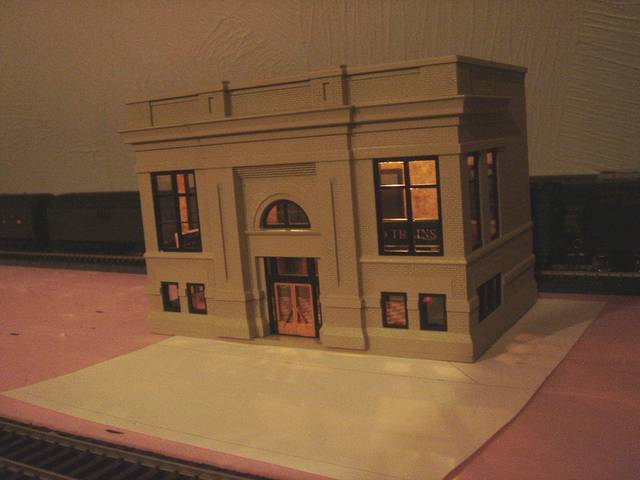
This is a City Classics building.
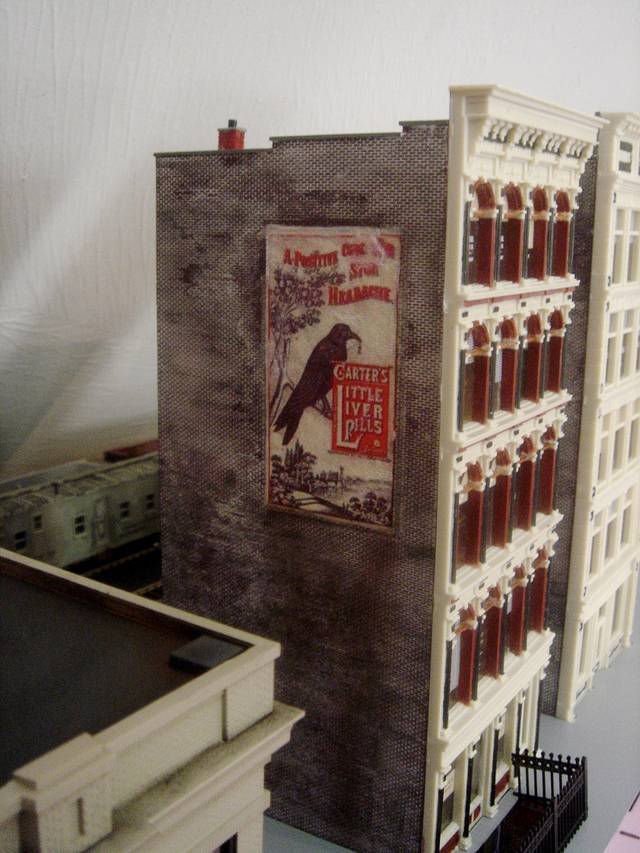
Here, I cut the front edge of each side wall instead of the back. There are two of these, and here’s what they look like from the other side:
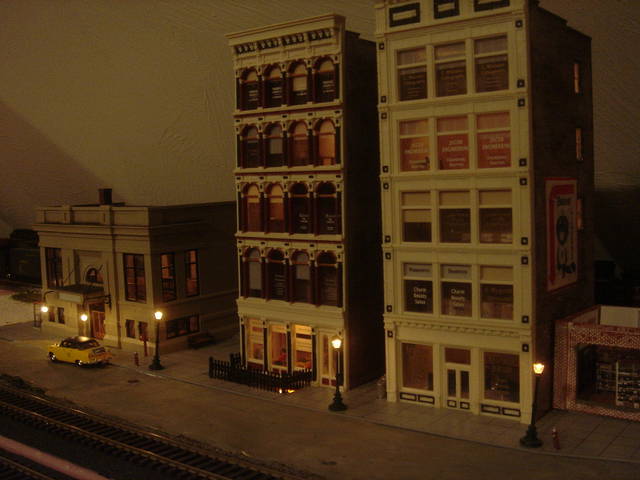
If you look at the rightmost of the two tall buildings, you can see that there are windows near the back wall. If I had cut the backs, I would have lost the windows, or perhaps cut through them, so I cut the front edges instead.
This is an easy job. A razor saw, available at hobby shops or craft stores for a few dollars, will give you a nice clean cut. Make sure you measure carefully so you get a square edge. Once you’ve made the cut, put a pieced of sandpaper on a flat surface, use a square block to hold the wall perpendicular to the sandpaper, and rub the cut edge on the paper to smooth it and square it off so that you get a good glue joint.
Hi njguy:
Is this a kit or is it already assembled?
I’m going to assume its styrene. If it is unassembled just use a steel ruler or other straightedge and an X-acto with a #11 blade. Score along the cut line several times and then you should be able to snap the part in two. You don’t have to cut all the way through.
If the theater is assembled the best tools would be a razor saw and a file. Mark the walls and roof where you want to cut but make the actual cut a wee bit to the waste side of the line. The reason for leaving a bit of material is that it can be very hard to control the saw blade. If the saw starts to wander you can correct the line of cut and you won’t have damaged any of the wall you want to keep. Then you can finish the cut with the file so you have a perfectly straight edge.
If the theater is assembled and you want to re-install the back wall do the same thing with the saw and file, but I would suggest making the cuts so any seams will be on the back of the building instead of the sides.
I’m not sure what tools you have but here is a typical razor saw.
http://www.micromark.com/4-in-1-zona-saw-set,8293.htm
You might want to use some scrap styrene to reinforce the joints.
Dave
One thing I do is to photocopy the kit walls and then plan the kitbash and cuts using the photocopies. Its easier to make a mistake on paper than on the plastic.
You can use a razor saw, or scribe with a hobby knife, then bend and break. After making the cut I like to put a piece of sandpaper on a flat surface (countertop, glass sheet or granite floor tile and sand the edges flat. I bought a granite floor tile on sale and then put a piece of wet/dry sandpaper on it and wet it. After sanding just wash off the sandpaper and its good as new. The granite gives a nice flat surface to sand on.
Don’t be afraid to hack your buildings apart. I doubt I have more than one or two buildings that haven’t been modified in some way.
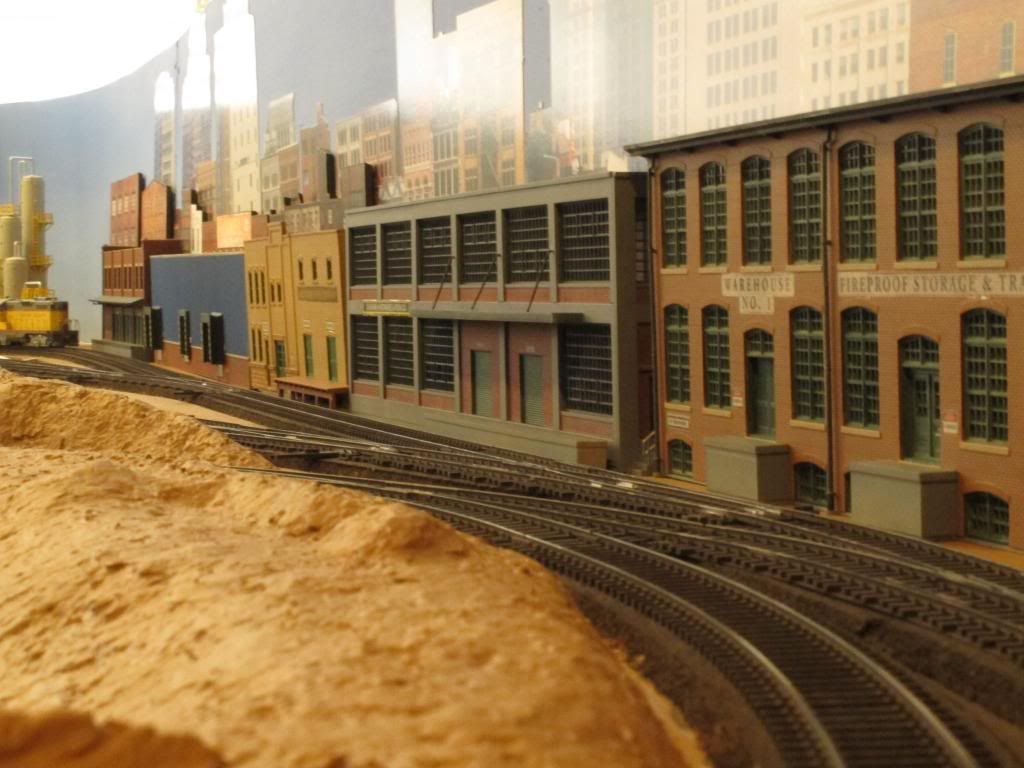
The Walthers Cornerstone buildings in this photo were all modified in depth, height and/or width. I got good use of my bandsaw, finding I could get a fairly straight cut using the guide. I left a teeny bit of extra dimension, then sanded on an 8x10 piece of double strength glass from home Depot, to get the edge nice and straight and the dimension right (e.g., to the edge of a brick layer). The most challenging was removing a middle floor on one building. I used CA glue sparingly along the edge and made sure to glue flat sections together carefully, to avoid making the seam apparent. When assembled, the seams are not very noticeable, especially after gentle weathering washes, which I do on my structures.
If you use a hobby knife to cut thick styrene, be very careful as you will tend to push a bit hard and a slip could really get the hand holdng the piece or ruler.
The side walls on “Tom’s Theater” on my layout are just under 2 1/2 inches deep. Like you, I had to modify a kit to fit a very limited space on the back of the shelf layout.

This is a Design Preservation kit, currently offered as the “Goodfellows Hall” under the Woodland Scenics Landmark Structures line (kit 243-10800 in Walthers). The marquee is a Miller Engineering horizontal (502-1182 in Walthers) wrapped around some plastic that I formed for that use.
As for cutting the walls, I concur with the razor saw as being a very good option. I have a bandsaw with a very fine blade that I used to cut the hard styrene walls. My son Thomas is the manager of a multiplex theater in Virginia, so I had to have “Tom’s Theater” on the layout. His favorite actress Audrey Hepburn’s films are in the coming attractions posters in the windows - clipped from one of those DVD video catalogs.
Bill
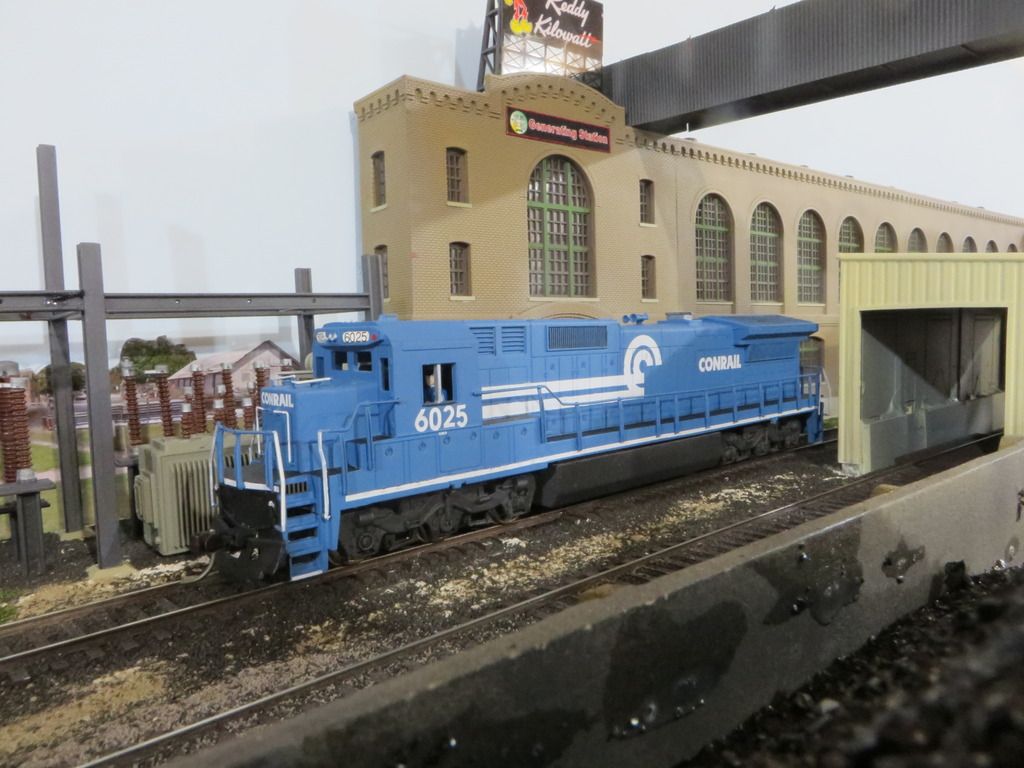
A modified Walthers Cornerstone Northern Power and Light kit
!http://i722.photobucket.com/albums/ww222/donoltmann/IMG_3156_zpsgifqsnkx.jpg