When I created the 45’ long and curving grade from the layout’s main level to the partial upper level, I first fixed the bottom and top on 90º risers at appropriate heights. I then measured to the mid-point of the grade and placed another riser, also perpendicular at 90º, and at a height one half of the total grade. I then continued adding risers, more-or-less dictated by the height of the 3/4" thick plywood sub-roadbed. At this point, all of the risers were simply clamped to the open grid 1"x4"s, with a pencil line on each, even with the top of the grid members.
Next, I built a train on one of the curved segments of the sub-roadbed, then removed three of the clamps at roughly mid-curve. I then deflected the bottom of the middle riser until the tilt of the train looked reasonable to me. I then re-clamped that riser in place, with the inner end of the pencil line even with the top of the grid member. Obviously, the outer end of that line was somewhat higher.
Next, I unclamped all of the risers within that curve, allowing their bottom ends to deflect outwards to diminishing degrees as they moved away from the mid-point. I then, without altering the deflection, raised each, in-turn, so that the inner end of the pencil line was again even with the top of the grid member, the outer end of the lines diminishing in height as they moved away from the mid-point.
Each of the five curves on this grade was superelevated in the same manner, which automatically introduced vertical easements in-to and out-of the superelevation. (The curves already included horizontal easements.)
Until today, I had never measured the actual superelevation…it looked reasonable and never caused string-lining, even on reasonably long trains.
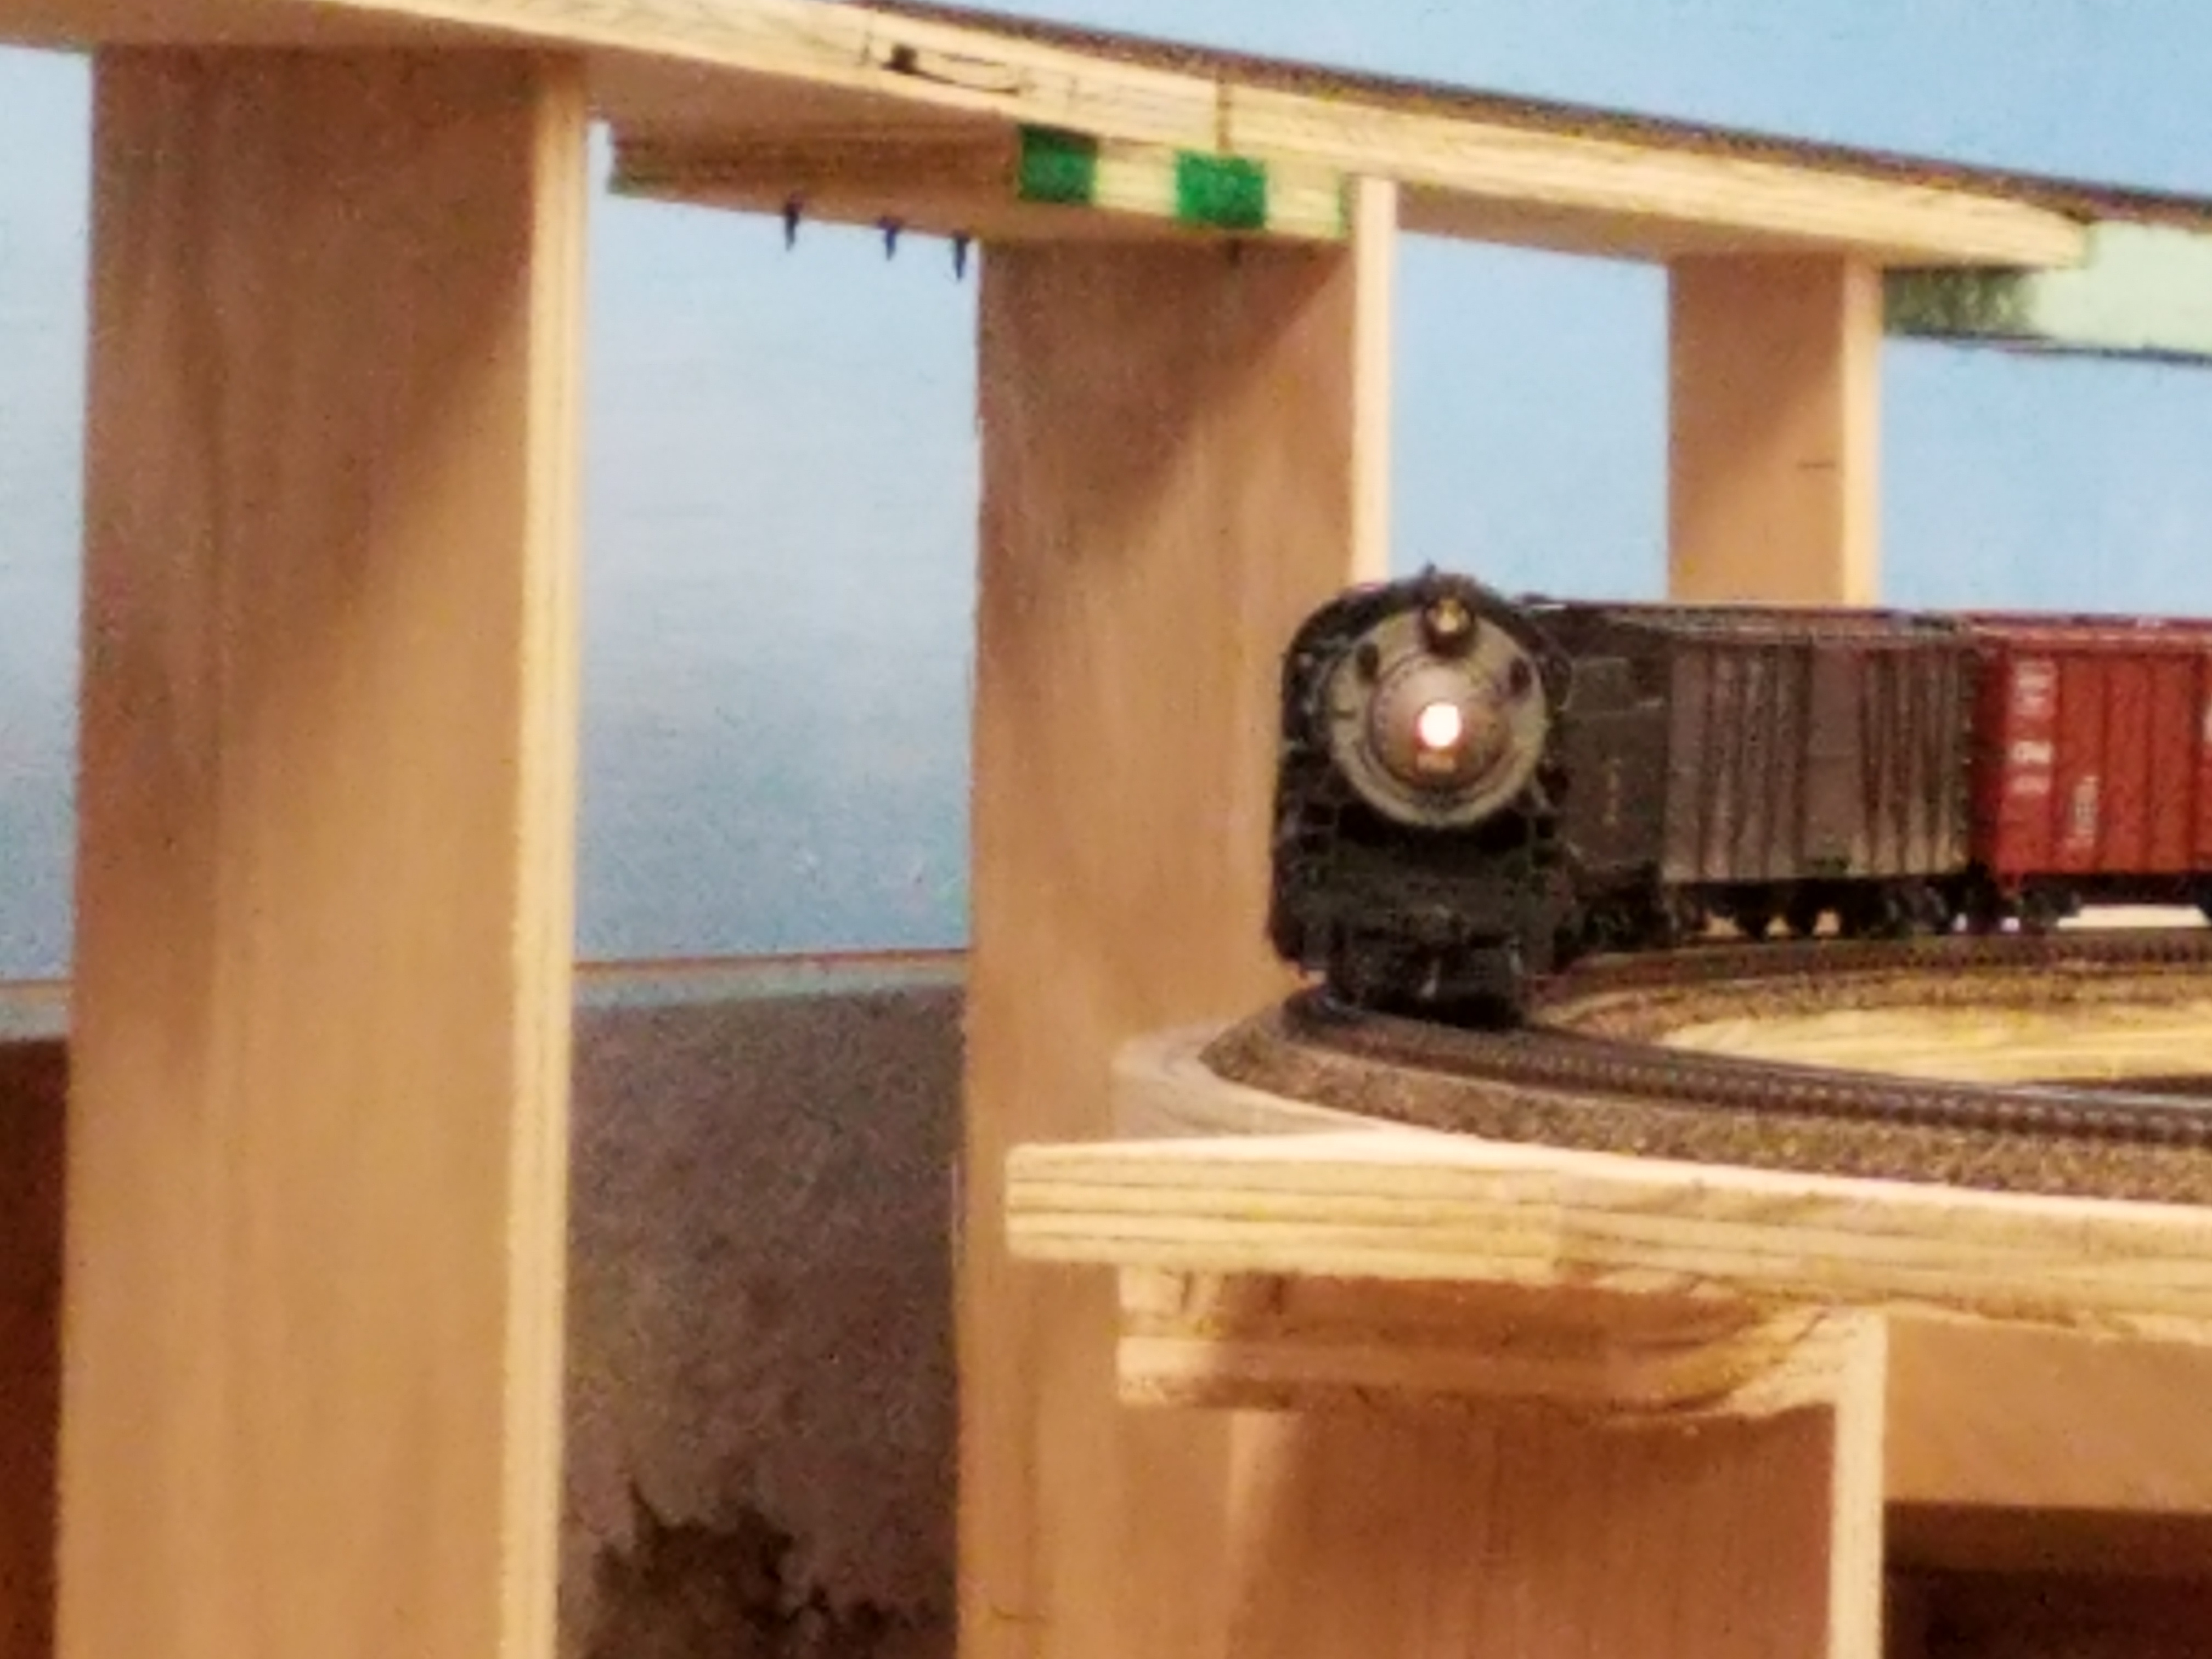
I just finished checking with a level and some various sizes of strip styrene, and pretty-well all of the four on-ground curves have a mid-point superelevation of .040", while the one tha


