Hello All, short of going out and buying a 4x8x1/8 sheet of tempered hardboard, ripping it to approx 9" wide and trying to bend it around my corners, can one of you give me an idea of how much it will bend without breaking? Basically, I need it to round out a 90 degree corner. Will hardboard curve that much? Is there some method (moisture or heat) to “help” it curve without breaking? Or do I just have to make square corners in this location?
Thanks for your replies, you folks have been a great help and inspiration to me on this project.
Bill
PS Sorry, it’s an inside corner but not sure if that would make a difference.
Depends on how tight of a radius you want. It will certainly do 90 degrees with a broad enough curve, but I don’t know how tight you can go without breaking. Someone else will certainly know.
There’s no need to buy the more expensive tempered hardboard unless the hardness of the surface is a priority. I, too, thought that the “tempered” part of the name referred to its flexibility, but when I asked about it at my local lumberyard (not a big box store), I was told that it refers only to the surface, which is harder than the regular version. I’ve used it atop several workbenches, and it stands up well to most uses.
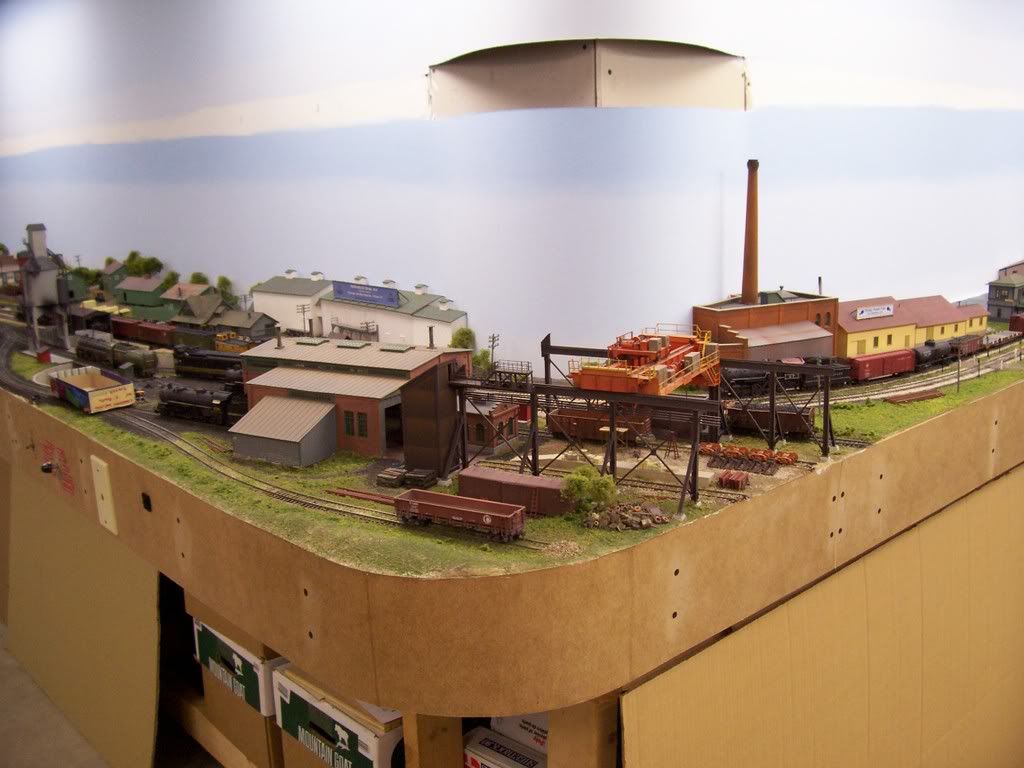
For layout fascia, I used the regular stuff, and it can be curved down to at least an 8" radius, which is what you see below on the lower level:
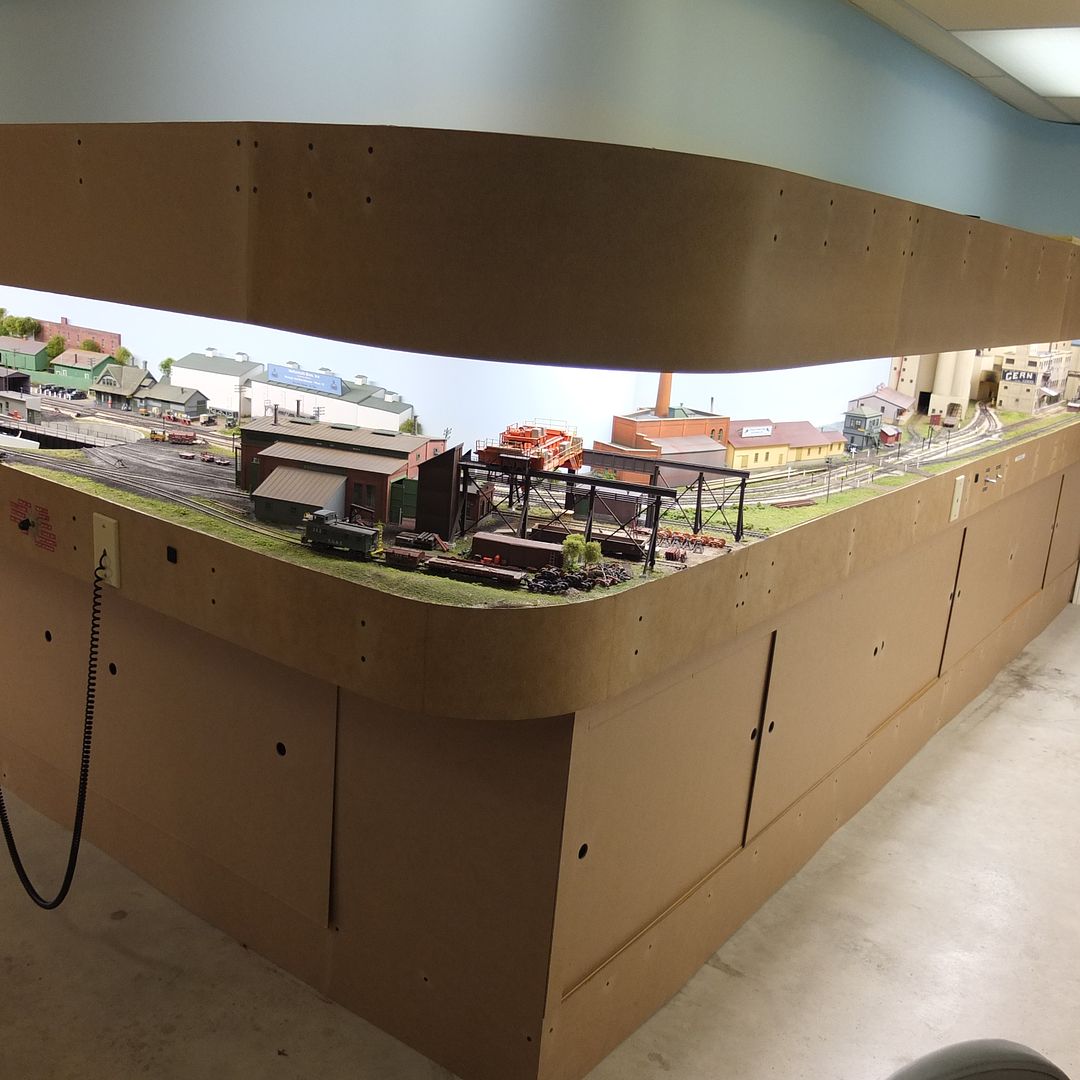
Hi Wayne and thank you for responding. Although my corners are inside as opposed to outside like yours, I’m sure they would bend either way. My situation is basically a “U” where the bottom of the “U” is 35" wide. so, it sounds like the stuff you are using will work. But, when you say the “regular version” what do you mean? I have a Home Depot and Lowes and I’m pretty sure I haven’t seen what you have. There’s the tempered hardboard anda thicker laminate used for door skins(?) but it’s way more expensive than the hardboard at around $9.
Inside vs outside won’t make a difference. It should be OK. I have an aisle that ends and it’s no more than 35" wide, probably narrower. It curves right around. I prefer 1/8" tempered, as it’s more paint ready than untempered that needs to be sealed well first before paint.
LION is using 1/8" non-tempered hoardboard. It is $15.00 a sheet at the lumber yard, and they will cut it for you. It is $6.00 a sheet at Menards, and they cannot cut it for you. With a utility knife, you could lay it out on the floor, score it and break it without any trouble at all. I took out to our van and was able to get it in because it was so flexible.
The problem the LION is having witht he curves it getting it in place. I will have to curve it on the floor, and tie it in that position with a string or bungy cord, and then i can affix one end, remove the string, and it will fint the other end without problem. (Or so the theroy goes.— wee will sea!)
I used the 1/8" thick material, sold in 4’x8’ sheets under the Masonite brand name. It works equally well on inside or outside corners, and I used it to cove all the corners of my backdrop, both inside and outside.
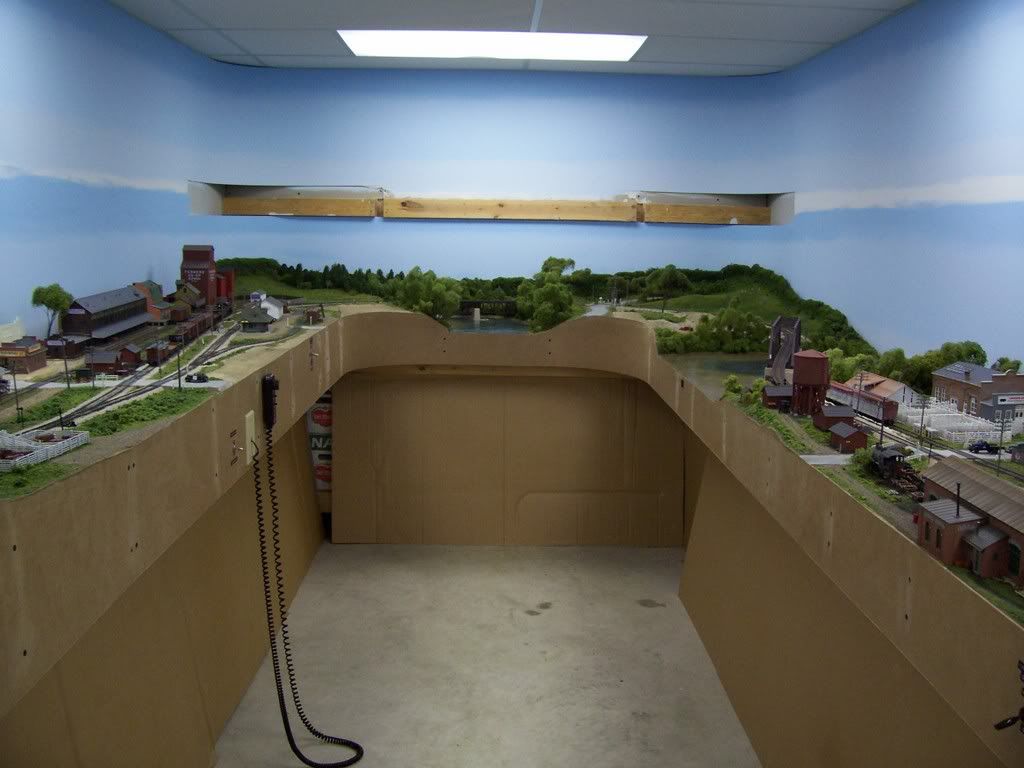
This older photo shows it on inside corners of the layout fascia and also on the coved inside corners of the room.
It requires no special treatment for painting - I gave it a light pass with medium grit sandpaper, then a wipe with a damp cloth to remove any dust. You don’t need to sand it, merely cut the surface slightly to help the paint adhere. I used flat latex house paint, applied with a roller.
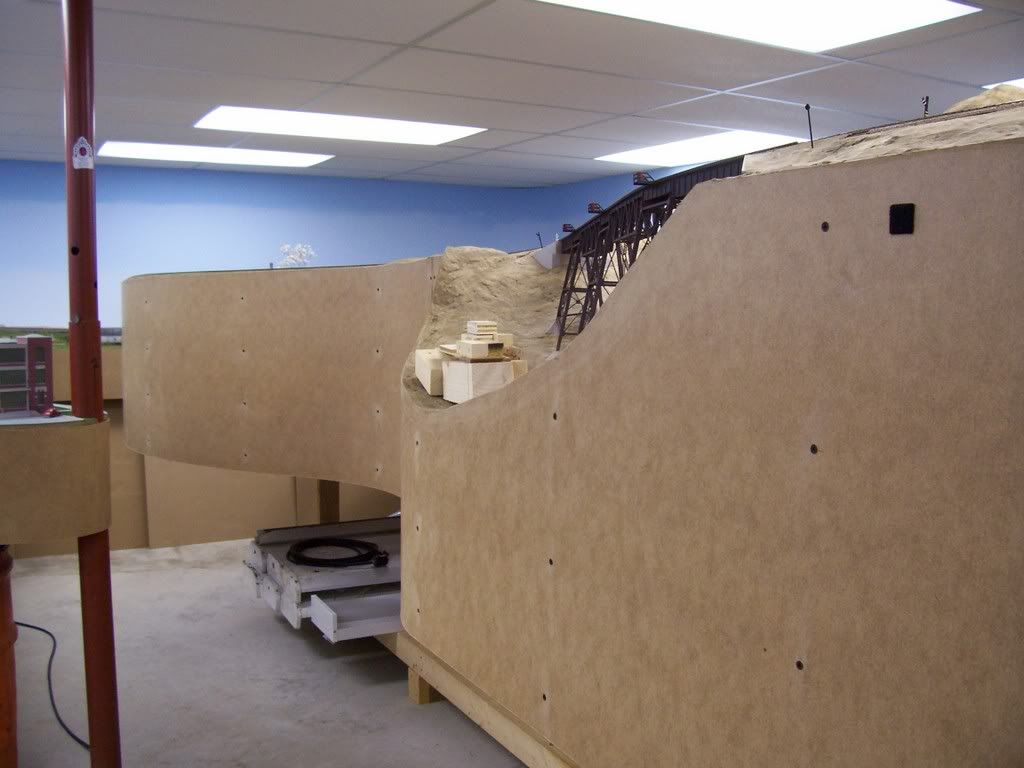
Here’s more fascia, with both inside and outside curves:
I had almost exactly the same challenge as yours–U shaped (my aisle about 55" wide) needing inside curves on each side. I used an 8’ long piece on untempered 1/8" hardboard with 12" radii in each of those corners.
Tricky to mount but here is what I did. First, I installed cleats under the layout to receive the fascia mounting screws. In this section I made sure one was very near the center of the 55" opening. With a helper, we held the piece of hardboard up to the layout in a near verticle orientation so that bending it was not required. Next I installed one screw in that center cleat. Then with one of us on each end of the fascia board (one high, one low) we bent it in a big broad U until we could oreient it horizontally. Next we pushed one end into the corner until the cove had a 12" radius. Install screws to secure that end, then do the other. So soaking, no kerfs, etc. No problem.
If you would like to see photos, send me your email address in a PM and I will send you a few. BTW, although non tempered my hardboard took paint very well. I was putting a dark color over light hardboard so it took two coats but no special preparation was necessary.
I used C-clamps when installing mine, which worked well since the layout framing is open grid: lift the 8’ long piece into roughly its final position, and add a clamp on the straight portion to one side of the curve. While holding the unclamped portion, walk to its far end, position it height-wise as accurately as possible, and clamp. Next, walk back to the first clamp and loosen it, aligning its free end vertically, and re-clamp. You may then need to re-adjust the height of the opposite end.
Next, begin to attach it permanently - I use drywall screws - you’ll need to drill and countersink the hardboard for each screw. Work from one end towards the curve, removing the clamp as soon as the end has been secured. Constantly check the level as you work and also push any “bubble” of excess material towards the curve before driving the screws. Once you have reached the beginning of the curve and installed the screws, remove the other clamp and re-form the curve to the desired radius (this also removes any built-up “bubble” accumulated as you worked on the first portion) then re-apply the clamp just beyond the area where you’ll be placing the first screws on this side of the curve. After those first screws on this portion have been driven, you can remove the clamp, then simply push the “bubble” along as you work towards the end.
Coved backdrop corners are much easier with proper room preparation.
Thanks Wayne. I thought about curving my wall corners too but thought it would be too difficult but after seeing yours I may try it. The stuff just seems so stiff that it won’t bend that much but I’ll try.
Oh, and thanks for the pics. great looking layout.
Here’s my procedure for using 1/8" Masonite to make coved corners:
I drywalled my layout room by installing the sheets vertically in order to make full use of the tapered edges for finishing, using 1/2" board for the majority of the room, but substituting 3/8" at all corners, both inside and outside. The 3/8" board should extend for at least one full stud spacing on either side of the corner. Tape and finish all joints as you normally would, except those between the two different thicknesses of board.
While the room was “boarded” as-described, the coved corners extend only from the top of the layout benchwork to the bottom of the suspended ceiling. To form the corners, place a tape measure in a rough arc from the edge of the 1/2" board on one side of the corner to the edge of that on the other side - the arc described should be roughly similar to what you wish the finished cove to be, but it‘s obviously better to be too long rather than too short. Working from the back (rough side), cut a sheet of 1/8" Masonite to the required height and the length thus obtained. Lightly sand any fuzz from the cut edges, then place the back face of one vertical edge of the piece against the 3/8" drywall, butting its edge against the adjacent 1/2" piece, then press, top and bottom, on the approximate centre of the Masonite. It will bend with the pressure, forming an ever tighter curve, until the free end “pops” into place on the adjacent wall. While this curved piece will hold itself in position, I drill and countersink for drywall screws along both sides, spaced fairly closely, in order to prevent movement or bulging due to humidity changes within the room. Mud and tape the joint as you would any other. Outside corners are handled in a similar manner, although I’ve found that a wider area of 3/8" drywall is preferable. This lets you begin the cove as a regular concave one, then
Dave, your right on that one, I’m sure. I will try and put the center of an 8’ piece in the center of the curve and work my way out both sides. I have plenty of length that meets both sides of the curve so that shouldn’t be a problem. I’m thinking I’m going to have to make some friends though to get some helpers or promise the wife a shopping trip if she helps.
Wayne, yep that’s what I thought. Unfortunately I’m well beyond that point with finished and painted walls so i suppose I could still do it and mud and tape the edge of the hardboard where it meets the drywall and pray it doesn’t start cracking. We will see. Thanks so much for the detail description and the drawing. I don’t have any outside corners for the room or the fascia so maybe it will be a little easier for me.