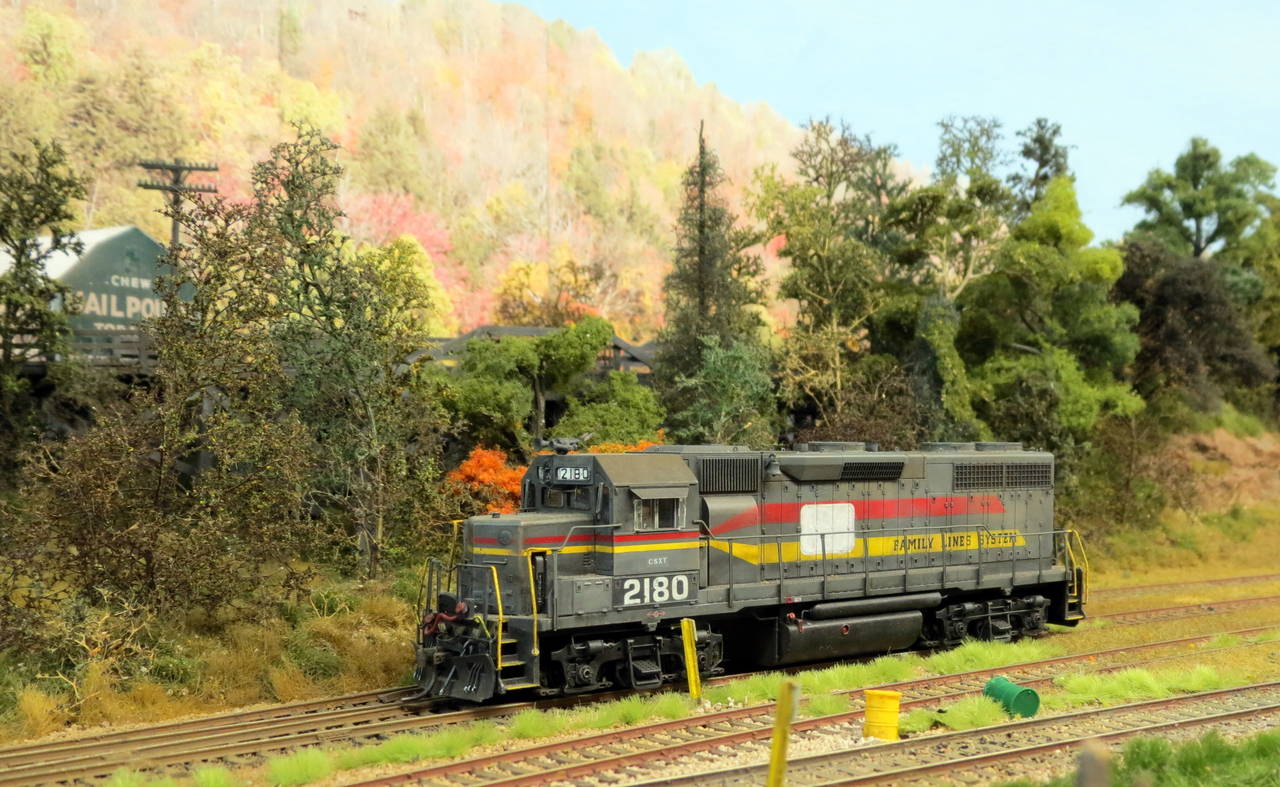
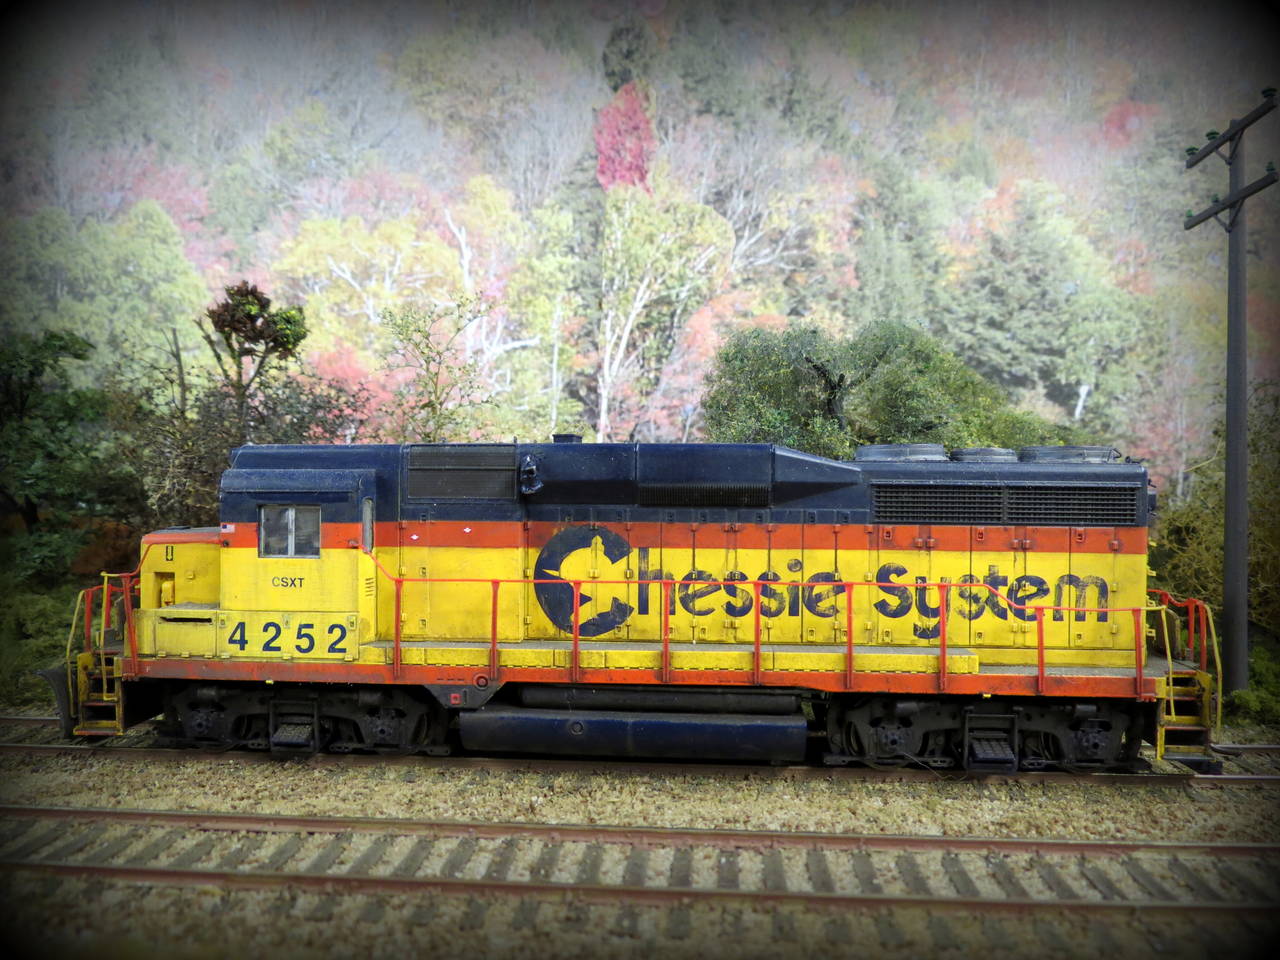
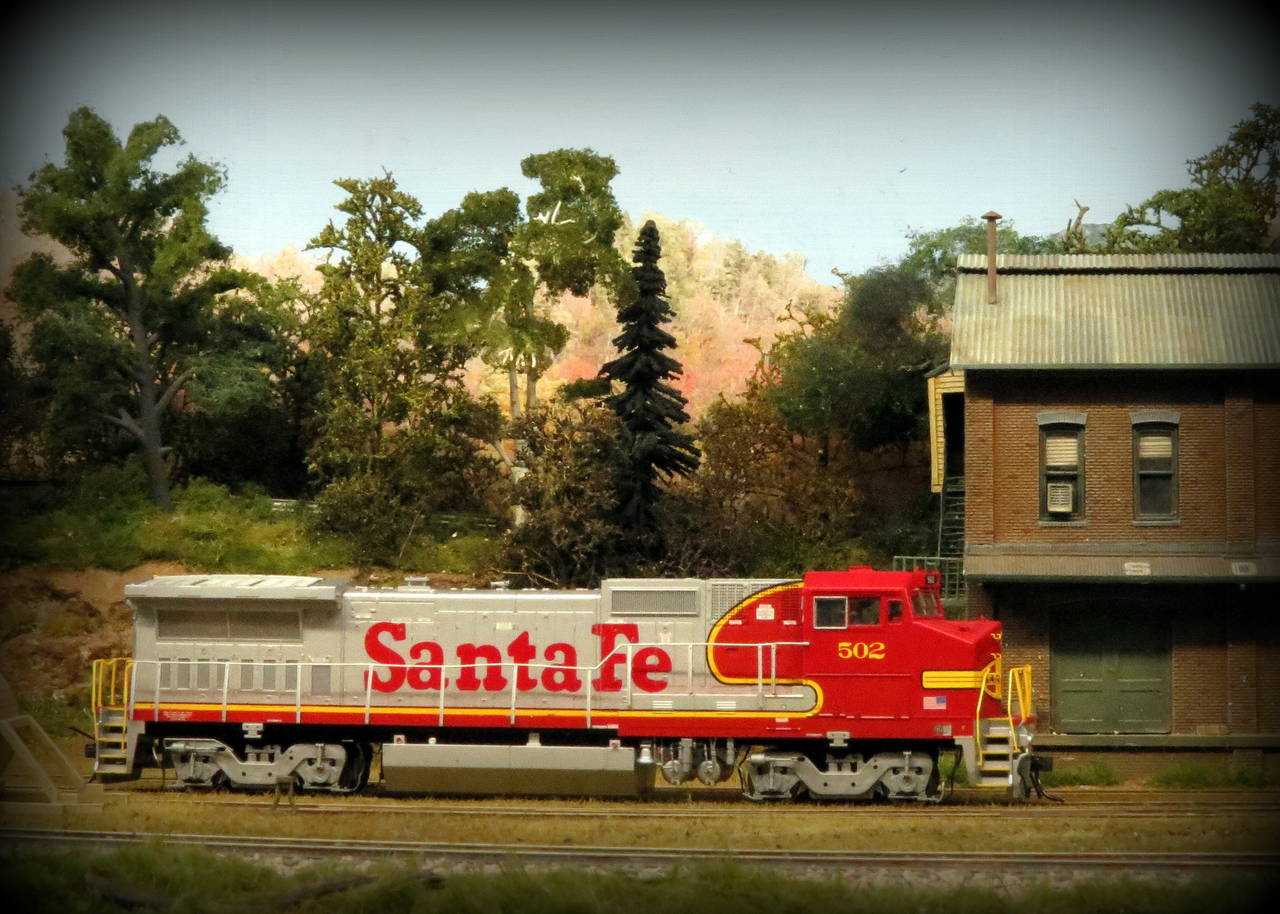
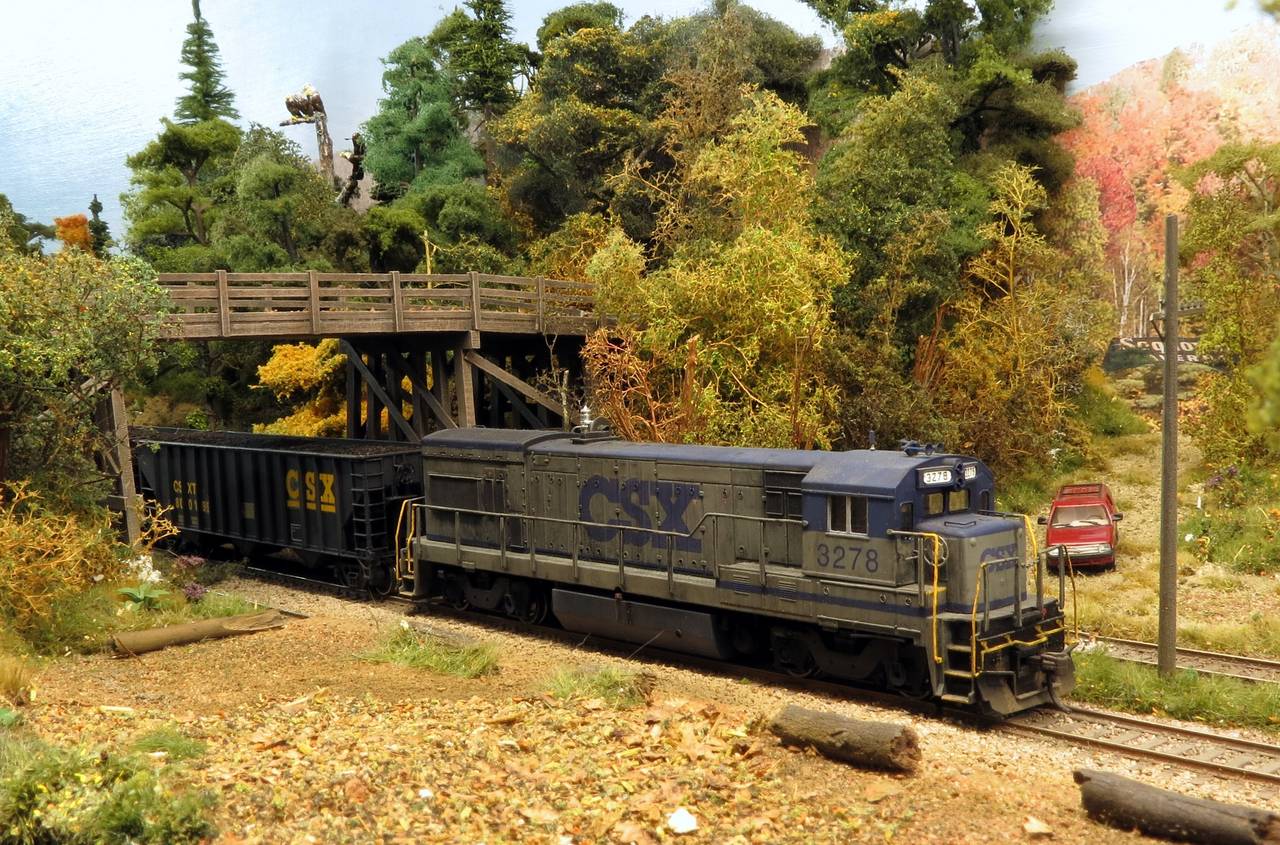
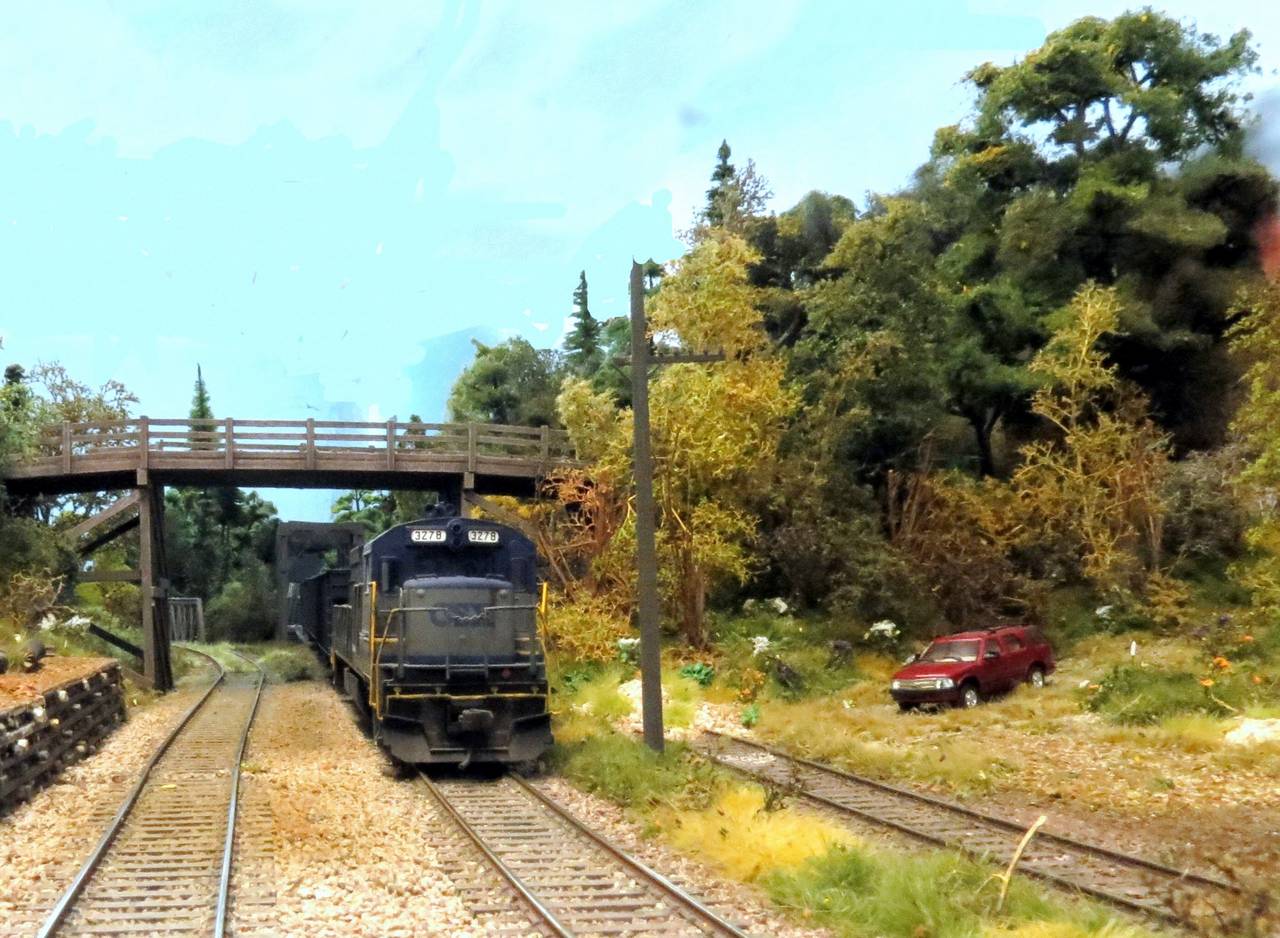
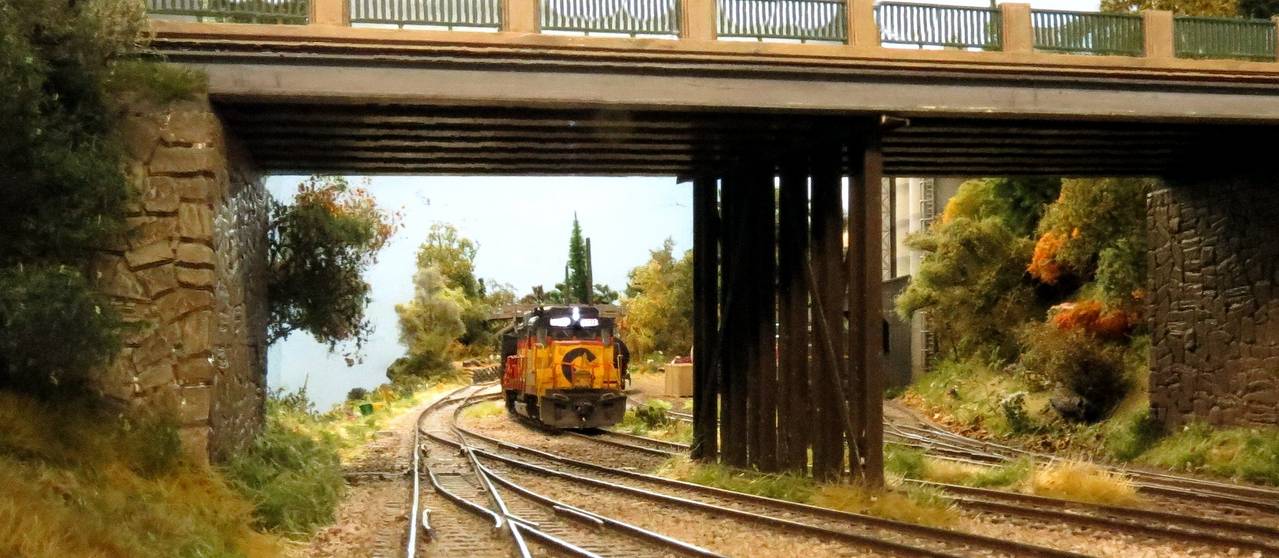
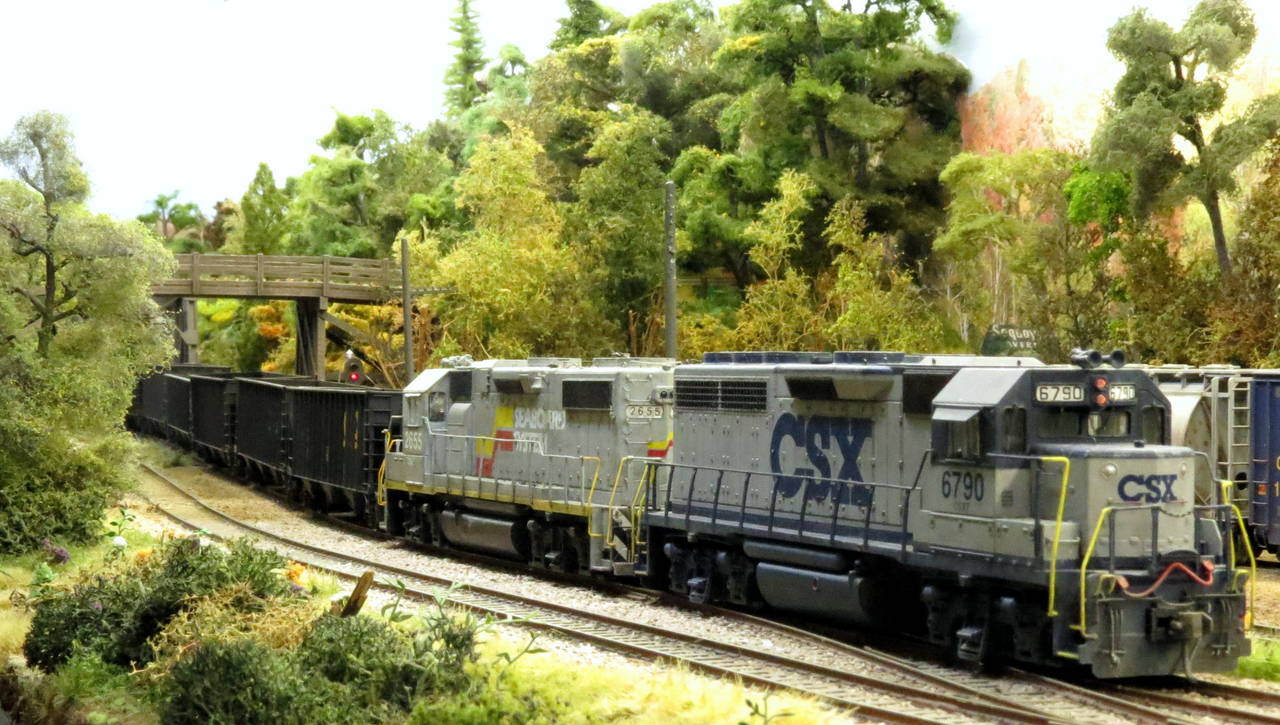
I recently upgraded the Canon Power Shot camera from the AS620 to the SX40HS, which is now classified as a bridge camera - somewhere between a normal digital camera and an SLR. I’m still getting used to the focusing but here are the first few test photos
Lots more practice required before I get the quality I’m looking for
I think you have your metering and focus down pat, Jon…looks like a very nice new tool for you. I would say, to be honest, that the last two photos look a tiny bit ‘yellow’ in hue…can you fix that with post-production, or change white balance?
I deliberately tried the warmer look in editing, Crandell, to see if I could get a warm humid Alabama autumn/Fall look to it. they are a tad bit yellow though
I played around with a couple of the photos with photoshop just for fun. Toning down the yellow might be good, but also try a bit of reduction in saturation. I think that may give you more of the look and feel you want…
I’ve also been playing around with the new Picasa 3 photo editing toys, hence the over saturation and vignettes
I took a few more test photos tonight. One of the useful features of Helicon Focus is the ability to resize the photo to under 2megapixels - about 40% full picture quality. This means they can be easily uploaded to Railimages
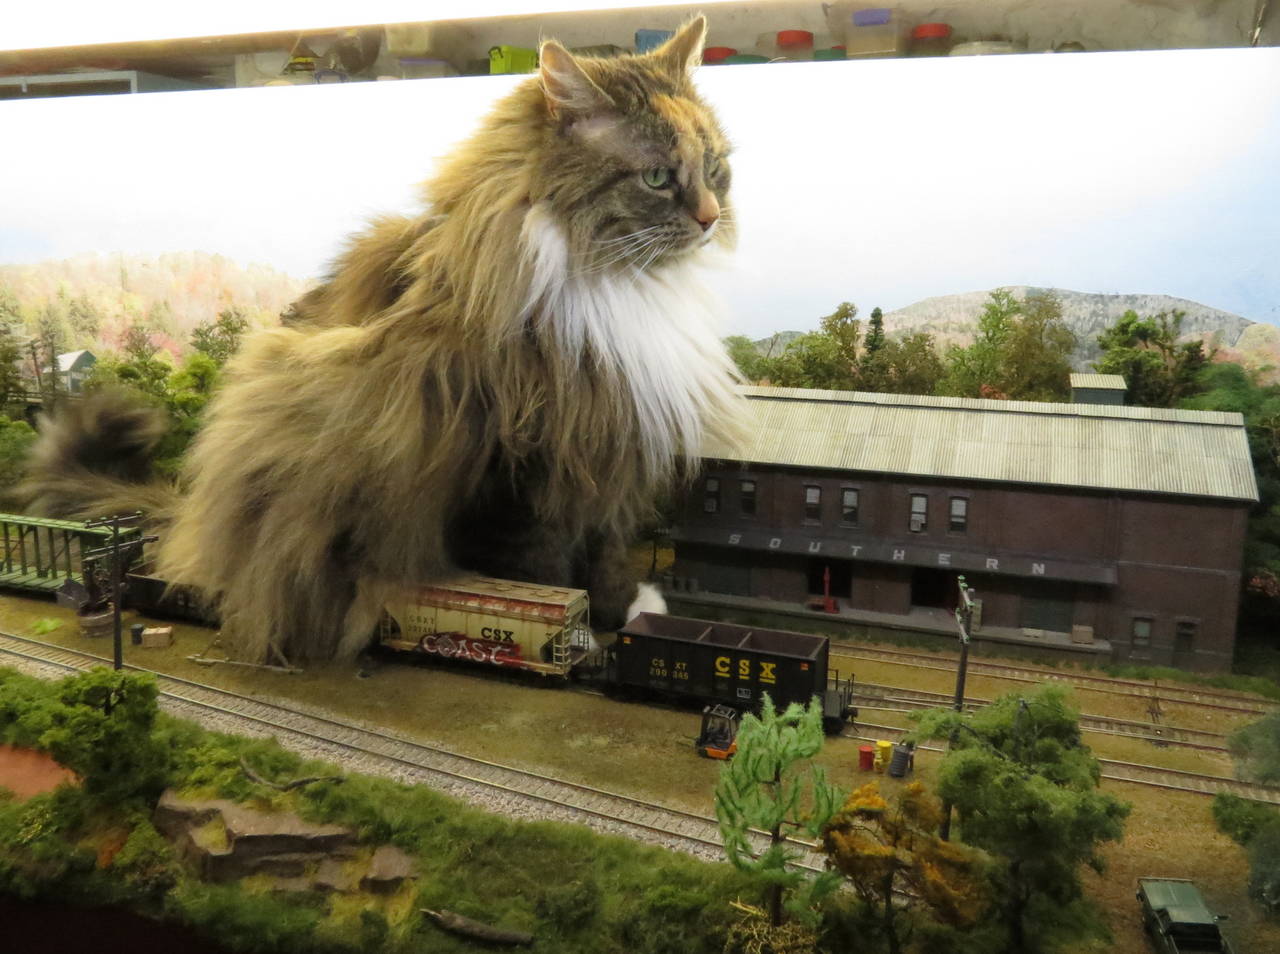
Pushkin the cat helped me take a few more photos tonight using the old camera, as a reference point. Oddly enough I’m finding the 7.2mp Power Shot is easier to use with Helicon Focus than the new camera. The in-focus area of each individual shot in the stack is easier to spot
I took some more photos last night using the new Power Shot, but without editing the photos in Helicon Focus, as I wanted to see what the depth of field was like. I’m quite happy with the results so far, although the best photo of the session ended up being one using the old camera and Helicon Focus - typical.
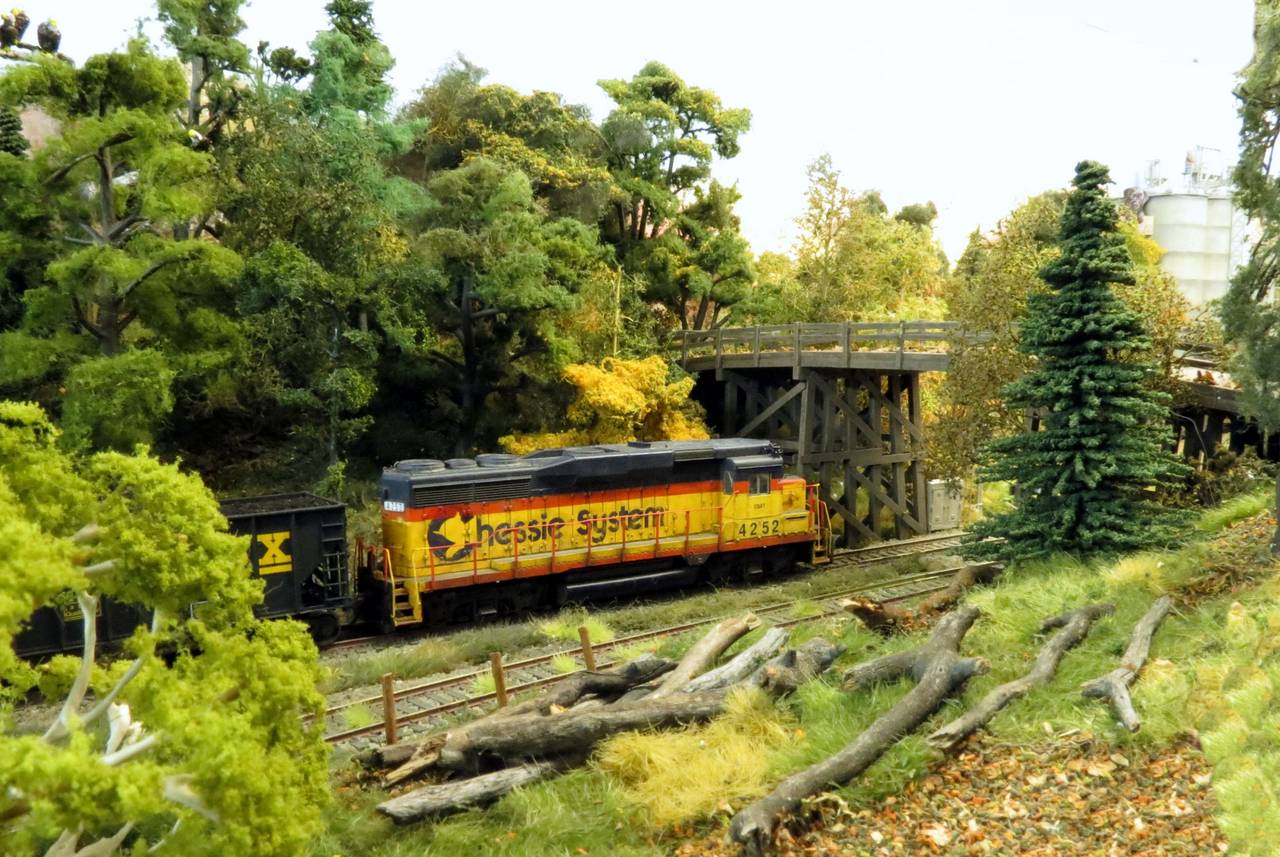
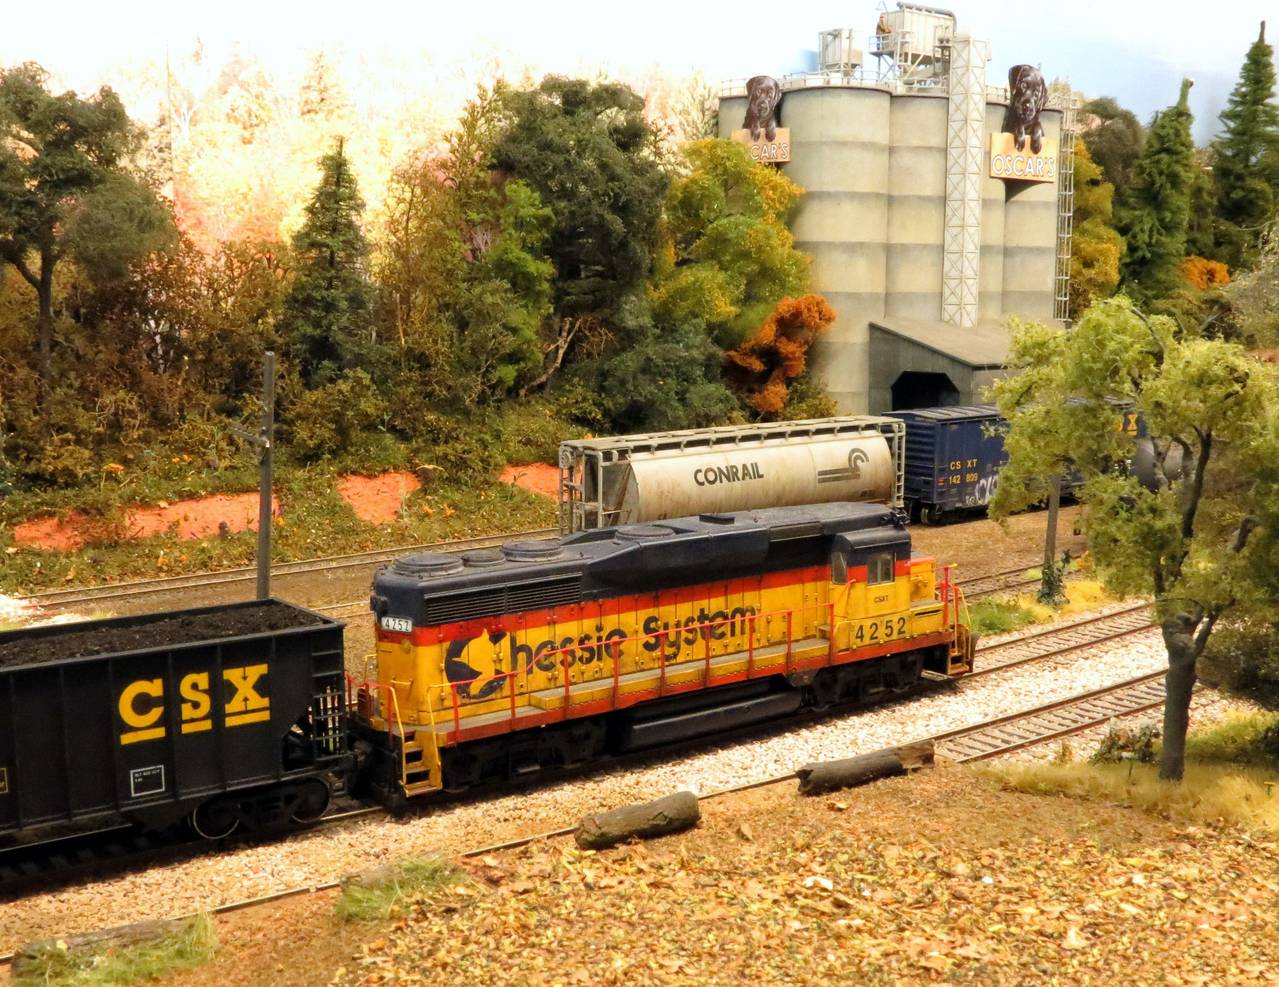
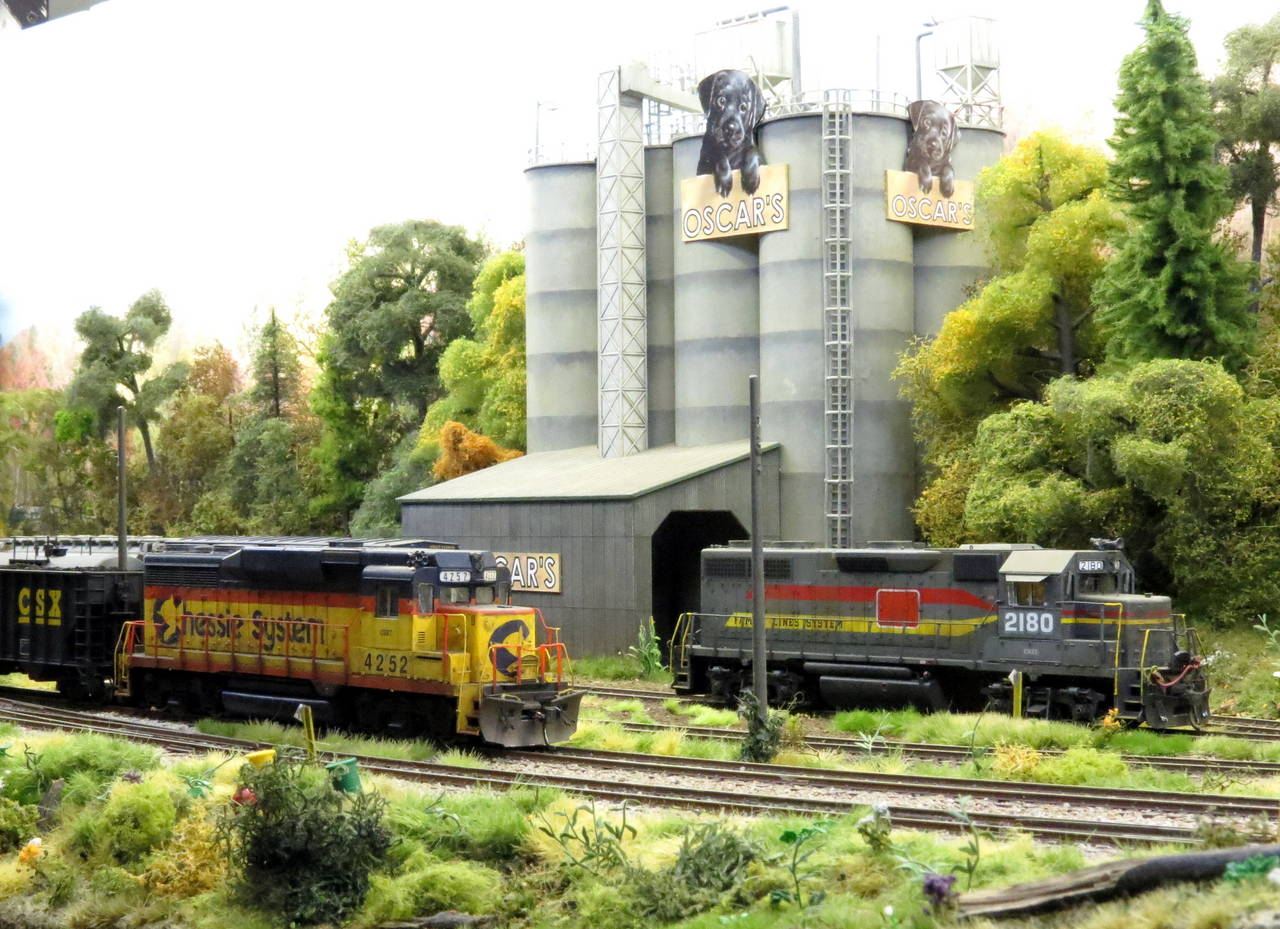
I painted the base coat onto the silos and weathered it to a faded concrete colour. I measured and pencil-notched each silo at 1.25 inch graduations, and wrapped 1/2 in masking tape ABOVE the notch, right round the visible portion of the model. Once applied I applied a variety washes and drybrush colours either towards the tape or away from it, but always in an up/down motion.
Once happy with the result, I removed the mashing tape. It was easier than it sounds
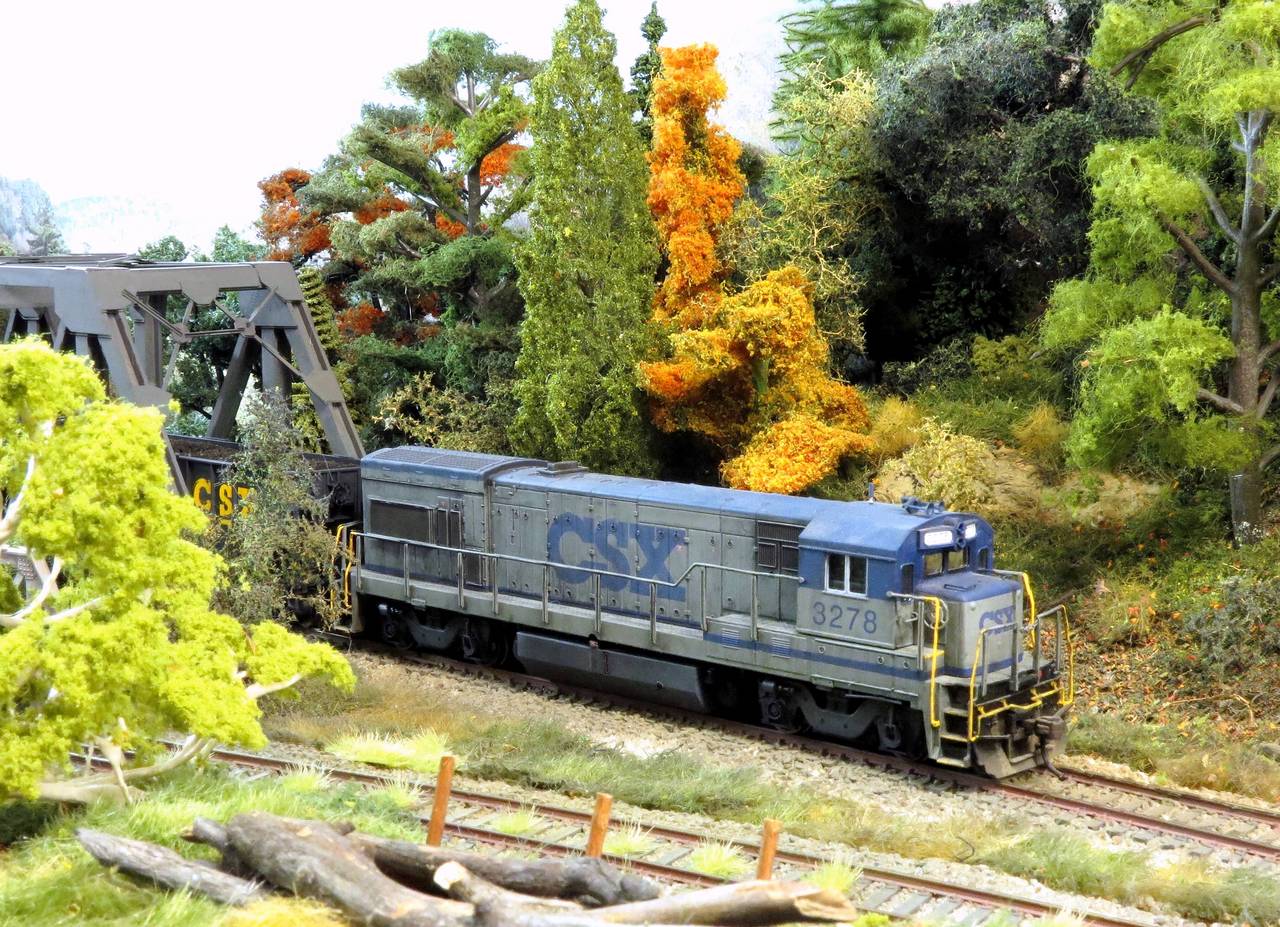
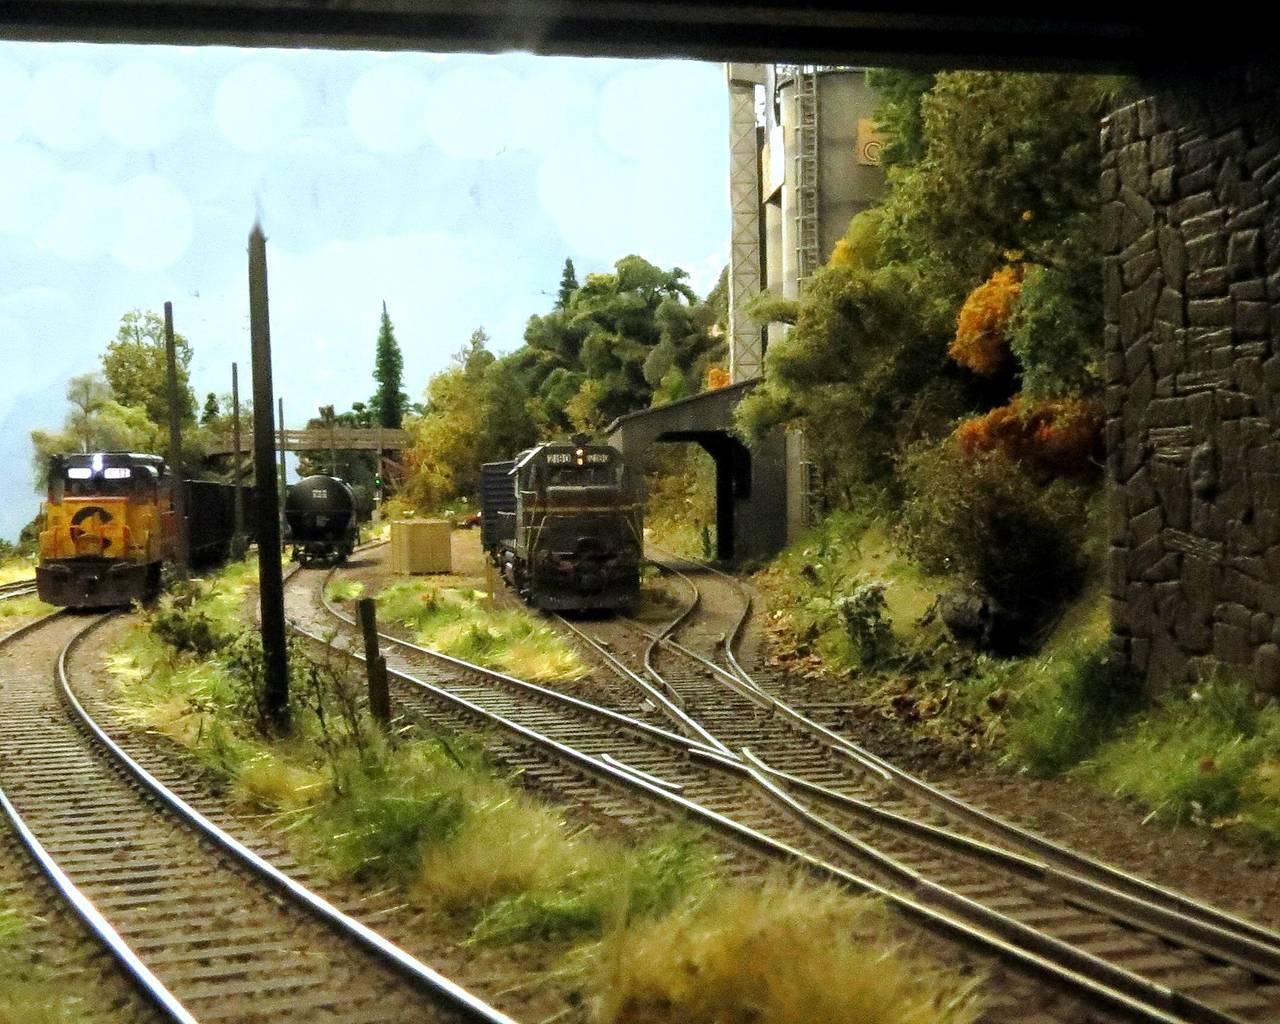
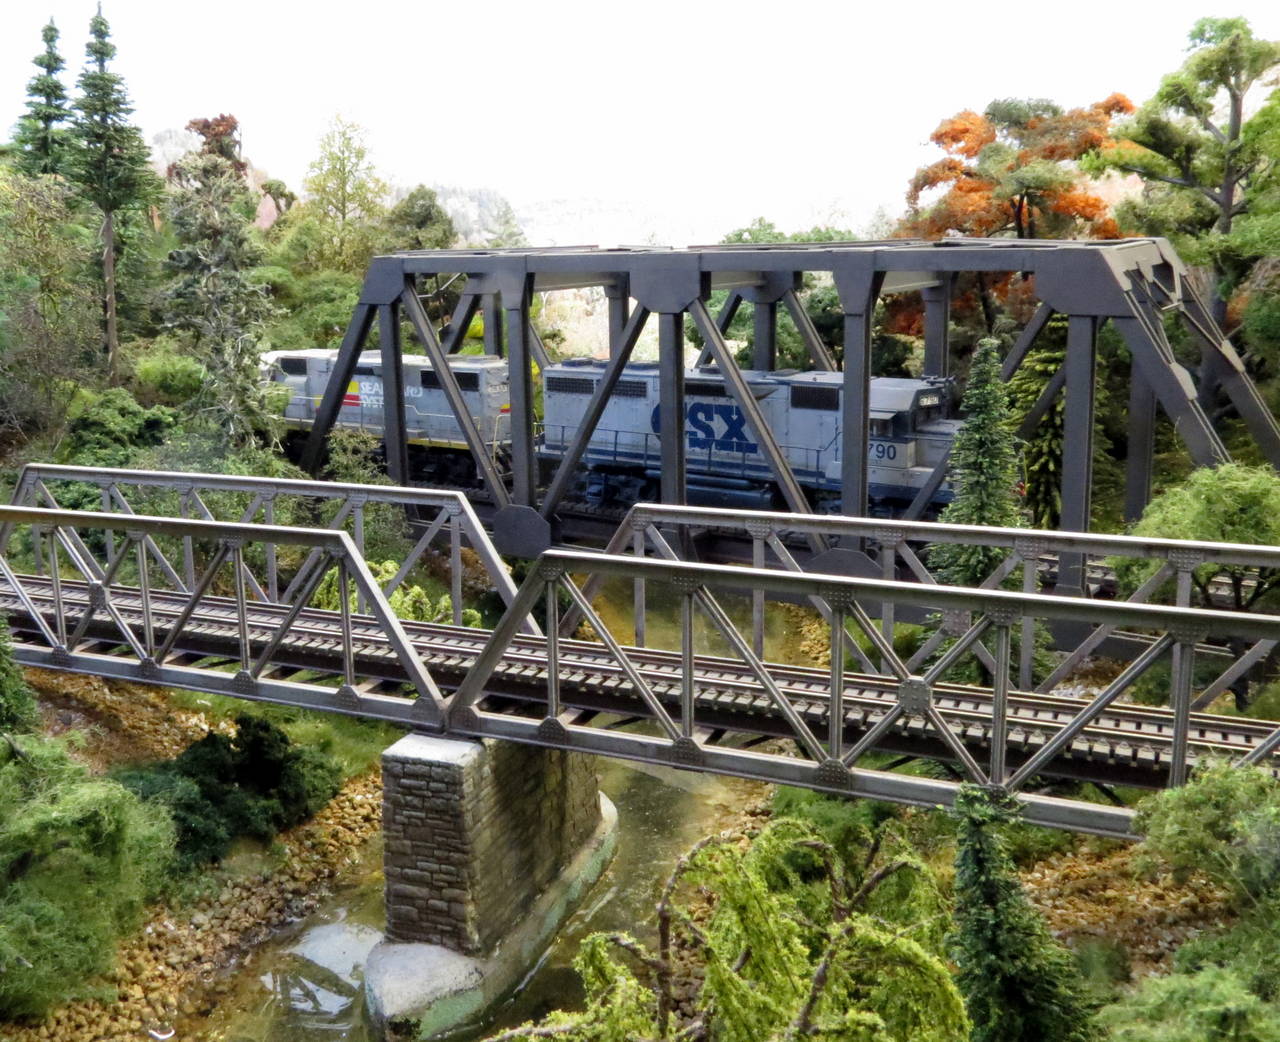
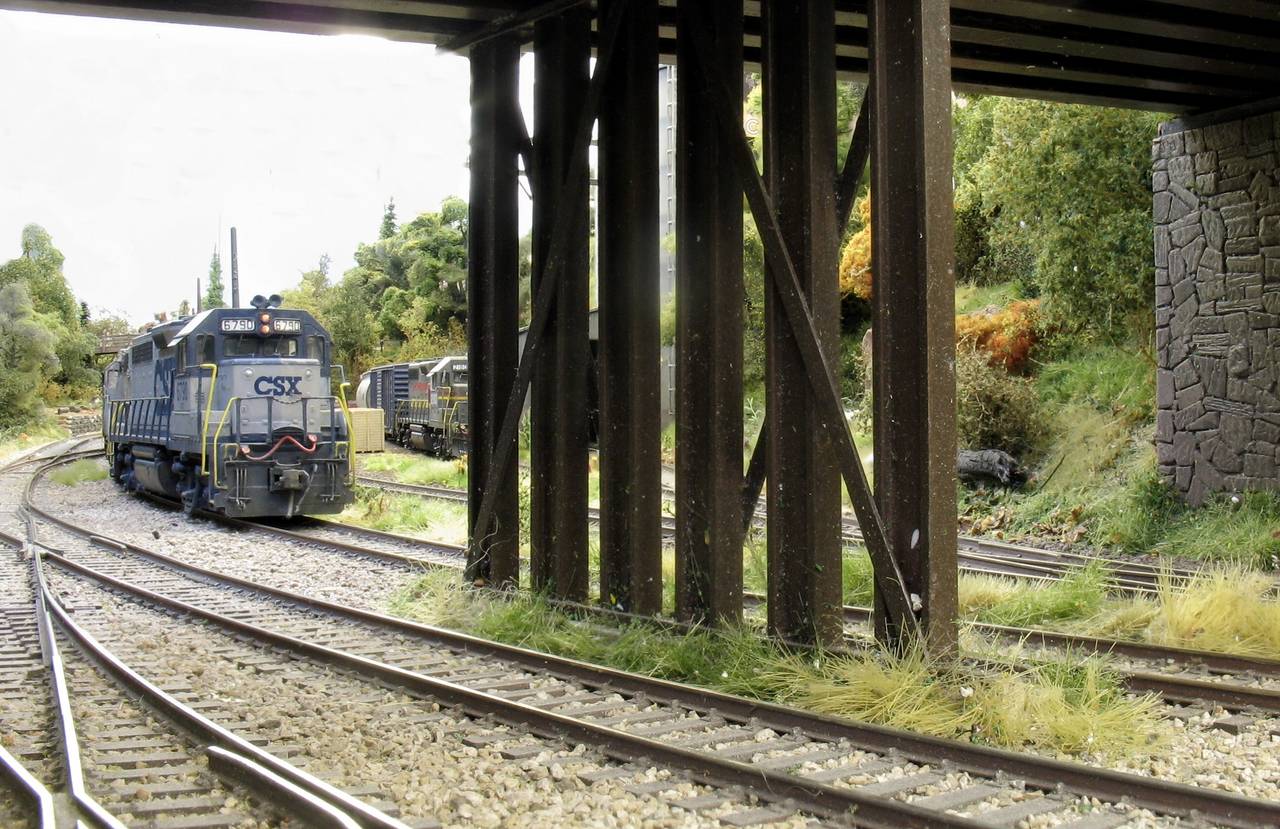
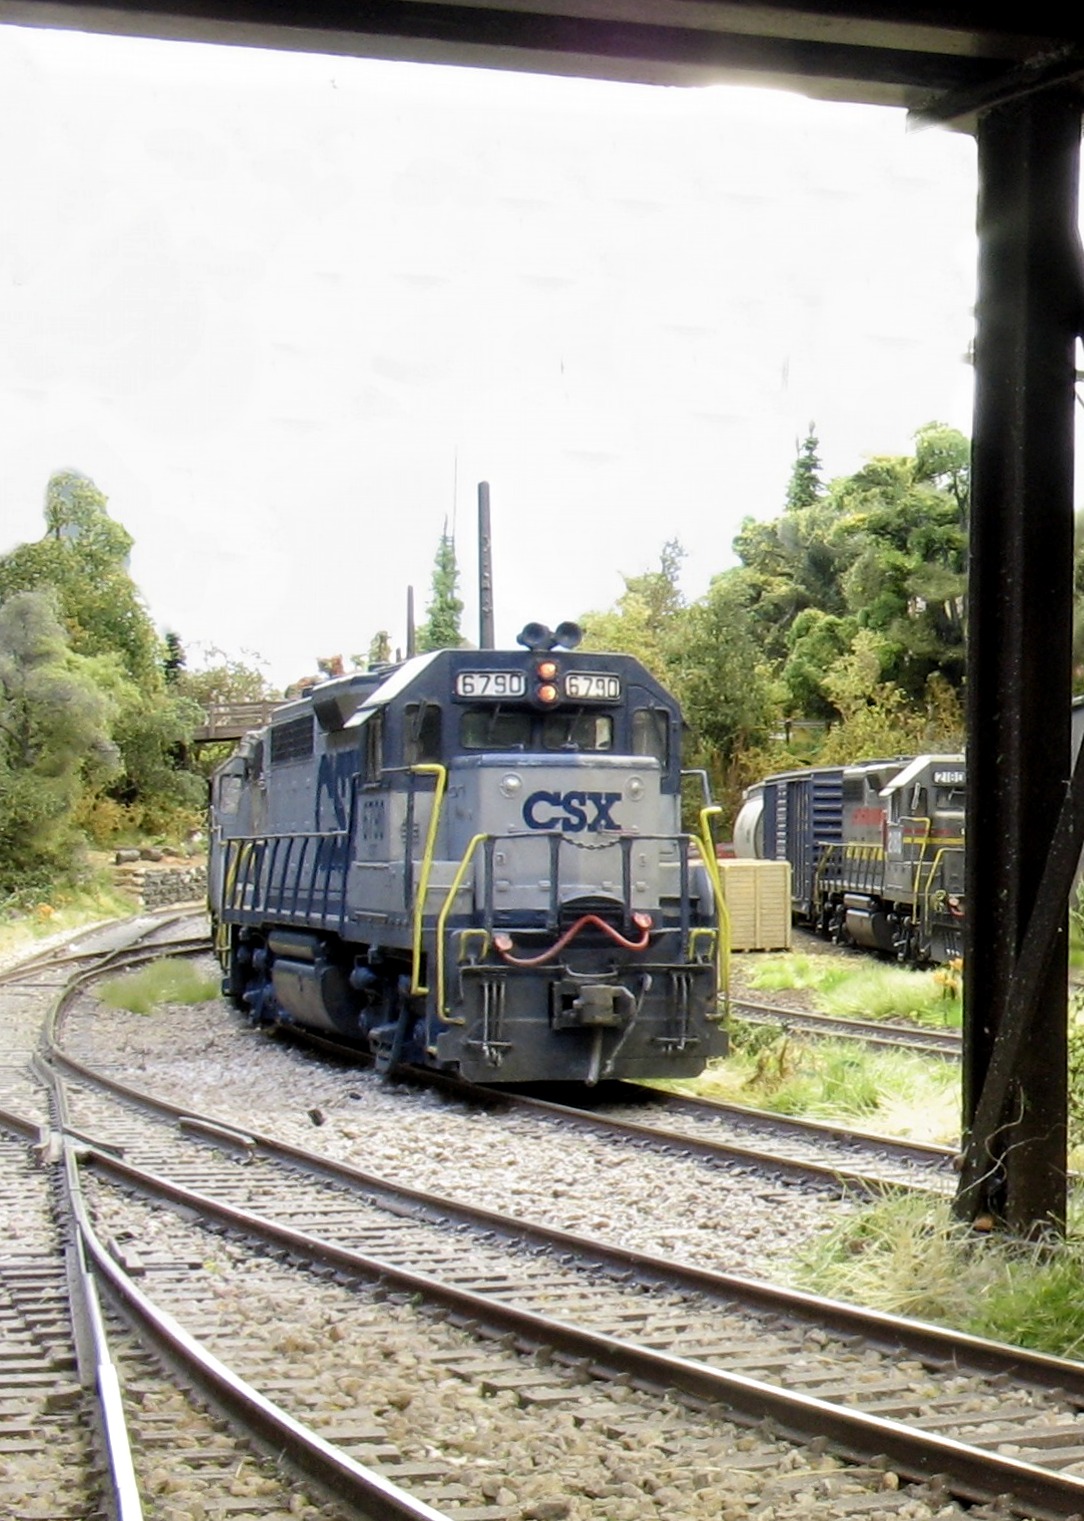
Wow, those are some truly stunning shots. Particularly those last couple, it’s nearly impossible to tell those are models. The weeds and tall grasses and the scattered colored flowers are in a word, incredible. Particularly in the shot looking under the bridge, where there is the patch of weeds in the lower left - I checked my pants for stickers after looking at that (at least, around here, we call those weeds with the burrs that get stuck on you clothes ‘sticker bushes’). That planting there looks particularly realistic, nearly black on the bottom and brown on the top.
For everyone else - it’s pretty much worth joining Facebook to see the other shots. Some of those more recent aged ones from the Sweethome Chicago layout - WOW! The one caboose shot and the one loco, it took me a while to realize they WERE model phots - finally I noticed the Kadee coupler.
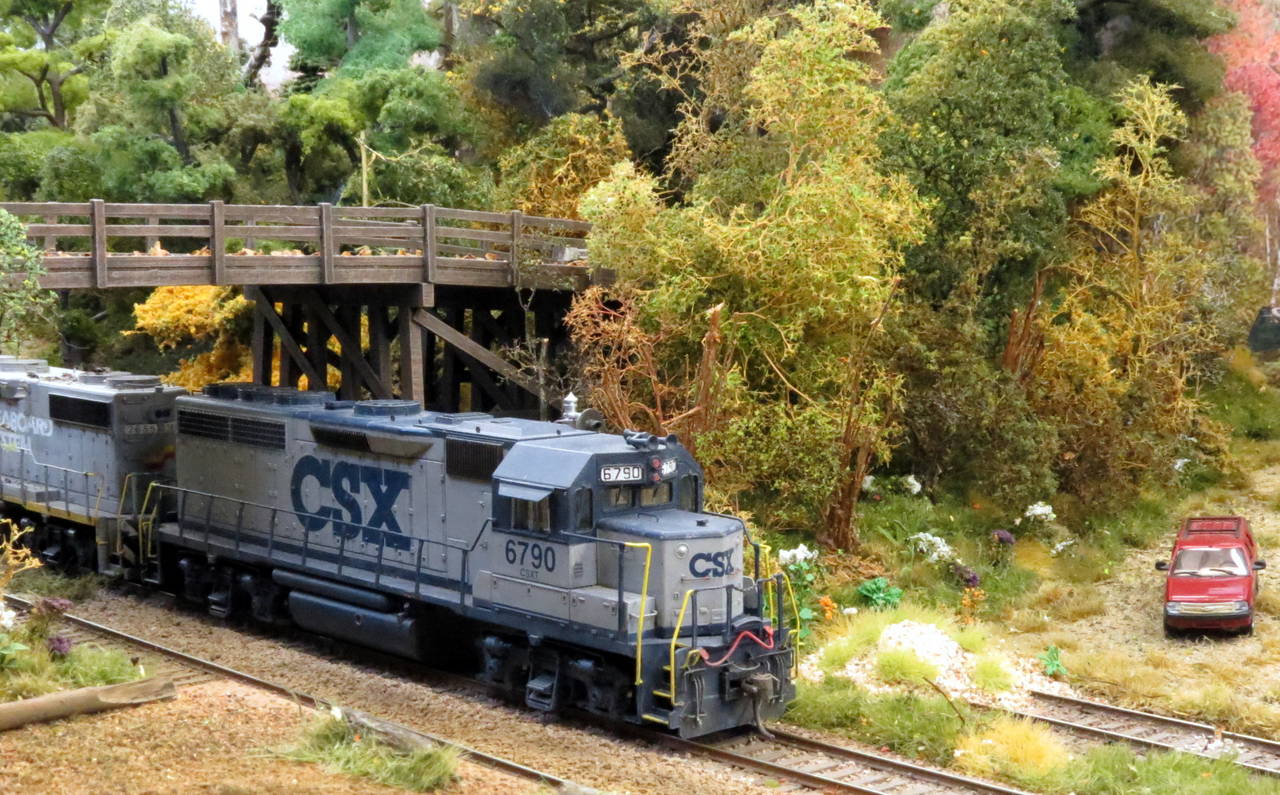
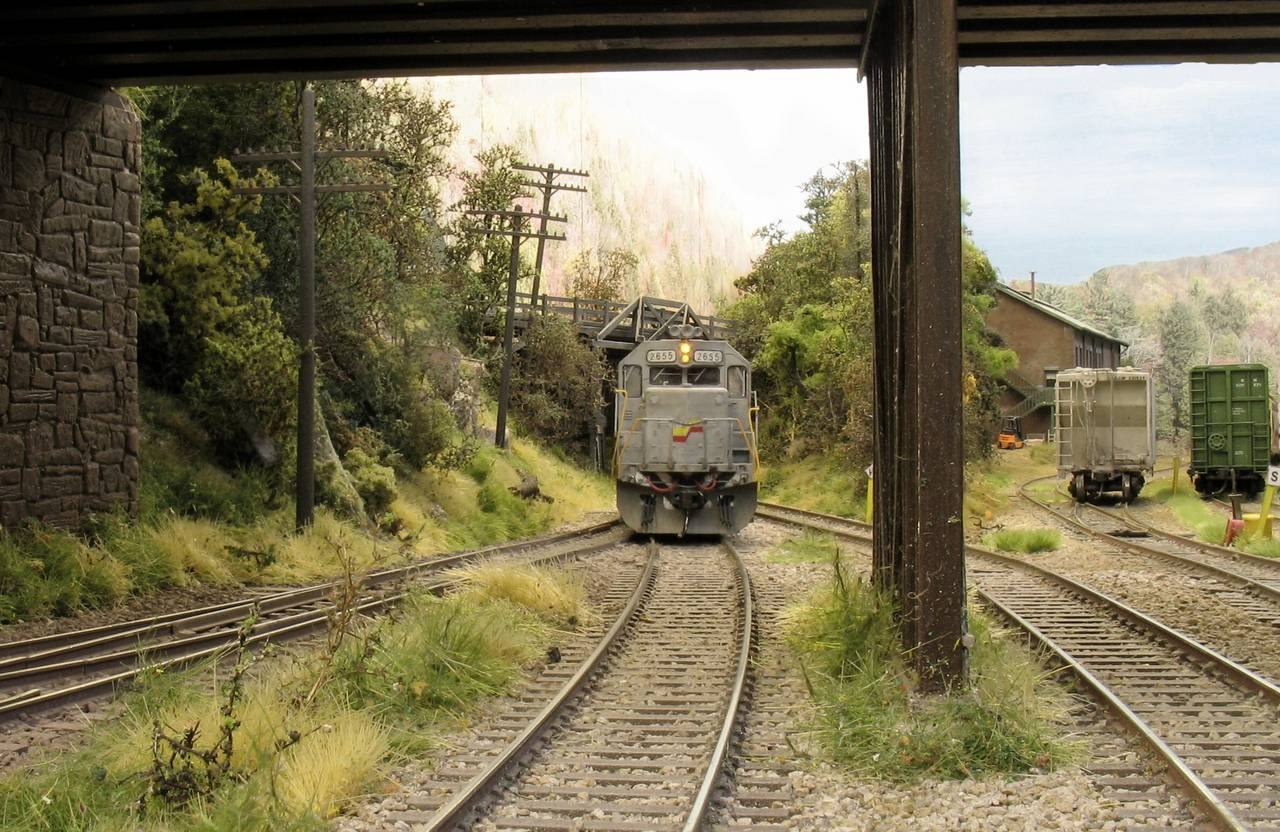
Add more of a bluish-grey tone to the picture, and then maybe you’ll get the effect of a “nice” warm humid day here. It’s more of a “almost foggy” effect than anything else, extremely light but you can still see the “haze” the humidity can cause here. Its due to the dew point almost matching the temperature.