Toy Train Box Repairs!

Progress has been made!

The 6466WX box is complete. Or at least, complete enough for now. I’m feeling reasonably happy with how my reinforced hinges turned out. I had to layer some cardboard on one of the flaps which had a bad crease in it. I ended up applying the hinge over that.


Hopefully those flaps will all stay intact on the box for years to come.

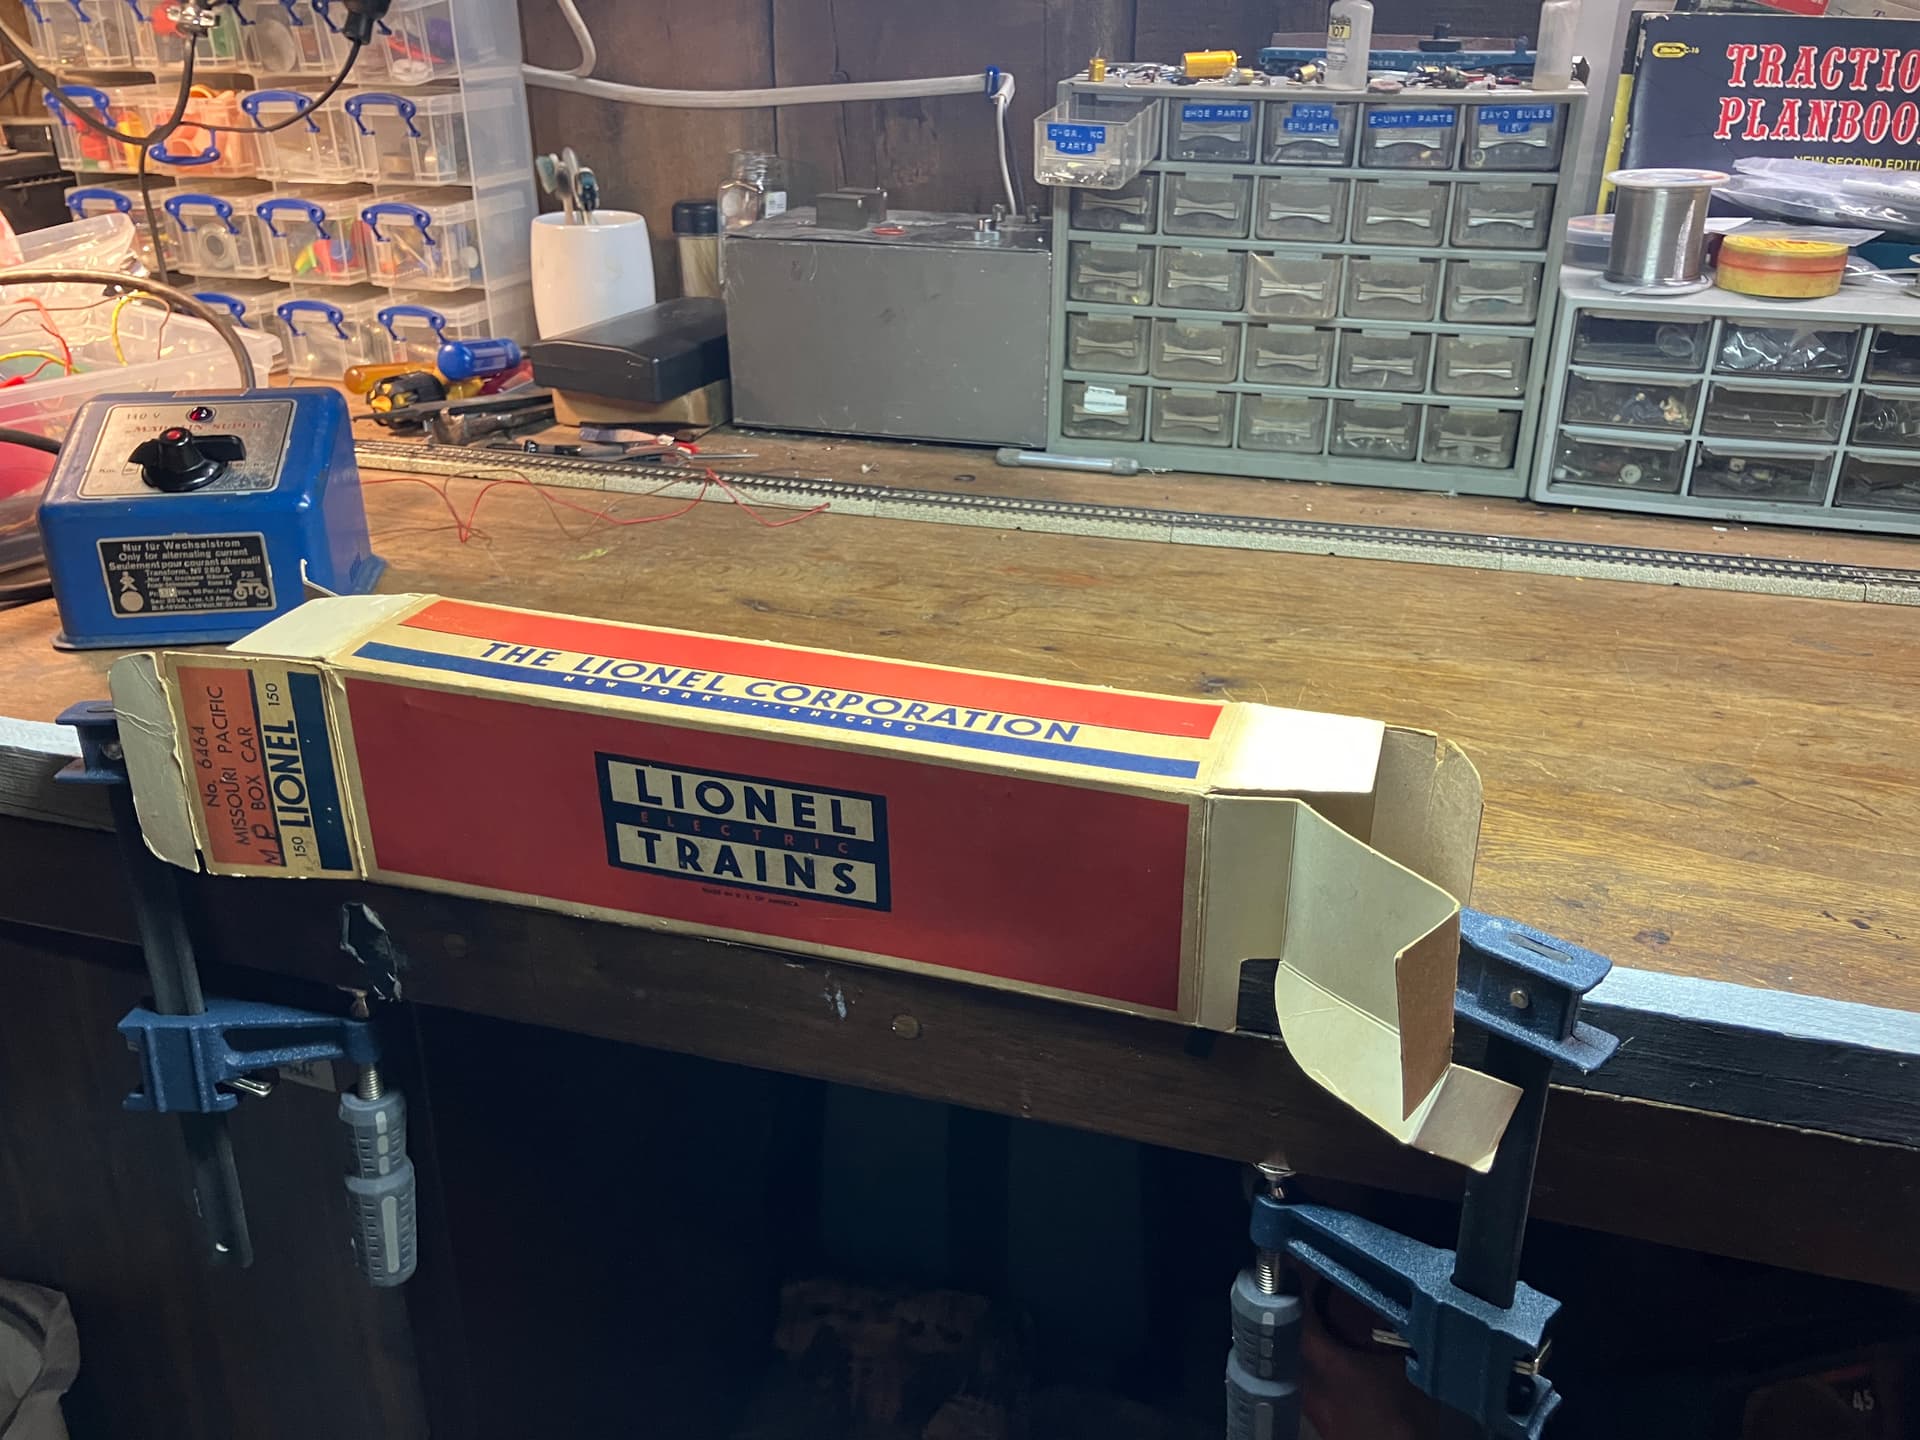
And here the box is, along side the tender that will be calling it ‘home’- my lovely 6466WX.

Things are slowly progressing with the 6464-150 box, no new pictures there. Trying my best to eliminate warpage from the support I had to glue along one wall of the box.

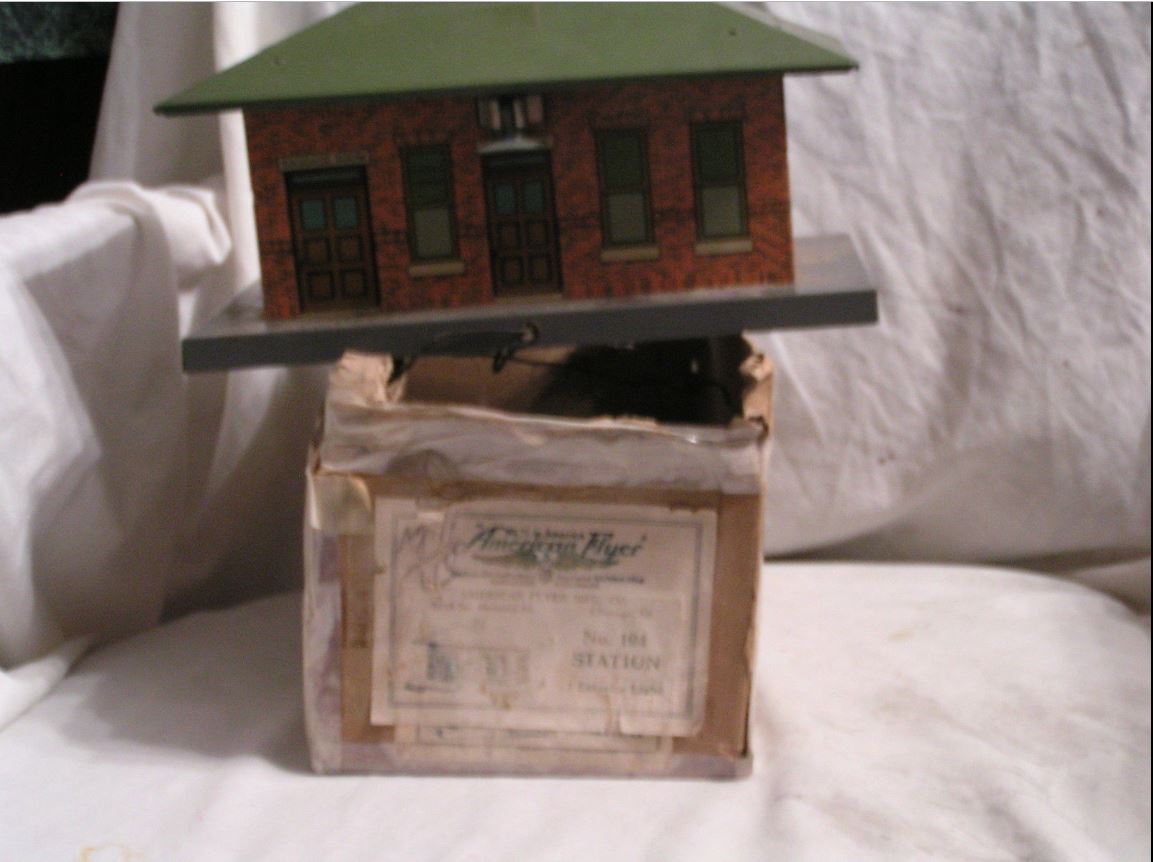
The 0836-110 box is also making progress still. I cleaned up the original plastic window, and I’m quite happy to report it looks pretty good after a rub down with some windex. I haven’t quite succeeded in flattening it yet.

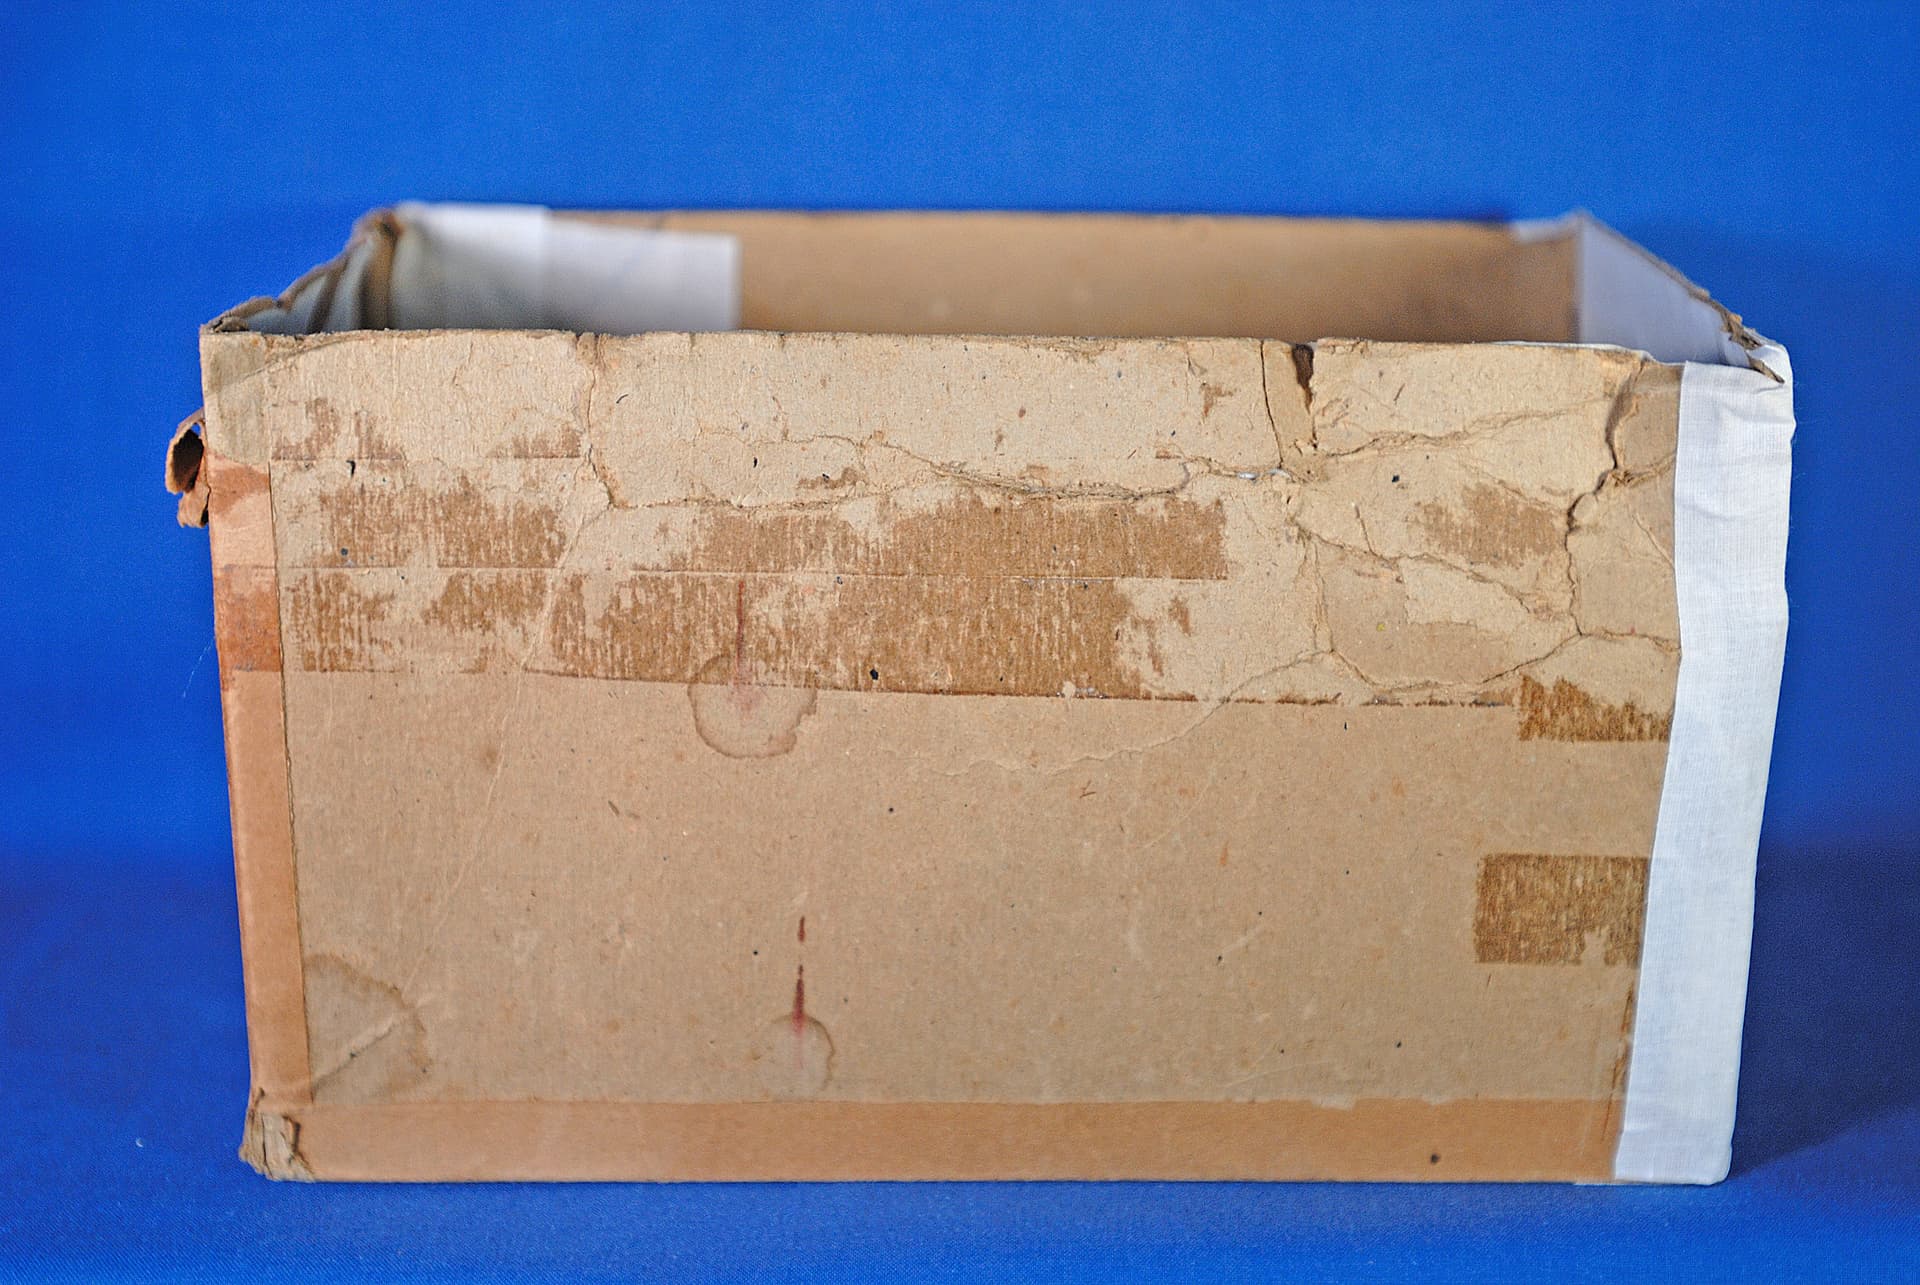
One of the end flaps finally let go while I was handling the box, and I decided to make it my next priority. In need of some reinforcement and fixing some de-lamination.


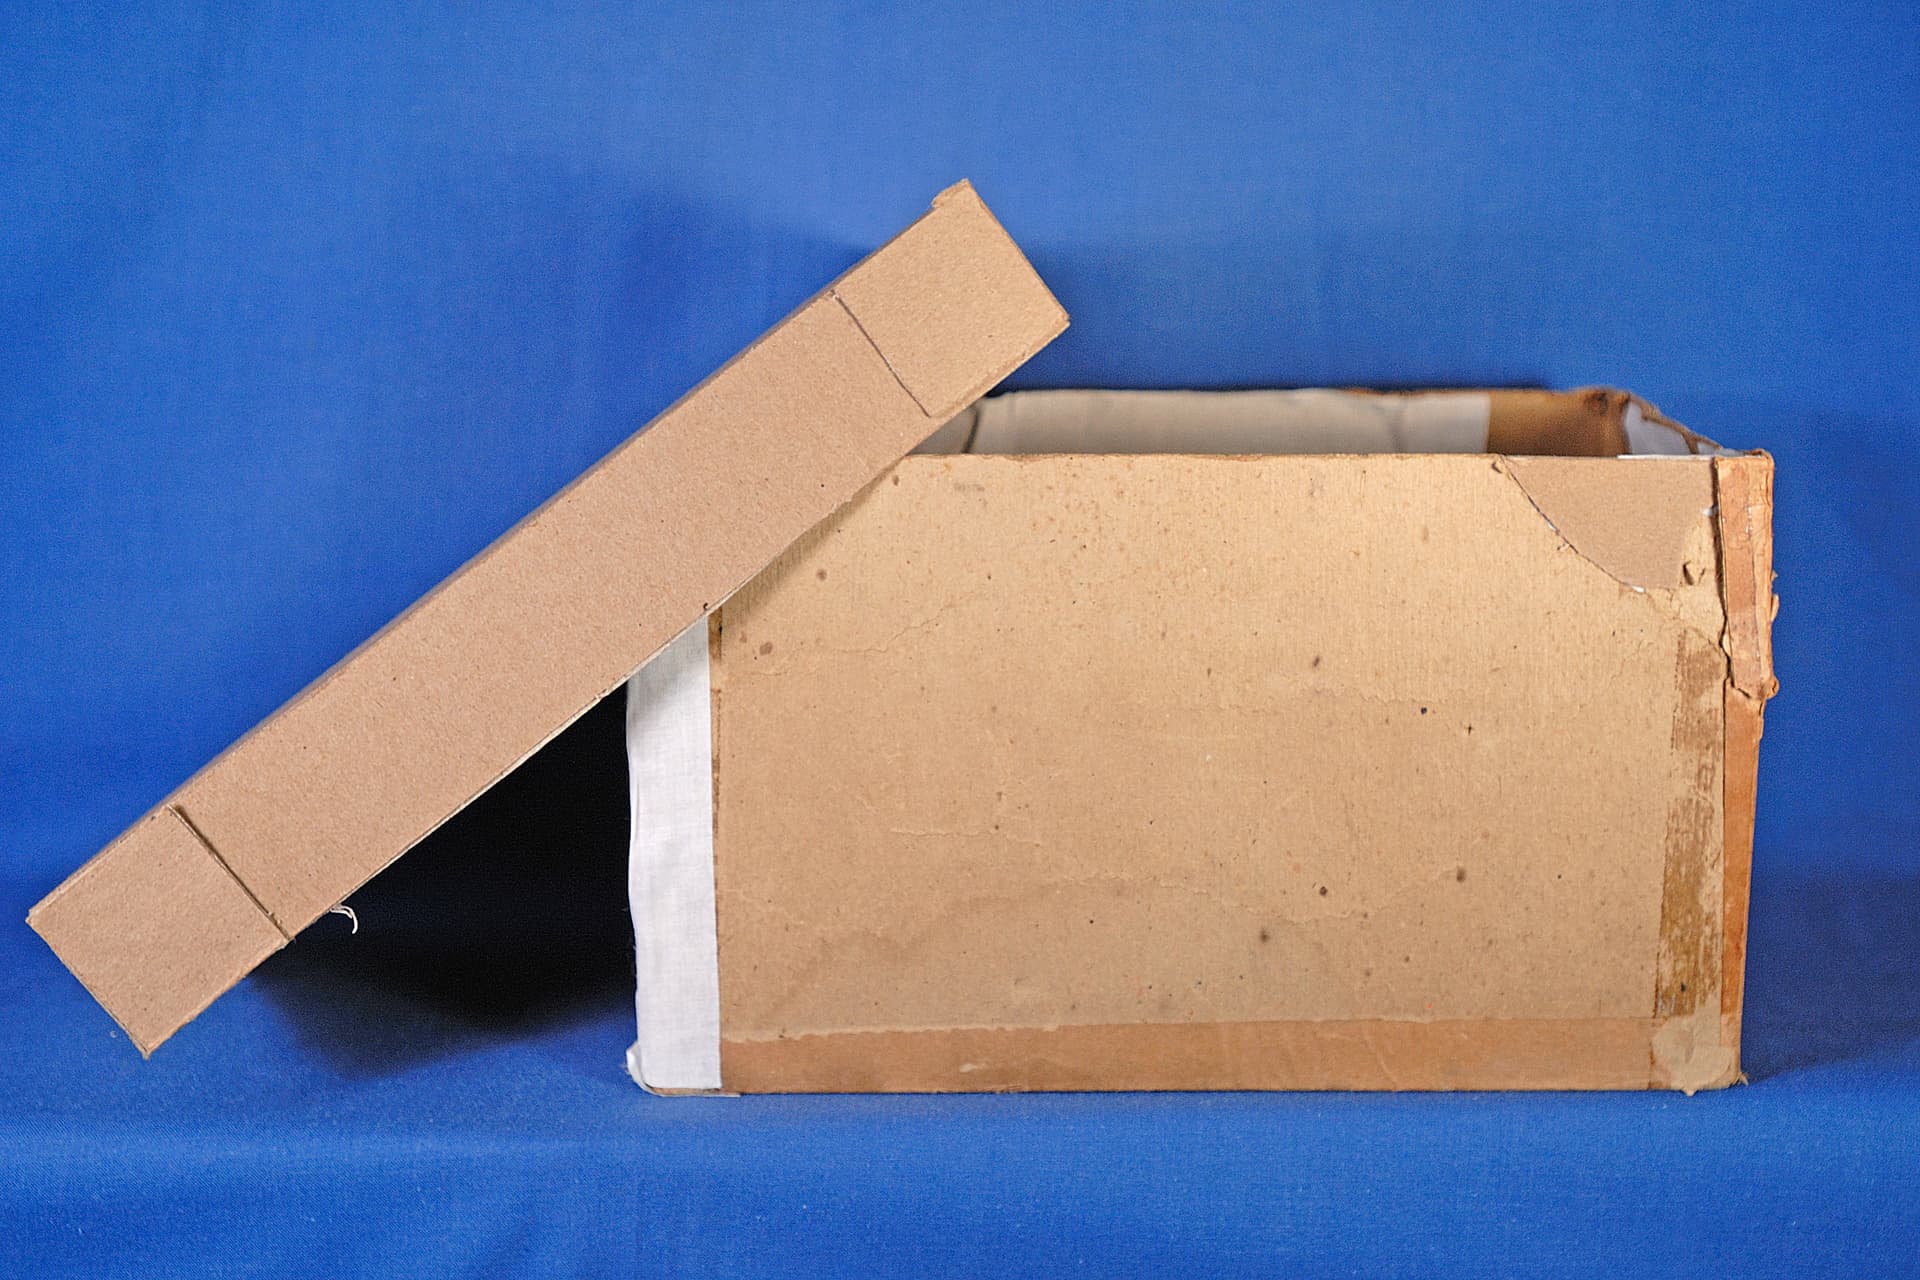
I cut out and glued a reinforcement piece, hopefully it works out well. It’s sitting under a brick right now to keep it flat.

In a slight diversion, I was looking at one end of the box and I couldn’t resist fussing with the label trying to get a peek under it. And lo and behold, the old adhesive failed. And look at that!


I think this explains the purpose behind the paper labels pretty clearly. My theory here, is that the -111 suffix was an error, and the sticker label was applied to correct the mistake.
Now, why there were two labels stuck on this end is anybody’s guess, but they are identical.

Maybe two of them accidentally got stuck together while an employee was correcting boxes? Impossible to know without having been at the factory the day that the labels were applied.

Anyhow, that’s all for the moment. I still need an insert for this car. There is a seller on eBay who makes reproduction inserts for Lionel HO boxes, however I don’t think they currently offer the correct insert. This feels like as good an excuse as any to try and make my own! A project for after the box has been stabilized.

-El

2 Likes

There’s nothing wrong with your English BN7150! It’s just fine! :+1:
And thanks for the advice!

1 Like

Ellie: If, and I mean IF, you have a clothing iron with temperature settings, you might be able to gently coax it back to flat on the lowest temperature by ironing it between towels. Or a similar process might be done with a hairdryer or heat gun, but the iron is a flat surface to begin with. At any rate without a little heat I don’t think you can press it flat.

PS I have a few interesting boxes of my own I’ll take out of storage and photograph later today.

3 Likes

@pennytrains I have been pondering ideas, I do like the idea of using an iron, but I’m not sure what sort of heat adjustment it has. I will need to investigate.

@BN7150 I had the chance today to try your box opening trick, it worked very nicely for me! Thanks for the tip.

Just a little progress between the last update and now- still slowly working my way along with the boxes.

I confirmed that indeed, my 6466WX box is supposed to have an insert, and I certainly don’t have one. Today I attempted to make one. I made a bit of a miscalculation that resulted in the insert not taking on the exact design I’d originally planned for it. I made a grave miscalculation and my insert was too tall by 1/8"! I’m not completely thrilled with how I salvaged it, but it does fit the box now, keeps the tender from shifting around inside, and it’s never getting mistaken for an original!


-El

4 Likes

I used the milk jug plastic trick to block the open windows of some Lionel generic Southern Pacific type cabooses I was going to sell at a train show. It improved the appearance 100% even without interior lighting. In fact I actually fooled the purchaser who bought all three into asking “When did Lionel put out cabooses like this? I’ve never seen any like them.” So I told him “Lionel didn’t do that, I did!” and told him how. “What a great idea!” he said!

2 Likes

We’re (hopefully) in the home stretch now for the 6464-150!
All the hinges, flaps, and panels I wanted to reinforce have been taken care of.


Now it has to go back together.
My solution was a piece of wood, a pair of clamps, and the workbench. I went a little sparing on the glue, hopefully it’s enough.


We’ll see how things look after the glue has dried. Fingers crossed that my work will be done…

-El

2 Likes