The instructions simply call for “rail of your choice” placed inside the roundhouse in the track grooves. I’m assuming people just take some flextrack rails and cut them to fit the length of the roundhouse so that enough sticks out of the doors towards the turntable to allow for a joiner or soldered connection of track leading to the turntable? It appears that this will be rail without any ties on the inside of the structure?..?
Has anyone built this same roundhouse (3 stall with 10 degree spacing)? Directions are rather vague on this point.
I tried both Atlas and Shinohara code 83 track and the Atlas was slightly better in my case as the tie was a little thicker and aligned with the lip of the turntable pit better.
I used epoxy with about a 1 hour working time for securing the rails into the grooves. I’ve had situations where ACC or “Superglue” did not adhere to the base of the rail due to expansion of the metal rail and plastic base not being equal.
That’s kind of what I was envisioning. I’m using Atlas code 100 rail, so it looks like you just trimmed flextrack? I’m not making my track by hand so I don’t have surplus rail laying around for convenient use in this scenario.
Also, given the height of the baseplates, how do you get the track to the right height to tie in to the turntable? I have not gotten this far yet, but it looks like installing the inspection pits below each track will raise the baseplate up higher than the height of my code 100 on top of cork. Do people usually just cheat this minor elevation change between the baseplate and the turntable? In my case I’m using the 90 foot unmotorized Walthers TT. The TT will only sit a little below the elevation of the baseplate/rail. (My Walthers Modern Diesel House is another matter: the baseplate of that model is about 5/8" above my table: too far for me to get my code 100 track to match, even with cork underneath. I must be missing something here [*-)]
Yes, the baseplate of the Modern Diesel House is extra thick due to the simulated inspection pits integral with the floor. IF I were to have this type of structure on my layout I would have used a thinner sub-base, perhaps 1/4 or 3/8 plywood to allow the foundation of the building to set lower into the surrounding terrain.
My turntable is a Diamond Scale Model with a plaster pit ring. The distance from the edge of the pit to the floor of the roundhouse is only about three inches. I used a 1/8" thick piece of styrene material (Genesis ceiling panel) as “roadbed”.
With the Modern Roundhouse the use of the inspection pits is optional and I only used perhaps six out of my nine stalls with pits. I routed a 13/16" groove for the pits to sit into.
At one time, I owned the Walthers 90’ non-motorized turntable. On my current layout, I have the original Walthers 130’ non-DCC indexed turntable. I have used the Walthers Roundhouse on all of my layouts.
When any of the Walthers turntables sit in the opening cut into the layout surface, the turntable bridge sits flush with the lip of the turntable. The floor of the roundhouse matches the height of the lip on the various Walthers turntables. So, if you use the same rail Code (e.g., 83, 100, etc.) in the roundhouse and on the turntable bridge, the rail heights will match without any further adjustments.
To install rail in the roundhouse, I strip rail off of Atlas flextrack. In the space between the roundhouse and the turntable, I slip ties under the rail. I have never bothered installing inspection pits in the roundhouse.
I also am kicking around not installing them. If I do, I figure carving out a little foam to make room will be easier than getting into my actual 3/4" plywood.
Can’t fault you there. My roundhouse is usually 90% occupied so you wouldn’t see the pits very often and when the engine is out of the stall you really have to squint to make out the pit. Just paint the filler strip a very dark gray or nearly black.
Also,
Check to be sure the base of the code 100 rail will fit into the molded groove of the floor/base.
It might be snug. I don’t recall much wiggle room using the code 83.
On the Walthers Cinder Conveyor and Ash Pit, I did cut out an opening in the plywood surface, but I did so because the ash pit is clearly visible. Not so with the roundhouse inspection pits which begin 3 1/4" inside the doors and are not readily visible. As Ed suggested, you could get away with simply painting the openings dark black to simulate depth.
I installed Code 83 rail. There was a slight bit of wiggle room but not enough to throw the width between the rails out of gauge. I used a bead of CA adhesive to glue down the rail on the roundhouse floor.
For rail, I also take the ties off of Atlas flex track. That was my former LHS guy’s suggestion. Of course, he didn’t carry unattached rail.
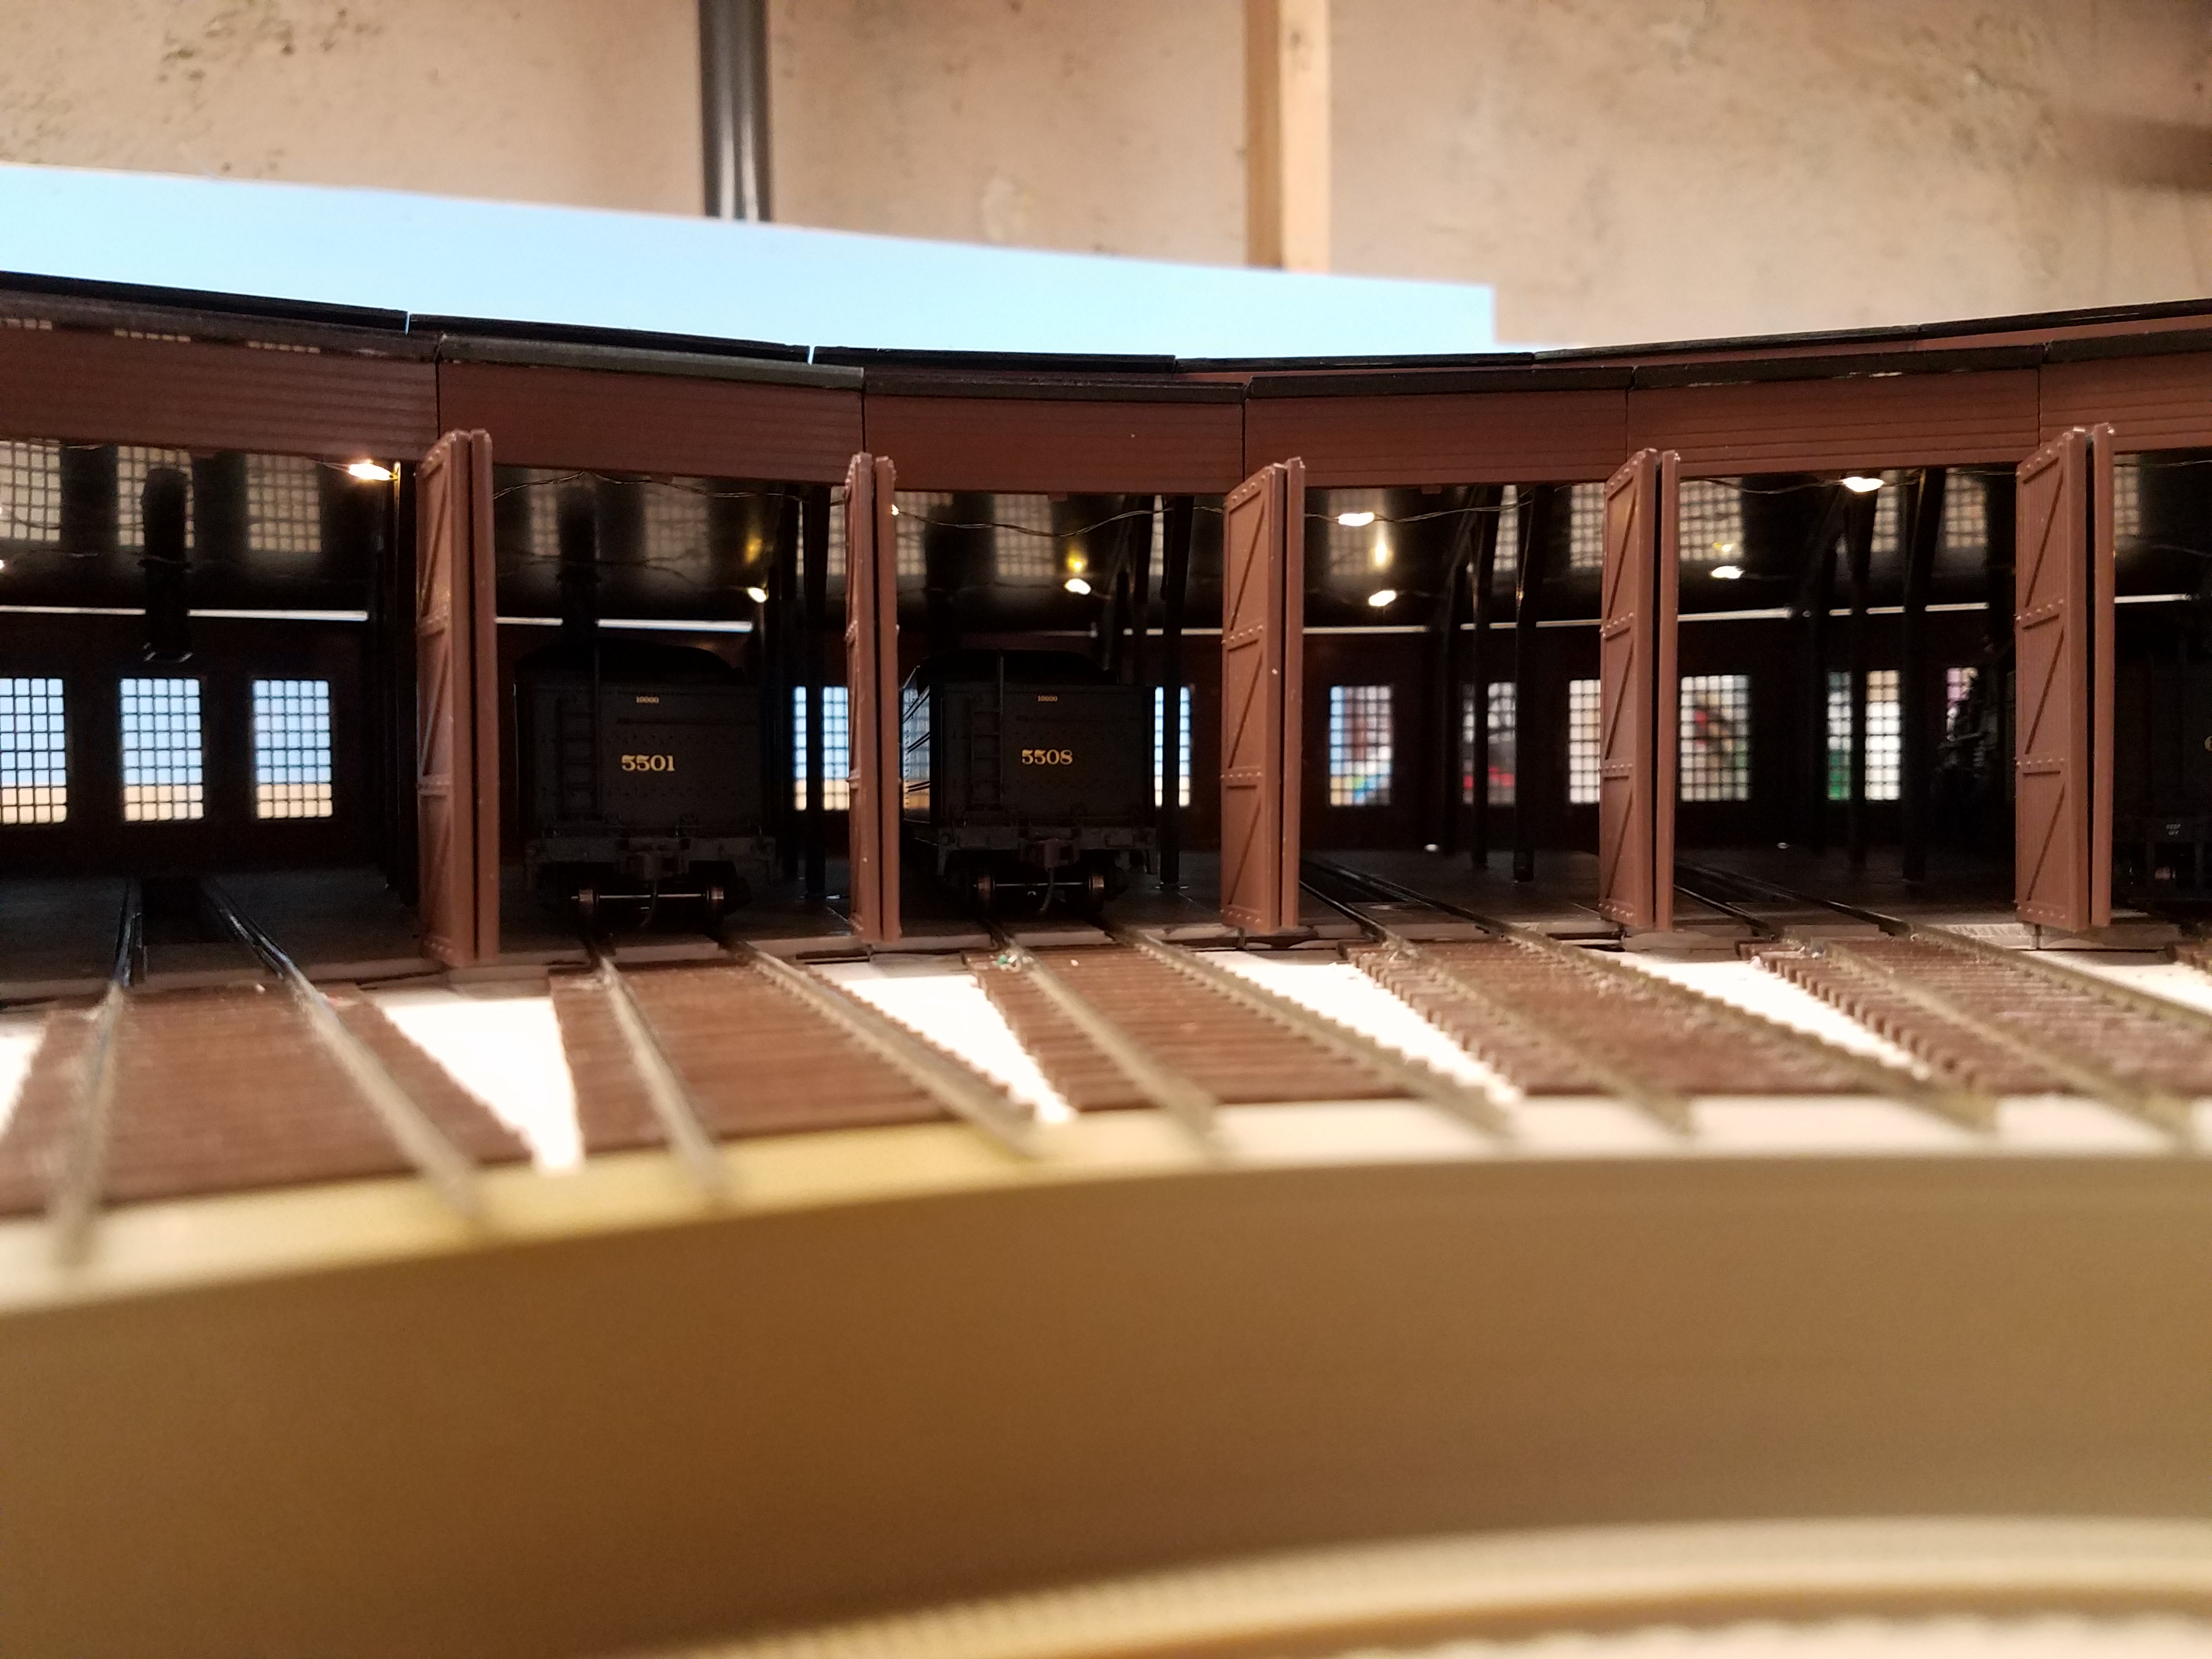
I spent a lot of time detailing the interior of my roundhouse. The location and position, besides the size, make it basically impossible to see those details. Workbenches, tool chests and even an era-appropriate playmate centerfold just can’t be seen.