I am getting ready to paint my track and ties (by hand) and was wondering what are the best colors to use to do this?
If you’re talking “brush” you have more patience than I.
I use a light to medium tan or sand color over my ME track, then follow it with some lighter shots of medium to dark gray here and there.That should work as well for brush as spray. With a brush, you’ll probably also want a wash coat to help it fall together more easily.
I would say part of this is just laziness on my part, but I actually find it’s easier for me to control random effects with spray paint. I use hobby paint for a few special things, but most of the rest is just basic shades of brown, green, black, etc in Krylon or Rustoleum.
I use Polyscale Rail Brown and Brush paint it most of the time on Industrail spurs!
When I am doing the Mainline - I use Joe’s Model Trains Paint Roller.
I goes really fast - you just have to stop and let the air back into the bottle once in a while as it draws a vacuum being upside down!
Both systems seems to give the color variation I like and it also covers the Spikes, Tie Plates and parts of the ties - just as I have seen on the Real Railroad ROWs.
BOB H - Clarion, PA
Trust me, rattle can them!!!
You might want to consider paint markers. WS has several sets, one contains rail and tie colors. There are also non-model company paint markers with colors very close to the colors you want, usually at a lower price.
I have read some threads that indicate that they are easier to use than a brush. I haven’t used them yet, but I do have some to try.
Good luck,
Richard
I too paint track by hand.
I use a standard Testors paint brush and use Polly S rail brown and a mixture of gray and white to get a faded tie look-I don’t measure I add one drop of white at a time until it looks about right…I follow up with “oily black” for oil leaks.
Since my track is in a industrial area I place weeds in the gauge-just be sure these doesn’t interfere with operation…I also place grass in the gauge.
All LION track is painted, some of it even by hand. First, where is your railroad (time and location) LION builds subways, painting everything black is a good option for him: spray can is called for. LION prefers water based paint for this.
LION also uses bigger brushes, does not try to detail the tracks.
Tracks of LION have seen as many as four layouts, they show their wear, and colors do not always match.
ROAR
Rattle can paint is so much easier. Just mask off the area with some newspapers, spray them with some rail brown and dusting of weathered black. Clean the rail tops with thinner. Done in minutes.
This rattle can idea has me really intrigued. I see Rustoleum has a line of camo colors out, one of which is a dark brown. It looks really dark at first, but I figure by the time I ballast it will tone itself down. Anyways, has anyone ever used these camo colors before? My concern is cleaning the rail tops. Do you clean them ASAP after painting the ties/rails or do you wait to let the paint set a bit? I see that thinner was mentioned above, is this the best method and do you use a Qtip, cotton swob, piece of cloth? I just don’t want to be stuck with paint covering my rail tops that I cannot get off.
Thanks all!
Happy modeling!
Don.
I think I’ve read that spreading a very small amount of oil with a scrap a cork or running a bar of soap over rail heads really helps to keep the paint from really sticking to the tops BUT one must carful to not get so much of ether to run down the webs , I have not tried ether of these !
I have, sprayed with a can, some turnouts (before install ) and cleaning the tops of the rail wasn’t that bad, but had to be careful about being to sloppy with solvent or some touch-up would be required. …Jerry
Rattle cans all the way here. I have painted by hand and while it looks good it takes a very long time. The paint pens don’t cover well and require multiple passes (These sit in the drawer). I haven’t used the roller tool.
I use cheap cans from OSH/Depot. Brown and black in light passes. I lightly oil the tops of the rail before painting. Goes quick, looks great.
Rattle can painted rail:
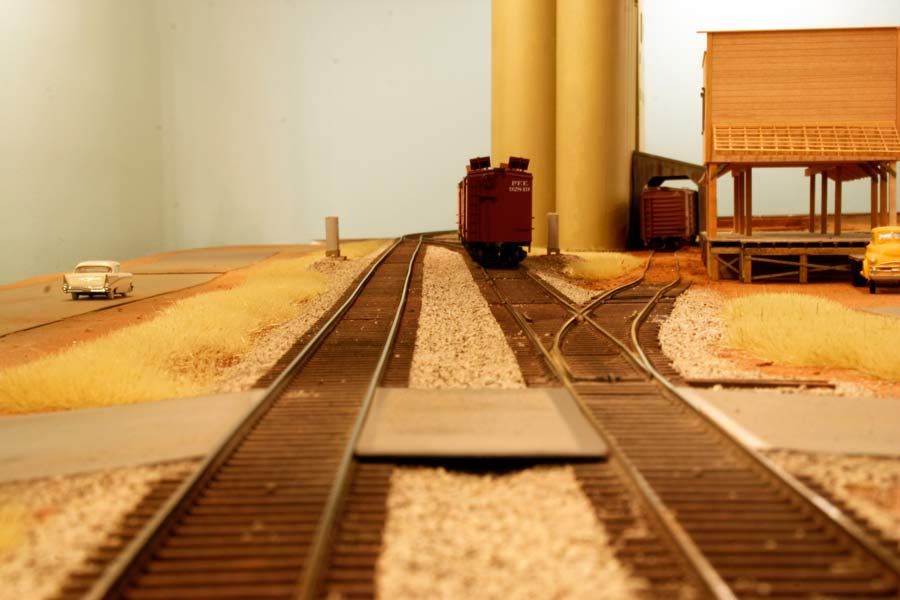
Guy
For me: rattle cans outside to minimize fumes and escaped paint droplets. A light oil on a Qtip applied to the top of the rail, wiped off before the paint dries too much, saves some elbow grease later.
Krylon makes some camouflage colors one of which, a dark olive, is almost a dead ringer for Floquil’s late lamented grimy black. A quick pass with a dark flat reddish brown gives just enough variety to avoid monotony.
Avoid the temptation to color the ties one color and the tie plates another. Back away from track even a few feet and the colors of ties, sides of rails, tie plates and spikes, etc., all become one basic shade.
If the track is straight when you paint it, little shiny dots will appear when it is curved (molded spike heads move when track is flexed revealing previously unpainted bits of rail) . A quick pass with a Testors weathering stick for rail was my preferred solution – and of course the great paint massacre at Testors has made those disappear. I use micro engineering and PSC flex track and curve it to shape before I paint it which helps but somehow the little dots still appear so a paint brush is still in order.
If I need to spray track in place I have created a sort of portable unvented booth out of an old large size kitty litter jug with bottom removed and cut to shape to fit track profile, so that the spray can be directed and contained within the “theater” of the jug’s sides and back.
Dave Nelson
I have the paint markers and found them MUCH easier than brush painting. I use the rust and grimy black or maybe it’s oily black. First I do a coast of rust, then when that dries I use the black, so there are spots of rust here and there, as well as rust ont he tie plate and spike detail.
With the markers I cna do quite a bit in a short time - using a brush is just too tedious for me and I can only do a little bit at a time that way.
–Randy
Now when I say rattle can, you still will need a little brush painting on the working parts of the turnout. The only thing I mask anymore for the most part is the turnouts working parts. Also I found that for the touch up paint you can put some thinner in a small paint bottle and spray into it till you get the consistency you want.
I use a 1" brush and paint the ties and rails quite quickly. I am sure this wont suit some but it is quick and easy and no fumes. I use any flat dark brown paint. I hand paint individual ties on all my turnouts.
As far as paint on the top of the rails, I use an alcohol soaked rag and wipe the rail tops as I go along.
Martin.
I use Floquil or Scalecoat rail brown, roof brown, and rust, with grimy black misted down the center of the track in some areas.
On a high-density, well-maintained mainline, the ties will all be in good condition and appear very similar, so rattle-can or airbrush is probably adequate. Photos of your prototype are a good guide if you can get them, but typically I find any really dark brown does the job - for creosote-treated wood ties, of course. Concrete’s another matter. For either type, I would also add a light overspray of very dark grey (nearly black) after the ballast has been applied, to simulate the oily grime that accumulates on busy tracks. On sidings and spurs, however, tie condition can vary considerably, and most ties tend to be older, more weathered, and thus a lighter colour. I take the time to paint the ties individually, using small batches of different mixes of darker and lighter browns and greys. The effect you’re going for is random variation (in tone more than colour) from one tie to the next; some darker, some lighter. You might also try applying a thin black wash or drybrushing a bit of black over a medium grey base color to bring out molded-on details and give the tie a weathered, dried-out, cracked look. Depending on how much the track is used, I would go lighter on the final oily weathering overspray - or even skip it altogether.
Hi,
I have not read all the previous postings so my advice may well have already been offered…
What has worked for me on the last two layouts is a sloppy mix of ModelMaster flat black and rust brown and thinner. Using a 1/4 inch flat brush, I would touch it in the two colors and then the thinner (or vice versa) and run the thin mixture down the center and ends of the ties. Of course you do this BEFORE ballasting.
For the rails, on the last layout I used a small flat chisel edged brush and with a thinned rust/brown mix ran the brush down the rail side. That worked pretty well for me. But on the current layout, I used the new (when I laid the track) Floquil track pens, and they did the job much faster. Of course they are not cheap, and once opened they don’t have a lot of shelf time left in them.
All this being said, the “weathered” track makes for a really nice improvement to the layout and I highly recommend it. Oh, don’t wait long to clean of the rail heads after you do this…
I have been using the advice from Lance Mindheim in his blog entry from the end of last year (2012) where he gives an easy method for track painting…read the entry for having a shelf layout by the end of the year. He recommends using the camo paint, masking and spraying, etc. I have found the following:
do a 3’ section or so at a time and clean the tops of the rails well before proceeding. He recommends a small scrap of wood soaked with lacquer thinner and pushed along the top of the rails with the paint still fresh. It dries quick and gets hard to remove…
If doing this in a confined space use a good respirator, these fumes are nasty. I moved mine out on to my well-ventilated porch for painting. Also be advised it may attack certain kinds of foam when sprayed. Test a small section first.
It has worked well so far and I like the overall effect…I can go back later for additional detailing. Mask off the points, etc. on the switches as usual. Bob
A couple questions as this intrigues me. The stick/wood scrap soaked in thinner…do you clean a small section of rail, then wipe the “paint gunk” off the stick/wood scrap, dip it again in the thinner and repeat until the rail tops are clean? Also the Rustoleum Camo paint attacking/eating foam…does it attack/eat the extruded (blue/pink) foam or the beaded white foam?
This is all good stuff btw fellas [Y]! I am learning some different techniques that I hope to use on my Son’s new N Scale layout.
Happy modeling!
Don.