I’m about to ballast my station module. But when it comes to the transition from the regular ballast (WS fine gray blend) to WS fine cinder, I’m hesitating as to where the cinder would begin on a turnout.
Would the cinder for the siding begin immediately upon leaving the turnout or after a few (scale) feet?
I’ve browsed through a bunch of my MR magazines but I’m still none the wiser… [B)]
From what I have seen, the RR will make sure the “good” ballast will cover their mainline trackage, and will pretty much fully cover a diverging turnout. The owner of the siding will then ballast up to the RR’s “good” ballast. Over time, there will be significant mixing, meaning it will not have a definitive line between the grey and black, but rather a stretch of blending. Obviously there is no set rule, but remember the RR came first, the siding after.
I’ve walked trackage at refineries in Chicago, two near Joliet (Illinois), Louisville, Beaumont (Tx), and Paulsboro (NJ). Frankly, there was no consistancy as to where the “fancy” ballast ended on the turnout. And, over time (some of these trackages were very old), it was mostly just a dirty blend.
Note that (in my experience) the RRs would re-ballast periodically, but the refinery trackages never got touched, once they were put in place.
Is your siding RR owned or private? Most RR sidings in or near a station are ballasted. I agree with the premise that the break occurs at the owners property and in most cases the siding is not at the mainline level. Part of the reason is maintenance and prt is not wanting cars to roll off the siding and obstruct the main.
The thing is, your ballast “break” or colors or material (or absence of it) can be whatever you want - and a prototype could probably be found for anything you could imagine! That being said, a clear and defined color break would typically be found only on new construction or re-ballasted trackage. Other than that, it can be “whatever”.
Ha, this topic reminds me of my first wife… She firmly believed the world was composed of “black and white”, while I felt that everything was “a shade of grey”.
Mobilman is quite correct. There is no rule, nor is there any consitancy whatsoever as to where the main line ballast ends and the spur ballast begins. There are many examples of “how to skin that cat” out there on the prototypes, mostly it comes down to what works in the cheapest possible fashion. Don’t sweat this detail, the full size railroads don’t.
Grew up in Blawnox, home of Blaw-Knox Equipment. They had a very large yard where they built those famous diamond radio towers and also the Dew Line.
We spent many hours there and the main line was ballested as all all mail lines and so was the turnout. After that they ties were on dirt, most half sunken in the
ground. And yes the shifter would jumb track but the track nor the ties were never maintained.
Here are some pictures showing how I handled the transition between different types of ballast. The photos are courtesy of Barney Secord, of “Secord Air Services - Crop Dusting and Aerial Photography”.
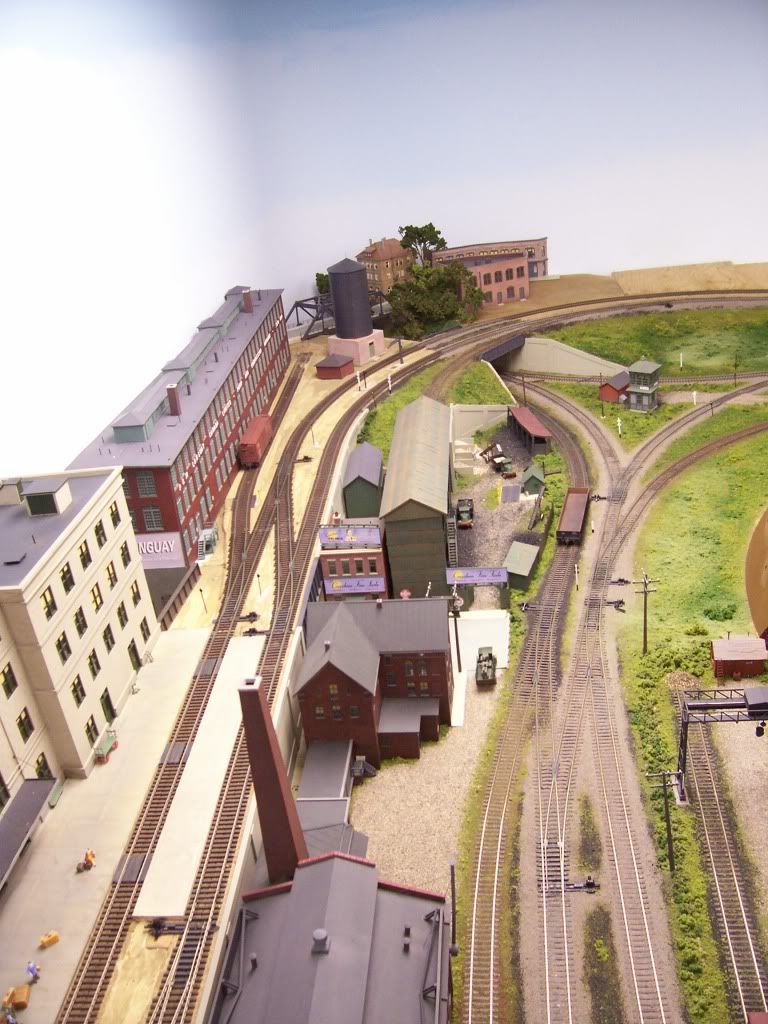
This was taken over the Grand Valley’s tracks through Dunnville, with the new double-tracked main line on the elevated right-of-way yet to be ballasted, at left. On the lower level, at the bottom right of the screen is a railroad-owned teamtrack, with cinder ballast, then the old mainline, with a passing track to its left, and a private industrial siding, with dirt and weeds mixed with a little ballast, to the left of that. In the distance, at right, is the icehouse lead, with the single-track old mainline continuing on. The wye to its left was at one time a branch, but the shortened track is now used only for turning locos or the odd car. Sandwiched-in between the wye and the coal dealer (served by a siding on the new High Line), and ducking under the overpass along with the wye, is a dead-end track, also with cinder ballast, used mainly for car storage:
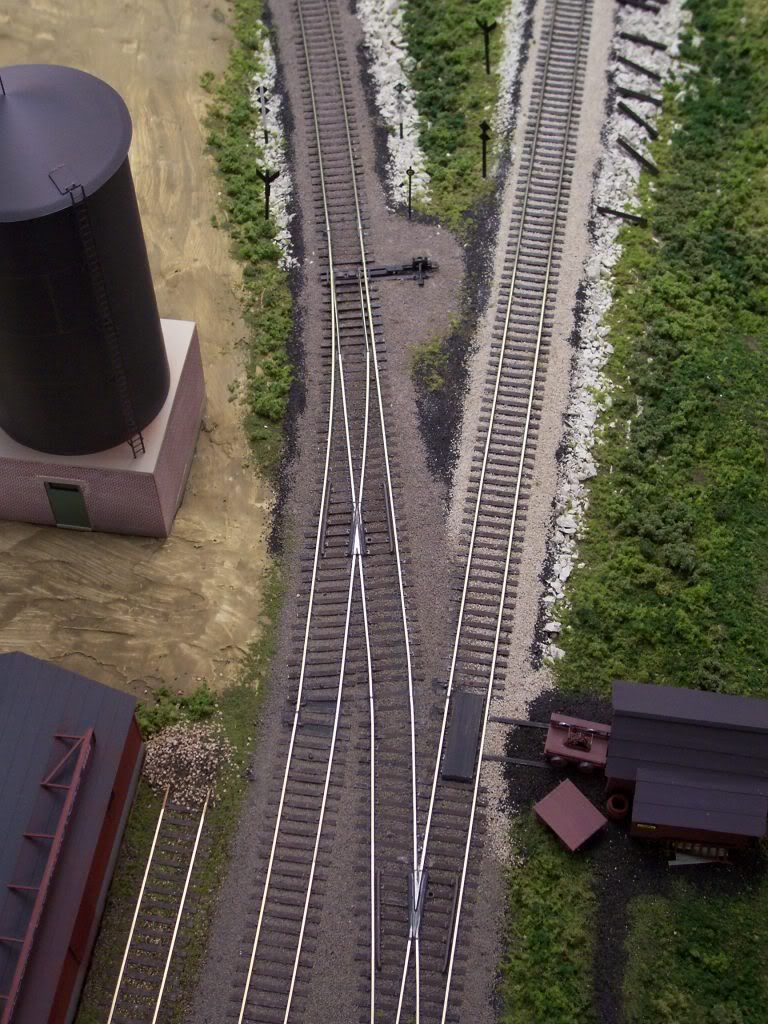
This view, taken at Cayuga Junction, shows the dark grey ballast of owner Grand Valley on the two centre tracks, with the lighter ballast of interchange partner Erie Northshore continuing on to the right. At left, the end of a customer’s siding is visible, ballasted mainly with dirt and weeds:
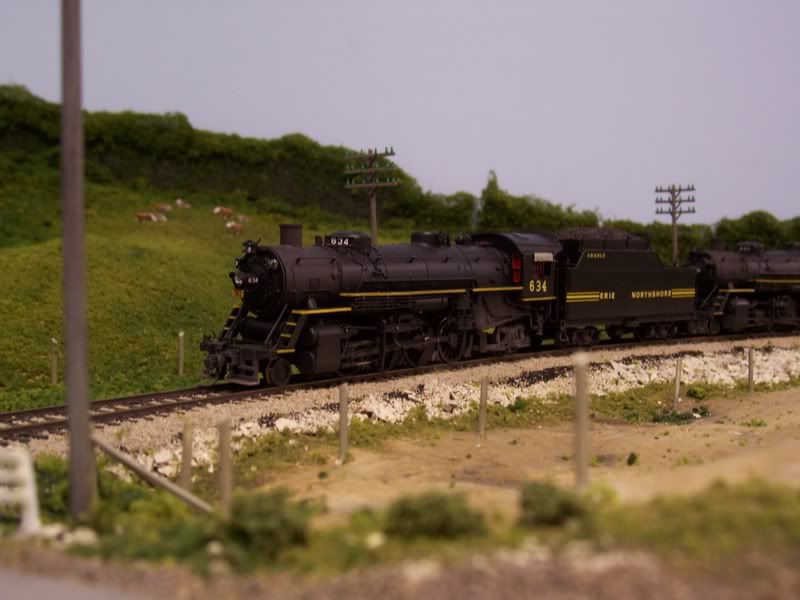
On the Erie Northshore at Elfrida, the mainline and passing track are well-ballasted, and the house track, leading off to the right, is ballasted as far as the end of the gentle downgrade from the main. Beyond that, the teamtrack ballast is mostly cinders. South of the main (to the left) is the industrial district, partially on a switchback.
One thing to consider is that it’s not exactly a transition from regular rock ballast to cinders ballast, it’s more like going from regular ballast to no ballast. Back in the steam days what railroads often did was lay down a layer of cinders first, then lay the track and rock ballast on top of that. On a siding, the ballast wouldn’t be that necessary, so the track would be laid more or less on the cinders. (That might be part of why the siding tends to be lower than the mainline too??)
You make a good point there, stix. [;)] I tried to show the underlying layer of cinders in a couple of places where the tracks run atop a fill:
Even in areas where the track is layed directly atop the plywood, with no variations in elevation, an application of cinders along the edge of the ballast line can help to “suggest” elevation:
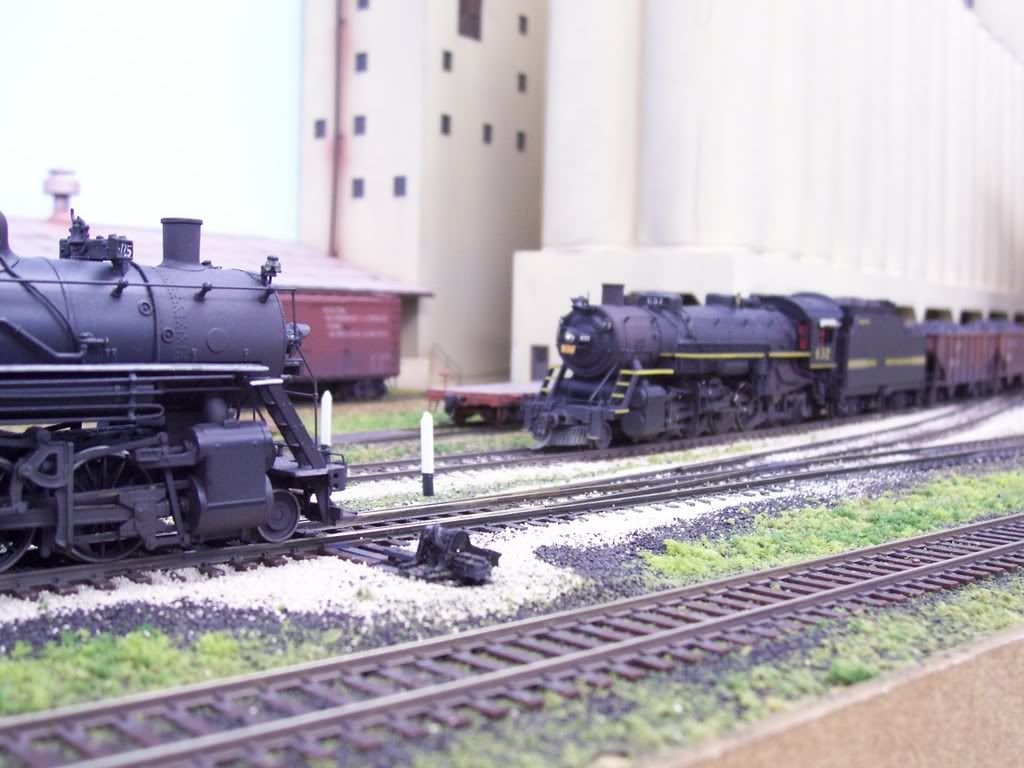
Hi guys: I’m following this thread with interest. As you can see in my pic here, I used WS “cinders” in various spots and am not too fond of the coloring. The cinders seem almost jet black; more like coal…I may try to tone them down with some light grey acrylic washes and see if that helps. The maybe use washes of a dirty dark grey over the WS grey blend ballast to ease the transition. This scene is by no means “finished”.
I agree that the colour seems dark initially, but it tends to “tone down” a bit after it’s been in place for a little while. Add some weeds creeping into it, or even a light sprinkling into the ballast (use green if the line is not too well maintained, or yellow if the weed sprayer car makes regular appearances. Don’t overdo it and you’ll be surprised at how much difference such a small change can make. You can also weather the entire area, either with a light overspray or a wash of well-thinned colour - again, a light touch is best. If necessary, you can always go over it again, but too heavy an application is difficult to undo. It looks good to me as it is, with only a little “tweaking” required to blend it all together.