Sorry to hear about your fall. Get healthy.
Gidday Paul, Get Well Soon. [:D]
Cheers, the Bear.
And…I’m back, finished my physio with flying colours last Monday. I’m OK on the big 8 ft. ladder, but I wanted to finish up the train display backdrops before I do the yard wiring. Here’s the display for the circus train:
 and The Hogwarts Express…

The green wires hanging down are switch control wires; they’ll be all neatly tucked away…soon.
I work up in the thinner air of a ceiling shelf layout as well. However I found a ladder to inconvenient and dangerous. I built a very sturdy, movable bench to stand on while working on and running my layout. at the end of the bench I do have a built in, but removablestep affair that lets me lean over the far back edge of the 2 foot wide shelf, if needed. This bench allows me to walk about 6 feet on a stable and wide platform while working and operating without the worry of a significant fall. It can be dragged along the entire 24 foot long extent of the round about shelf system allowing 6 or more feet of access for work and operations.
An older image (2011) of the shelf layout. Allows easy access to both shelf halves over a 6 foot section on each side. A no fall, easy work situation.

Sorry to hear about the fall, but glad you are back in action.
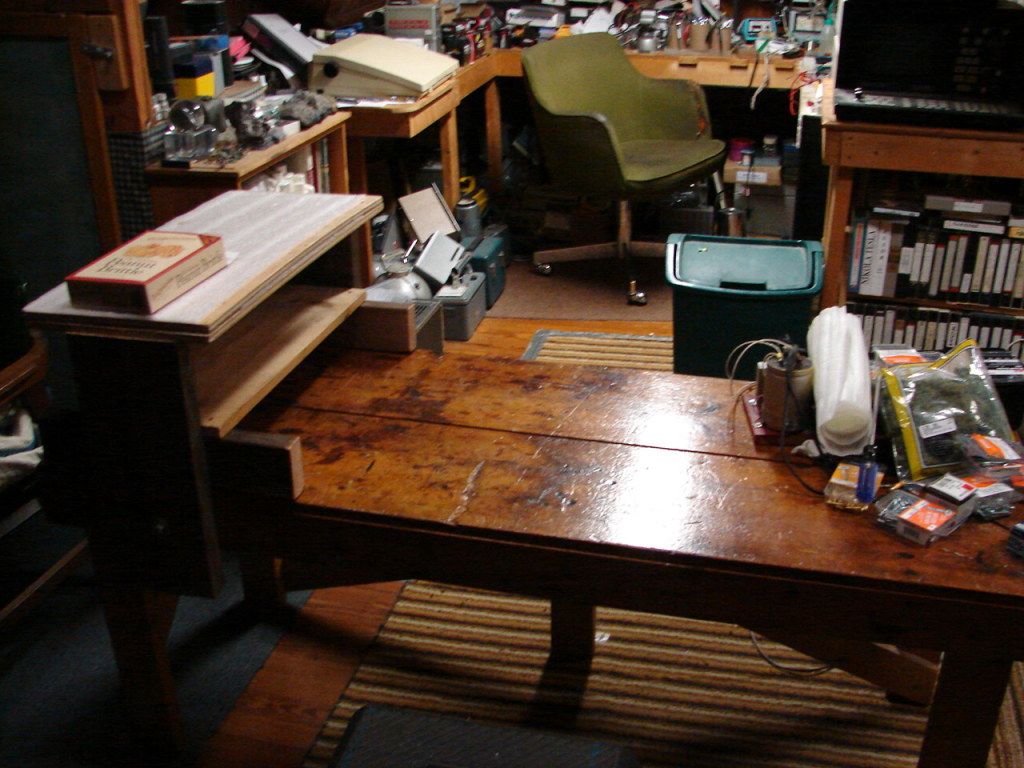
Just to clarify - I didn’t fall off anything. I tripped on a stack of assorted stuff that should have been put away. from a standing on the floor position, & went sideways, landing so very wrong. Falling from a height of 6’7" (my height) can be very dangerous, as I get older.
But between a marvellous upper extremity surgeon & a fantastic physio team, I’m now confident enough to lift a frozen turkey or hang from my big ladder with confidence, in spite of my right shoulder now looking like a football (stitching). And everything now gets put AWAY…
Thanks for all the good wishes - they are very much appreciated.
Paul
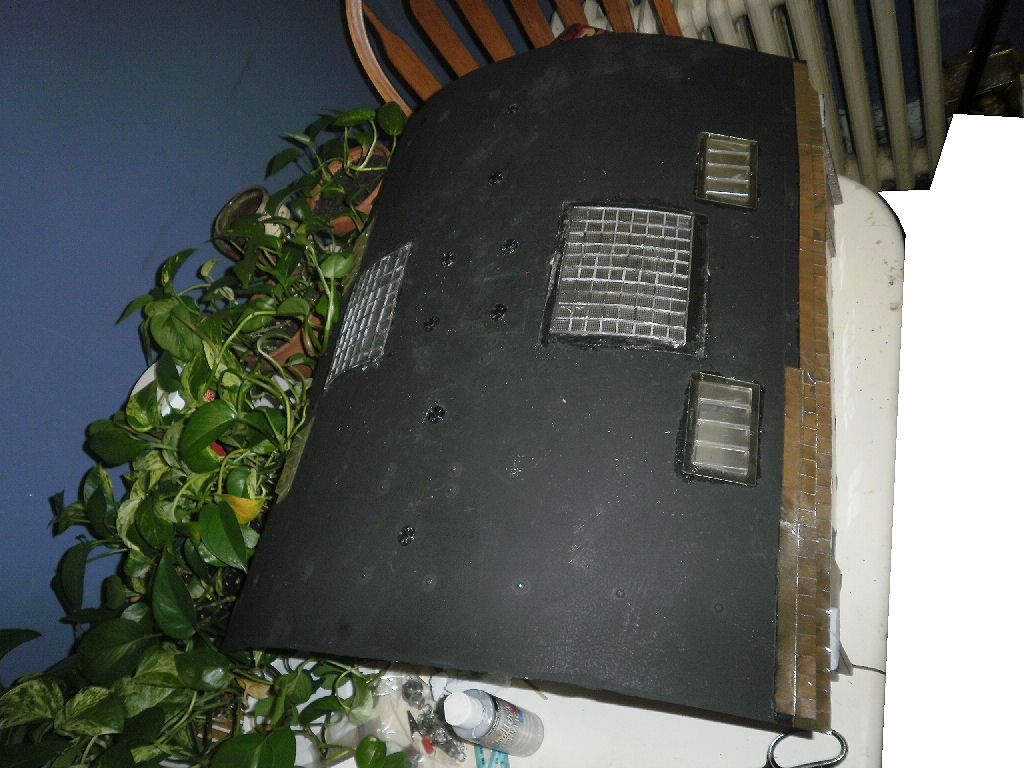
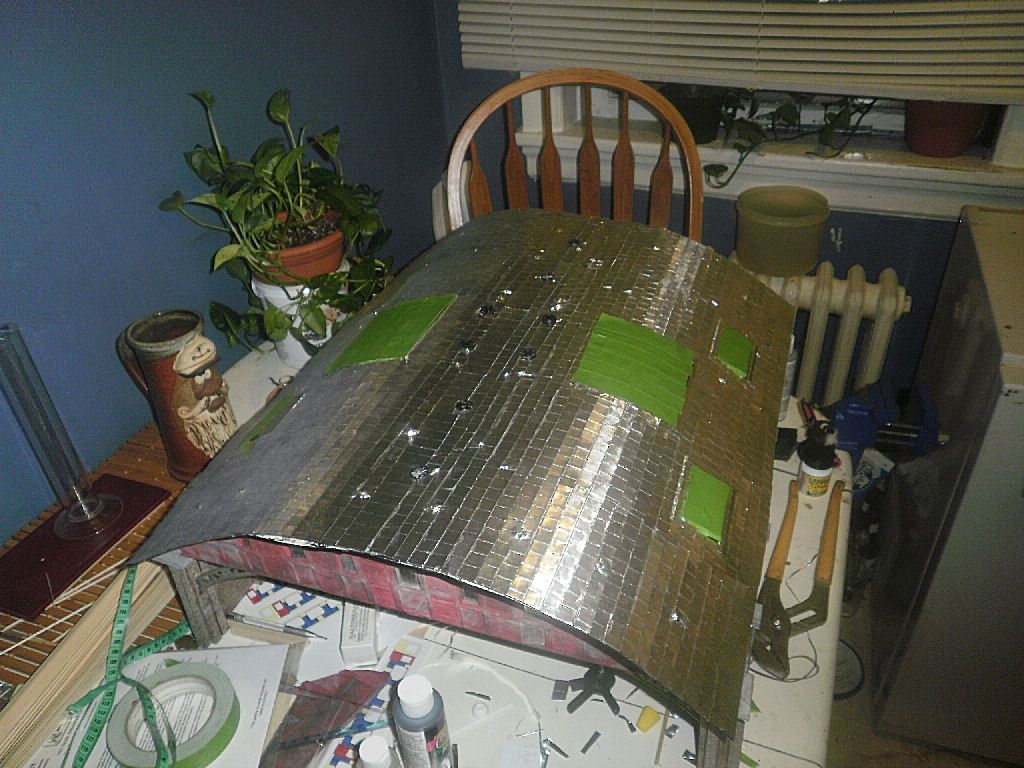
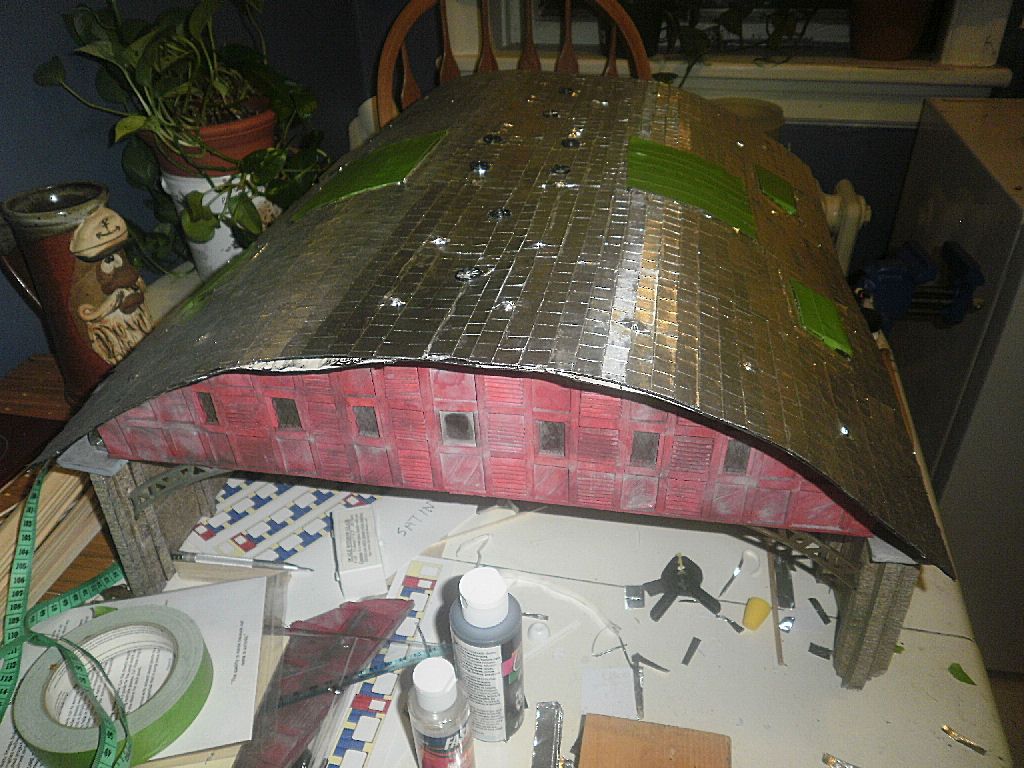
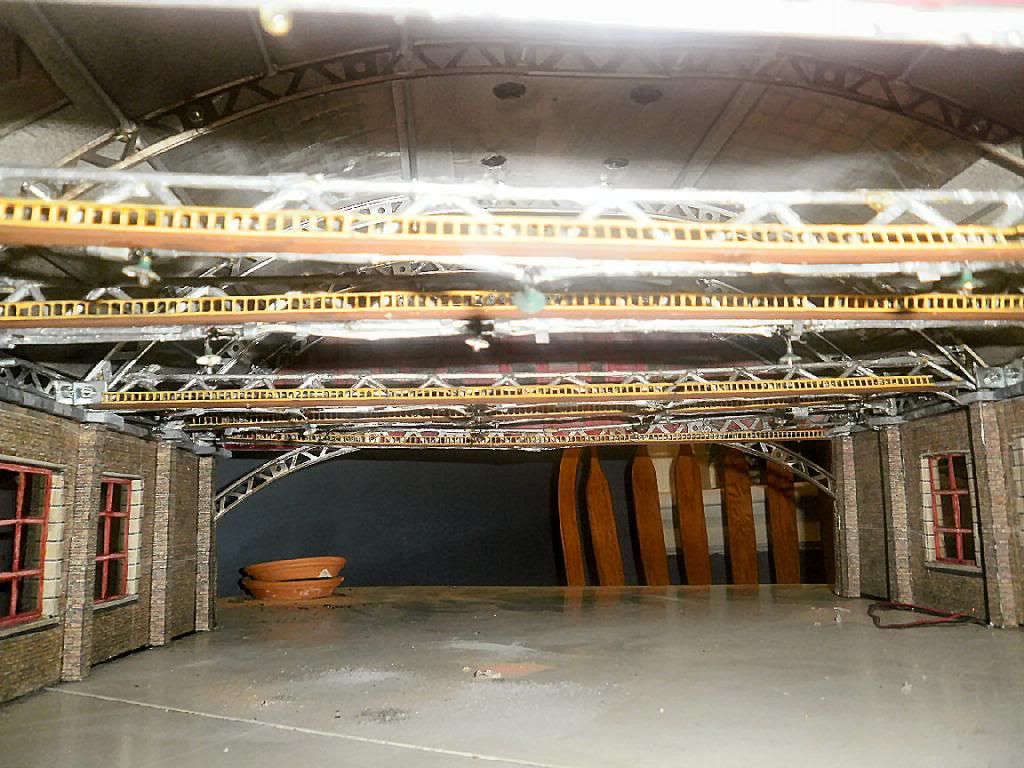
Well, the shoulder is functioning again so it’s back to work. Installed the 4 ft. fans in the roof & finished framing in the skylights; and now have started the tedious task of roofing it all, in corrugated steel (aluminum). I’m using product from Rusty Stumps for this. A little tricky to work with but it’s easy to get the hang of it quickly. I’m starting with the side that faces the wall so I can work out the technique like working around windows without my mistakes being as glaringly obvious as they would be on the more visible side facing out.
I’m thinking of individual gable roof covers for pairs of fans, all enclosed with frost fencing - any suggestions would be welcome…also planning access ladders flush mounted on the roof; safety ladders up opposite wall sides…
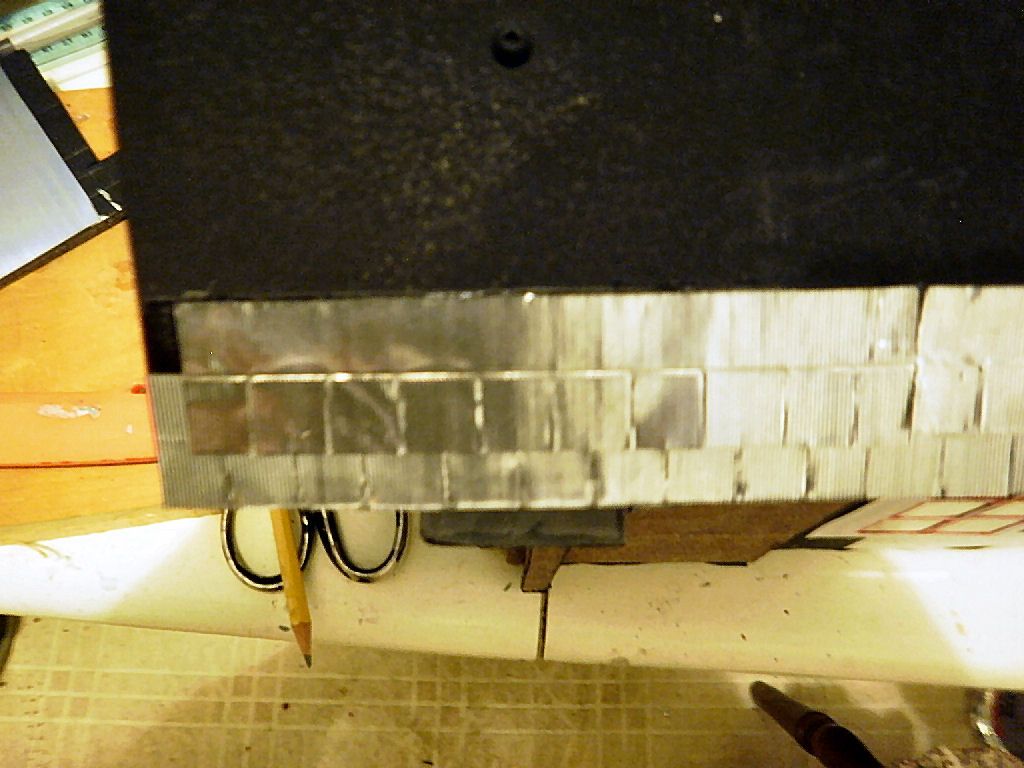
Detail (very hard to photograph)
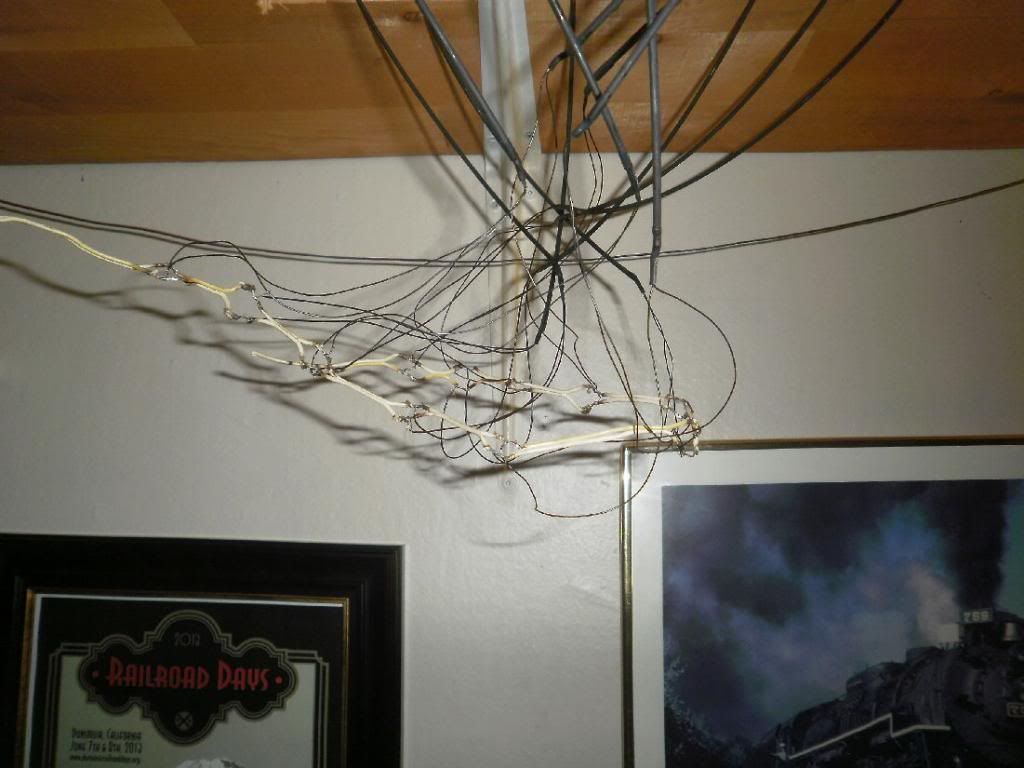
Finished the wiring for the inspection pit; 3mm fibre optic filaments lit by 1.5V grain of wheat bulbs, wired in parallel from the Low Voltage Lighting Controller available on Spookshow’s page:
http://www.spookshow.net/lowvcircuit.html
I know it’s got nothing on Broadway Lion’s spaghetti, but it’s a start…
PLEASE tell me that is not your finished wiring!
Are we suppose to be looking for a little piano hidden in amongst your spaghetti?[(-D]
Ha ha, very funny…but I DO have a Preiser Jazz Band set with an HO scale upright, so maybe in future posts…and Phoebe, yes, it is the finished wiring, for now. I should add that it’s all about 7 feet off the floor, so there’s no chance of human interference. I may just insulate the exposed wires but everything’s soldered & there’s lots of air between wires, so it’ll be a later project…
I originally was going to use a large LED light source (a dollar store flashlight) for the fibre optics but that proved to be impractical so I went with grain of wheat instead. And since it wasn’t in the way & cutting the filaments put too much stress on the inspection pit, I left them at the installed length…
Just remember Rule #1…
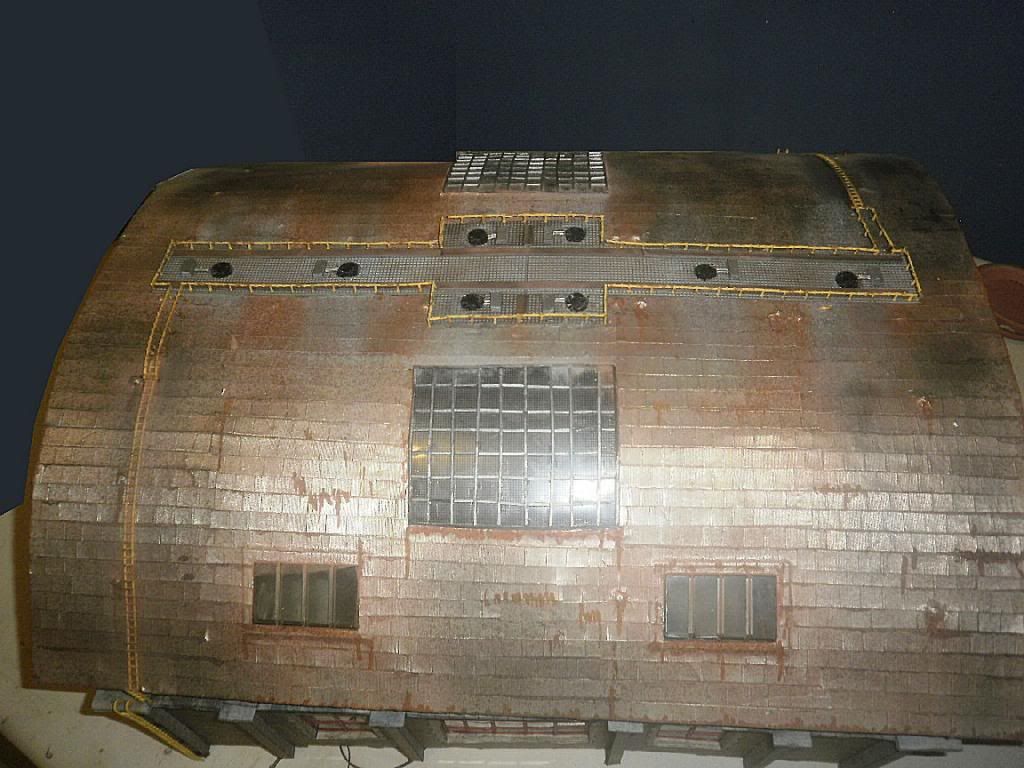
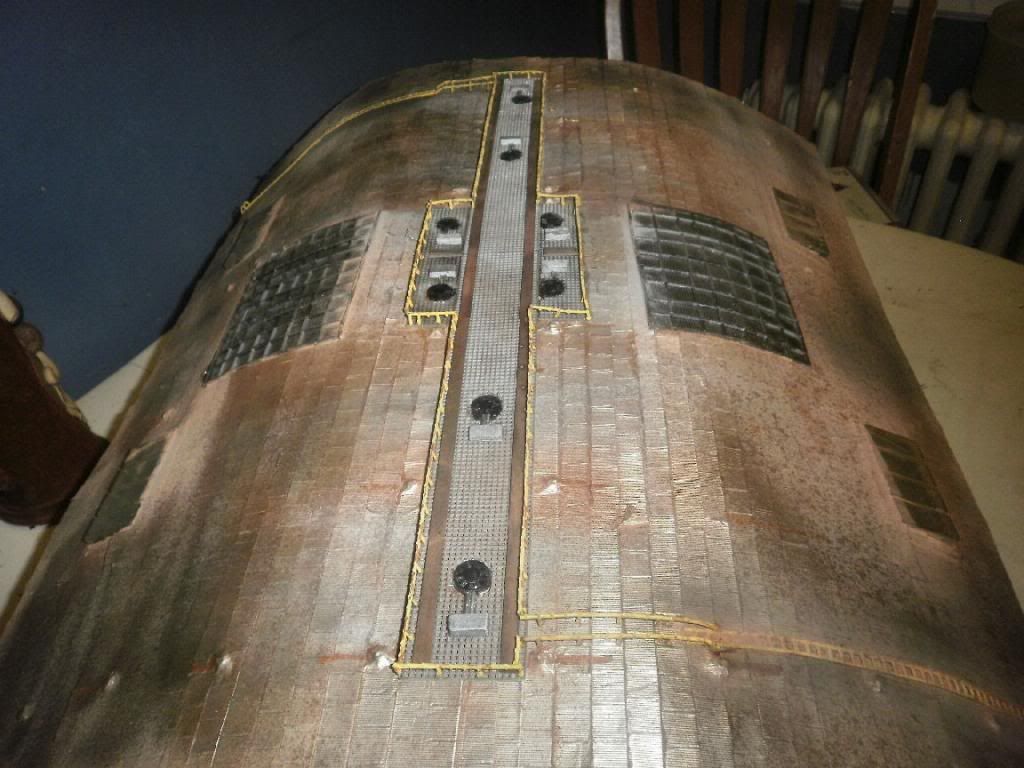
Well, it only took a year, but I finally got the roof of my train maintenance shed roofed in 4’x4’ corrugated steel, from Rusty Stumps.
 I’ve still got weathering & final detail to do but at least now it’s no longer the eternal project…
I thought to have a practise go at the weathering before I went for the big one; here one of the coaling towers: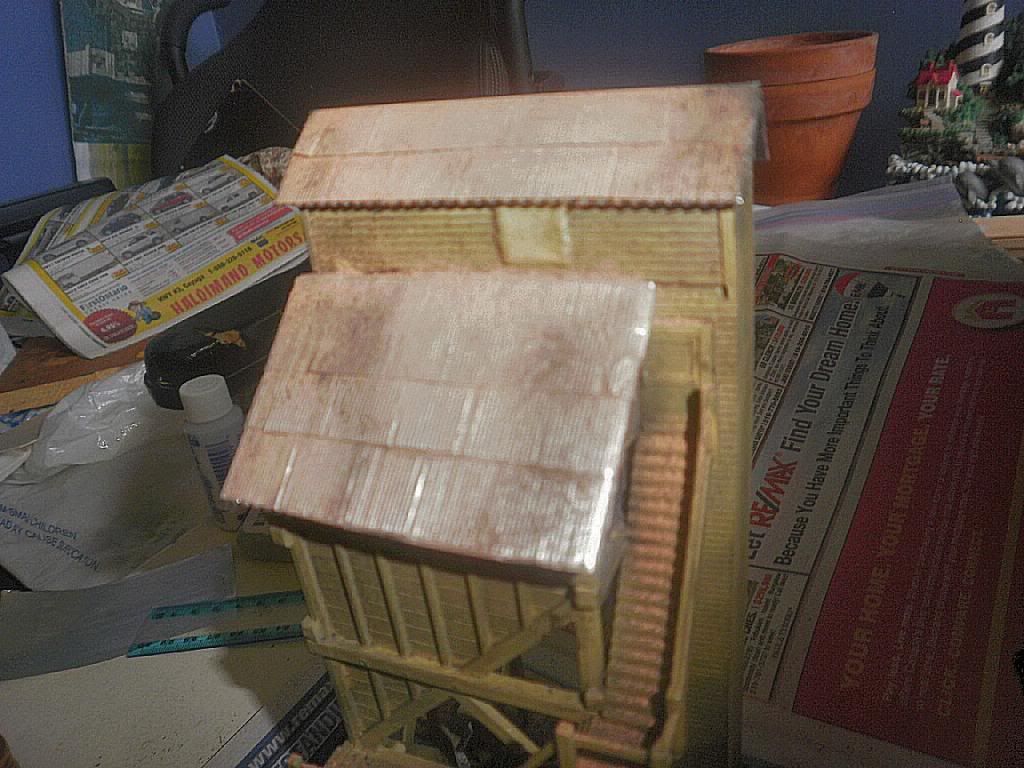
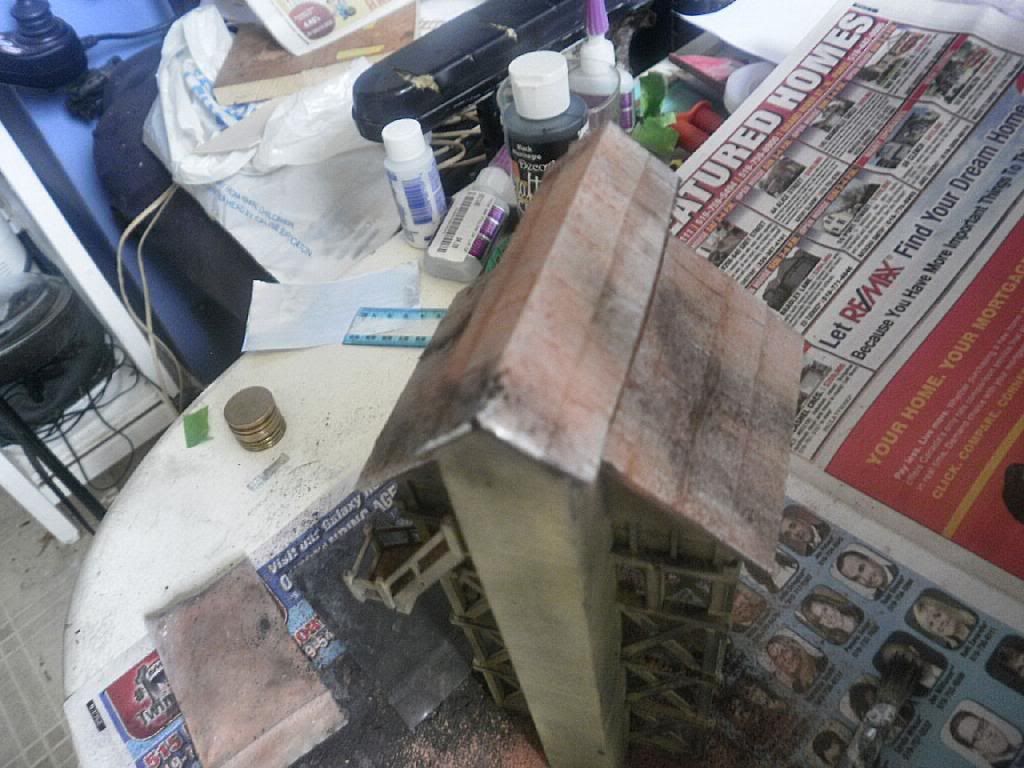
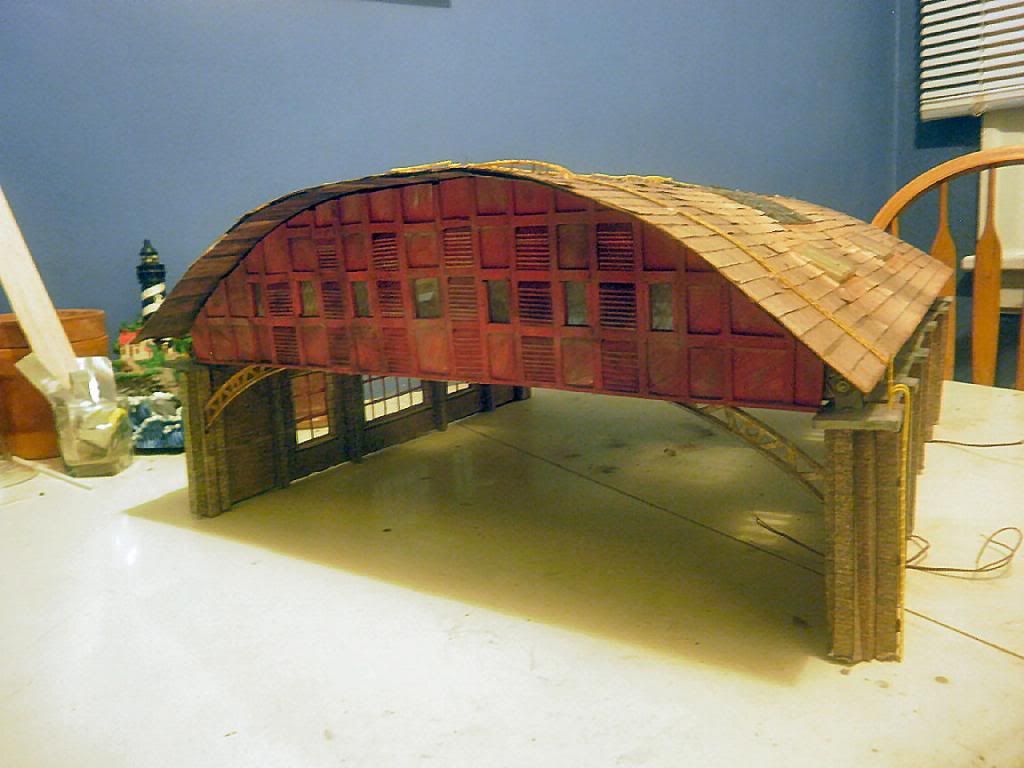
Well, two years of experimenting, gleaning advice from MRR forums, ordering obscure parts from the 8 corners of the globe and making 2500 corrugated roofing tiles is finally finished (for this project) - my five track HO train maintenance shed is done & ready to be installed on the layout!
I know it’s a little ragged in spots; I sort of allowed for that in my narrative as the structure is of ‘indeterminate’ age.
And I may add some more roof details, like floodlights, lightning rods, and depending on winters, another small roof over the fans; also seriously thinking about shed doors…
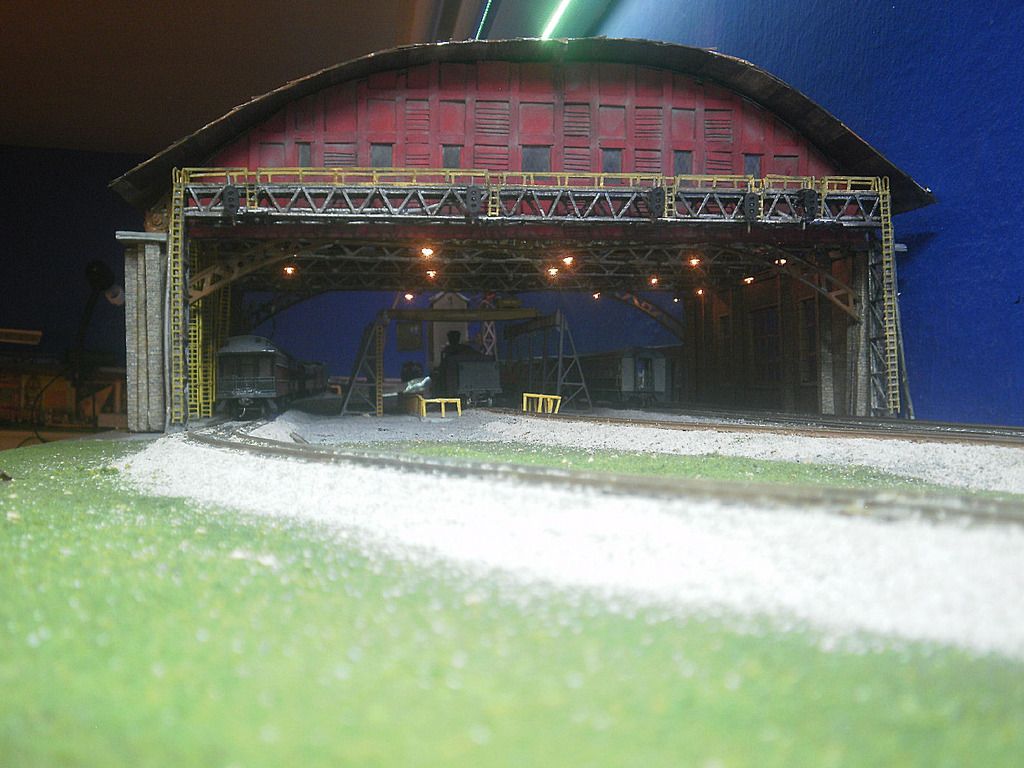
I think it’ll look pretty awesome with the signal bridge. Next pics on the layout - after I dress the set.
Stay tuned!!
This should mean that I will be able to tape my ‘spy’ camera to one of the windows & film trains entering the shed!

Again, sorry for the delay in posting but this ‘life’ thing keeps getting in the way of my hobby.
Anyway, the maintenance shed is now permanently installed on the layout; the blocks of regular lights are turned on, each powered by a great electronic DC stepdown transformer I got from China through Ebay for $2.85 each (after spending $20 to build my own…); and I’m working on placement of the security cams for the layout overview. Next on the agenda is wiring up the motion sensor controllers for the signal bridge, uh, signals…
With the track work mostly done, I could turn my attentions back to rolling stock health; namely assuring that all the couplers were of a uniform height & functionality. As each car is done, it’s added to the train (in no order) and if there’s still a problem it’s back to the bench until it does work.
Mostly Rapido stock, with the addition of a Stewart F7B and a Bachmann dome car.
That’s a really neat shot of the shed with lights!