When I first built Sweethome Chicago in 2005, I was modelling to an exhibition deadline, so had to make the buildings quickly. This meant that a lot of the detailling had to be left out.
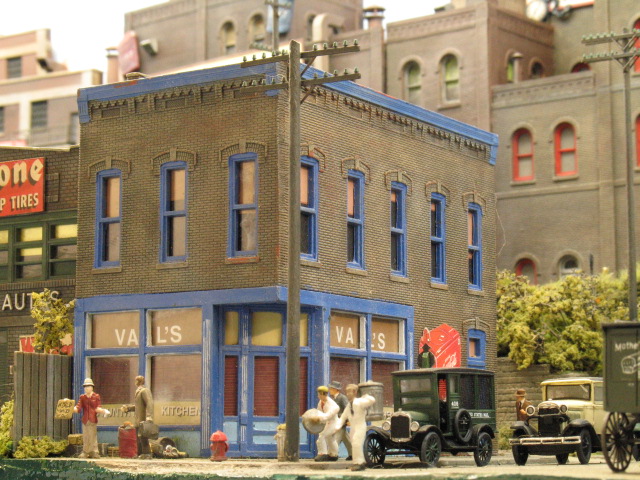
I have now revisited one of the first buildings ‘Val’s Country Kitchen’, which sits right at the front of the layout in the most photographed area, and am finally adding some detailling
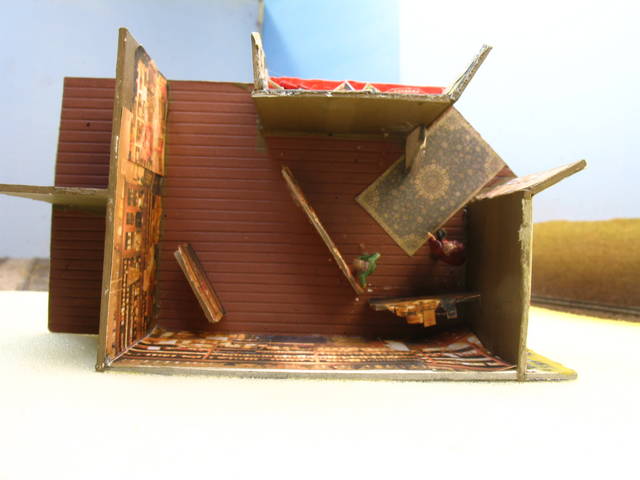
I’ve pulled the building off the layout, pushed out all the windows, hacked off the roof, and scraped off any uneven paint to get it ready for a make-over.
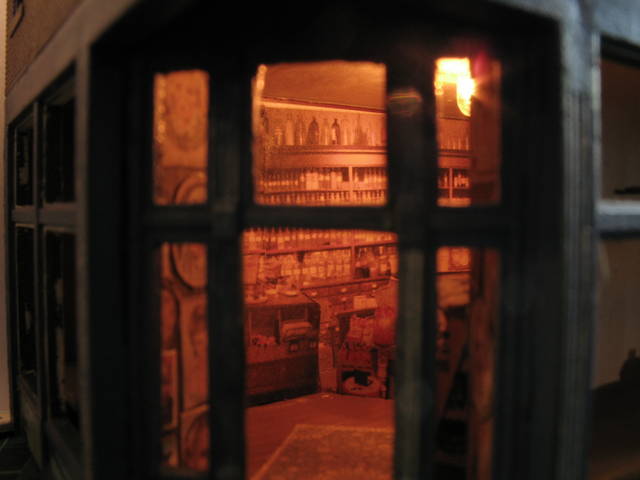
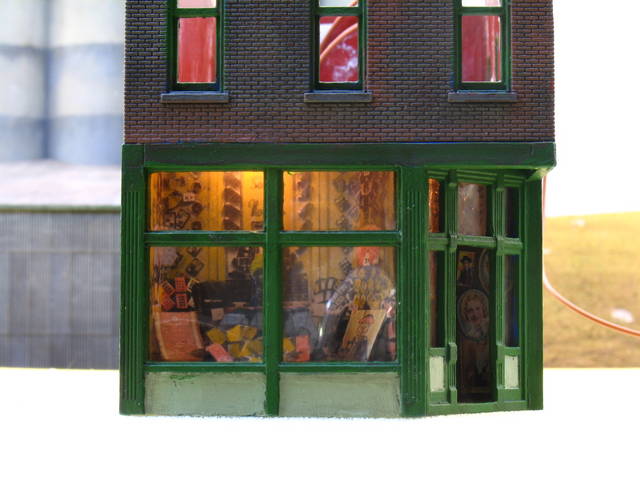
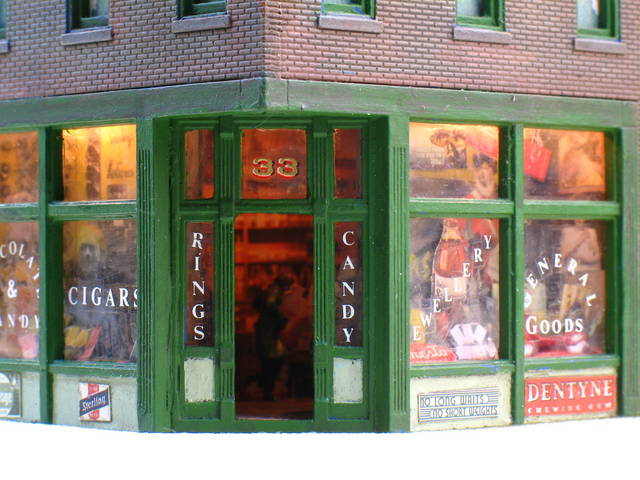
The first job was to build an interior, which was done with cardstock. I have attached some cut-out interior photos (resized) from Railroad Graphics larcproducts.com and added a light bulb - no point in doing an interior if you can’t see the darn thing.
Here’s the progress so far
I am still trying to find some photos for the store window displays and will post some pics when I get them done.
My little town of 12 DPM buildings looks like it has been abandoned in that there are no signs on the windows, the insides are empty and bare, and there is no interior lighting.
You are putting me to shame. I have to get to work.
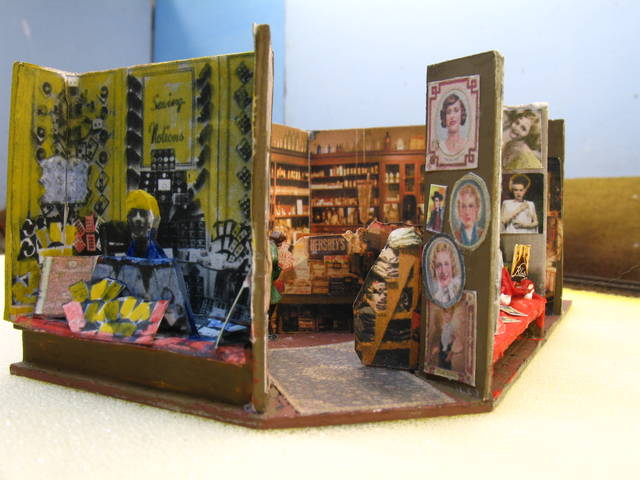
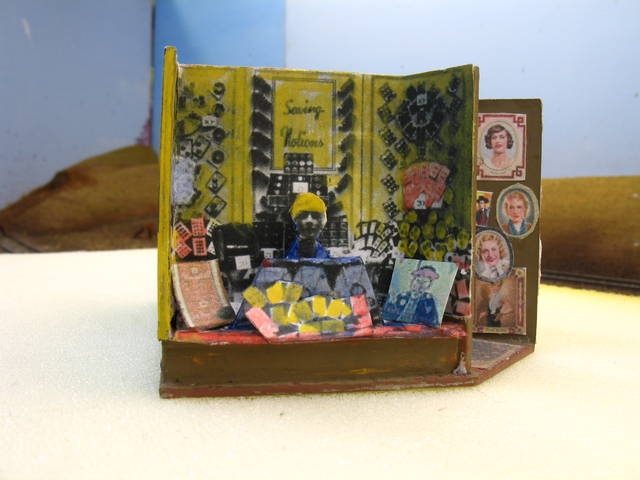
I have been doing some further work on the interior insert.
The basic walls are made from 1.5mm card, with the photographic interiors stuck on.
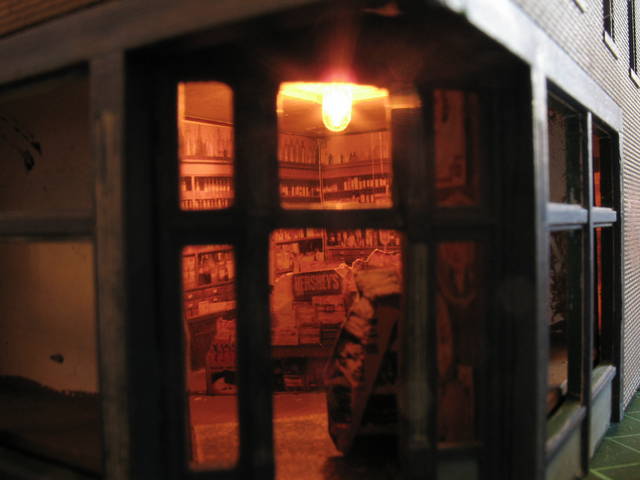
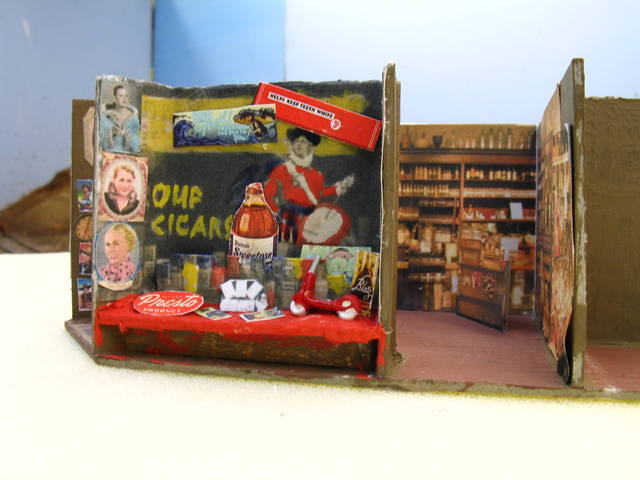
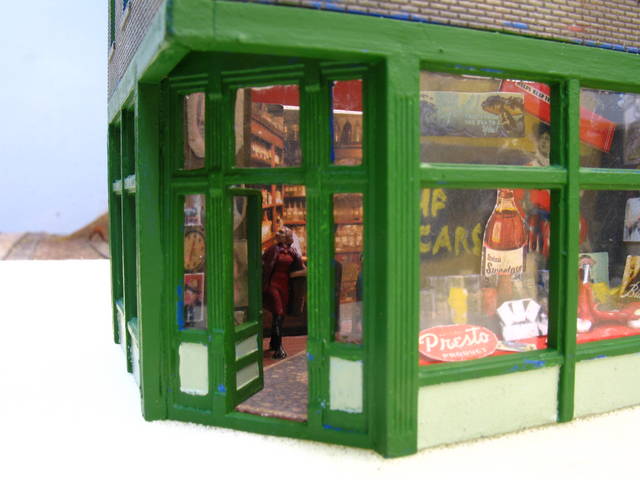
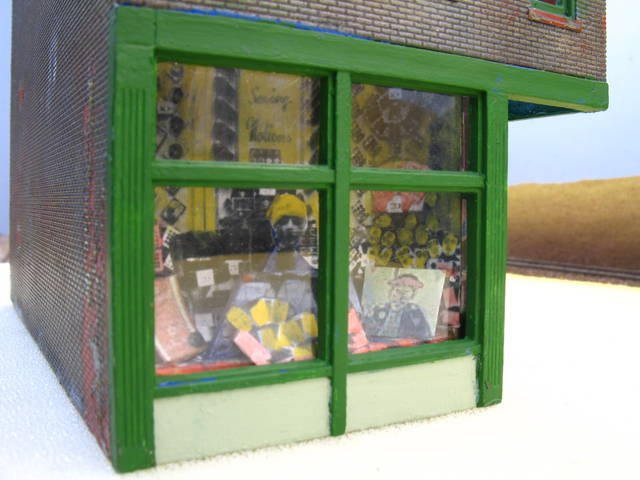
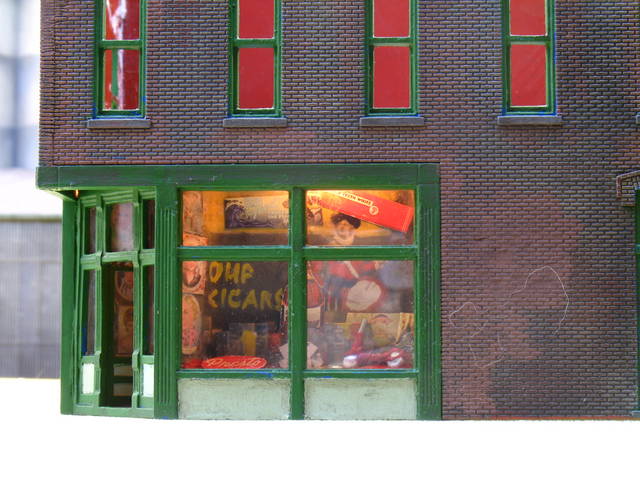
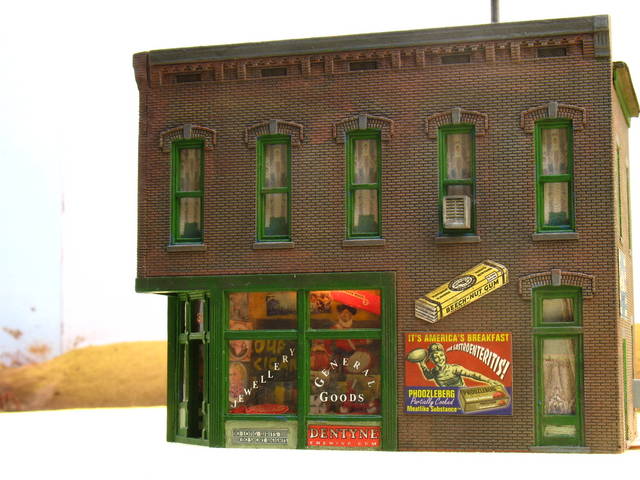
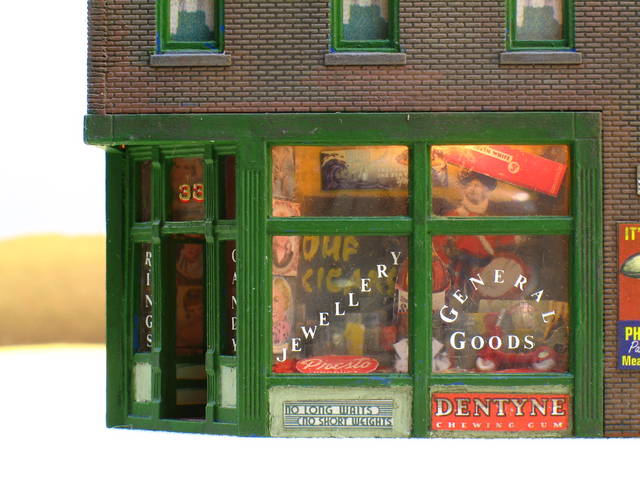
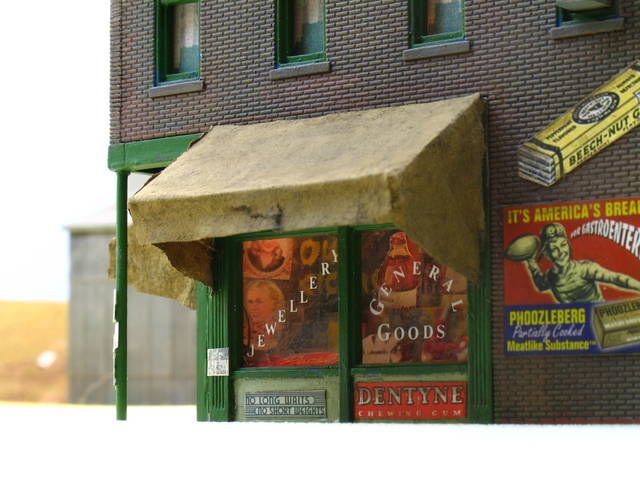
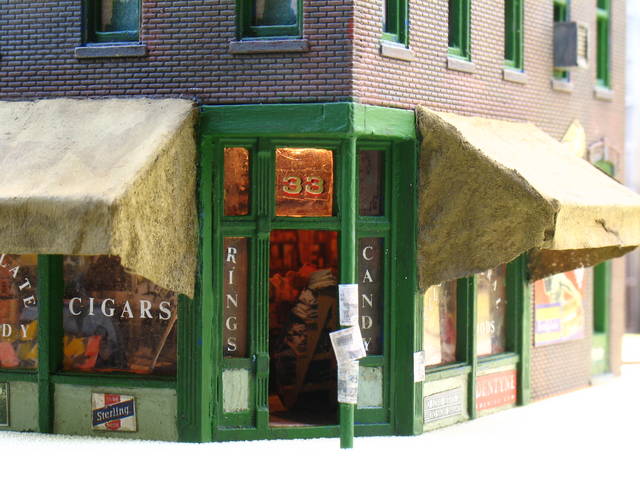
I trawled the internet for 1930s window displays. Naturally, the best ones I found were in black and white, so I coloured them in after cutting out the parts I wanted and making a collage.
The store itself looks like it will be a general goods, jewellery, candy and drug store - something of everything (is the phrase bric-a-brac common in the US?)
Next task is to repaint the window frames and add the glazing.
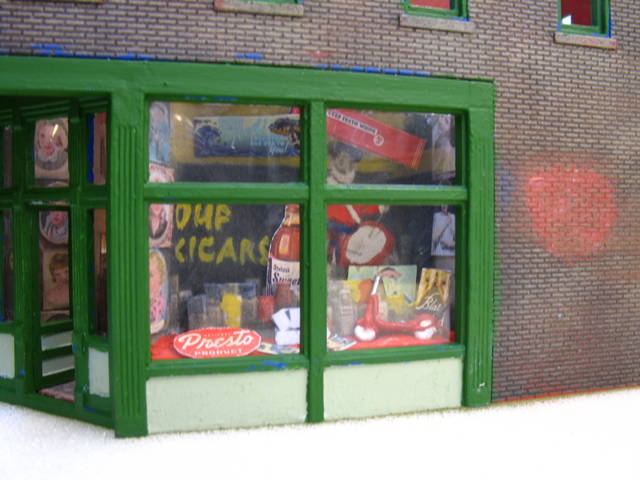
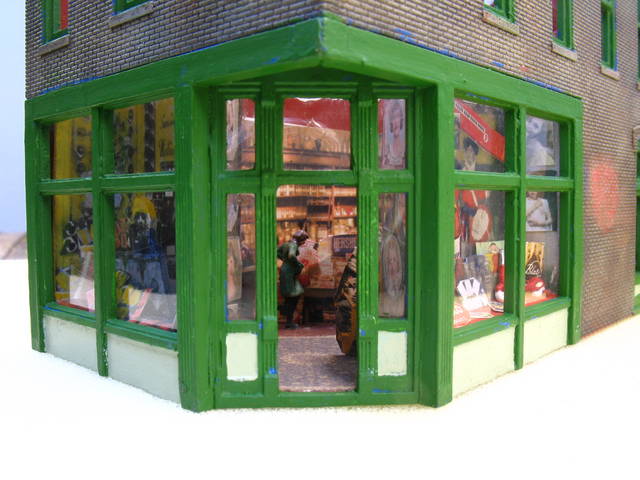
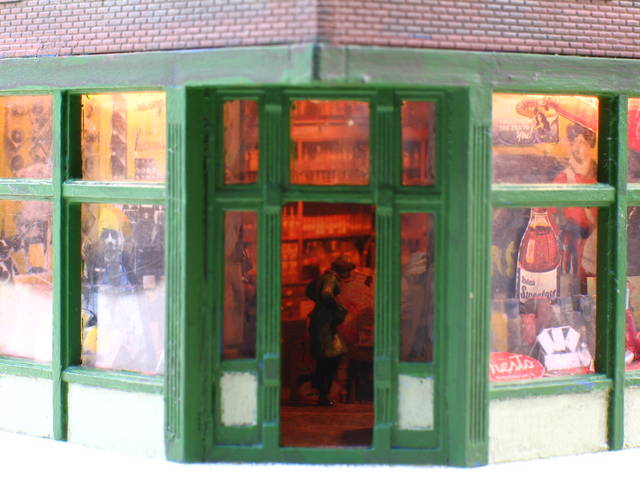
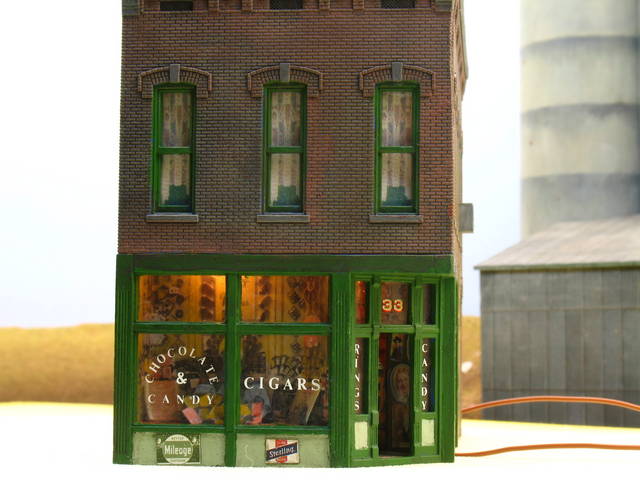
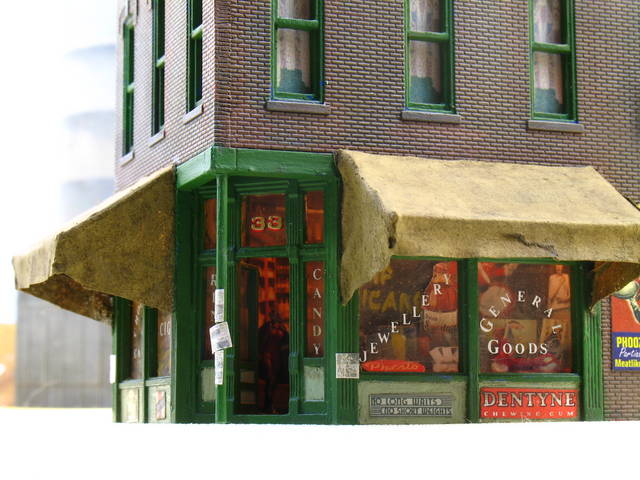
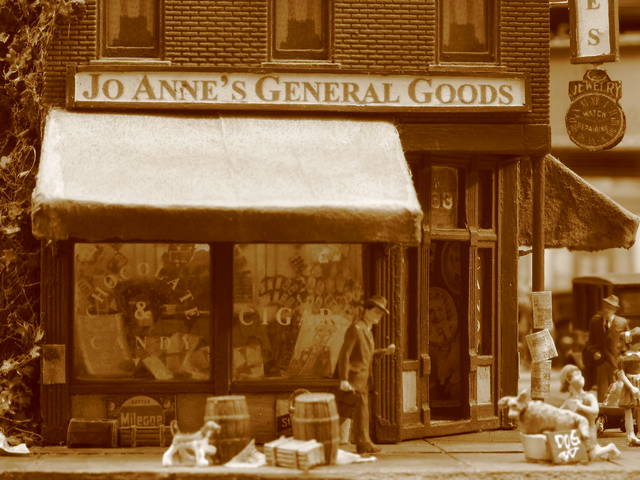
I added the glazing after painting the windows and woodwork in 2 shades of green - the blue looked a bit garish next to the colourful window displays.
I will be redoing some of the green, as these photos show up some areas of blue. I’ll also be adding some lighting above the displays and some white writing on the windows, before fabricating a couple of awnings and working on the upstairs.
Hi!
What a super job - and it reminds me of my parent’s Chicago store when I was a kid!
In 1948 my aunt and parents bought a neighborhood grocery store, and they held on to it for 10 years. We lived behind it during that time from when I was 4 to age 14. Needless to say I spent a lot of time stocking shelves, delivering orders, and waiting on customers.
Your depiction of the exterior is right on. The building our store was in was built in the early 1900s and buildings back then were built to last.
The interior is also “just like it was”. Our store - like your model - never had and empty shelf space.
For window decorations, various companies decorated them for free, and the decorations of course touted their products. In particular, Bowman Milk company and Canada Dry Ginger Ale regularly each had a window. About every two months, the “window guy” would come around, clear out the window display, and build a new one. They used colored corregated cardboard, and a stretchy colored paper which they fashioned into window dressings. Product signs and empty containers were then placed in the window. These guys were artists, with shears and staple guns - absolutely amazing.
Bric-a-brac isn’t common now, don’t know about the 30’s. I think you’ve modeled what was generally called a “five-and-dime”. And done an outstanding job, as usual!
What a great model. What did you use for the white lettering?
Did they have window air conditioners in your era? In the 1950s when I grew up, there were some, but our family house was wired with a total of 4 15-amp circuits, so it would not have supported one. And that was a relatively new house. I have a couple of window units on my layout, too, but when I throw my dual-era switch back to the 1930’s, they don’ t belong there.
Window A/C units were pretty rare in the middle class Chicago neighborhood I grew up in during the '50s. We got one in '57, and as I recall it cost $300 and believe me, that was a huge amount of money (which could have gone to buy me Lionel trains). Anyway, it was quite large and heavy and needed 220 wiring, and for the most part was more trouble than it was worth.
The somewhat smaller units - some running on 115 current, hit the neighborhood around 1959 or so and by the mid 60s were pretty much all over the area.
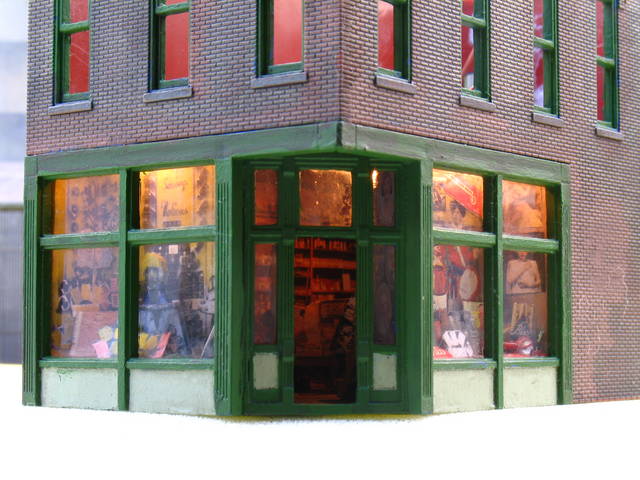
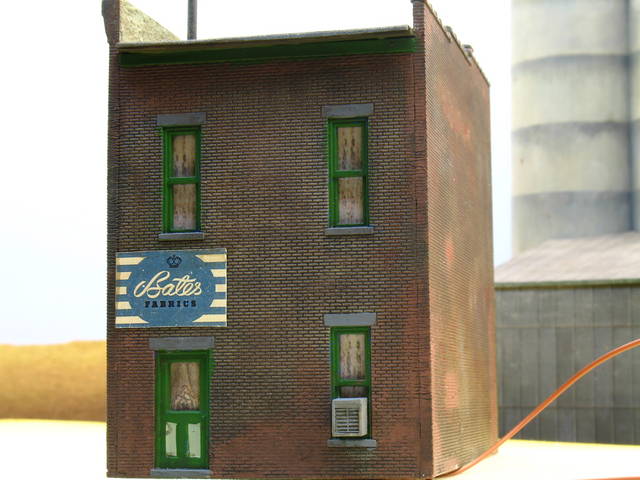
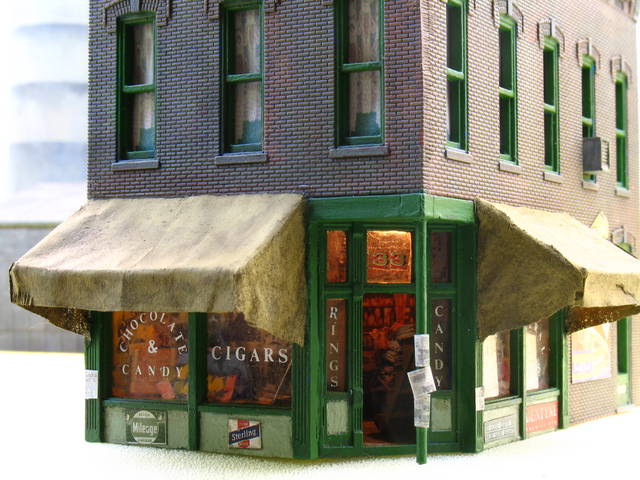
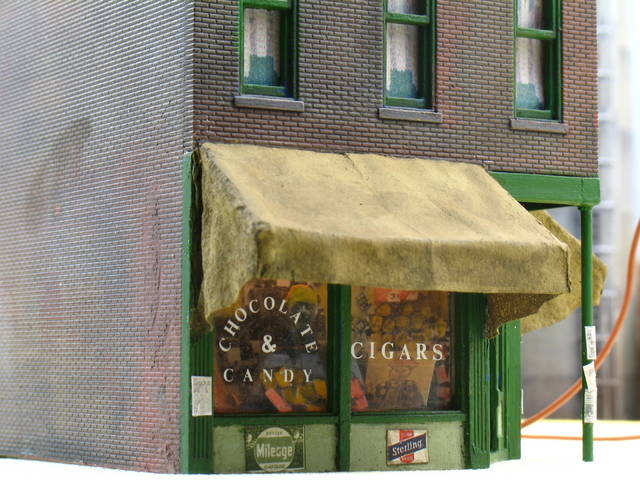
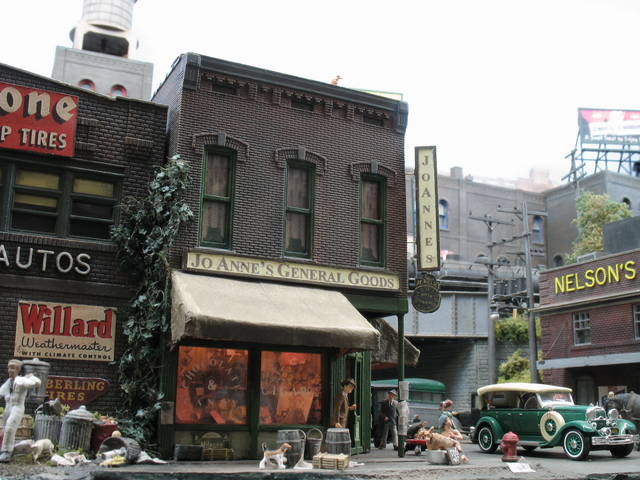
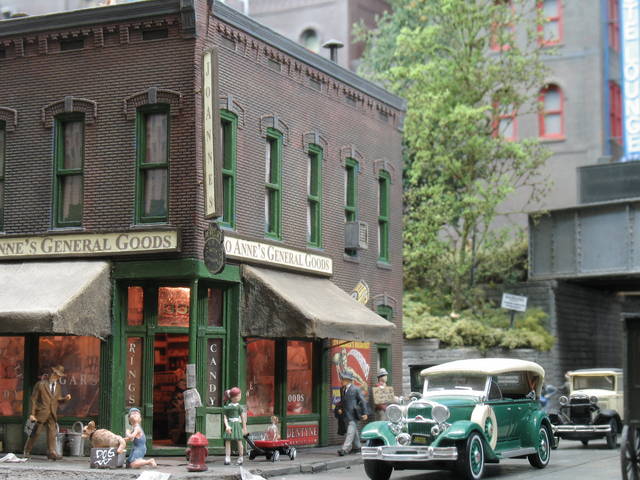
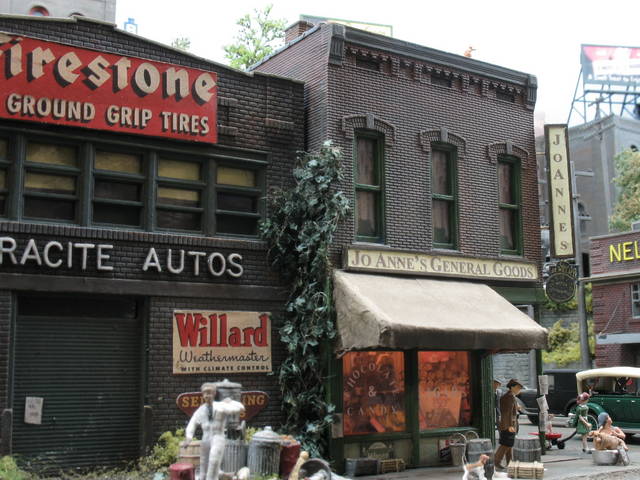
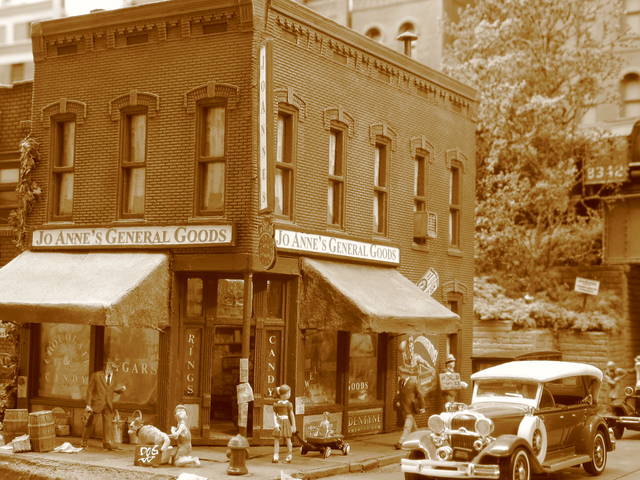
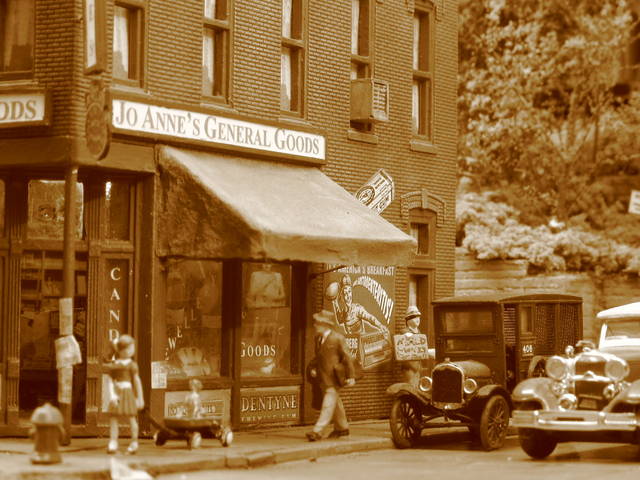
I’ve added a couple of awnings by making a couple of brass wire frames and covering them in a paper-like fabric, which I found at the back of a drawer. I also fitted a pole in front of the door to support the upper storey, and within minutes someone had come along and fly-posted on it.
Only the name boards and fitting left to do, hopefully tomorrow.
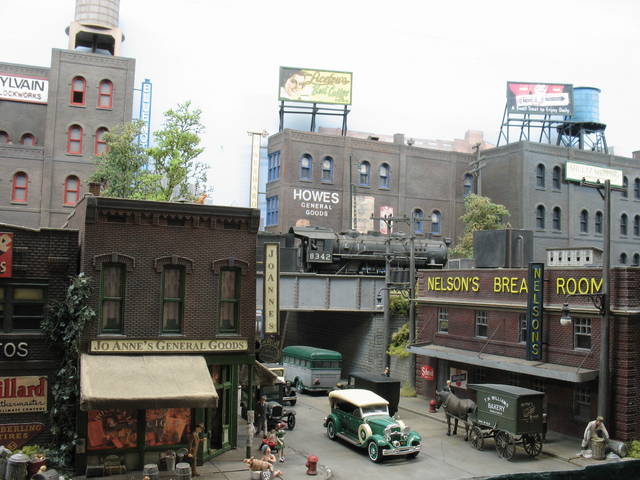
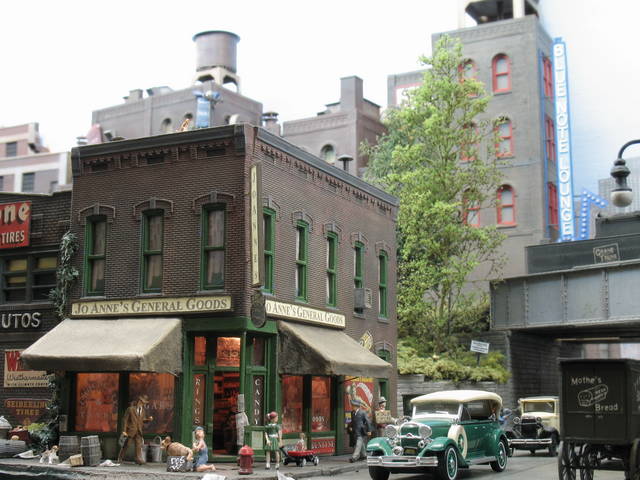
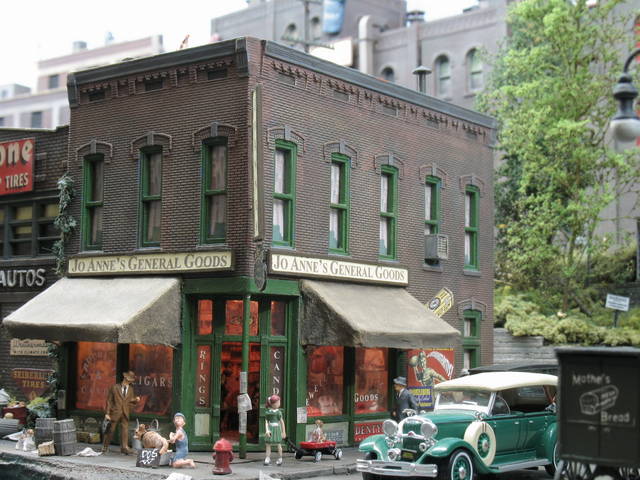
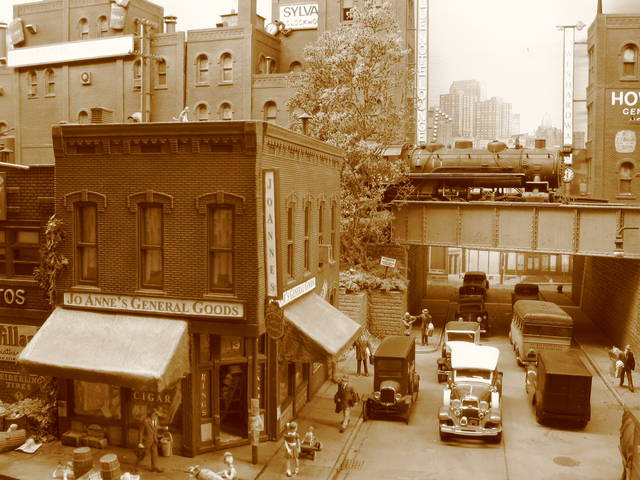
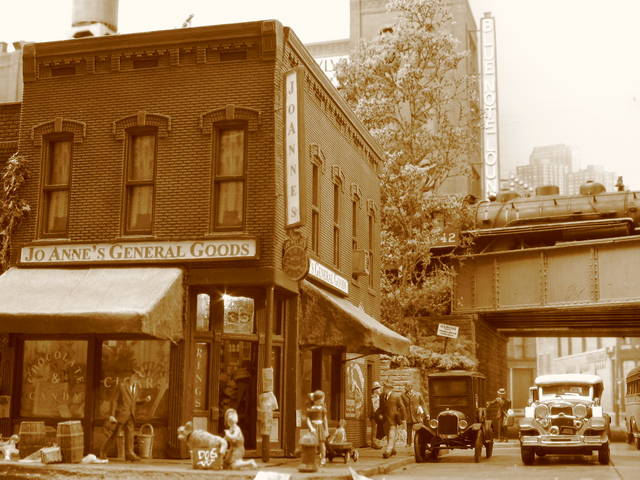
I finished off the signage for the building last night and replanted it on the layout this afternoon.
The scene was finished off with the addition of a few figures and detailling parts. I also had to repaint most of the paths and roadway (after several vehicles were moved around)