That’s great Mark! I look forward to seeing the finished product.
Dave
That’s great Mark! I look forward to seeing the finished product.
Dave
Wot!!!
Thanks, Dave!
Bear, yes I really did. Please forgive me. [:$]
14 March 2021
In between steps building the vertical tanks, I added a bit more ground cover and static grass to the CNW line over Casper. I’m now almost to the corner (click on the photos for larger views).

I also realized I put the dirt road in the east end of the yard right where the Ice House has to go, so I started preparations to relocate it. I wetted the area in the distance to loosen the dirt in order to scrape it off.

But mostly I worked on the tanks. Here’s the upper platform built up and brushed with Hunter’s Weathering wash:
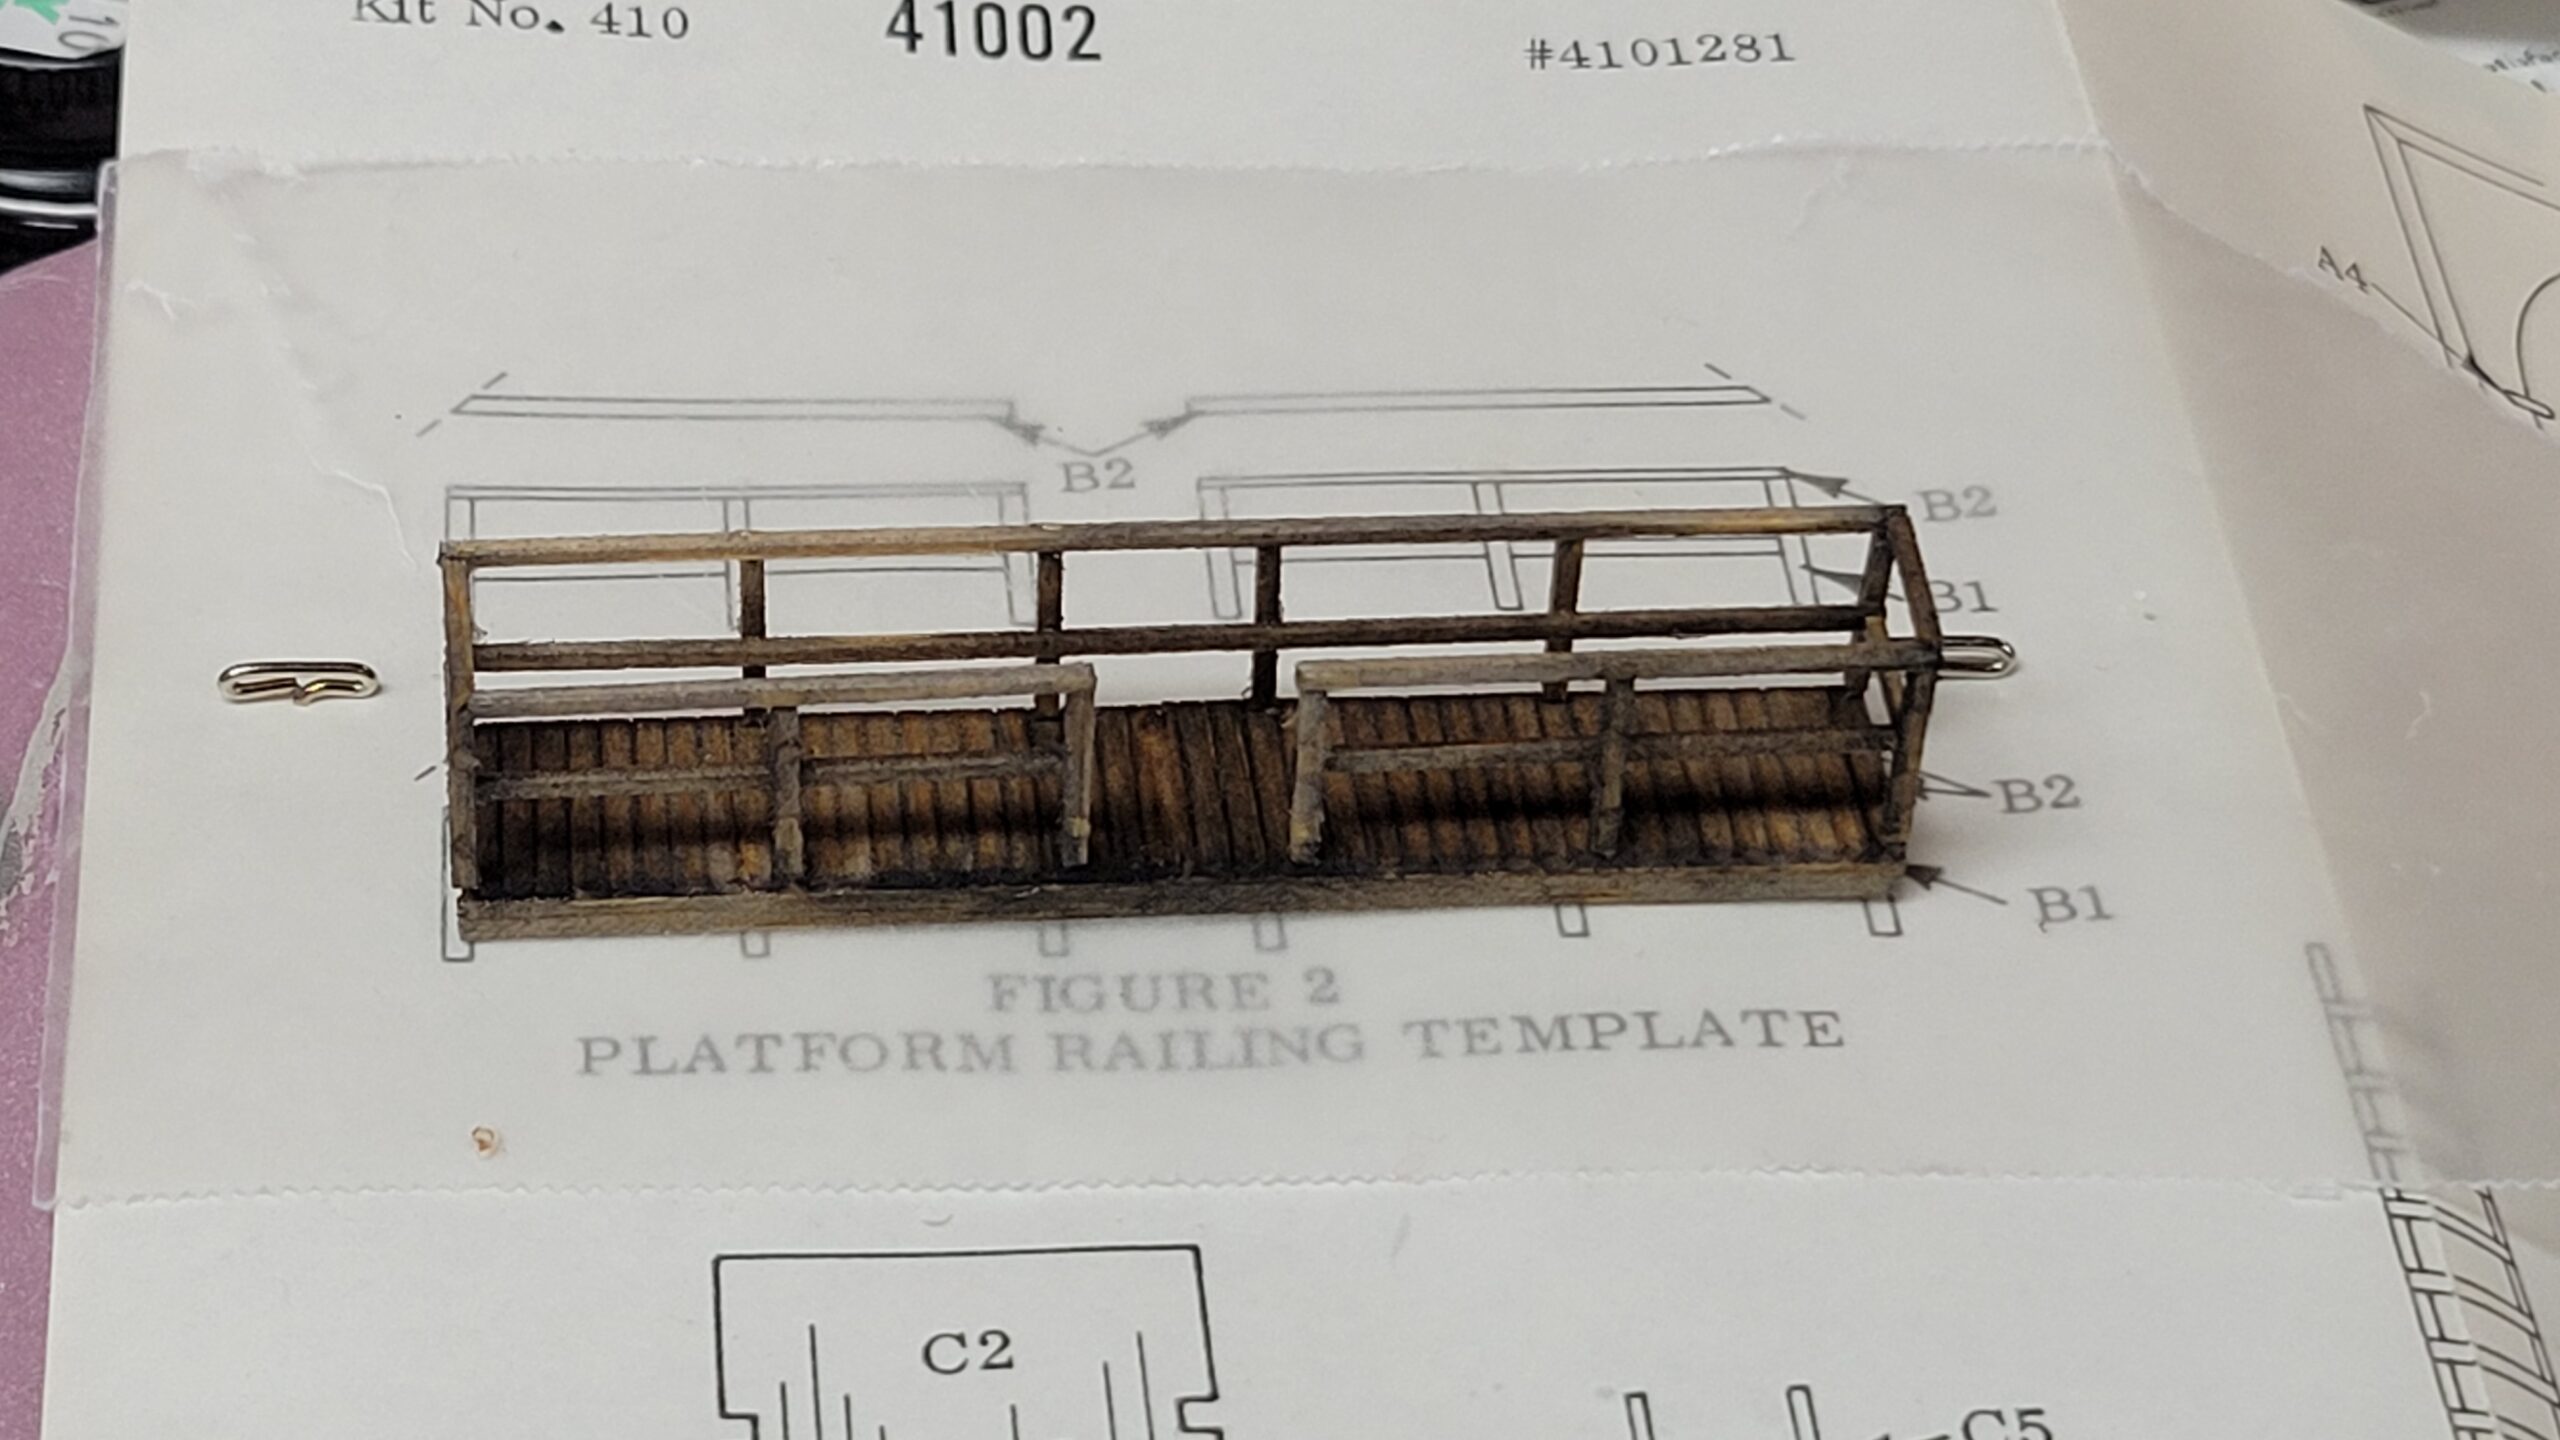
I expected that the ladder would be a real pain, because it’s built up completely from stripwood. But the instructions were very clear and provided a process that made it pretty easy. Here are the rungs laid out on the template, ready for the side rails to be attached.
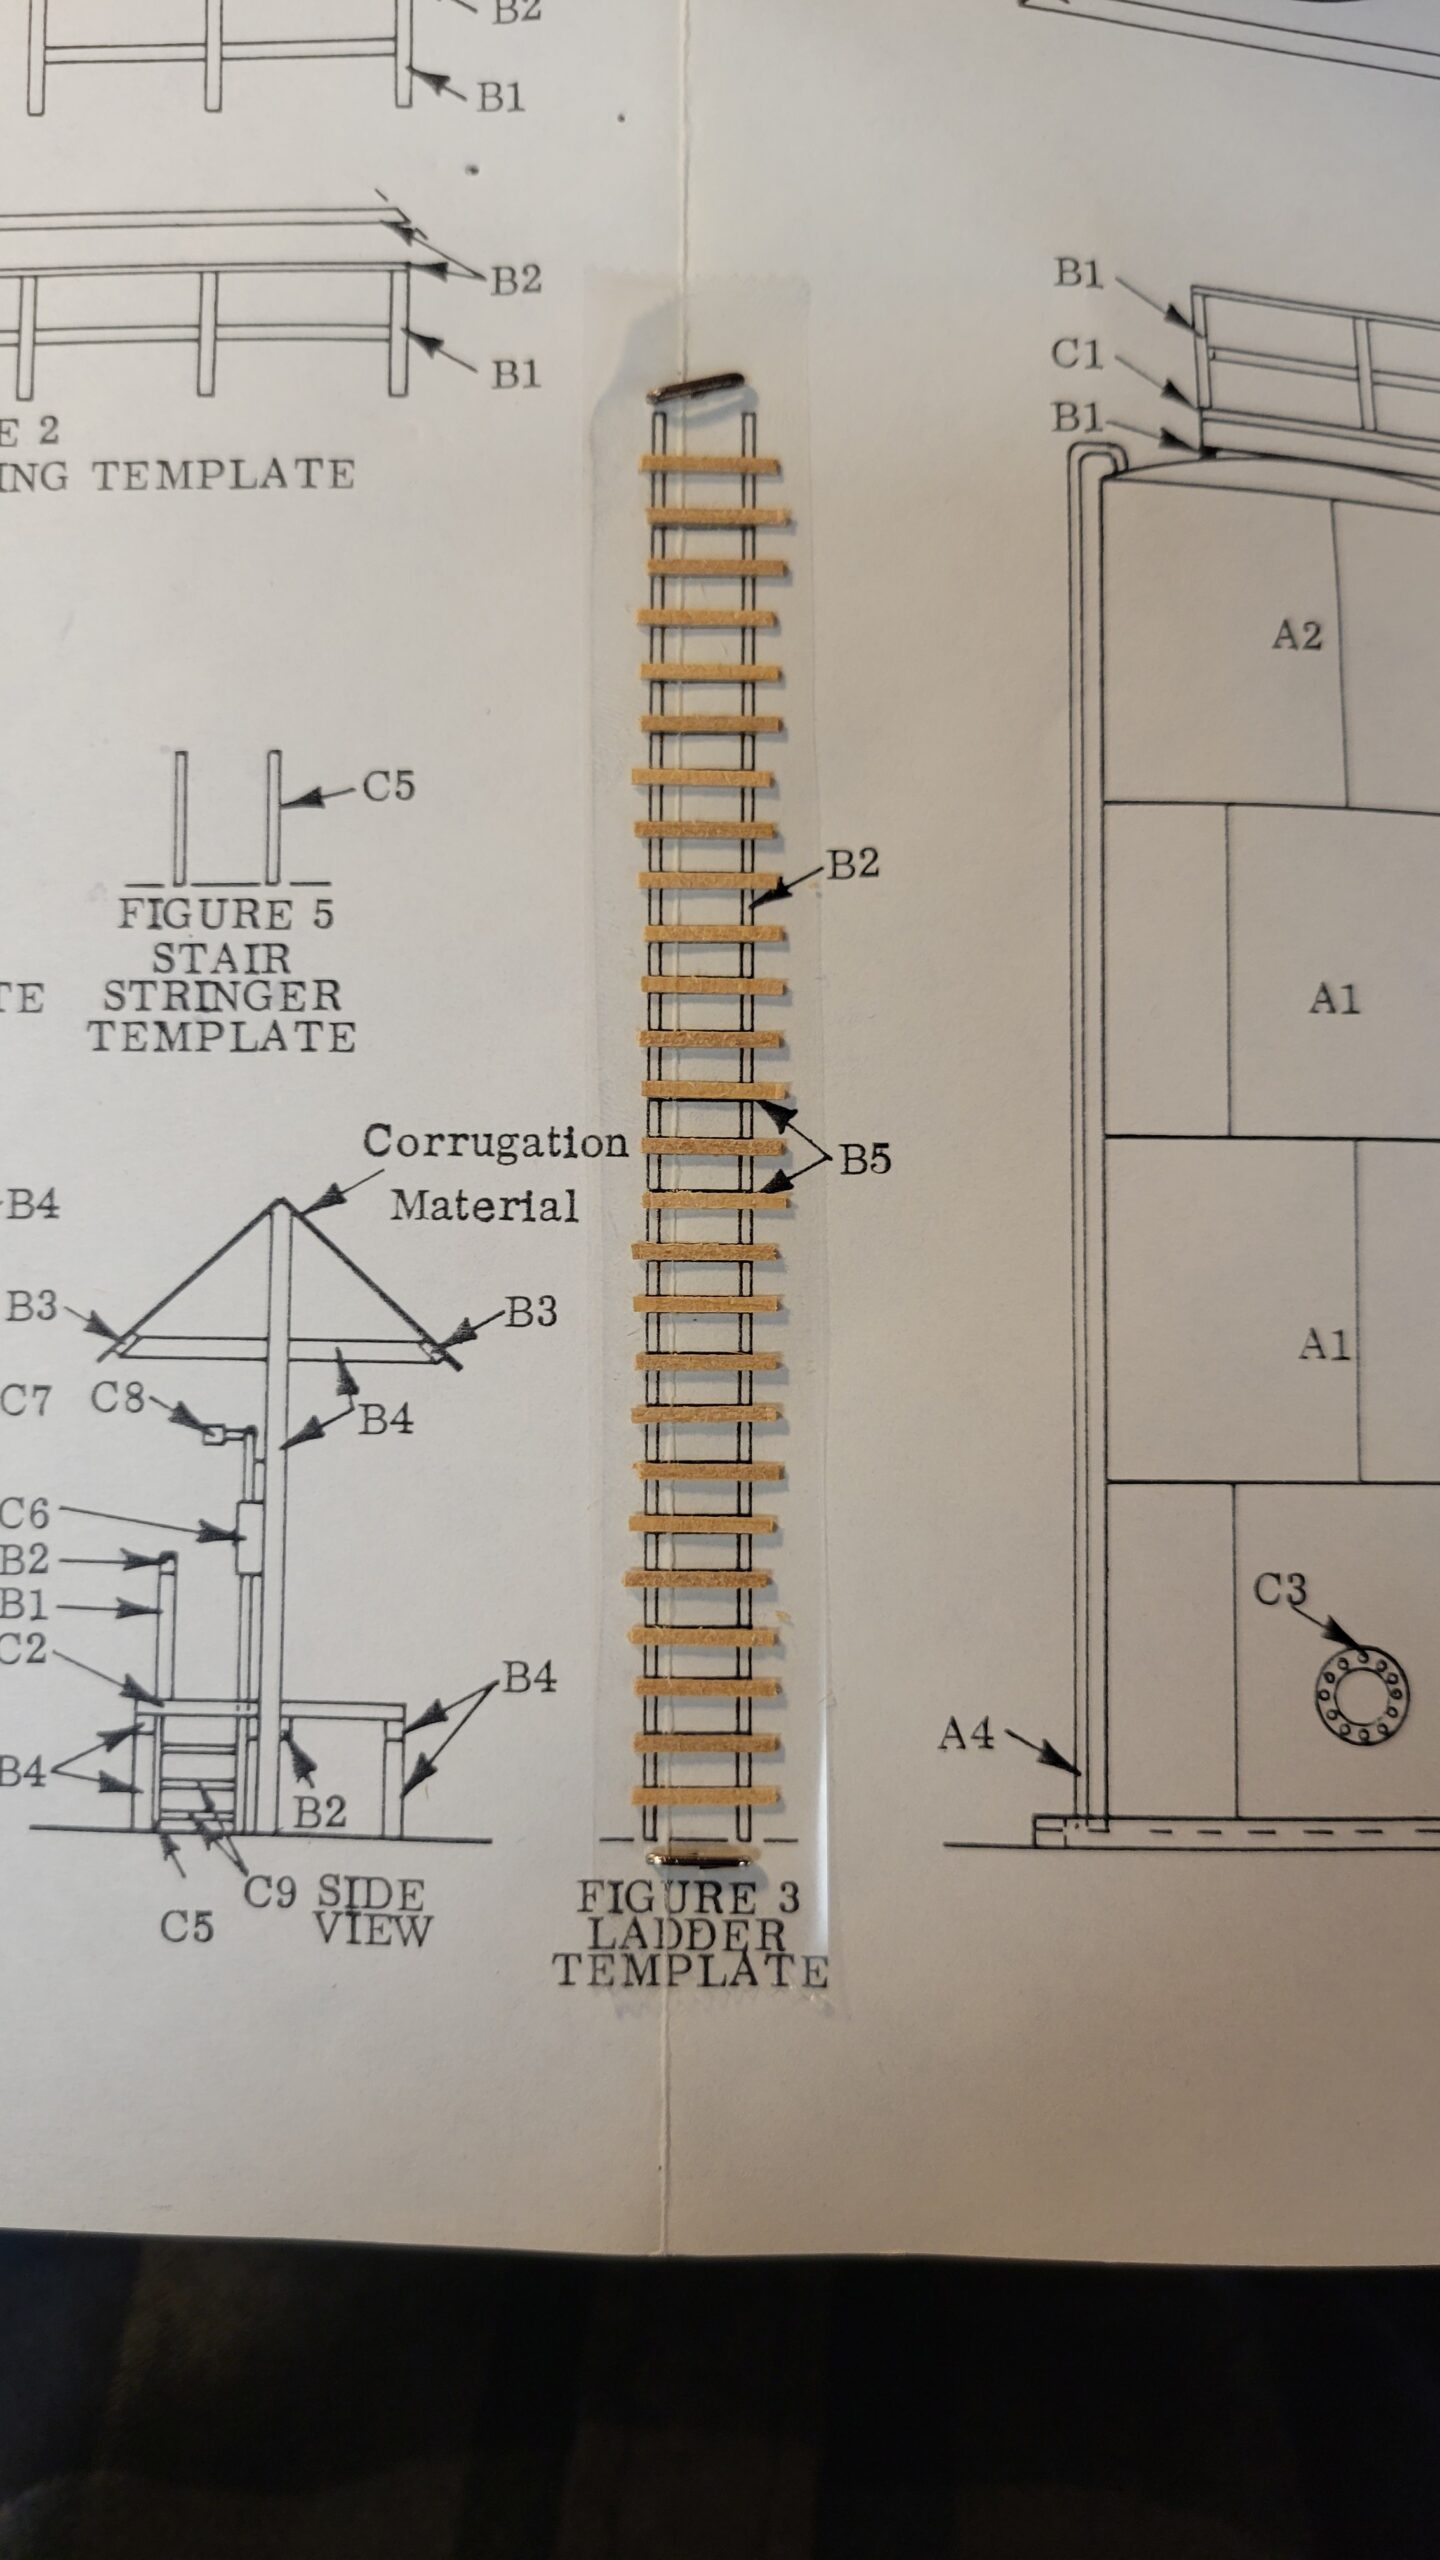
And here’s the finished ladder.

While it took a couple of hours to complete, the build was very straightforward. Modern plastic kit manufacturers could take some lessons in making instruction sheets from these older wood kits.
Yesterday I weathered the tanks, and placed the now-painted platform on top. The weathering is pretty garish at this point because I
The tank kit looks good Mark.
Dave
Thank you Bear for all of your very entertaining cartoon answers! You always manage to brighten our days.
Dave
Lovely modeling, Mark. Well worth a Beartoon.
David
Thanks, Dave and David!
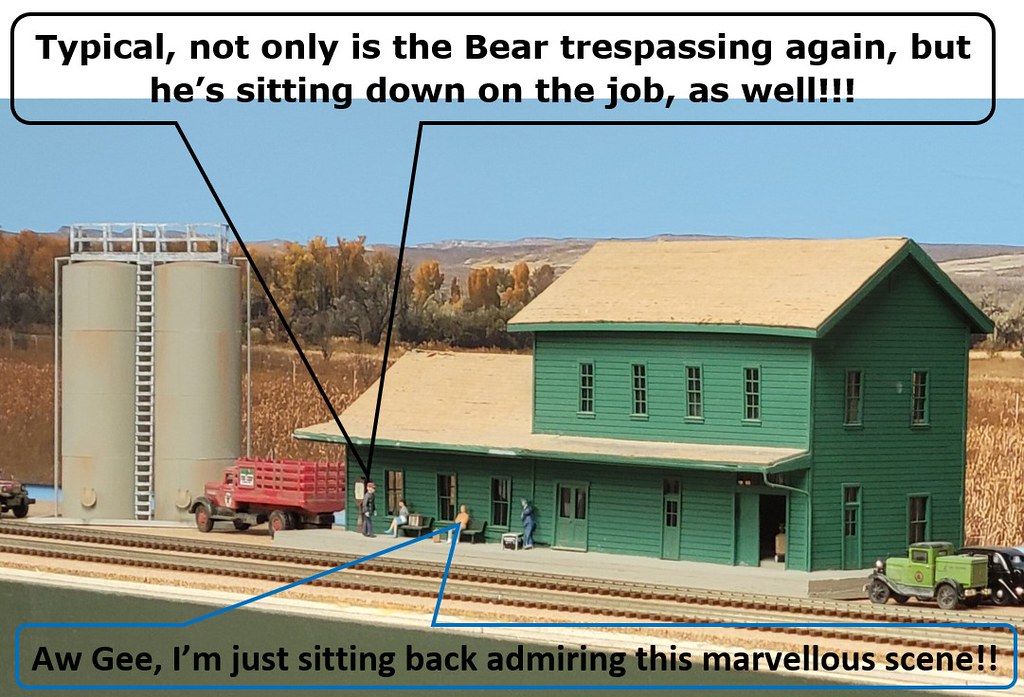
Bear, what can I say? I’m glad you’re comfortable leaning against that old station house. I’d be worried it would fall over if I did that.
17 March 2021
Well doggone it! I knew I shouldn’t have been eating that creamsicle over the layout!
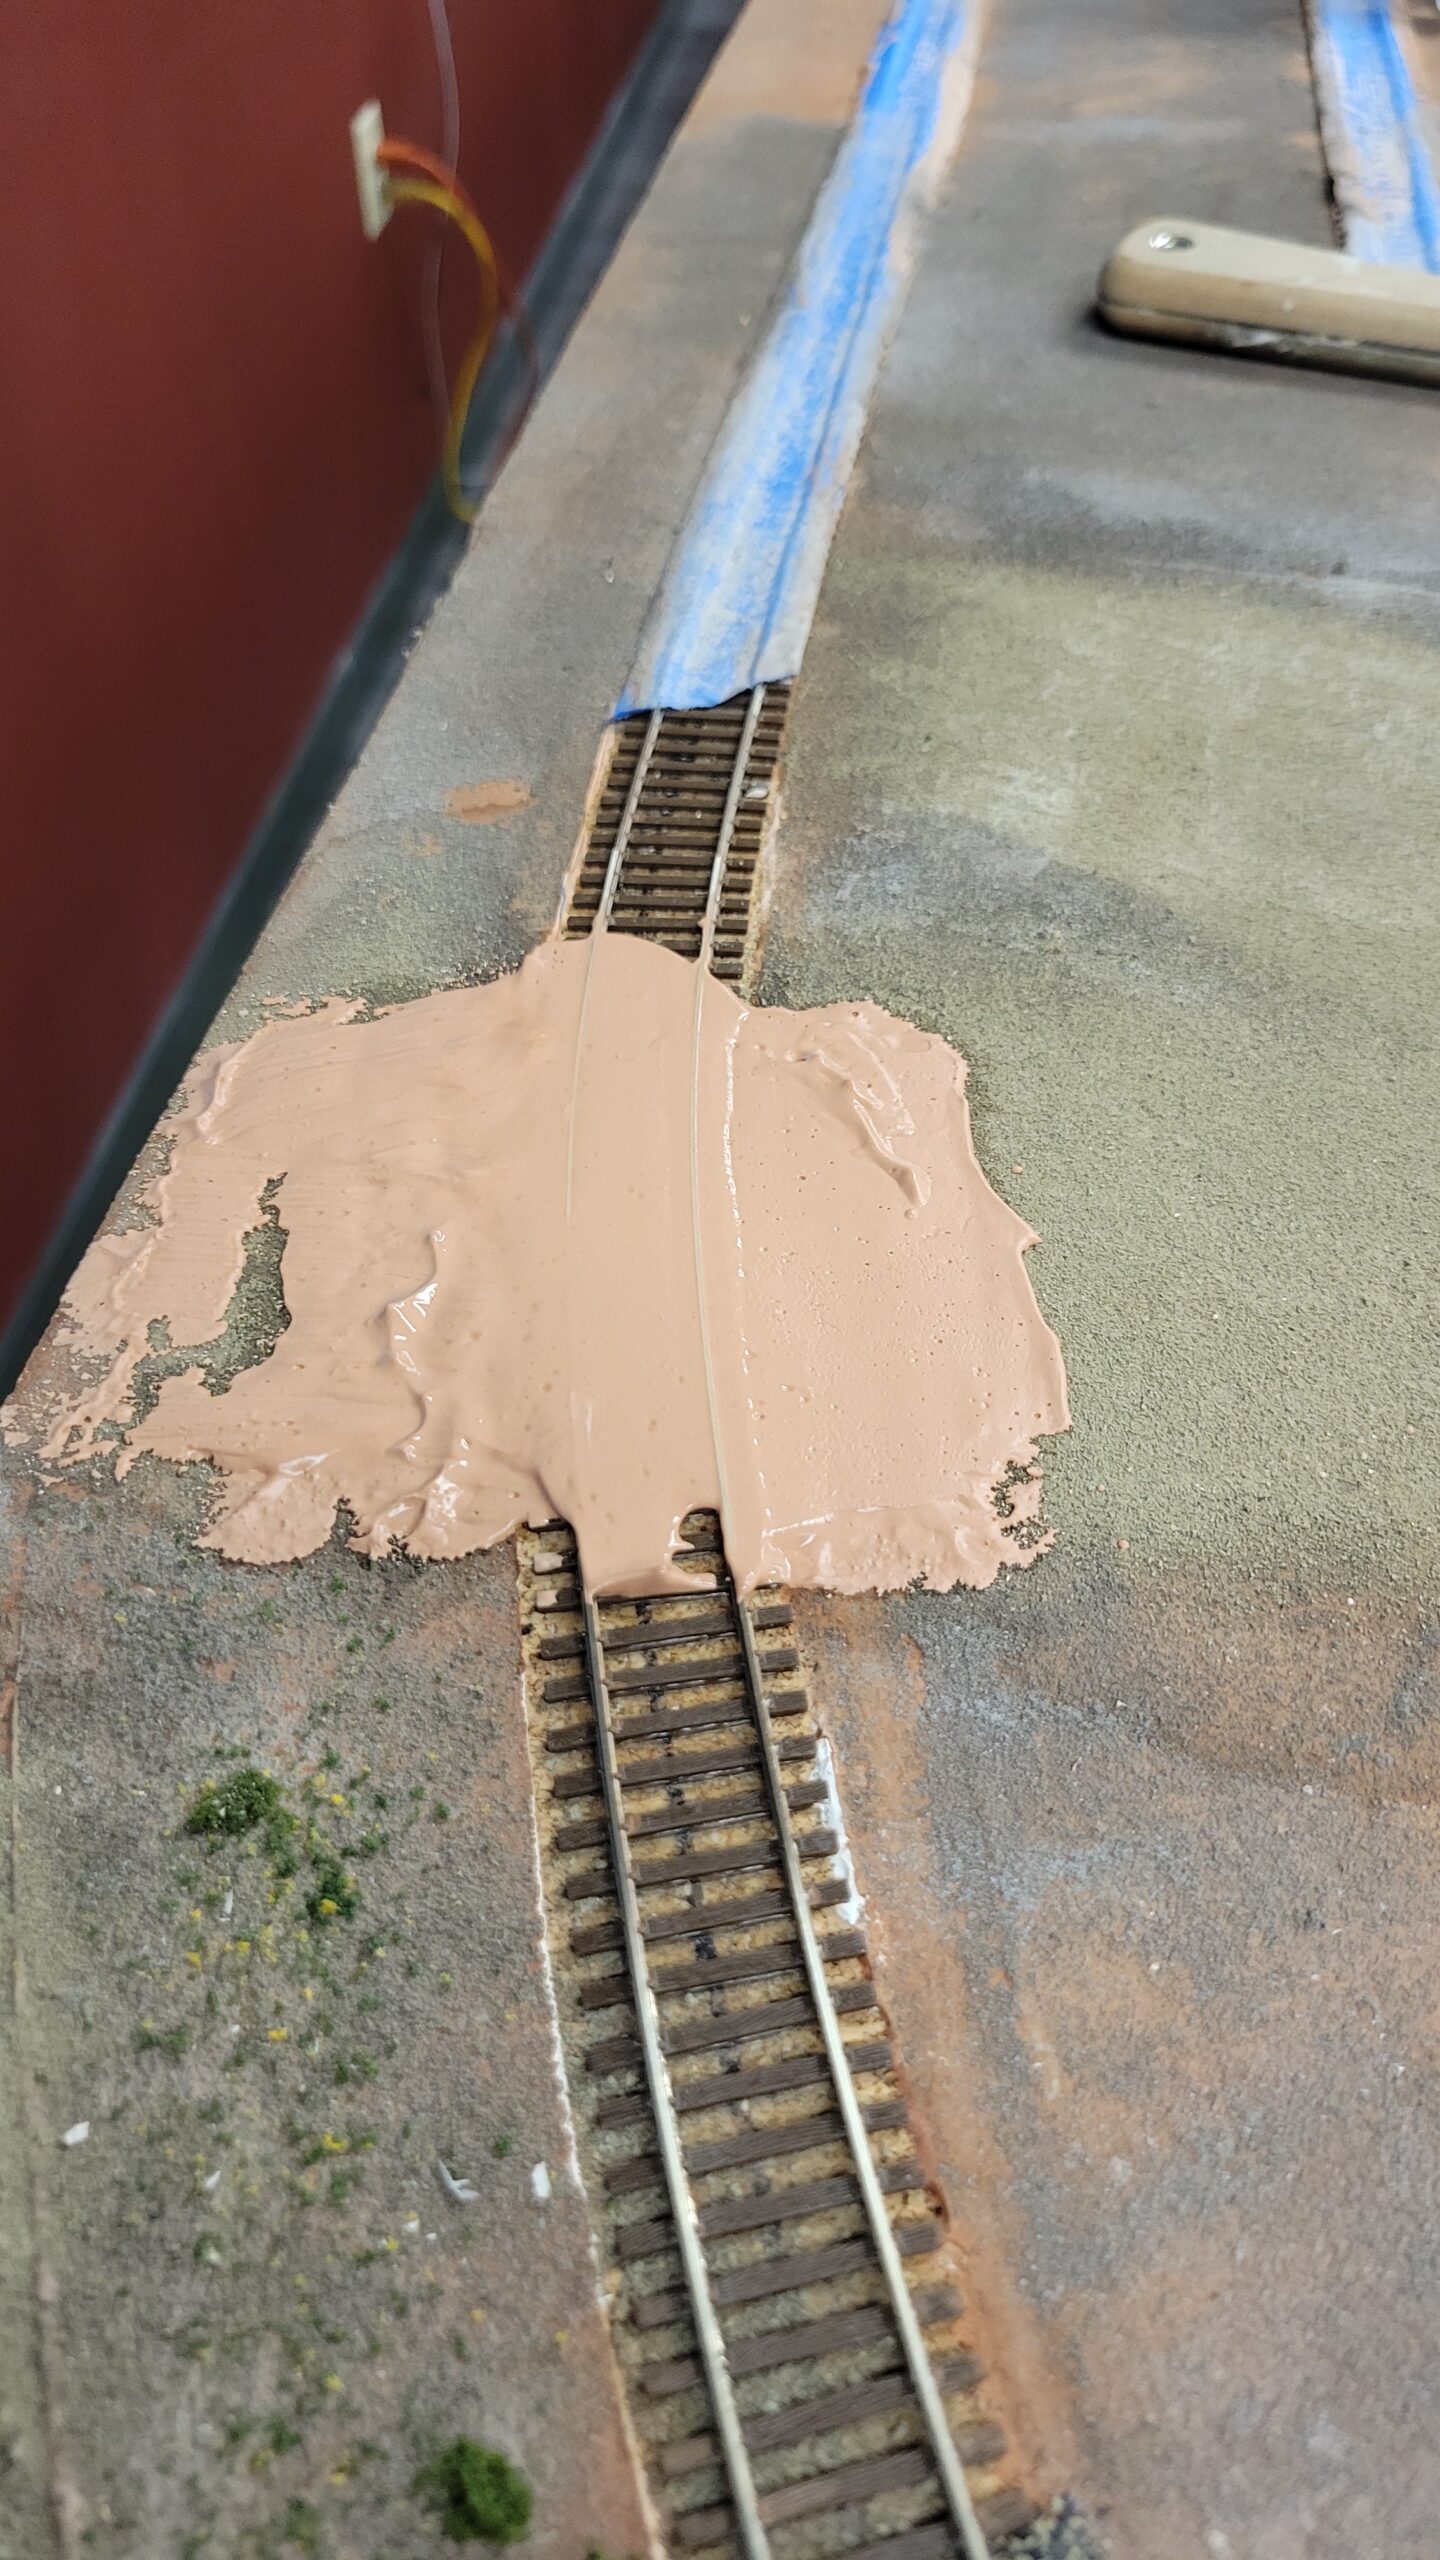
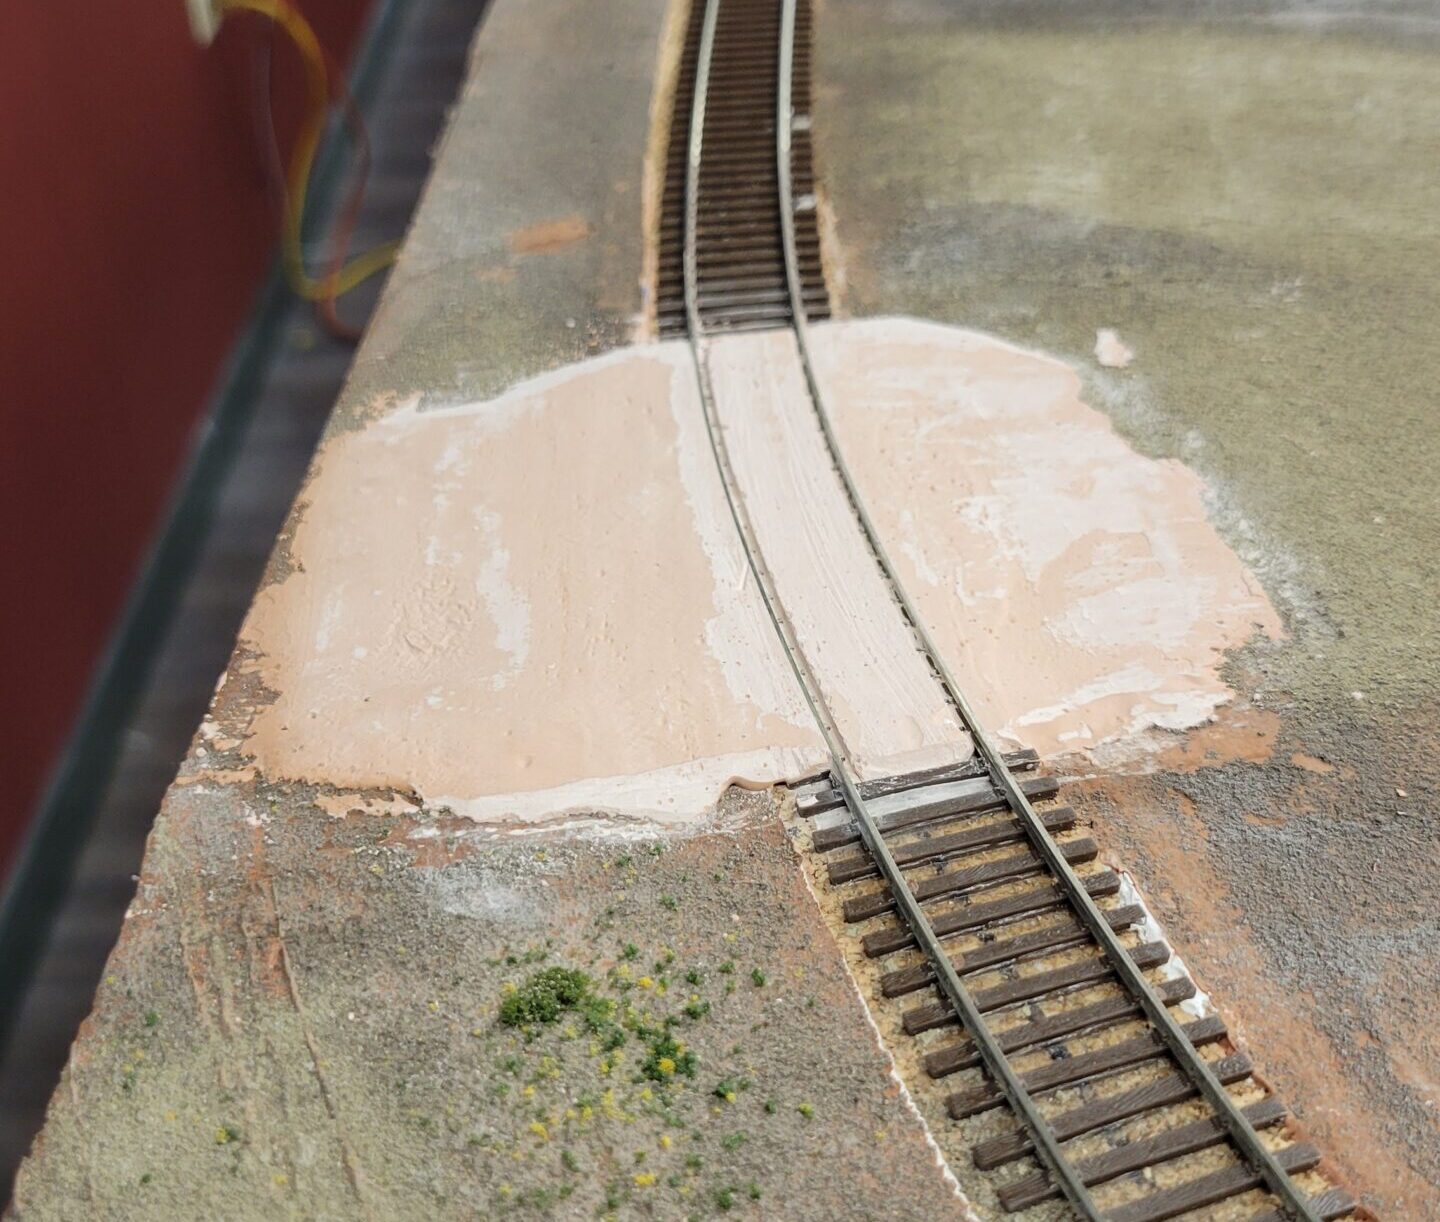
That is, of course, the bare (ouch!) beginnings of a dirt grade crossing. It’s colored plaster (okay, I could have done a bit better on the color. Believe it or not, that was brown pigment). I’ll sand that smooth, shape the edges and cut the flangeways, then paint it a more respectable tannish brown. After that will come the dirt layers.
Then you can laugh! [:$]
Hi Mark,
I hope you washed your face and hands after eating the creamsicle![swg][(-D][(-D] If it was me, I’d have it spilled all down my shirt too.[D)]
Seriously, you are off to a good start, and the gravel will probably correct any colour problems once it is applied.
I am enjoying learning about how you are doing things. Hopefully I will be at that stage in a few months.
Cheers!!
Dave
quote user=“hon30critter”]I hope you washed your face and hands after eating the creamsicle! If it was me, I’d have it spilled all down my shirt too.
Seriously, you are off to a good start, and the gravel will probably correct any colour problems once it is applied.
I am enjoying learning about how you are doing things. Hopefully I will be at that stage in a few months.
Cheers!!
Dave
[/quote]
Yeah, it was quite a mess! [:$]
(Thanks for the kind words.)
21 March 2021
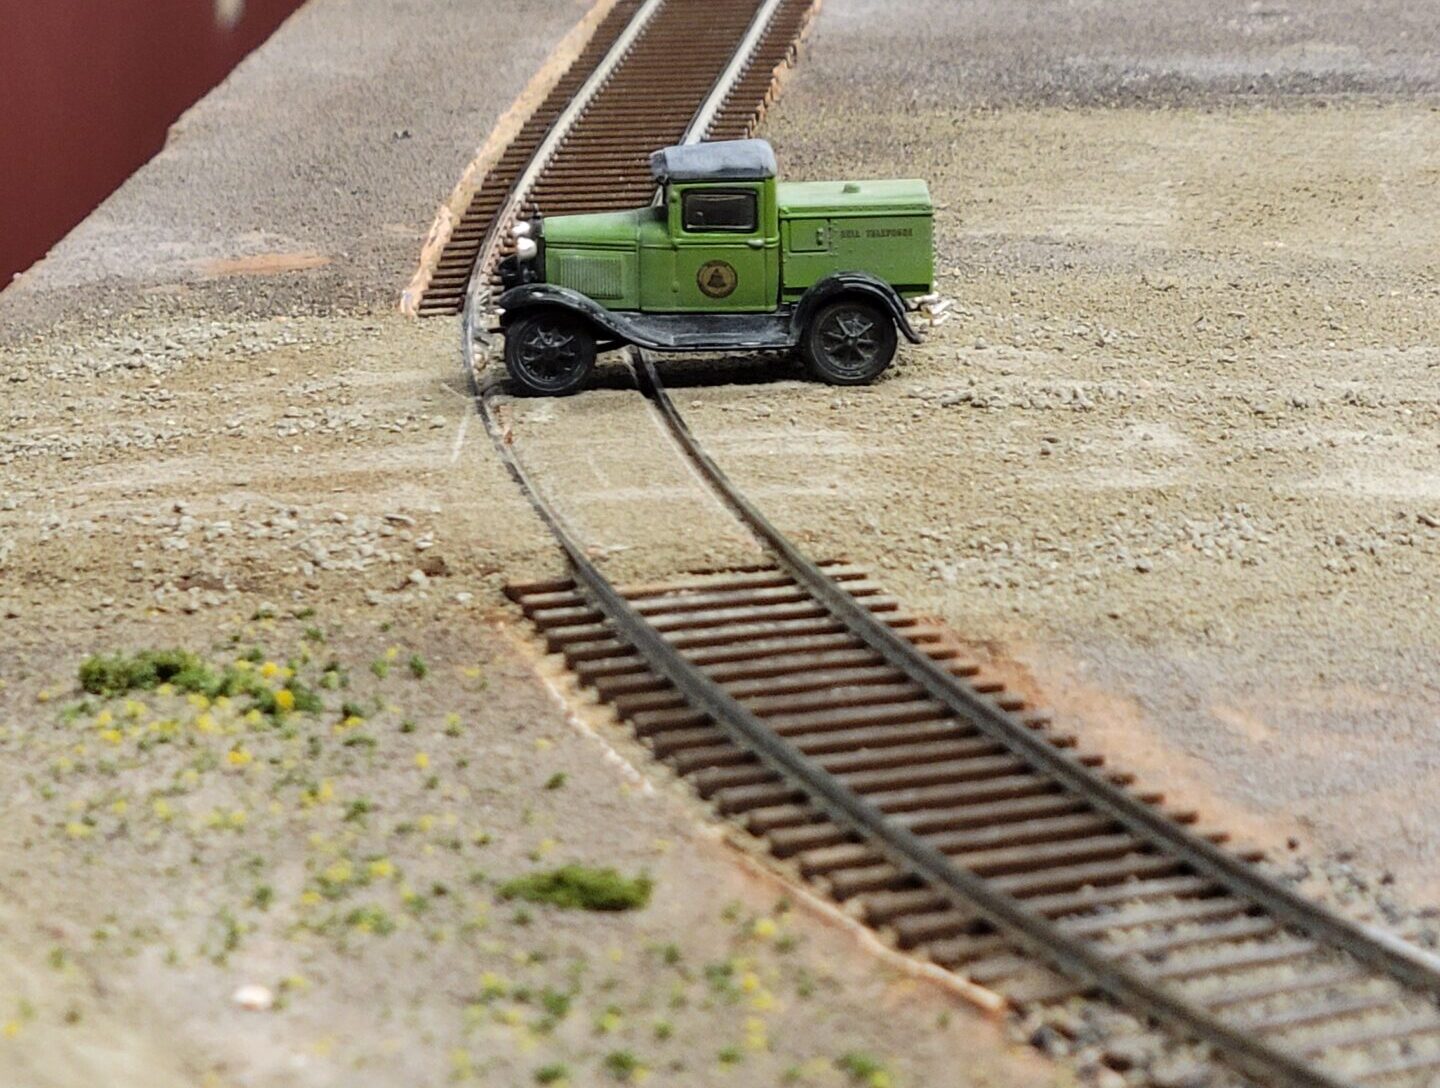
Well, the dirt crossing is finished, except for weeds, ballasting the track on either side, and a bit of detailing. Here’s the truck with bear making one of the first crossings. That guy shows up everywhere!
A few of the interim steps…
Here’s what it looked like after the Creamsicle drippings dried and I carved and shaved them down with a putty knife:
And after the first layer of dirt went on:

Then the flageways were cut and the top scraped clean to just below the rail tops.
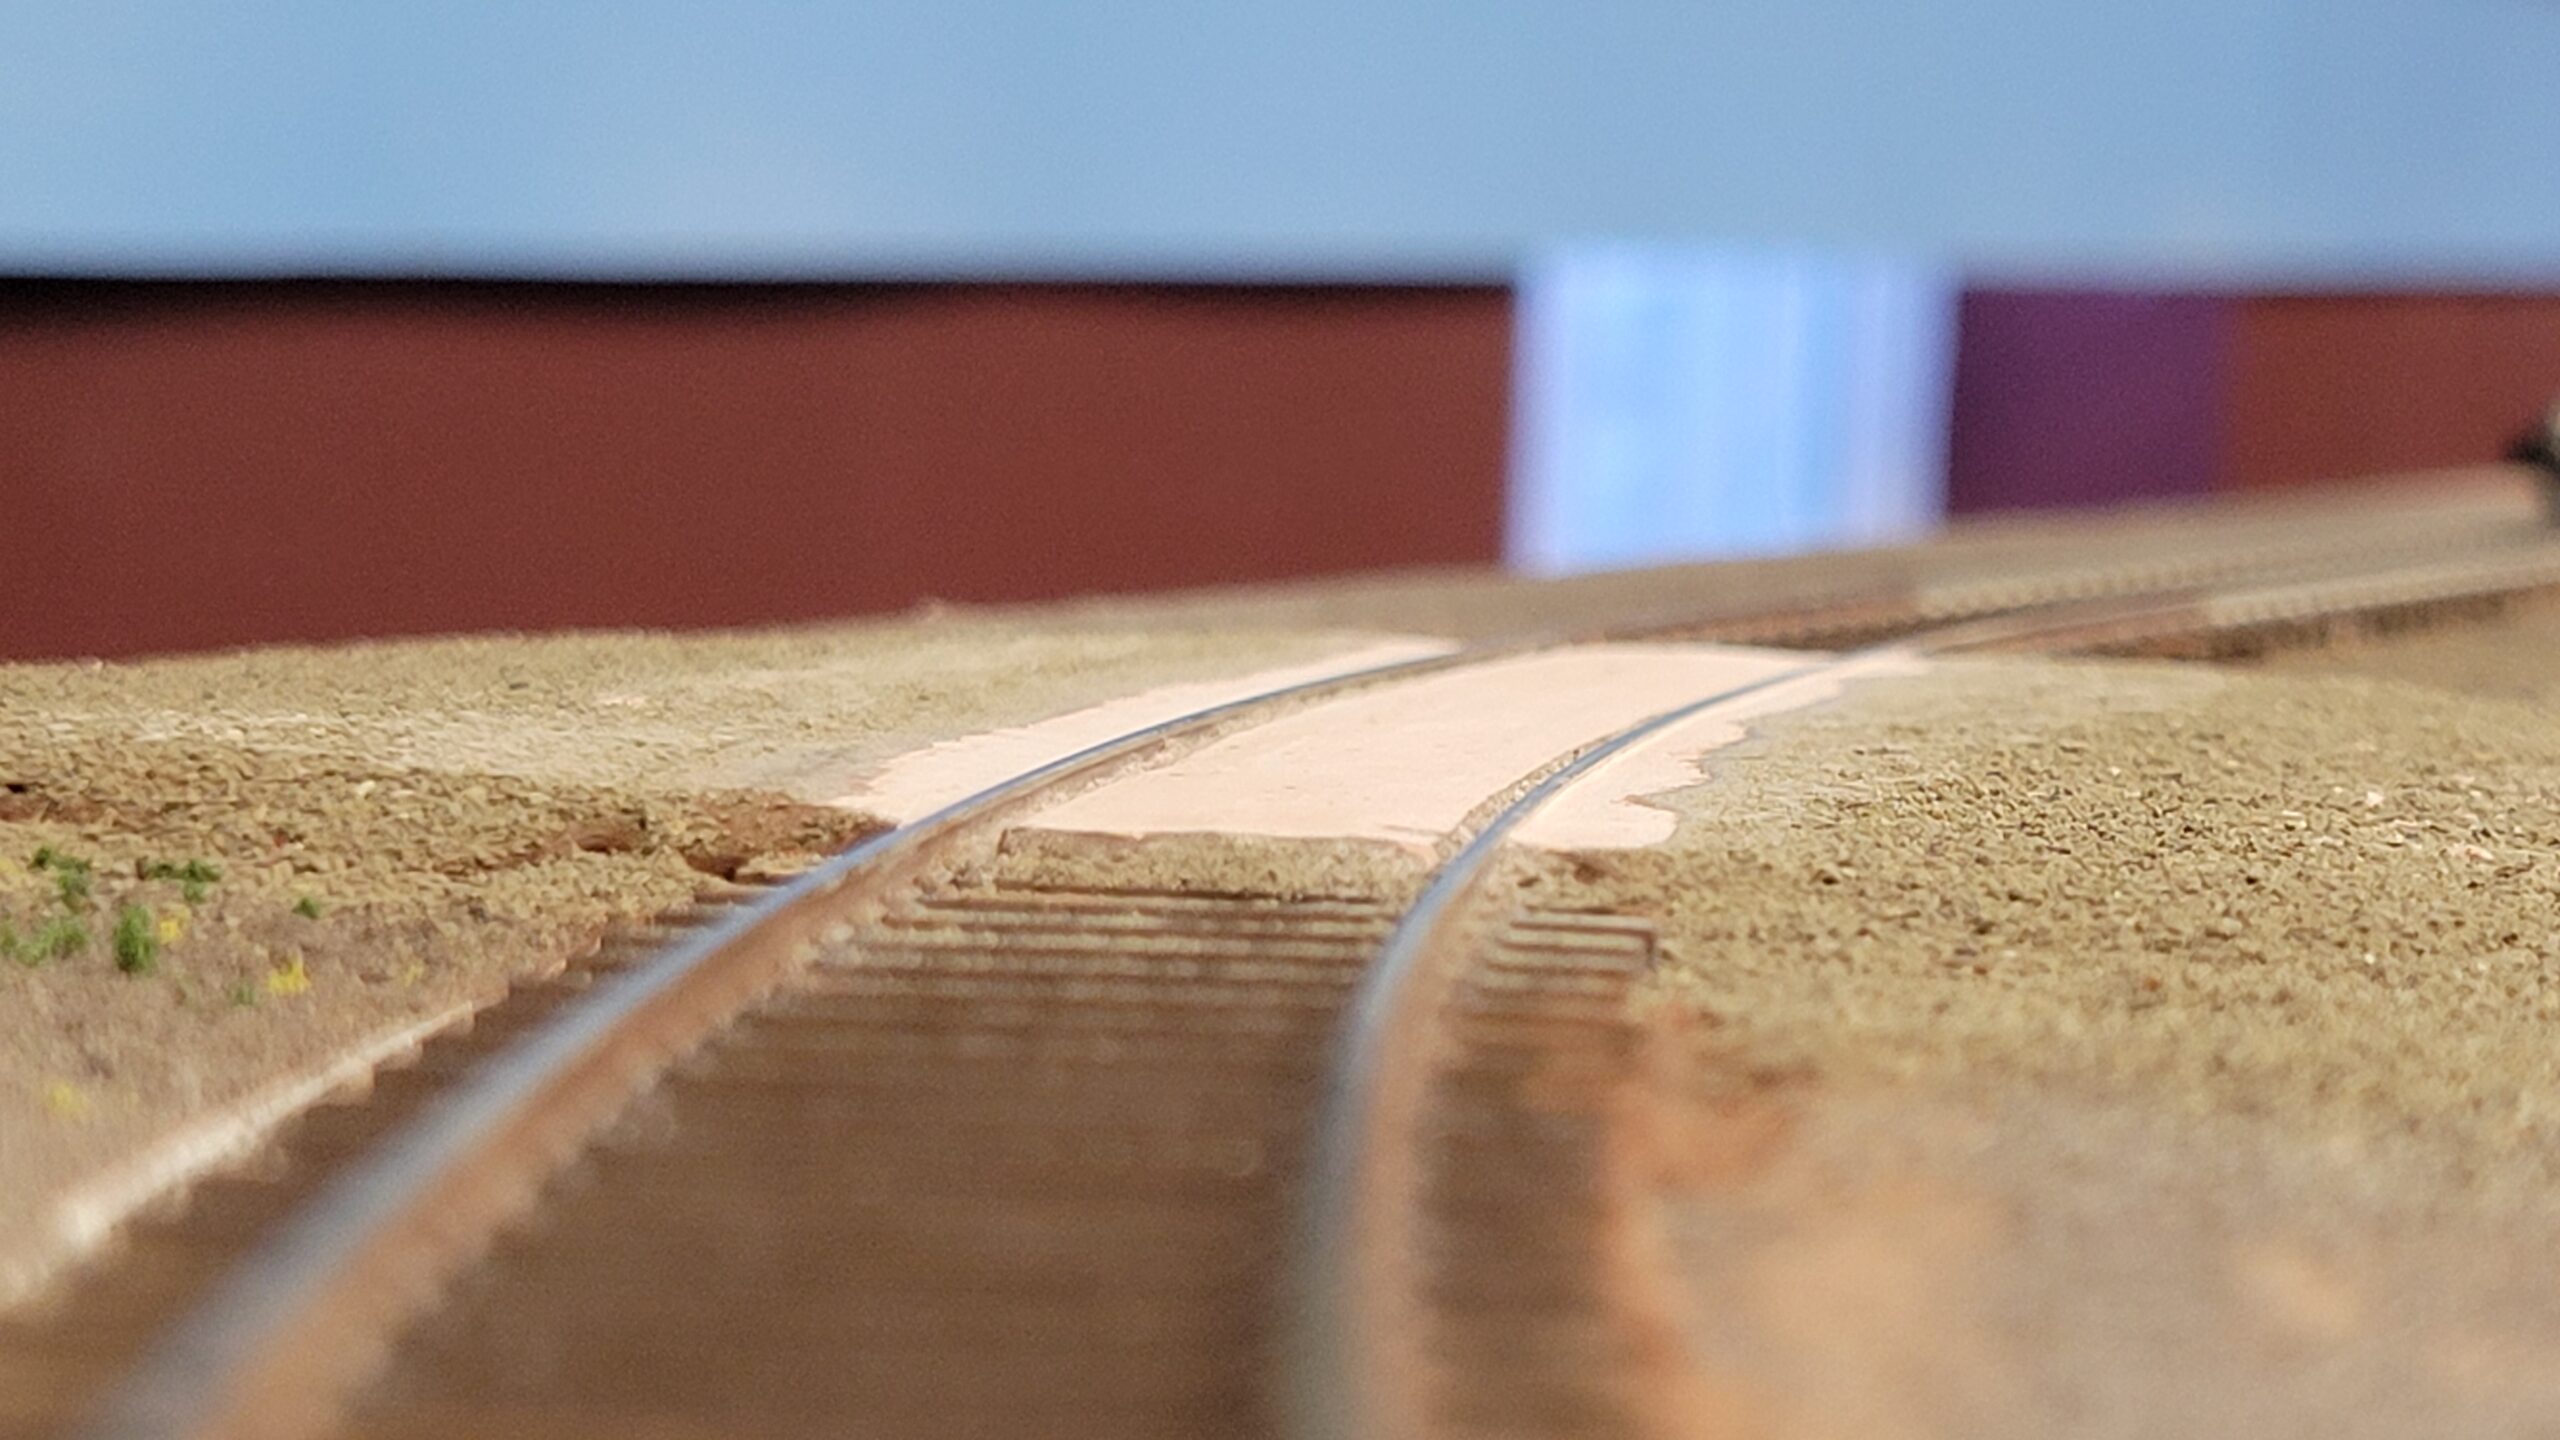
If I’d painted it a concrete color at this point, I’d have had a decent cement grade crossing. But I wanted a dirt crossing, mommy! [:'(]
So another lay
Looking really good, Mark. Well done.
David
Hi Mark,
The dirt crossing came out really well!
I like the covered hopper a lot too! I have a bunch of CP and TH&B slab sided hoppers that will get a similar treatment. The cars were all black and the white stains on the prototypes really stood out.
Dave
Same here, Mark. As Dave says, the dirt crossing came out really well, and that “weathered” covered hopper looks terrific.
Rich
Thanks David, Dave and Rich. I wasn’t at all sure about that hopper …
26 March 2021
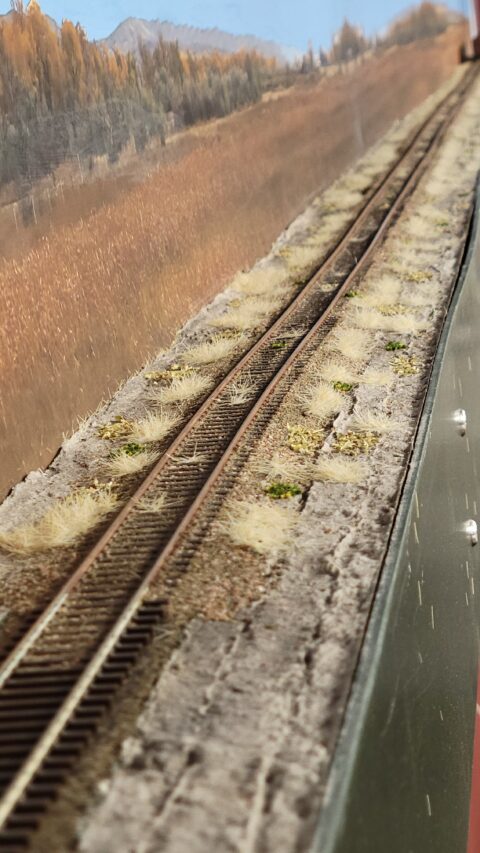
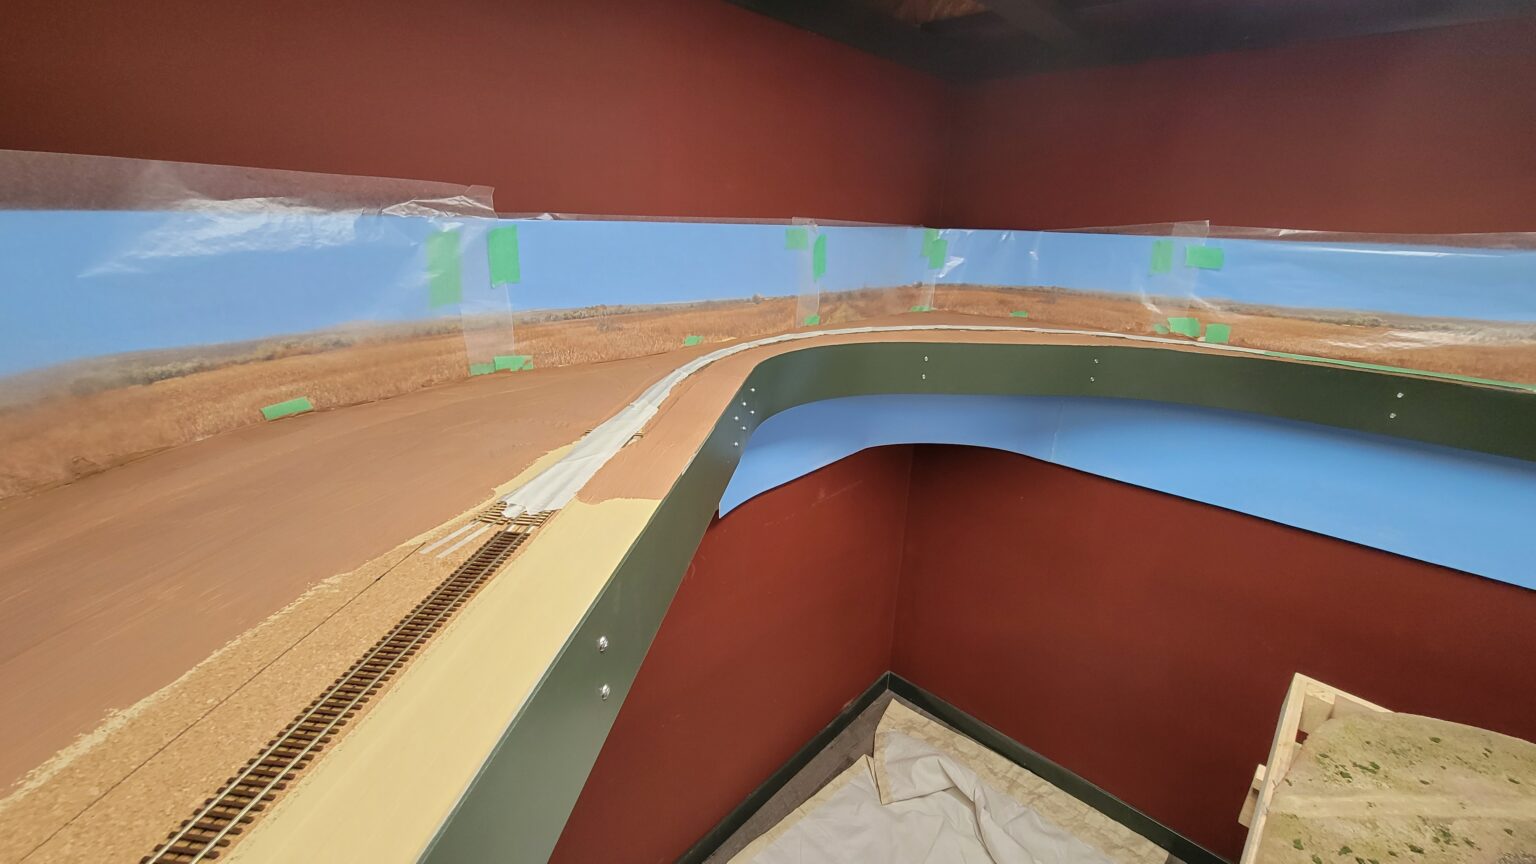
Since my last post I shifted my attention away from the crossing and began working on the CNW line above Casper again. I finished the static grass nearly into the corner (the backdrop looks odd from this angle, but you’ll never be able to see it this way once Casper’s in place):
Then I started working my way around the corner and into Hudson. I filled in the benchwork grid with 1/2" styrofoan insulation, covered it with masking tape and created a very low rise along the backdrop behind Hudson itself. I painted all of that a tan color.
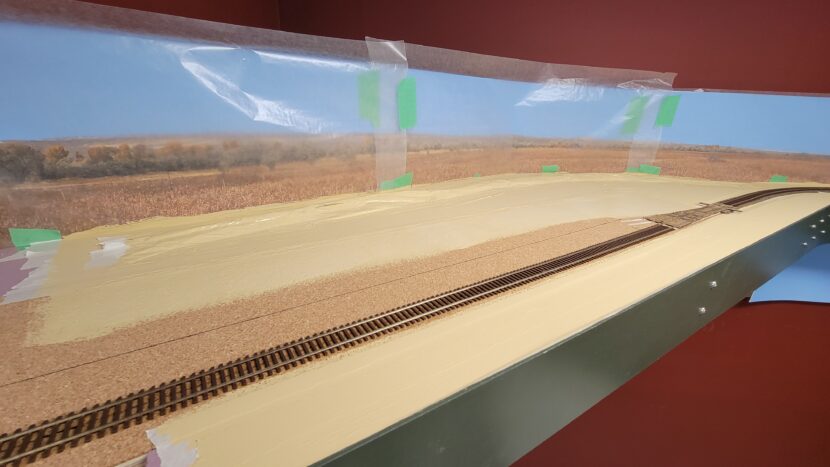
Then I mixed up a thinish batch of paster of paris (tinted with brown tempera paint) and slathered that over most of the painted area:
I haven’t done the rest yet because I still have to install the siding.
Remember a couple years ago when I tried to start scenicking the Casper classification tracks? Yeah, this mess:

Well, since I couldn’t do any more on the CNW line until the plaster dries overnight, and since I wasn’t in the mood to start building that old Model Hobbies structure I’m going to use for Rocky Mo
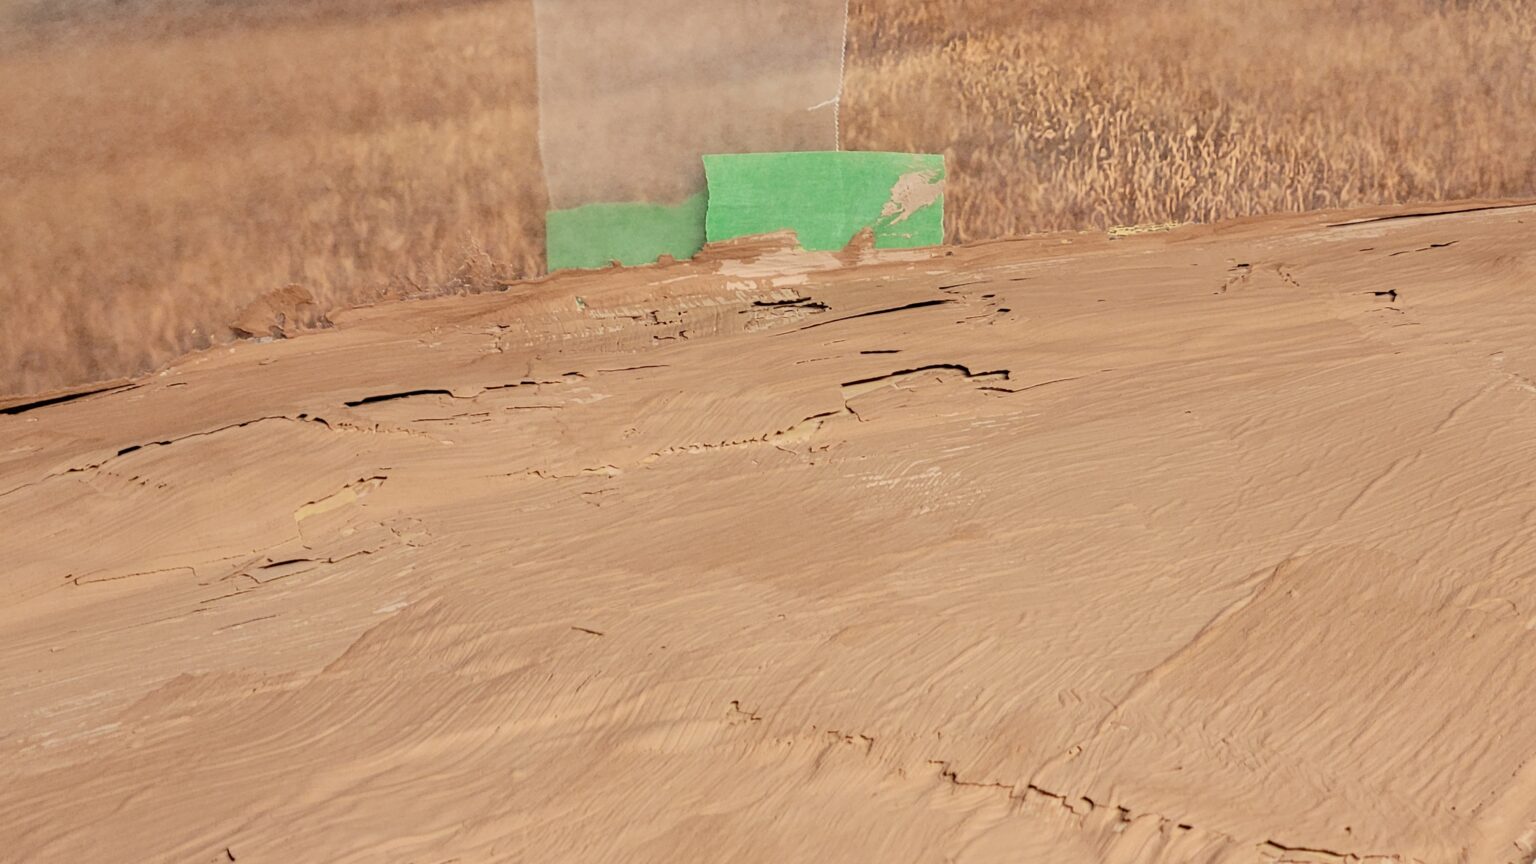
Well I’m sure learning a lot about what not to do! That thin, brushed-on coat of plaster of paris I applied to the painted substrate on the line near Hudson didn’t stick to the paint at all! It just started crumbling off! I expected it to adhere to the latex paint. It just lifts away, braking into flakes as it comes up. I’ll post a few photos later.
Anyone have any idea what I’m doing wrong?
So here’s what it’s looking like right now:

I’m stumped.
HELP!
I would use Hydrocal instead of plaster of paris. Hydrocal is lighter and it doesn’t chip or peel as easily as plaster of paris.
Rich
Thanks for the thoughts, Rich.
I’ve looked all over town - nobody around here carries hydrocal. I’ll have to order it online. Meanwhile I’ve put together a test panel where I’ll try painted, painted and sanded, and unpainted tape (plust a bit of untaped bare styrofoam) with patching plaster, and a bit thicker coat of plaster of paris. I’ve just applied the plasters, so tomorrow evening if they’re dry I’ll see how all those variations fare.
Hi Mark,
Like I said previously, I’m learning from your mistakes! However, that doesn’t mean that you have to keep making them just for my benefit![swg][(-D][(-D][:o)]
Seriously, I do have a question. It looks like you tinted the Plaster of Paris before applying it. Is that correct? If so, did you use paint or just pigment? If you used paint I’m wondering if it interferred with the ability of the plaster to set properly. Years ago I was trying to make a bird bath out of concrete. I had a bunch of powdered Tempura paints left over from when the kids were young so I figured that I could colour the concrete with the paint powder. Bad idea! The concrete never set! What a mess!
I’d really like to see this puzzle solved. Would you consider starting a thread specific to this issue? That might get people with direct experience involved.
Cheers!!
Dave
Hi Mark,
One thing that you might want to try is to pre-wet the surface that you are applying the plaster to. I’ve found that plaster(especially plaster of Paris) dries too quickly without additional water on the surface it needs to adhere to. Doesn’t need to be soaking wet.
Since I’ve got lots of different surfaces(plywood, foam, hardboard) on the layout, I stopped using plaster and only use Scultamold which has a longer drying time but needs the same type of surface prep and seems to stick to everything.
Scott Sonntag