I used Woodland Scenics Realistic Water from a “learning kit” to-do a short piece of a river a few years ago. I now have decided to convert a larger area into a water feature, so I’m looking for an alternative to buying the WS product that would not be all used. I’ve read that white glue or Mod Pog will work just fine. Anyone have experience with that and have suggestions?
While I’ve used pourable “water”, it pre-dated the WS product by several years, and I wasn’t overly impressed by it.
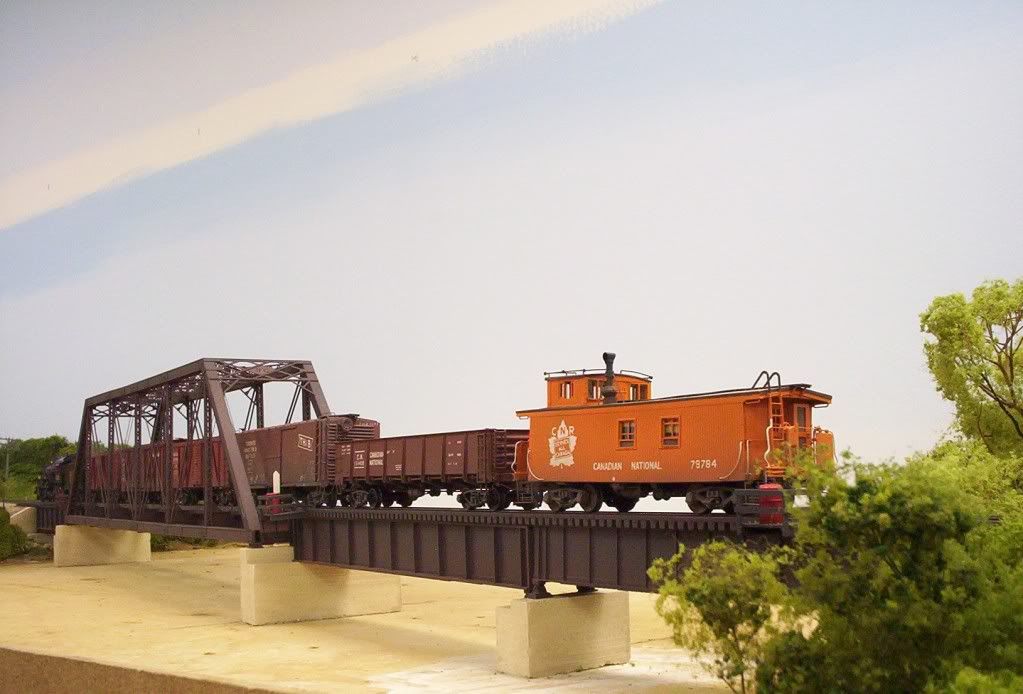
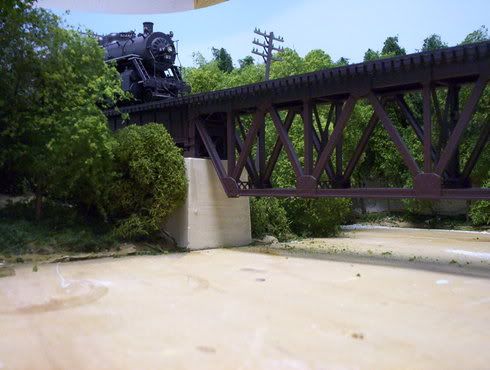
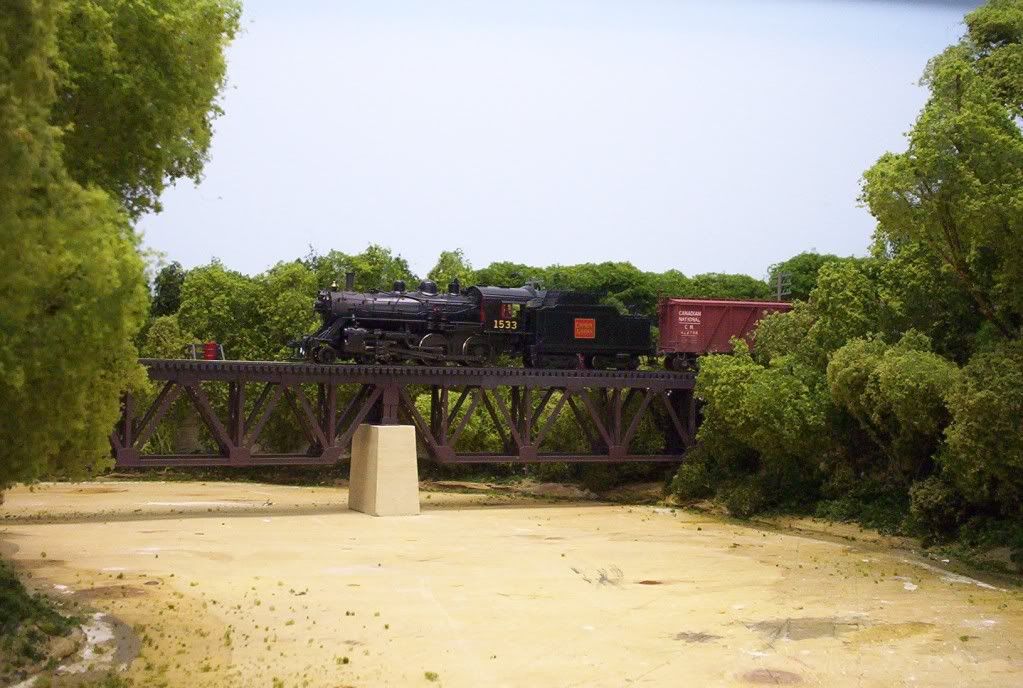
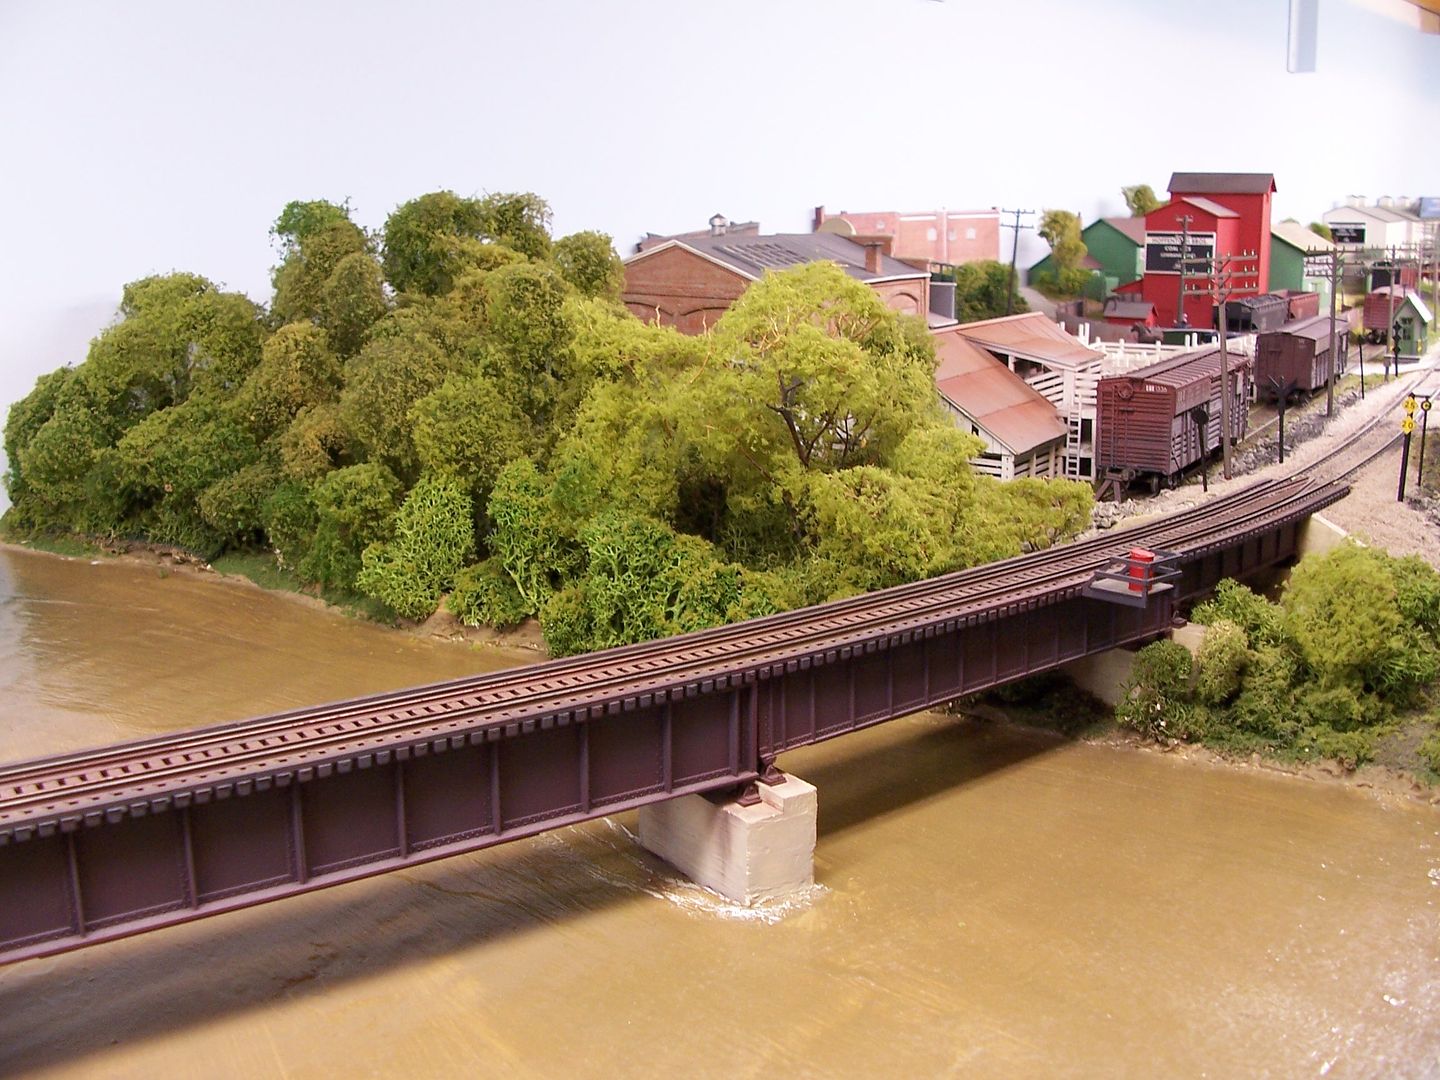
When I built my current layout, I wanted a number of water features, especially ones that would require bridges over them.
Here’s one before the “water” showed up…
…and another one, fairly close to the first one…
Both bridges (and two others, with no “water” yet) are removeable as one-piece units, which was a necessity for my method of depicting water.
With the longest bridge (in the first photo) removed, I sprayed the plywood riverbed with “wet” water, then mixed-up a batch of Durabond 90 patching plaster and use drywall knives of various sizes to spread the plaster…it sets in about 90 minutes, so I had some time to work-in some characteristics of moving water, but those areas repeatedly self-levelled, until set-up began. I then worked rather furiously to redo those features.
The following day, I used flat interior latex housepaint, applied with a 2" brush, to colour the “water”, and a few days later, used the same brush (cleaned, of course) to apply three coats of clear interior Varathane “Diamond Wood Finish”.
Thanks. Great looking water features. Since I only have one area of about 30 square inches, I think a pourable product is what will work best. If there are no other suggestions, I’ll probably just go with the WS product.
If you’d like even more suggestions, Mod Podge works well. Or, go to a crafts store that sells artists’ supplies, and see if they have ‘gel gloss medium’. It looks and feels like Nivea facial cream, but it will dry clear. You can paint it on and stipple the surface lightly to get a rippled effect on the water surface.
I initially used a two part ‘finish quality’ epoxy on my river, but it was too clear and glass flat when it had cured. I decided to mix a third layer/pour of epoxy, but I added a small pinch of plaster of Paris powder for turbidity, and I added a single drop of each of Hauser Green and Yellow from the Plaid craft paints at WalMart. When that third pour had cured, I painted on a thin layer of the gel gloss medium and stippled it with the side of the applicator. This is how it turned out:
I have about half a bottle of Mod Podge, but I don’t think there is enough for the area. Since it’s a quiet inlet off a river I won’t want to do anything but a calm surface. Probably just go ahead and get a 16 ounce WS water and if there’s some leftover I might make a farm pond, or as they are are called in West Texas, “tanks.”
I’m looking forward to adding my first “water” to the layout. With all the trouble I’ve had with just plain ol’ plaster and ballast, I’m sure I’ll get some really interesting results with the various water products available!
I use the Pour-on Epoxy (or whatever’ its called) sold at HD and craft stores. You have to have patience since you pour 1/4" max/layer and wait a few days for it to dry. It looks quite realistic. I add a few drops of light green to make it look like a lake. Real lakes also are different shades of green.
Mark, don’t overlook Envirotex Lite. I have been super pleased with the results. For years, I worked with Woodland Scenics Realistic Water with mixed results.
I’ve also used Envirotex Light. It is a very solid product. It dries hard and stays that way. It will give a flat finish. I have used a bit of Modge Podge to add ripples.
Envirotex, if taken care of, will last a long time in the bottle. I’ve never had a bottle dry up or go bad.
Envirotex also takes tint well, just a couple for drops of cheap craft paint tints the “water” well.
You don’t have to do a “pour” of deep water. You can put a flat surface in place, paint it with various colors (black, blue, green, tan, etc. as suits the location) and then just brush a coat or two of Mod Podge over it. You can use like a fan brush to add light ripples in the water if you want.
I suspect this link won’t be ‘live’ but anyway, that’s what I did here. It’s flat plywood first painted flat black, then after that dried I painted it with kind of a wash of blues and used a large brush to kinda swirl the colors around, then added Gloss Medium (which is basically what Mod Podge is) over it. Whole thing’s maybe 1/16" thick or less.
With the epoxys there is always a chance of something going wrong from very long cure time and creep to worse and other times it is perfect. A lot depends on being accurate portions and the evirorment, humid or not etc. Thats why I use gloss varnish like Liquiitex or Mod Podge.
Look at MArklinofsweden does for his. good use of paint to create the depth. with a couple coats of a clear high gloss finish. all on a base of toilet paper. cheap and effective. especially the harbor scene.
Check out the “MarklinofSweden” YouTube video series. He shows how to make quite realistic water using toilet paper and white glue. I tried this technique to model a harbor scene on a friend’s N scale layout and was amazed at how EASY it is to do and how good the finished water appears. I have to admit that I used Mod Podge Gloss Medium for the glue but it really does look great.
On my HO scale layout, I modeled a river by applying a coat of plaster to the riverbed but stippled the surface while the plaster was still quite wet (I wanted smoother ripples on the surface, not whitecaps). Once the plaster had cured, I painted the riverbed with black, greens and blues, partially mixed before painting to give color variations. When the paint was dry, I applied Mod Podge Gloss Medium with a little argent silver mixed in. The silver gave the water some sparkle. I finished the water with two more coats of gloss medium. This method gave good results, too.
The Marklin of Sweden’s guy toilet paper water is primarily usefull for doing like ocean waves; since the original poster is doing still water it might not work as well.
I am a fan of the Modge Podge (Gloss Medium) approach. I have tinted batches of it frequently, thinned it down to self-level, and brushed it straight. The one thing I will say is that until it is “sealed” make sure you don’t put anything on top of it. It can cause problems otherwise. Don’t ask me how I know.
The go to for water around here is envirotex. It is not without its difficulties but when done well it looks great. The problem with most pourable water products is that it is a high stakes game to pour something permanent in your finished scene that has taken hours to get to the point of adding water. If it screws up, you have a big mess that will take time to redo…
The biggest issues with the Envirotex are bubbles, creep and the mix not setting thoroughly. All of these can be dealt with but any one of them can sink the project…
Here is the creek I am working on – I will likely use a mode podge product for the water